
please hang with me and keep checking back
Revamping the Hootie V2: A Vibrant Motor Paint Job Experience
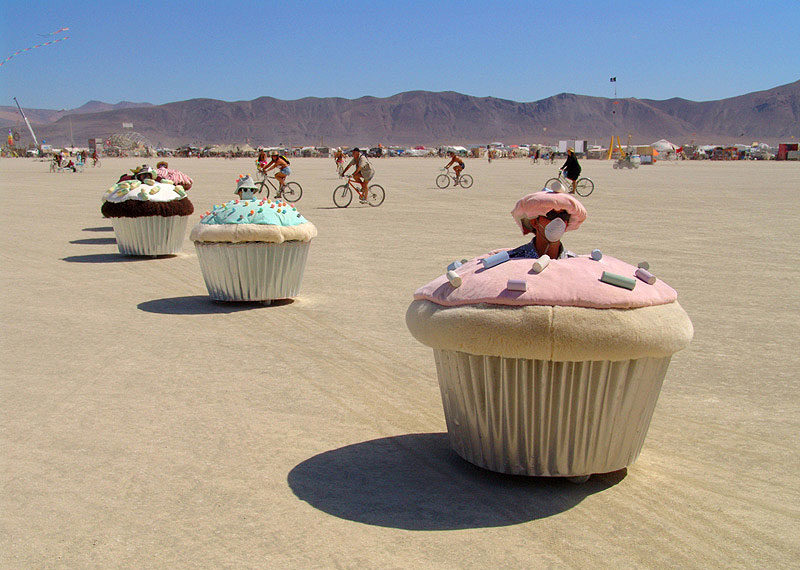
The iconic Hootie V2’s motor was looking rather worse for wear after the thrilling escapade at the 2021 Burning Man. The harsh desert conditions had taken their toll, leaving the motor needing more than just a little TLC.
It was high time for a paint job!
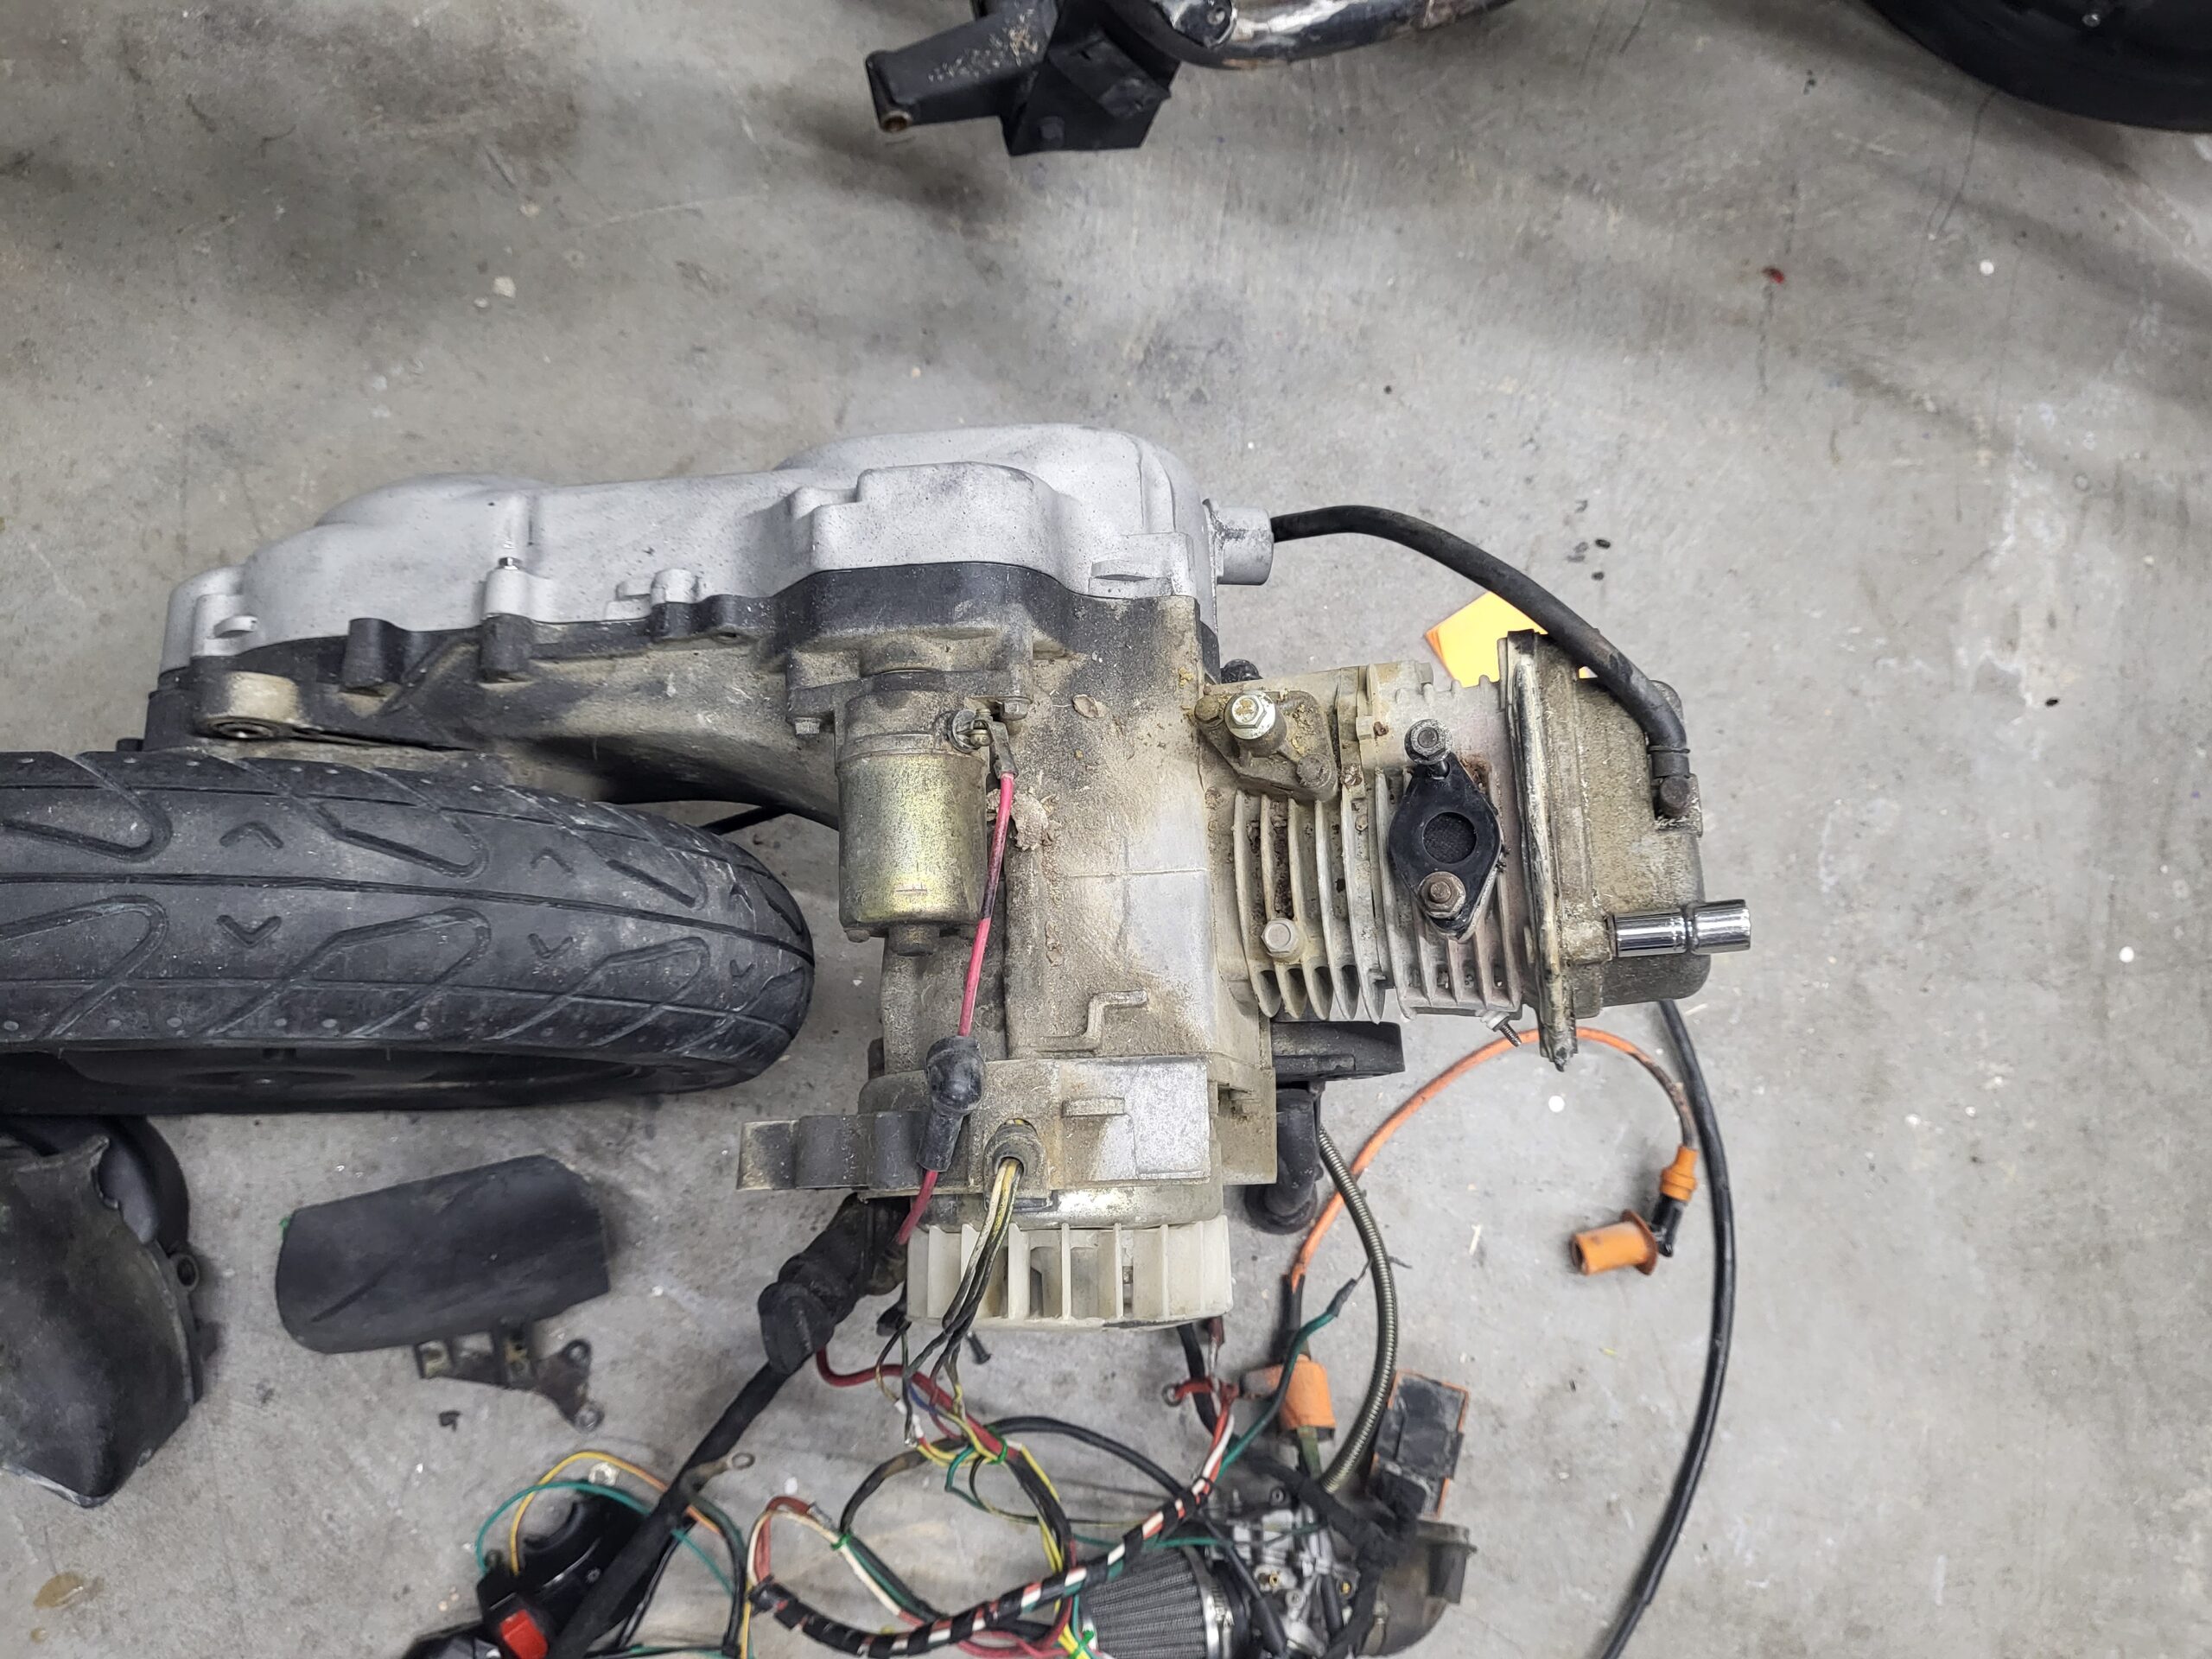
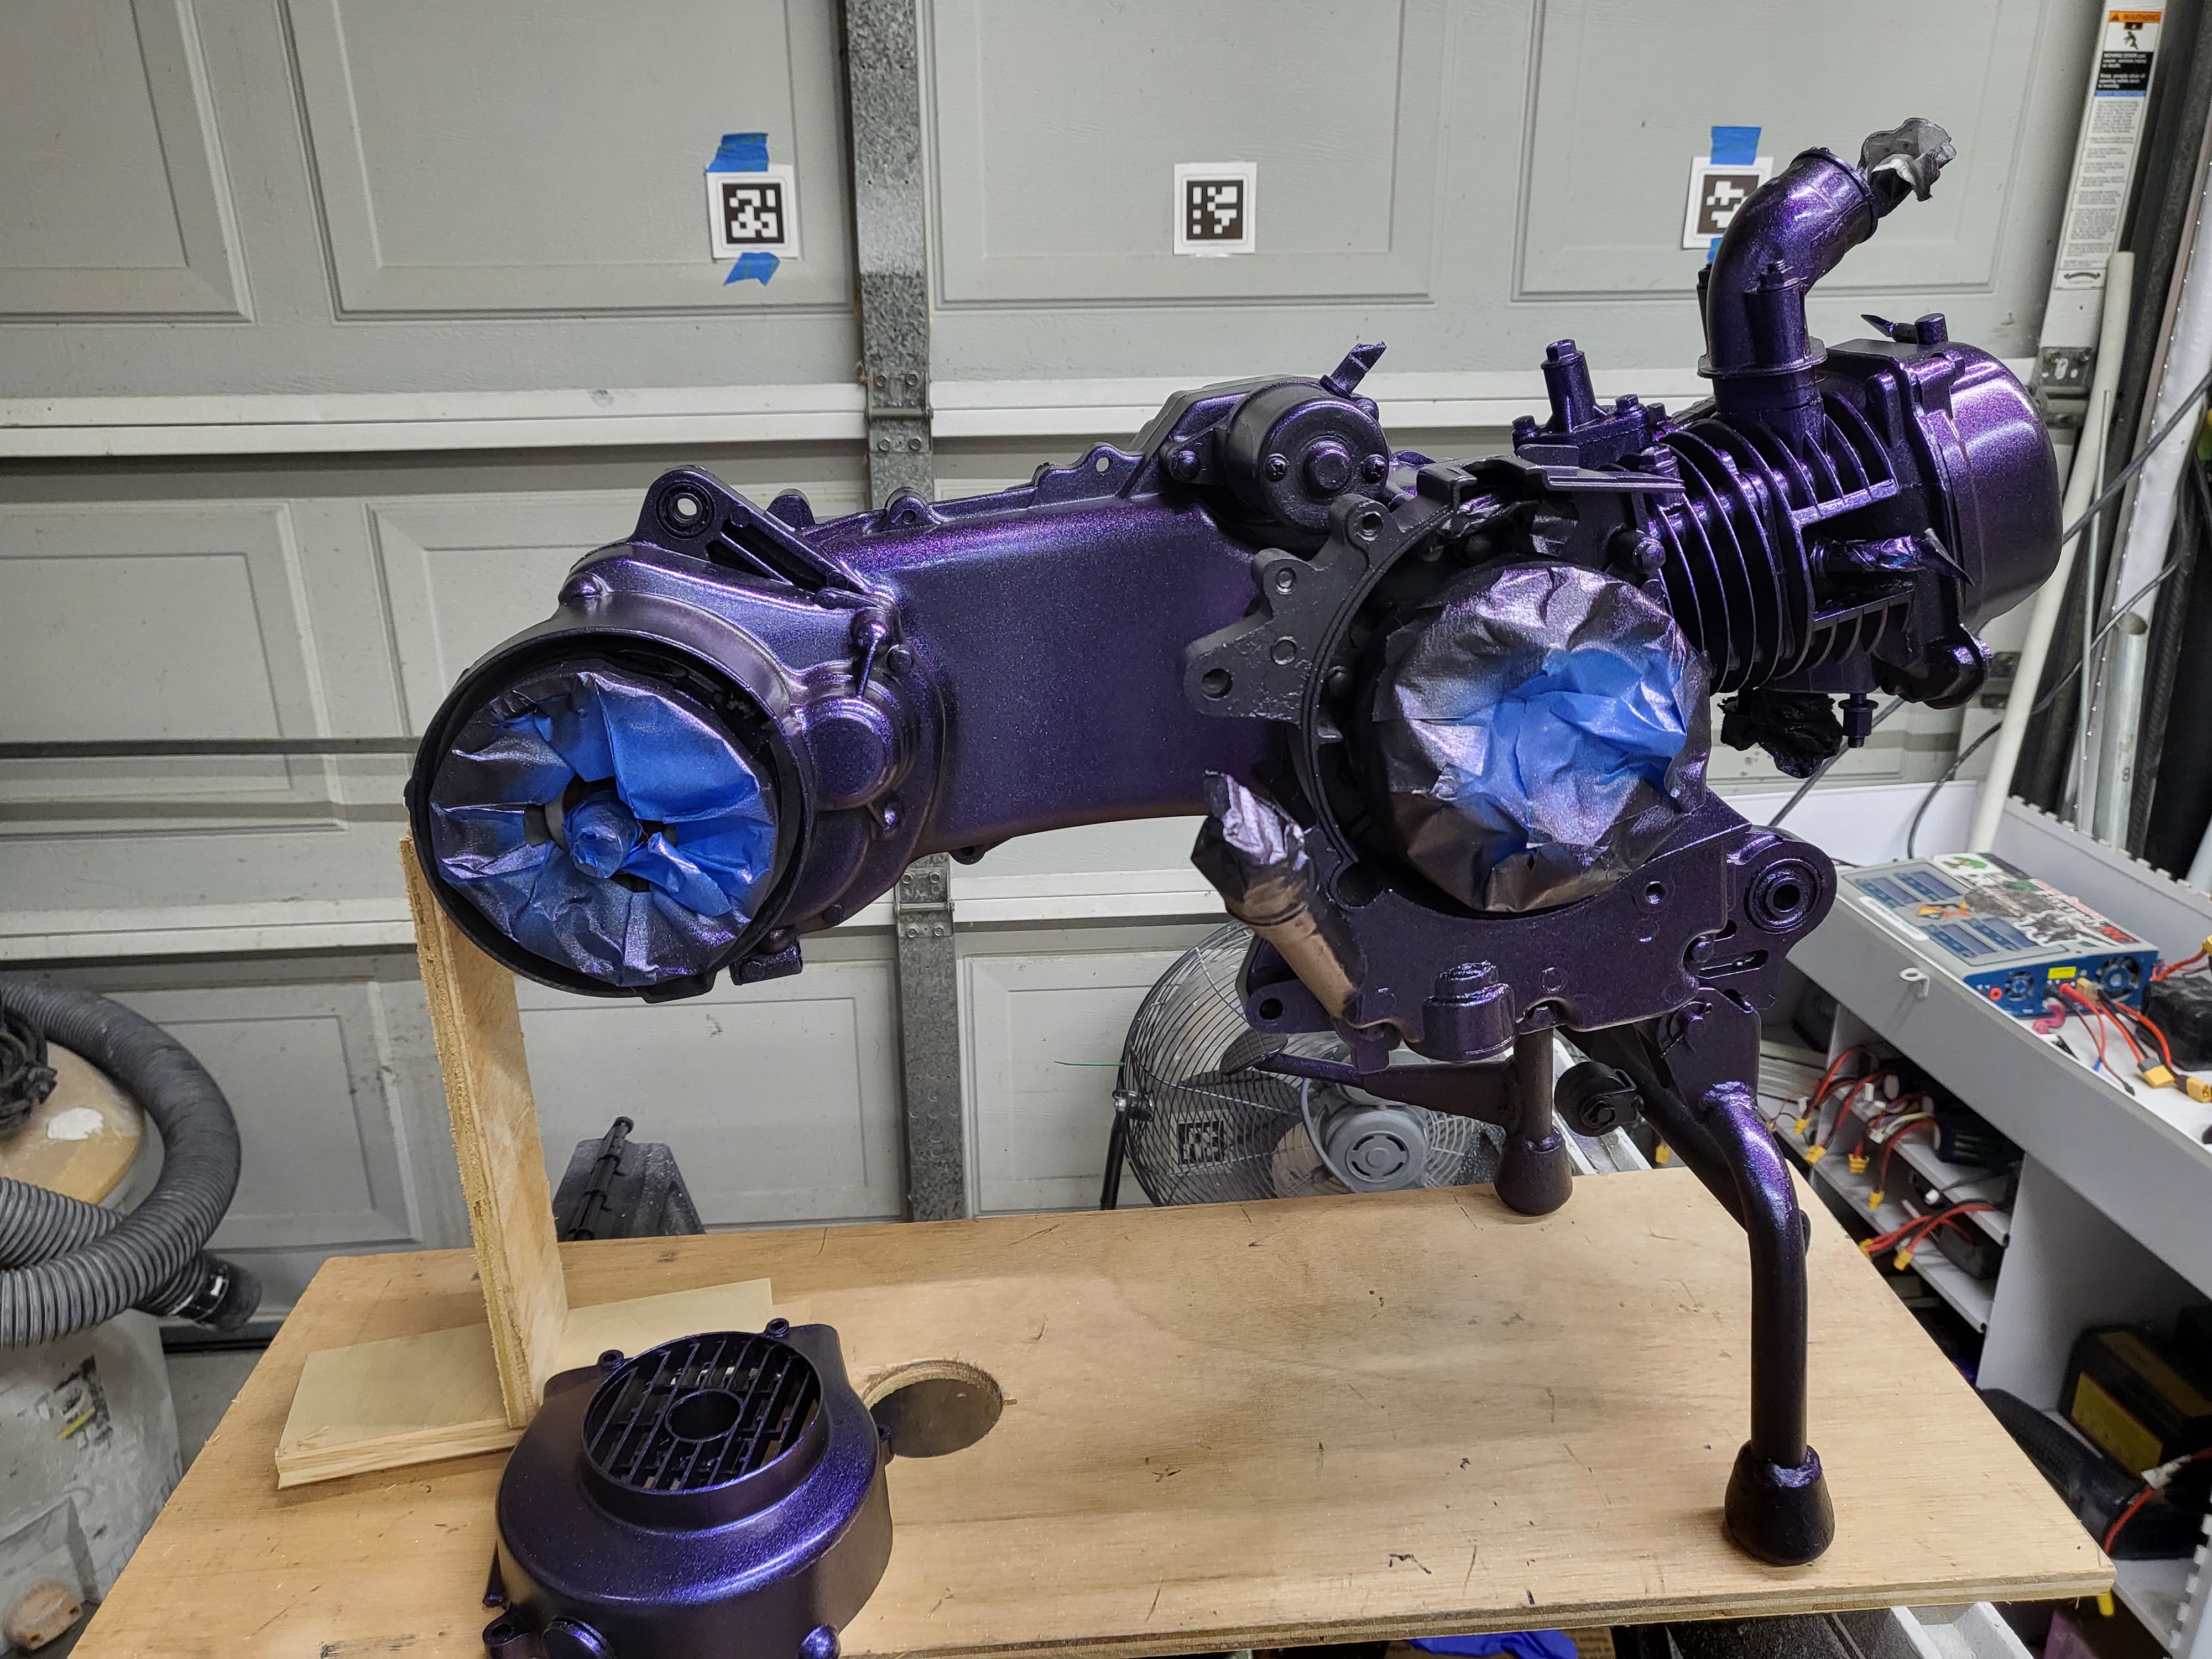
But first, we needed to strip it back to its original state. The journey began with an intensive media blasting session, meticulously clearing away every hint of old paint and grime to reveal the bare, raw metal underneath. This critical step ensured a clean slate – an ideal base for the exciting transformation that lay ahead.
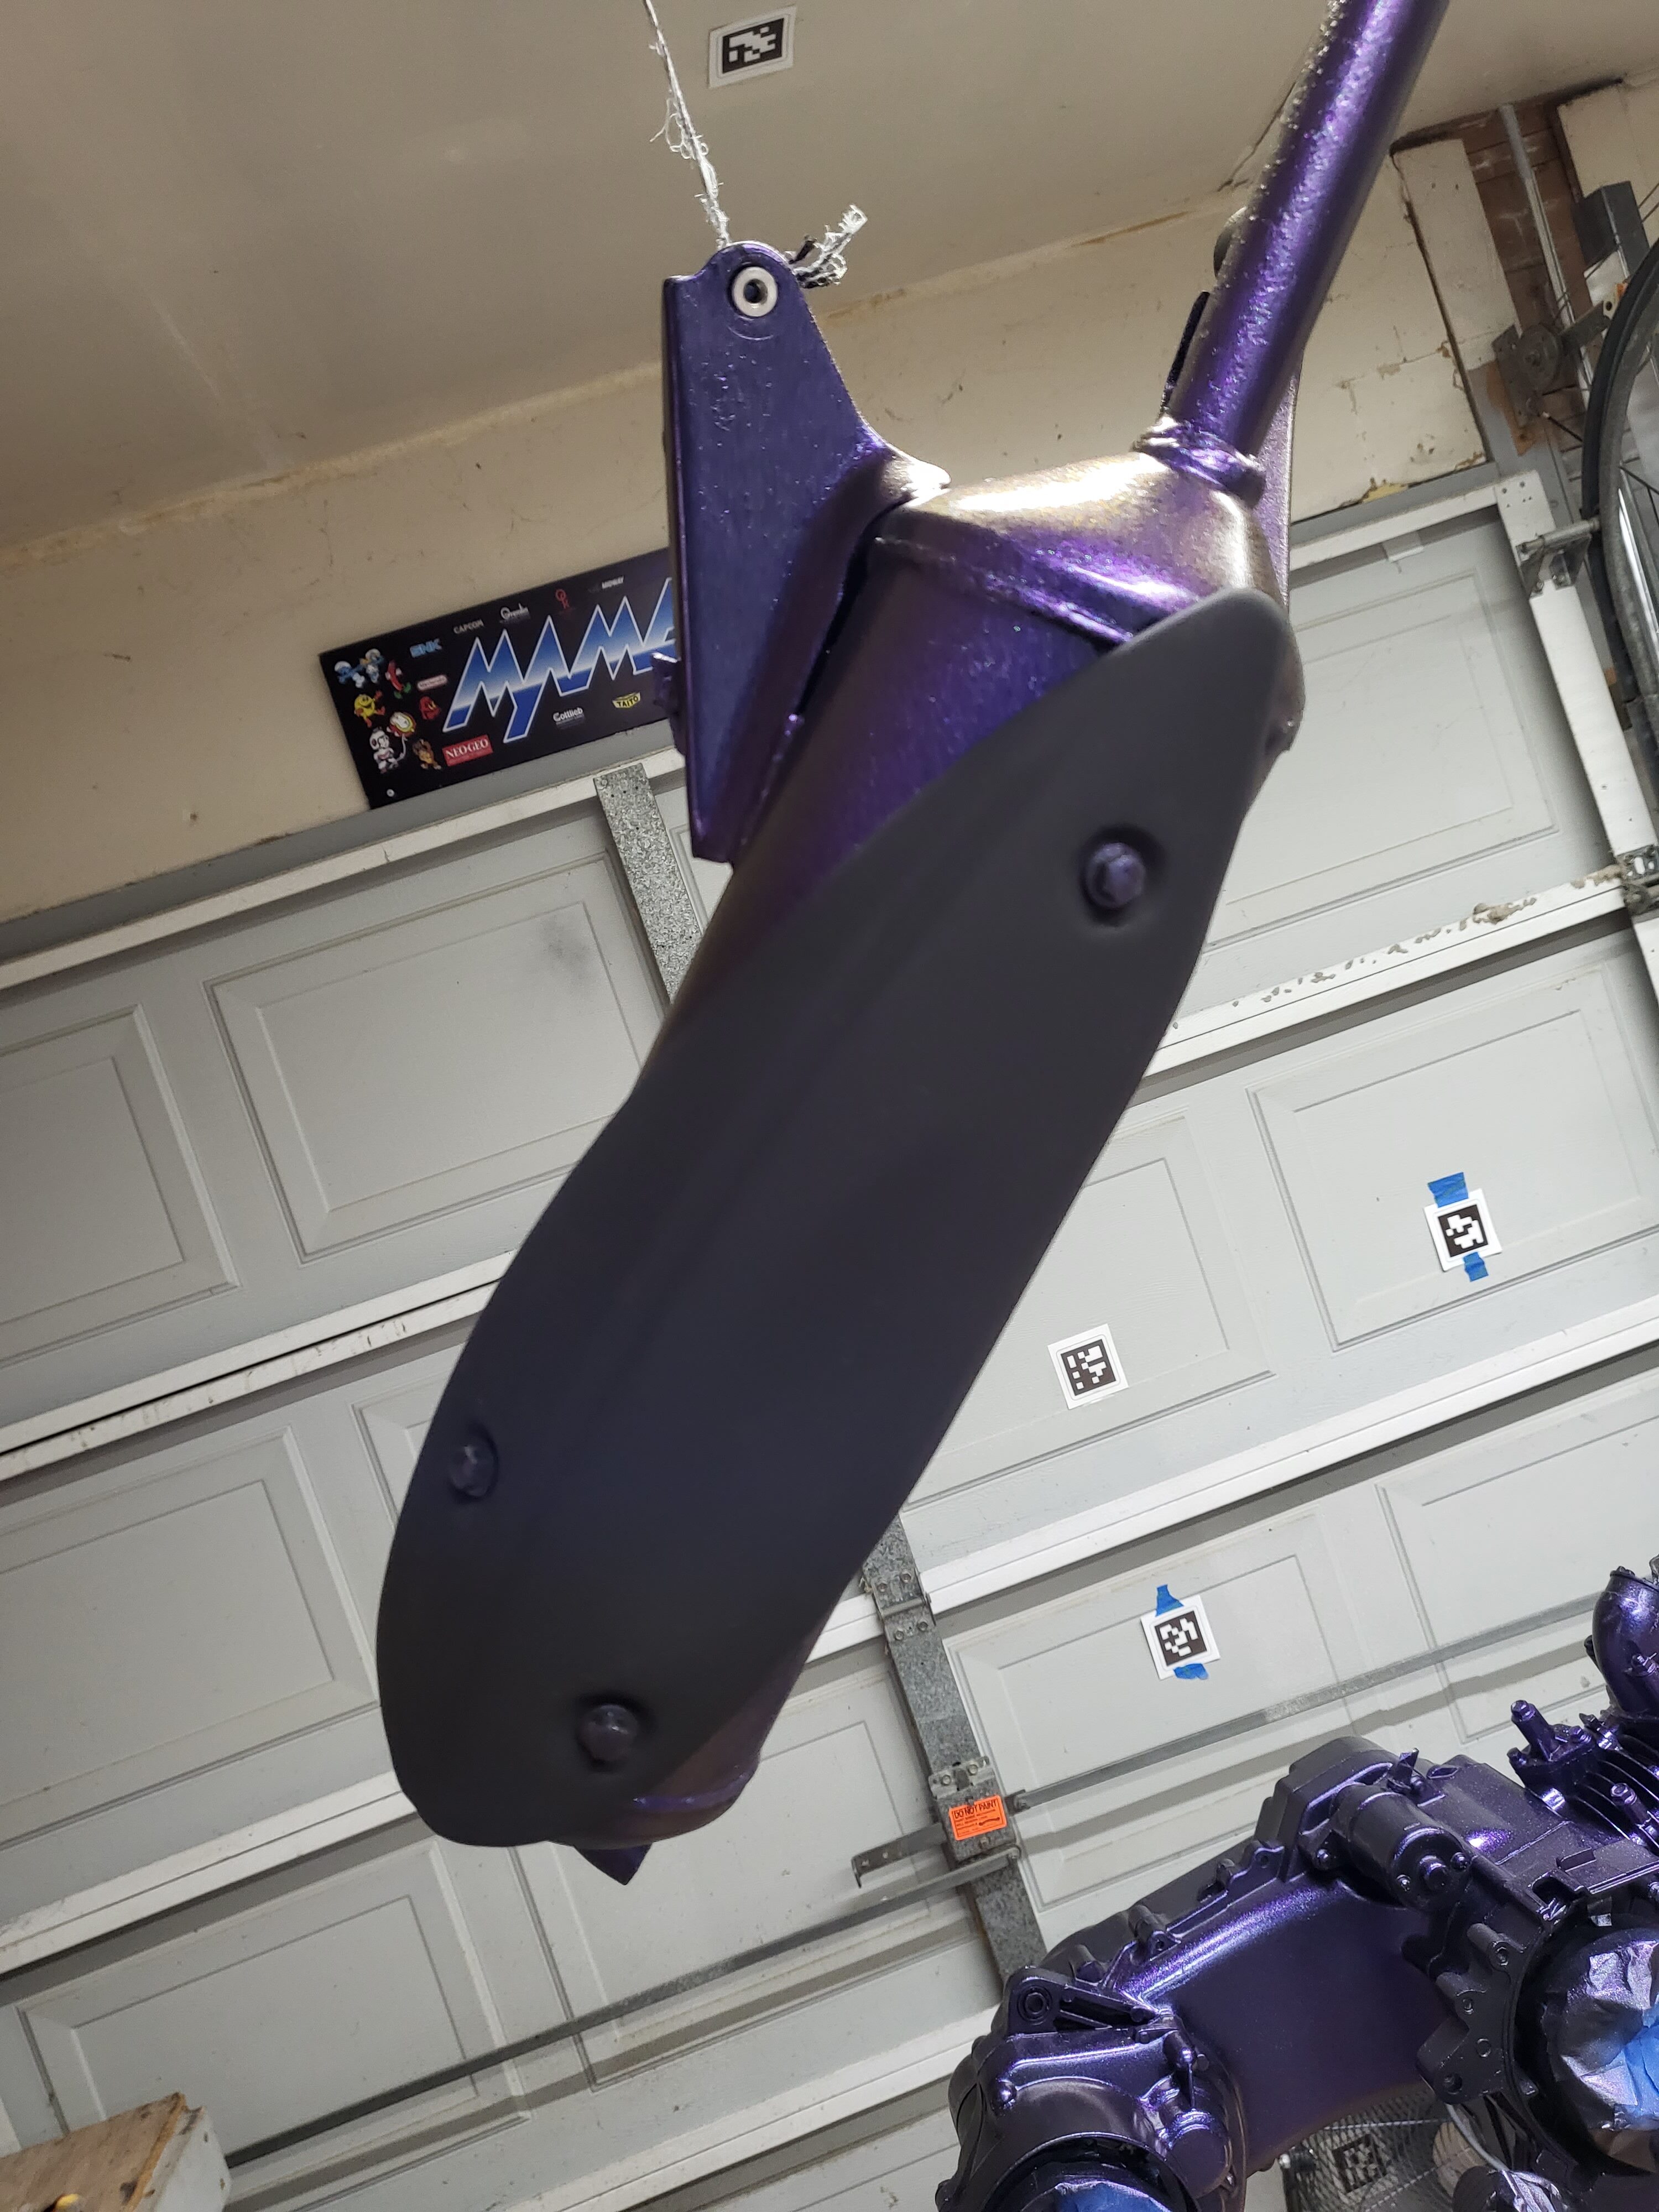
With a pristine surface to work on, out came the painter’s tape, meticulously outlining the areas to protect. This was followed by the first layer of paint – a coat of VHT Flame Proof black spray paint. This served as a robust and visually appealing base for what was to come next.

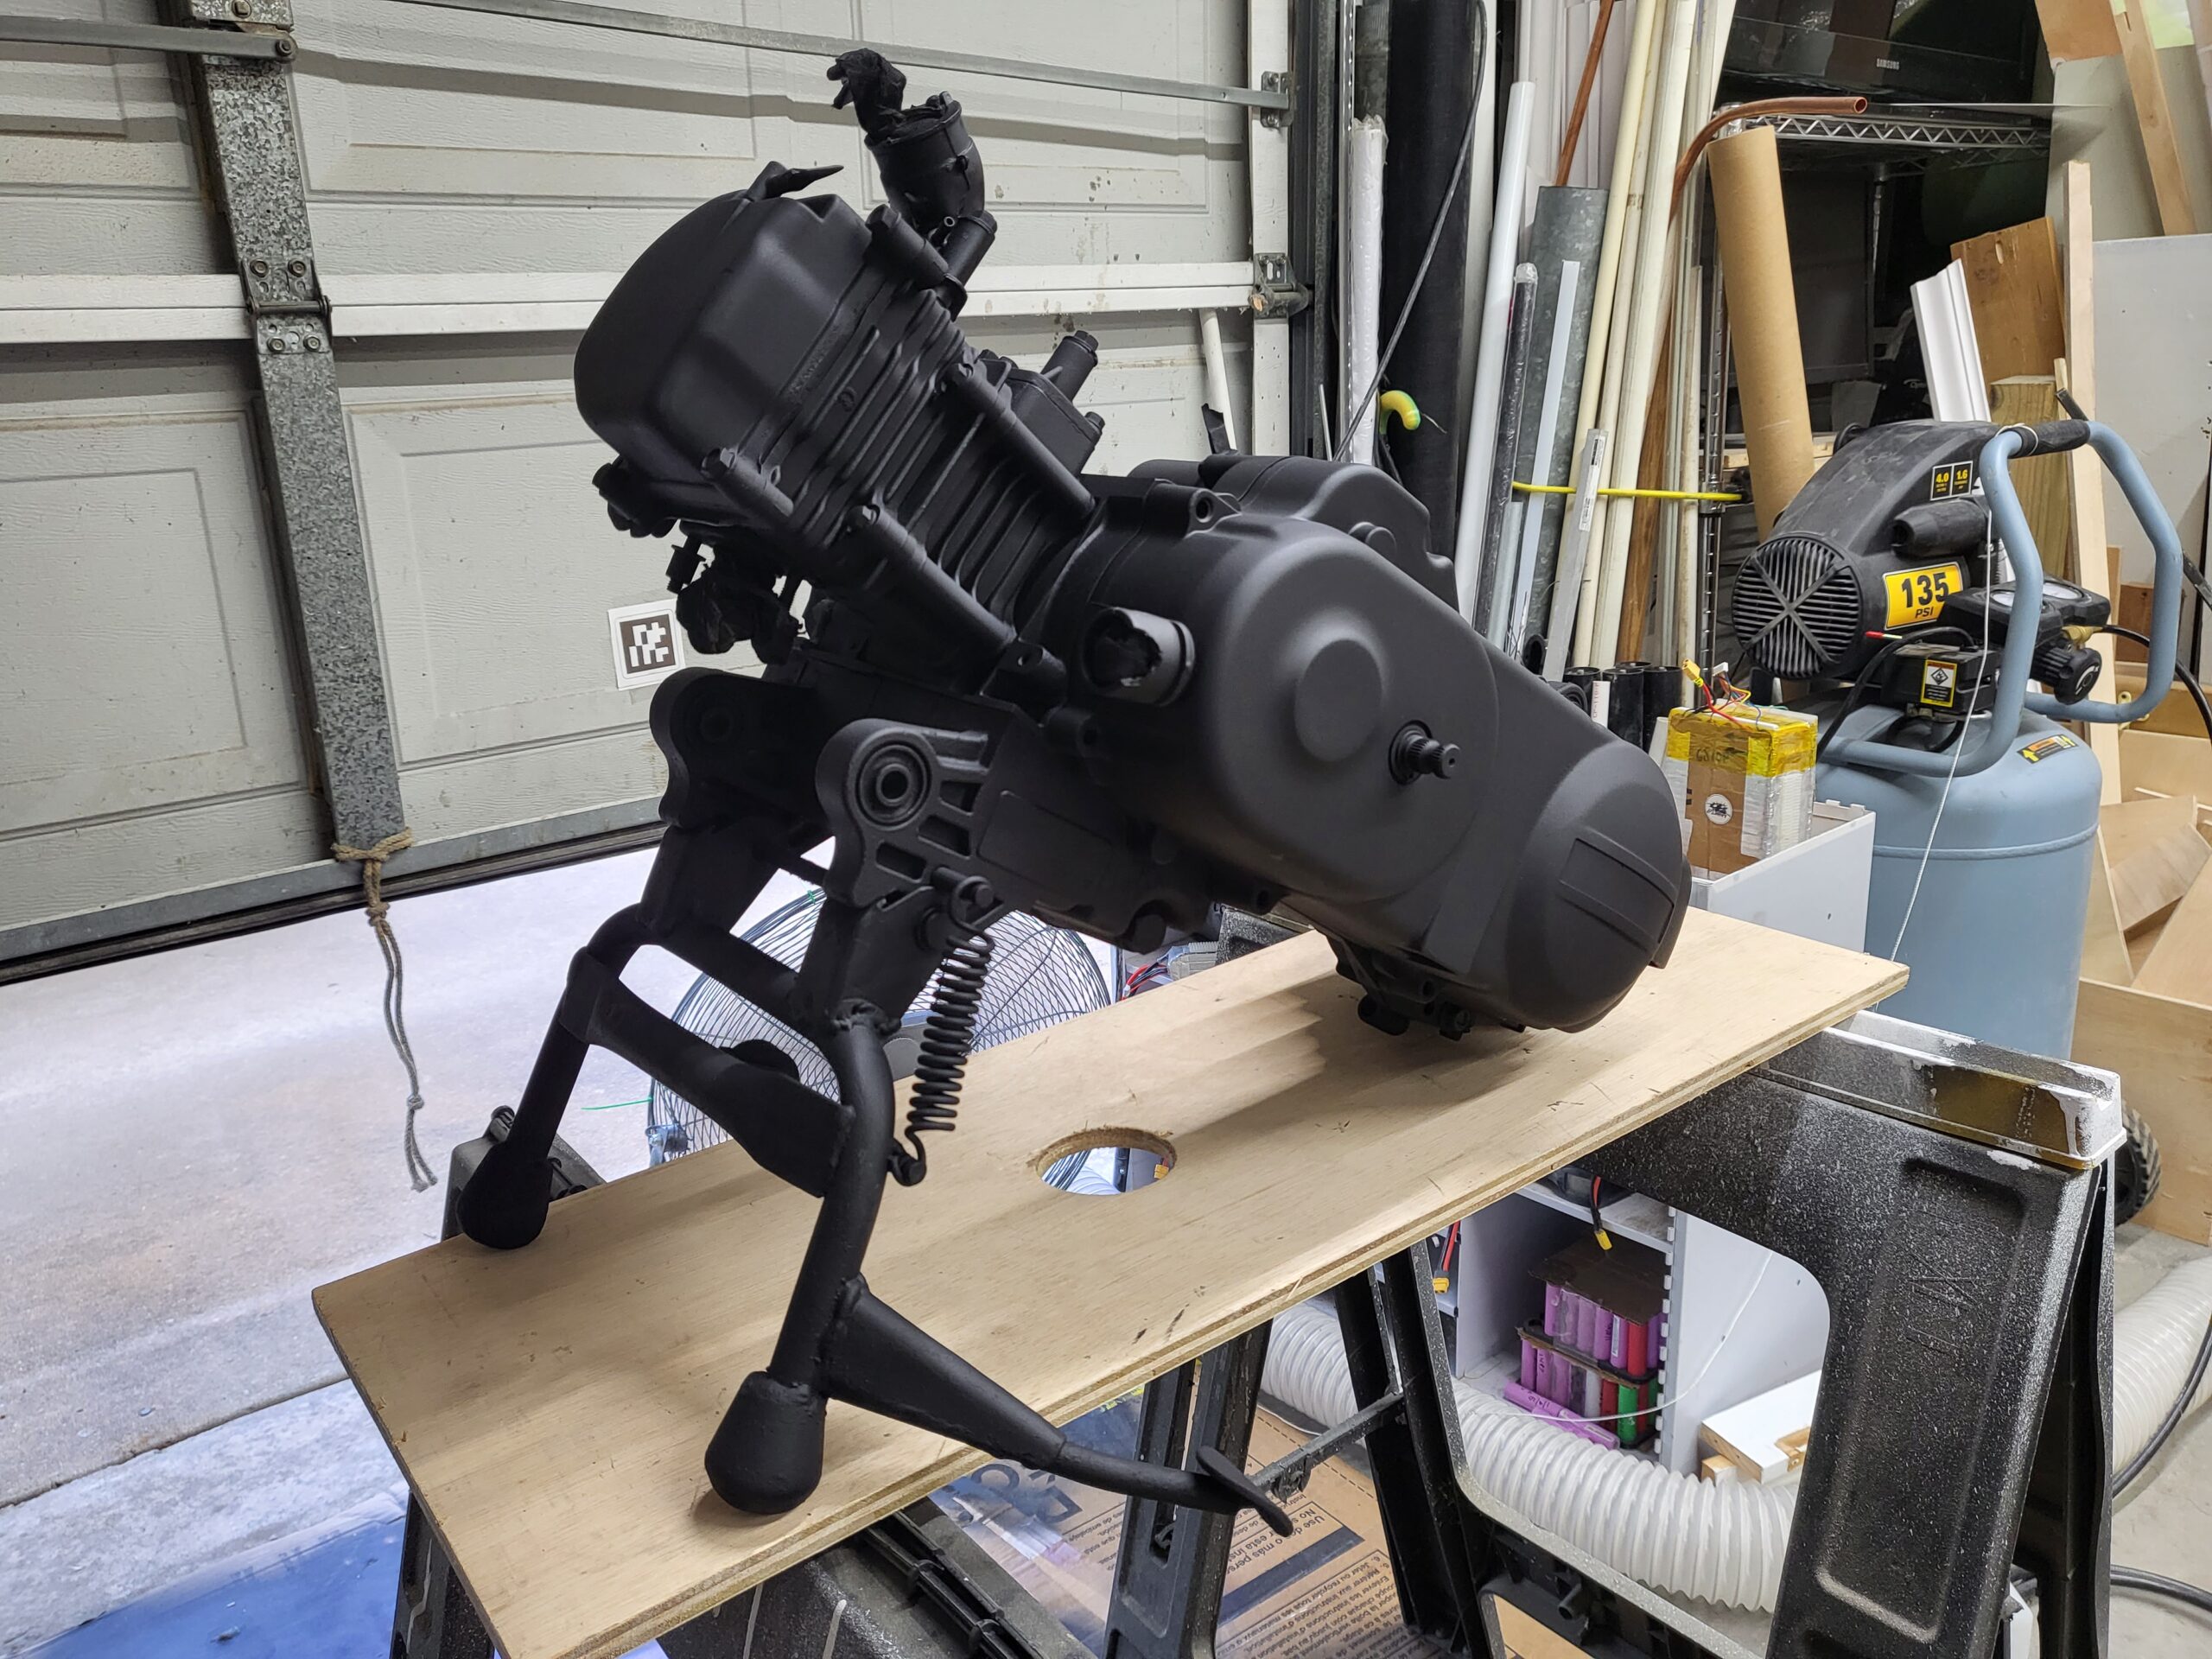
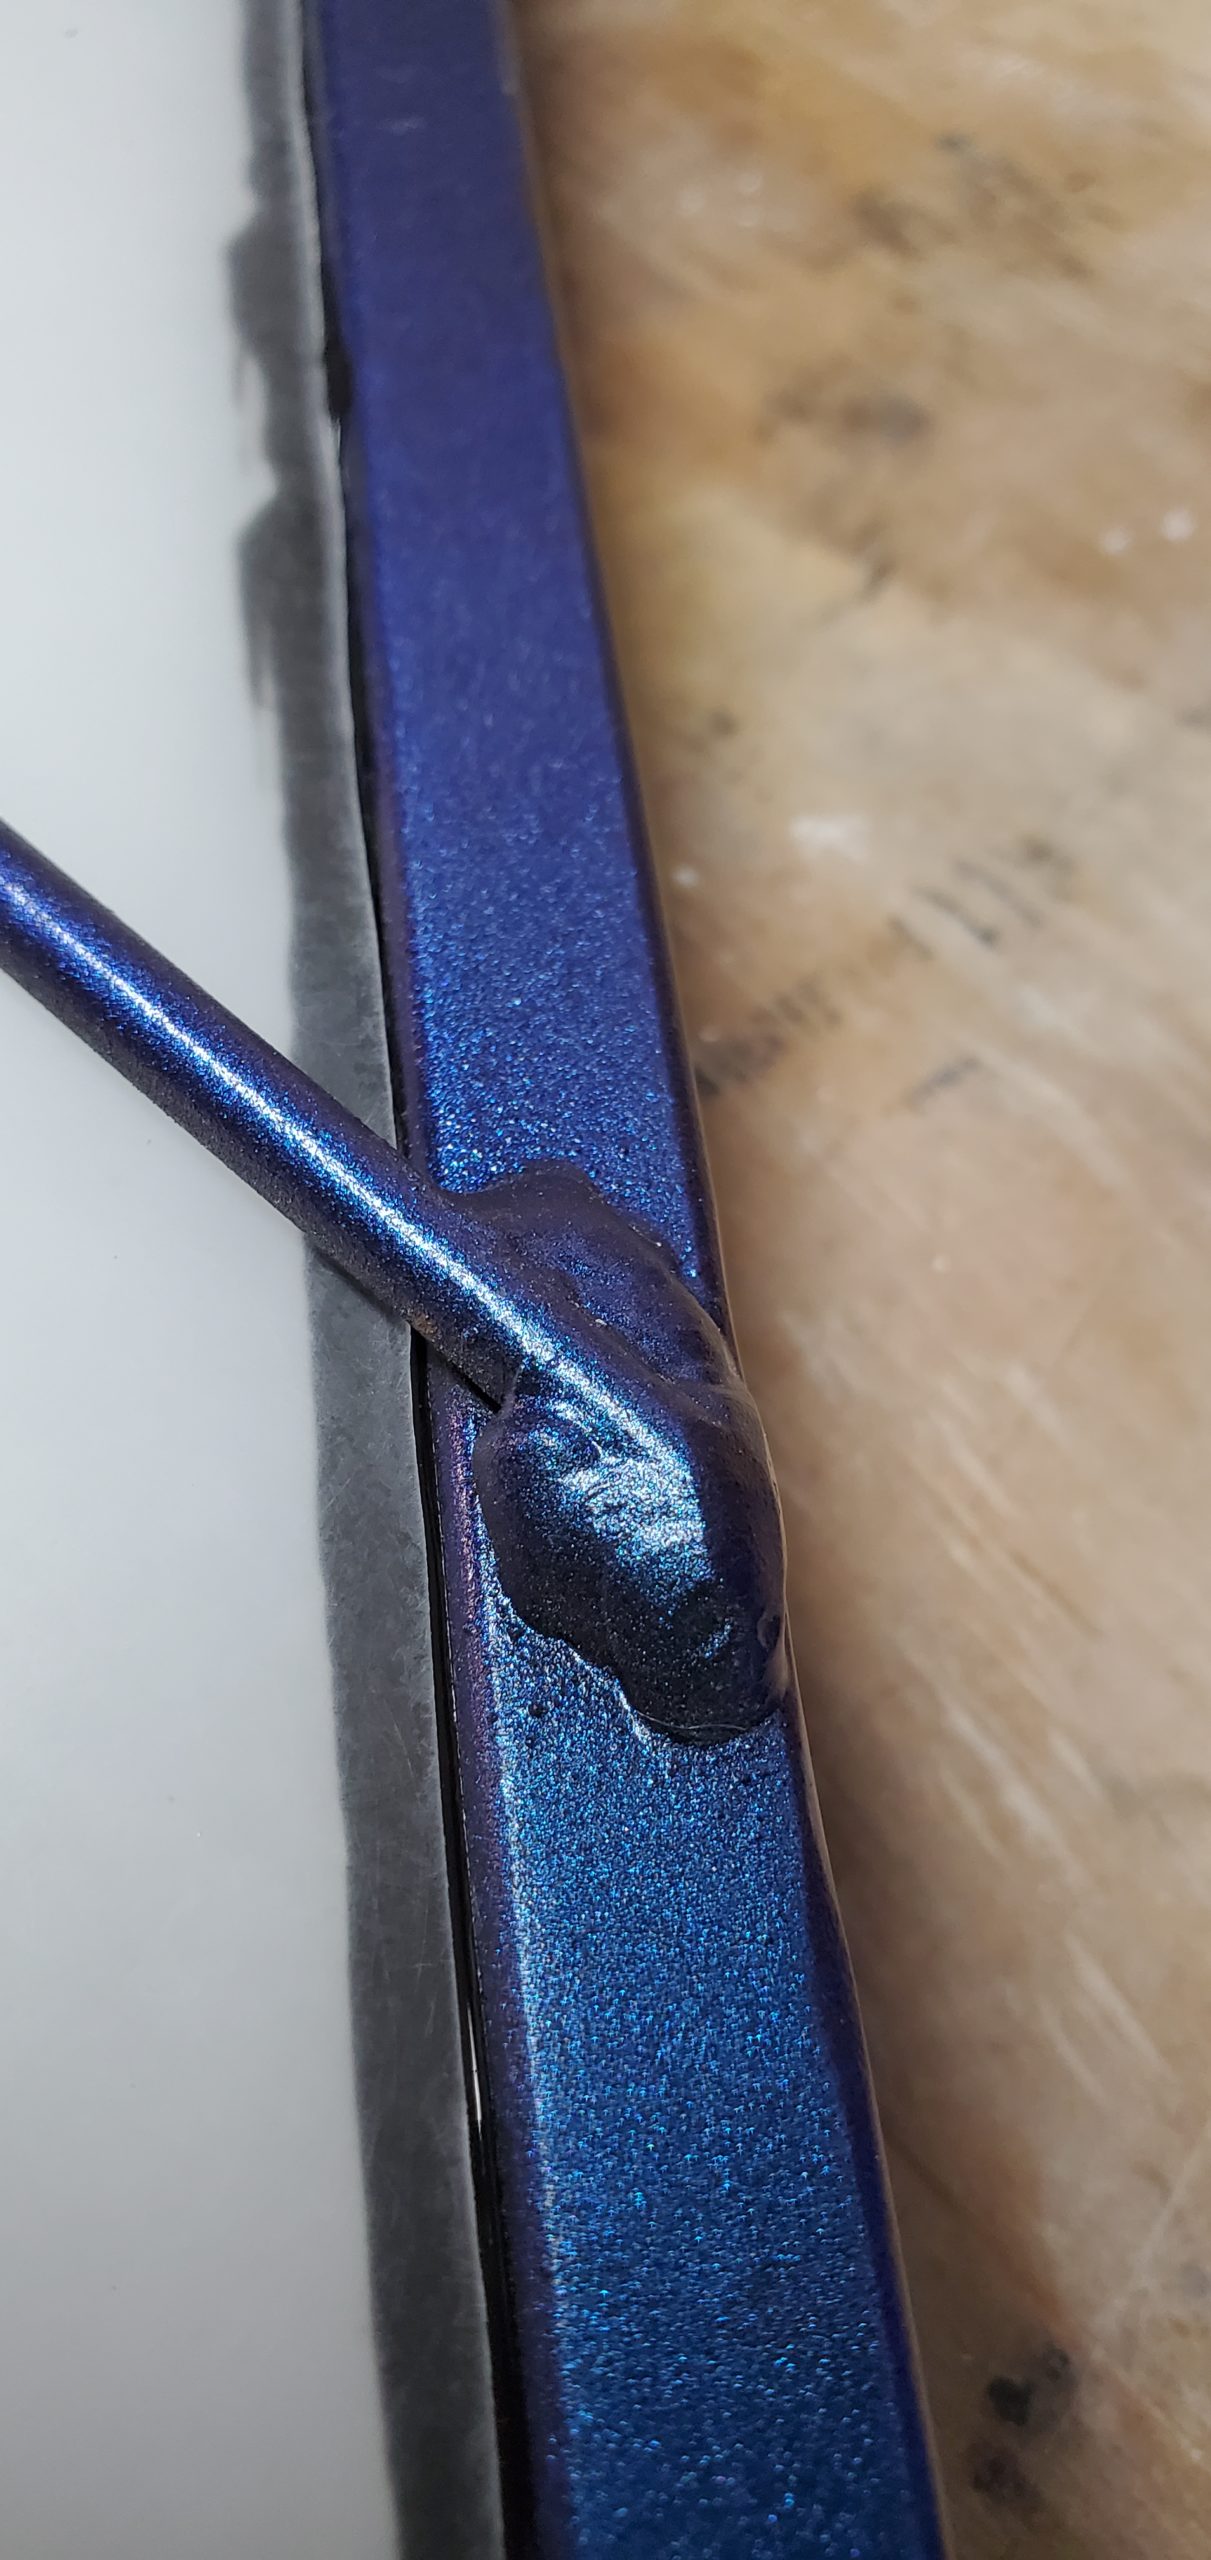
Then came the most exciting part of the project – the inclusion of mica powders. And not just any mica powders, but color-shifting ones from Eye Candy! Fortuitously, I had a stash left over from a previous epoxy project. I was thrilled at the prospect of putting them to good use. So, I stirred up a custom blend using the leftovers and mixed it with KBS Coating’s XTC clear coat. But before committing it to the motor, I conducted several tests to ensure the final appearance would meet my vision.
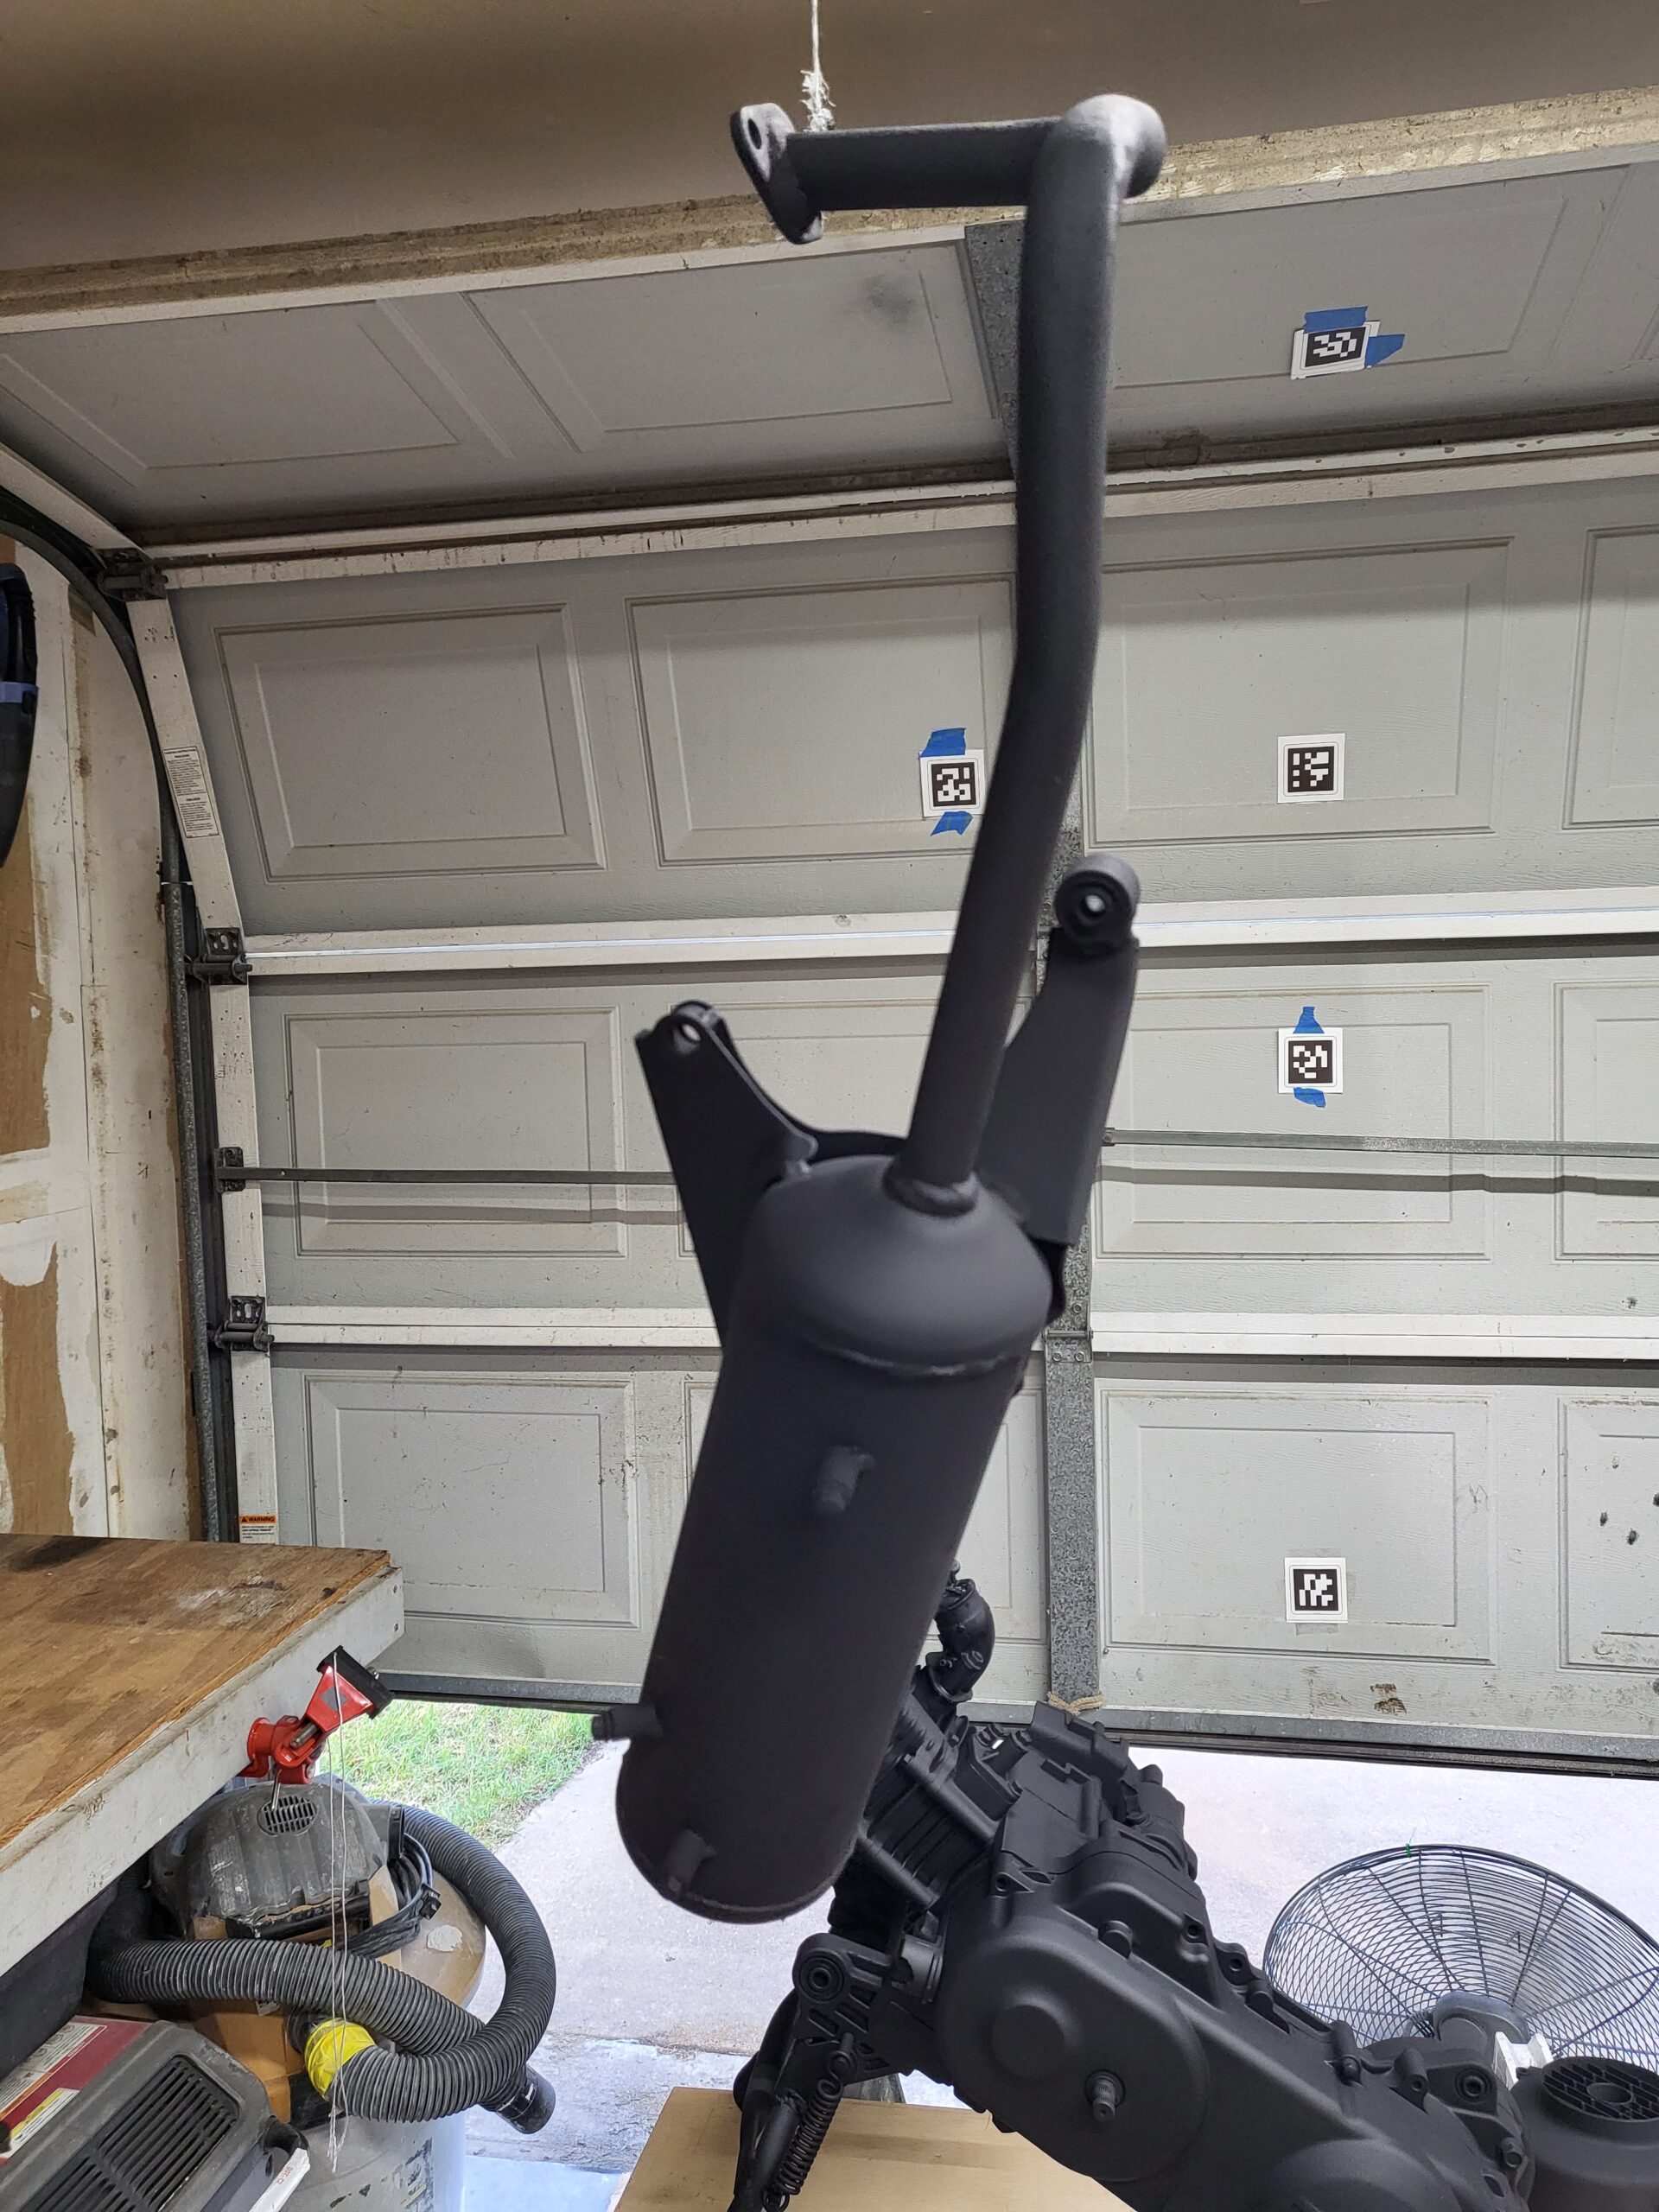
The outcome was simply extraordinary – surpassing even my wildest expectations! The dazzling play of colors was like nothing I had ever seen. What’s more, the mica admirably withstood the extreme heat of the motor and even the exhaust without showing a single blemish – a testament to its durability.
Stay tuned to see the Hootie V2 with its fabulous new look, ready to take on more adventures!
Hootie V2 Update
I made a bunch of progress but I also added to my to-do list; 🤦 I tend to do that.
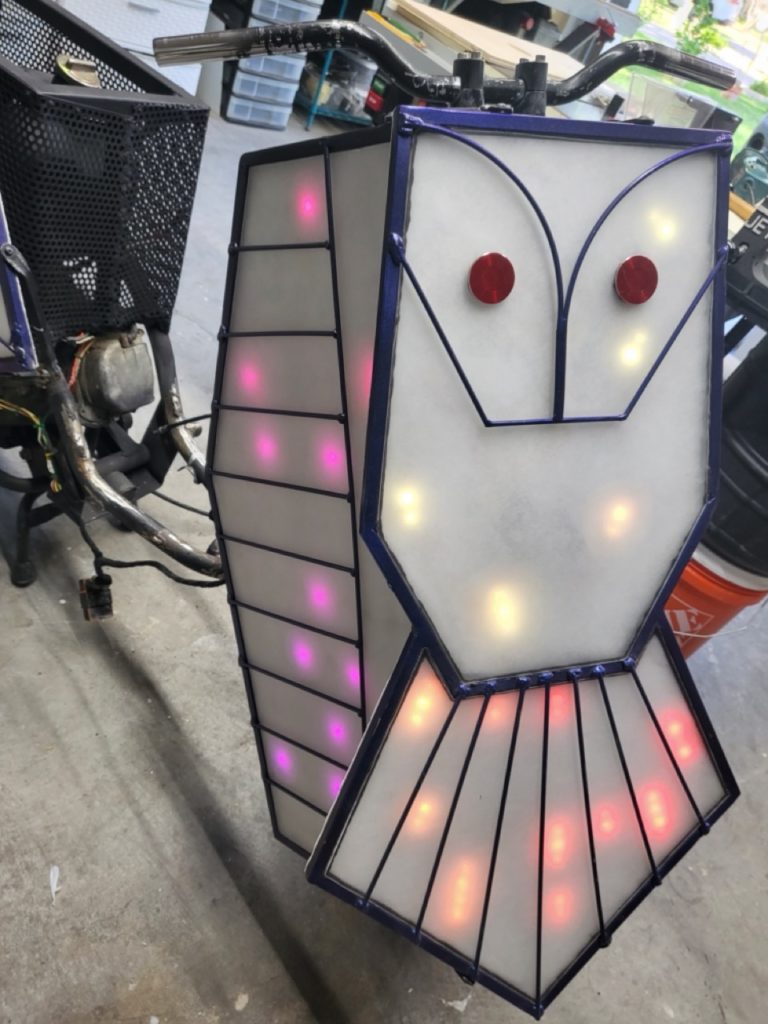
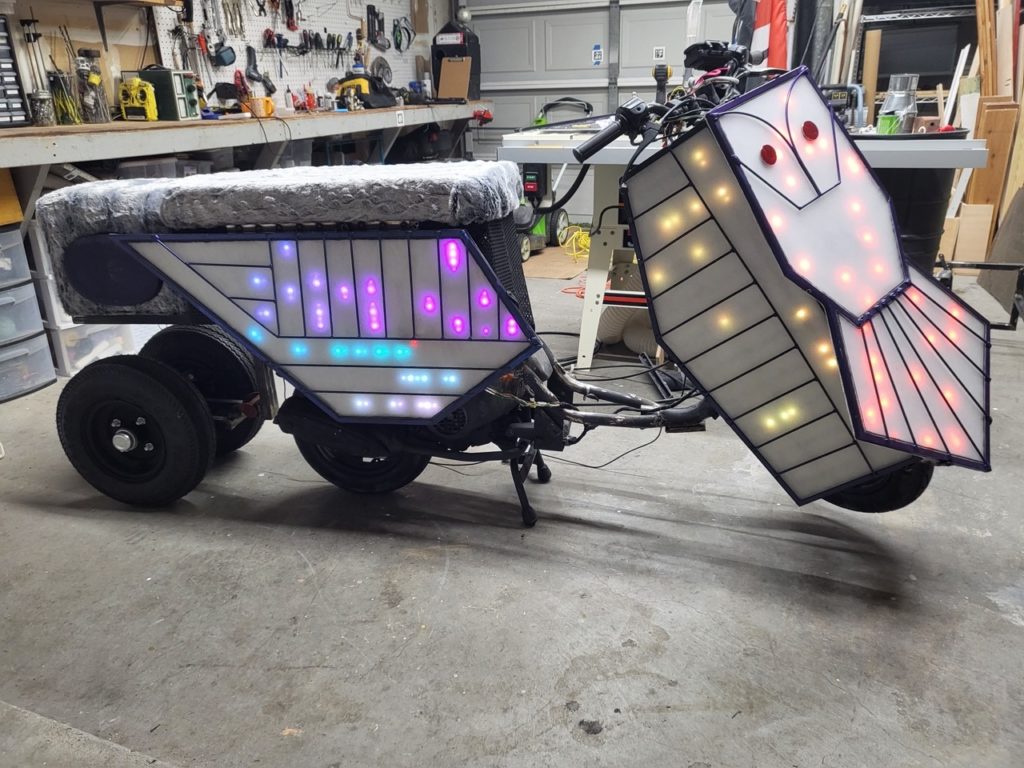
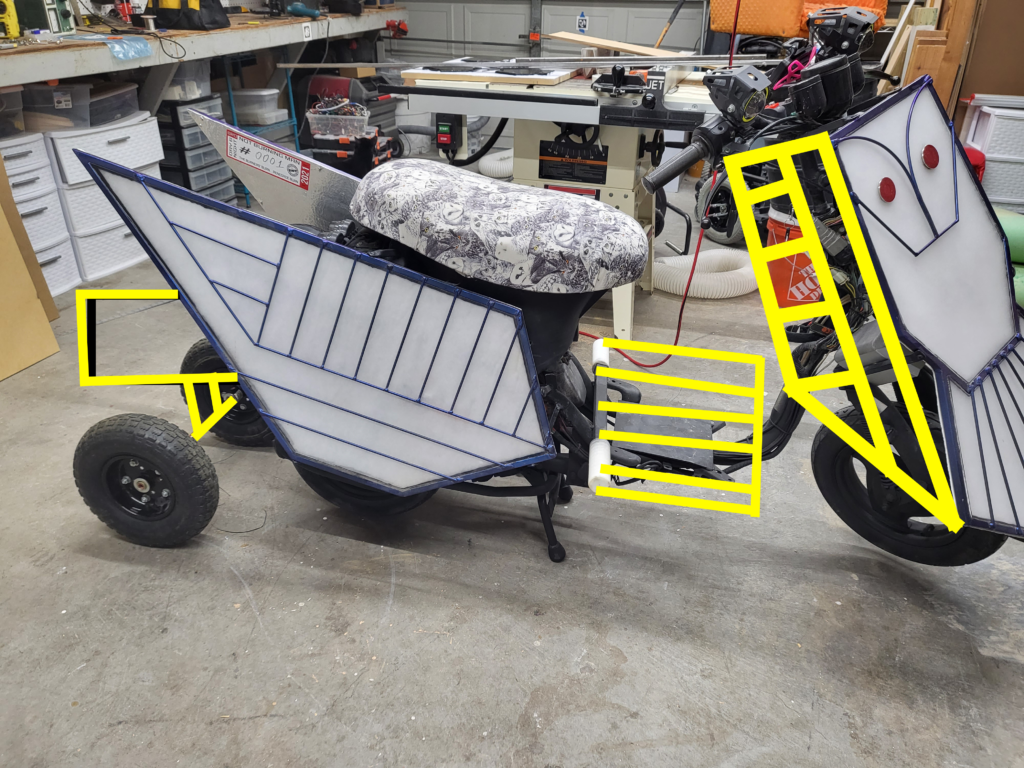
First off, I finished the audio system. The rear led panel and amp were mounted. The wiring has been completed and it is ready to be mounted once the frame is painted. I have been testing it out in the Texas sun and heat to make sure we don’t have any issues on the playa.
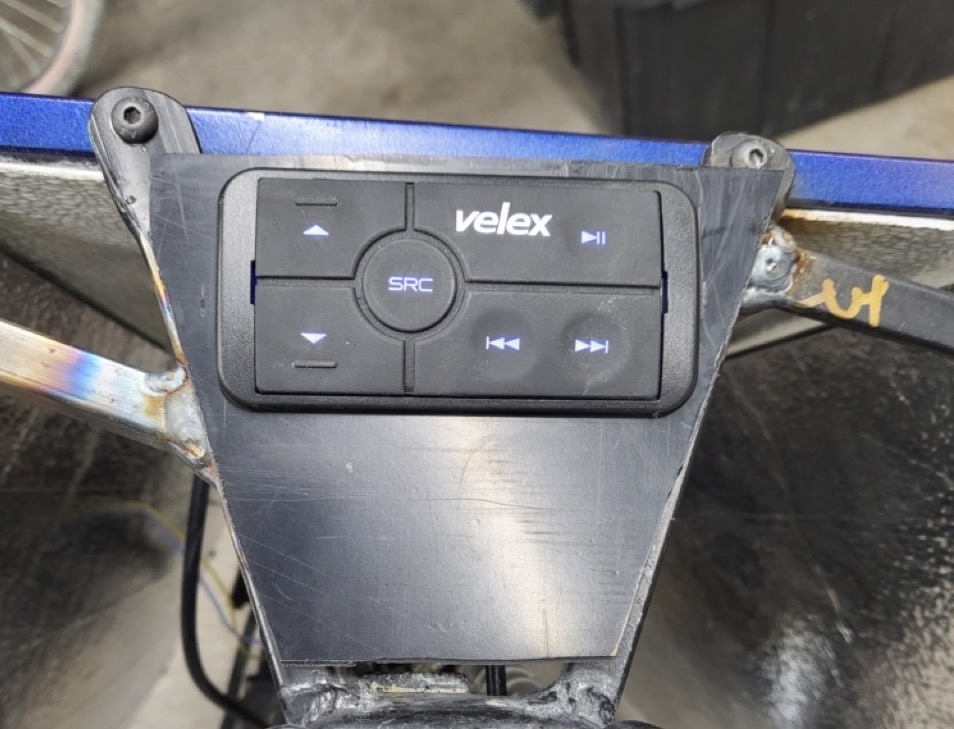
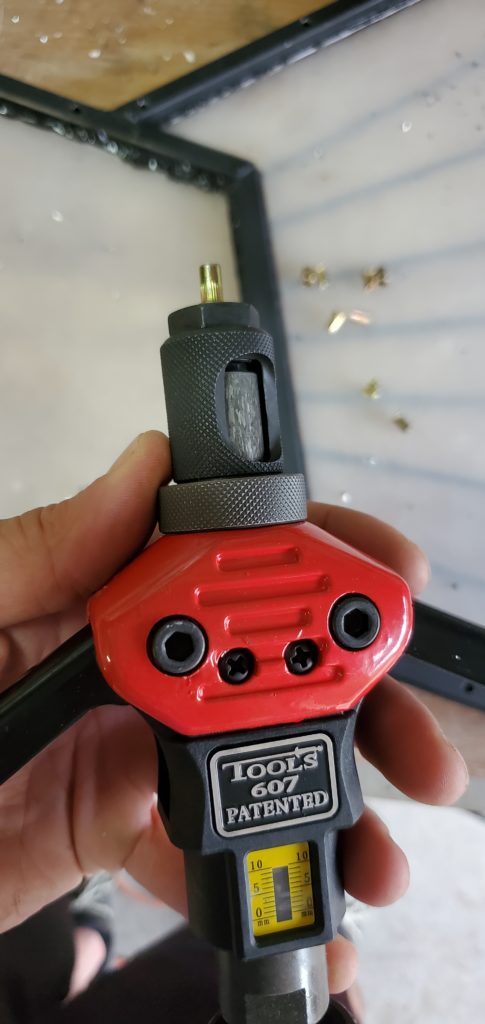
I am considering cutting an ABS plastic sheet to make a panel to cover the gap between the LED panels and the handlebars. This image is a POC of how the audio control remote will mount in said ABS panel.
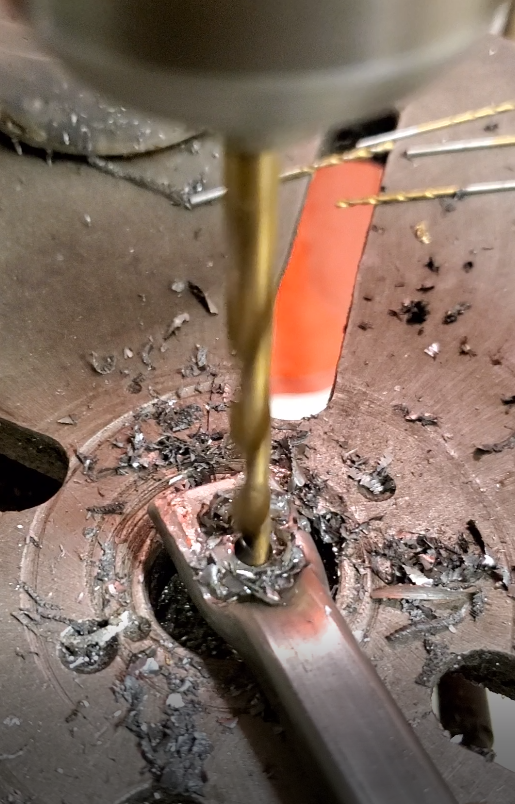
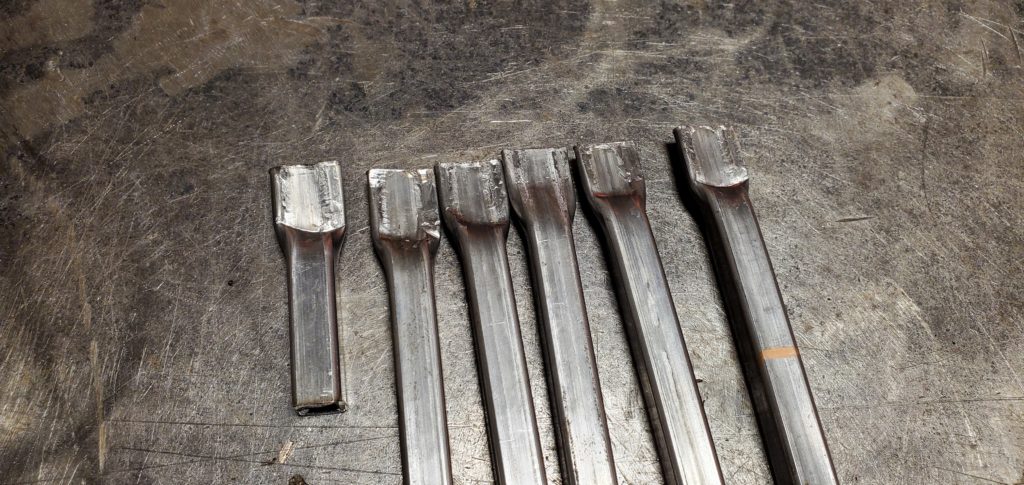
Next, I fabricated mounts for the new front panels and welded them to the forks. The mounts were made the same as the original panels, half-inch square steel tubes with one side flattened and a hole drilled into the flat side.

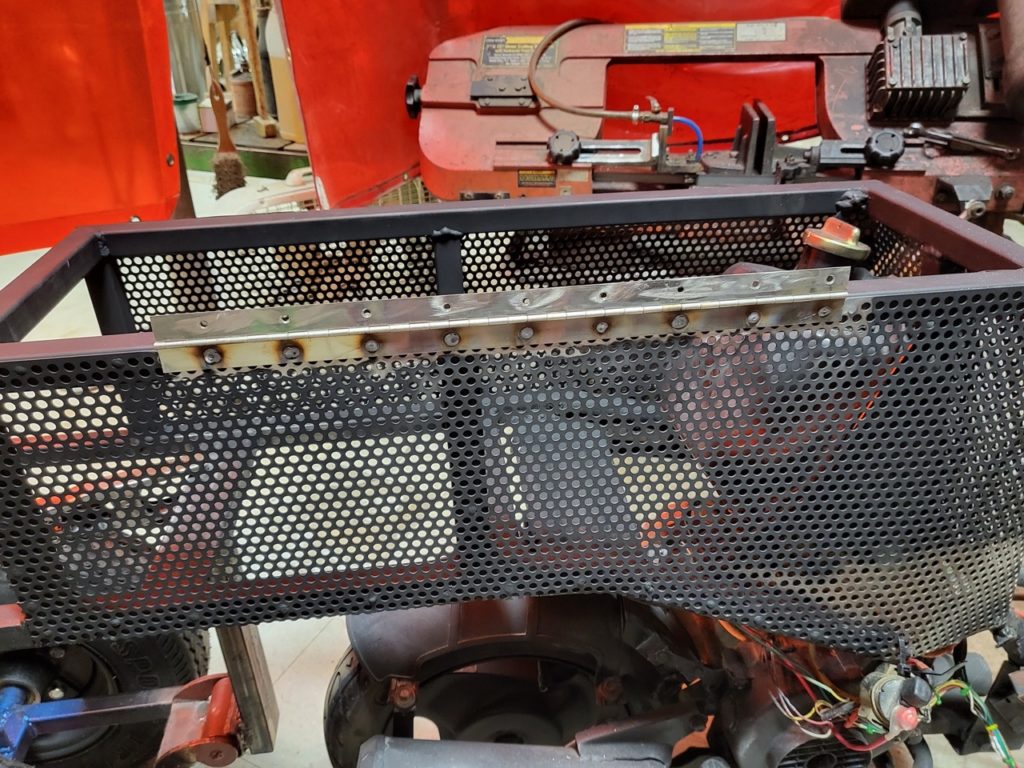
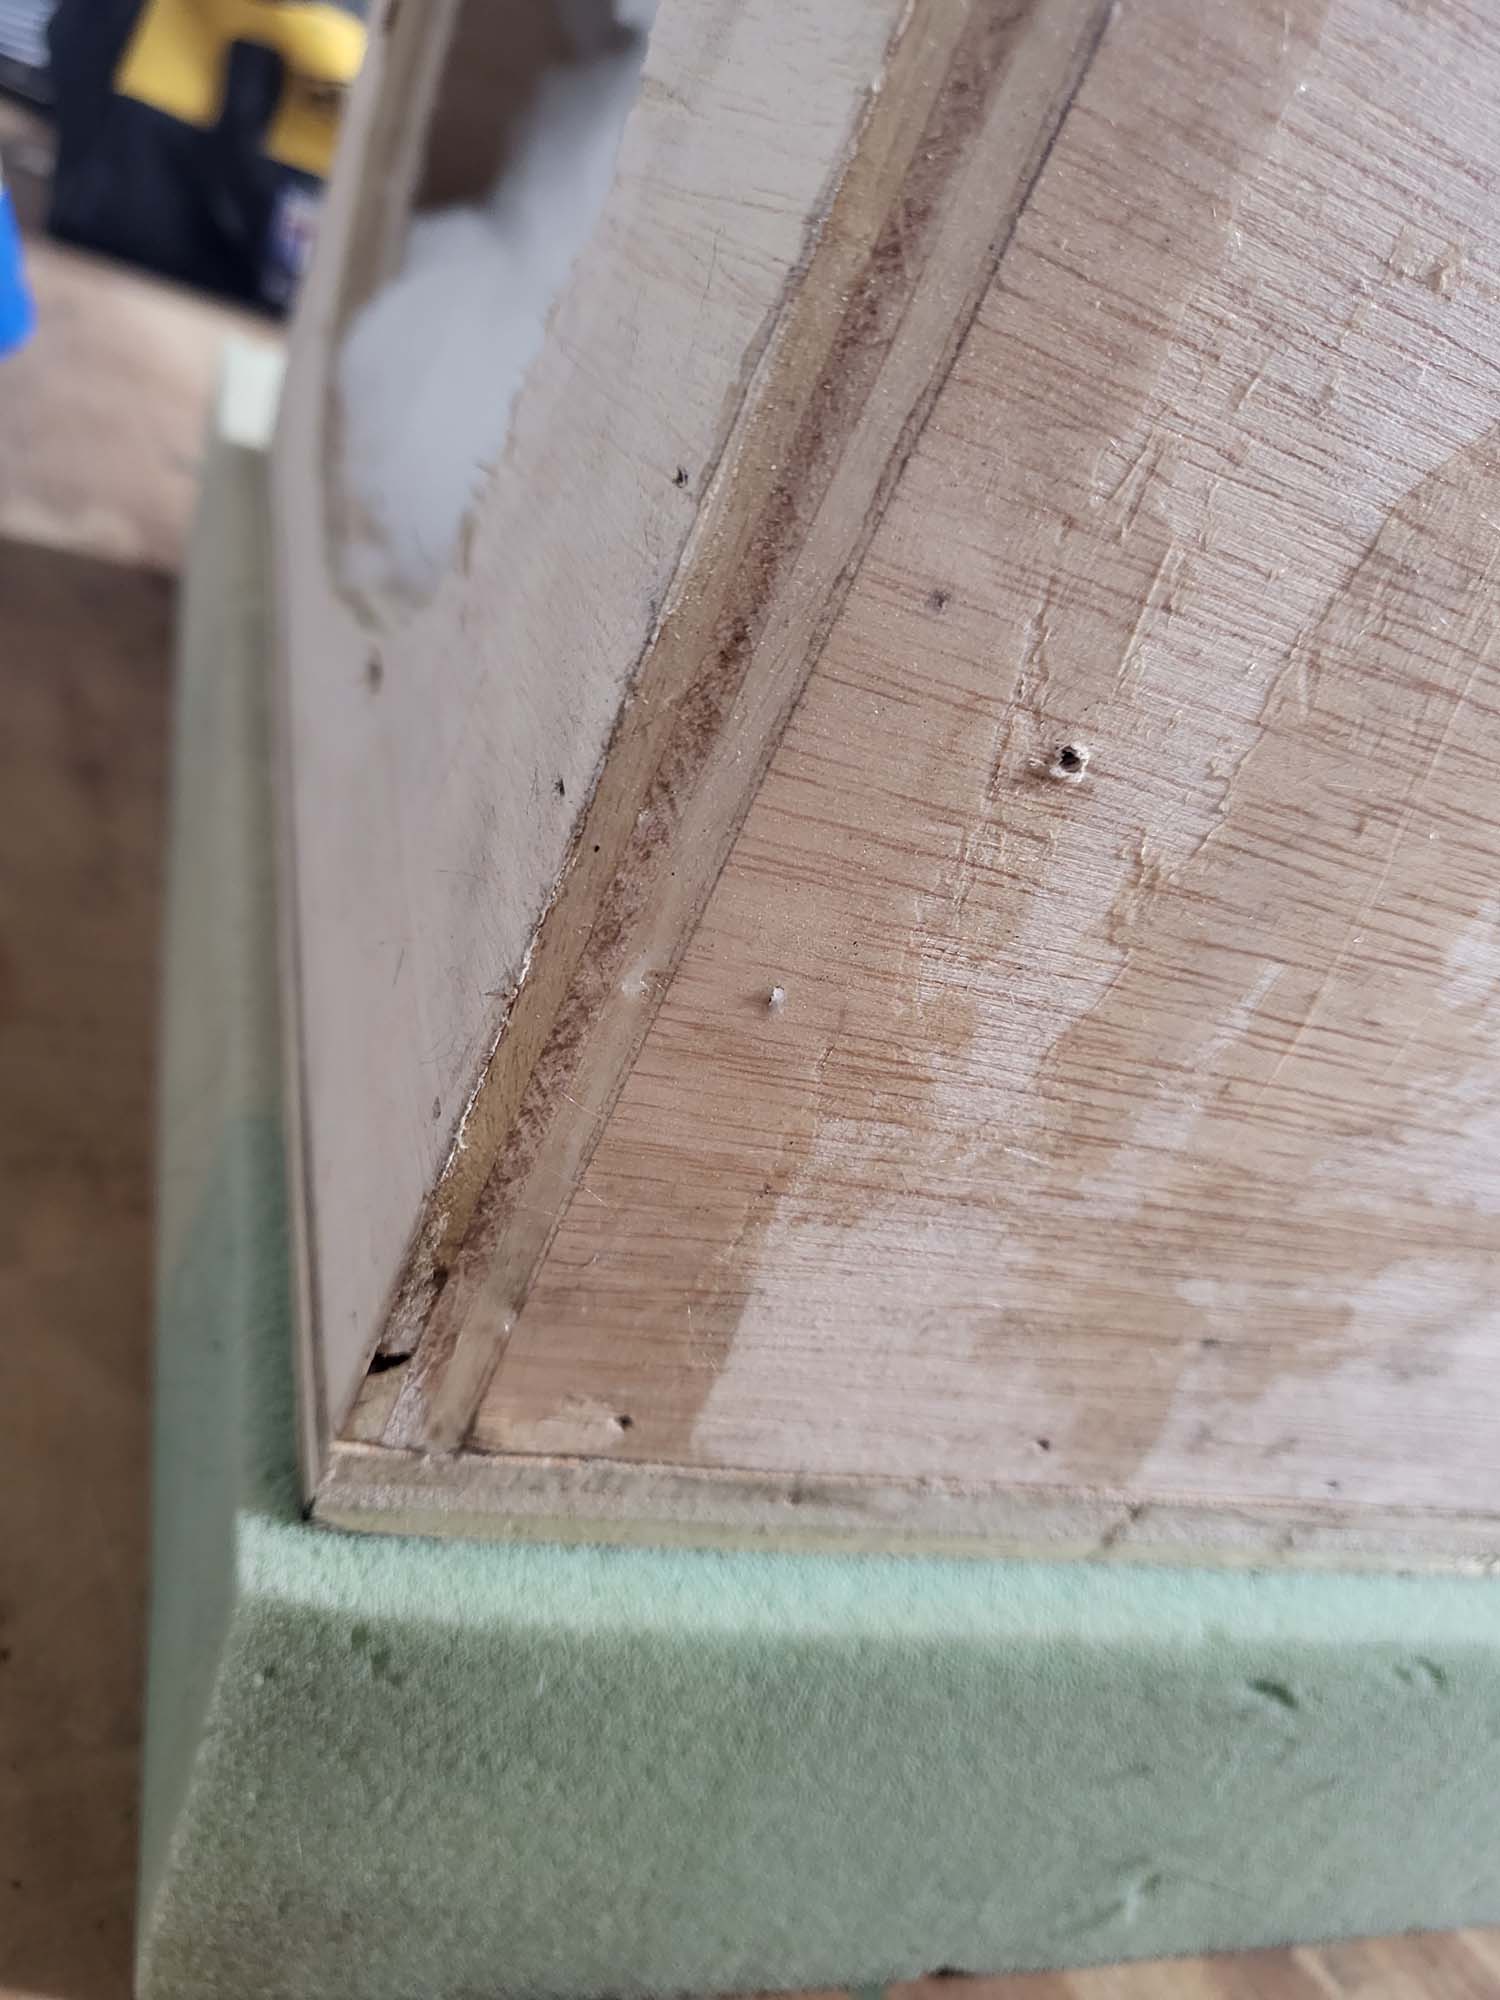
The same day I welded on the piano hinge that will allow the seat to flip up revealing the petrol tank, Li-ion packs, and storage. I used all my dado blades to make a wide dado in the bottom of the seat that the hinge will be recessed into. There is just enough space to let the seat open while bypassing the side LED panel.

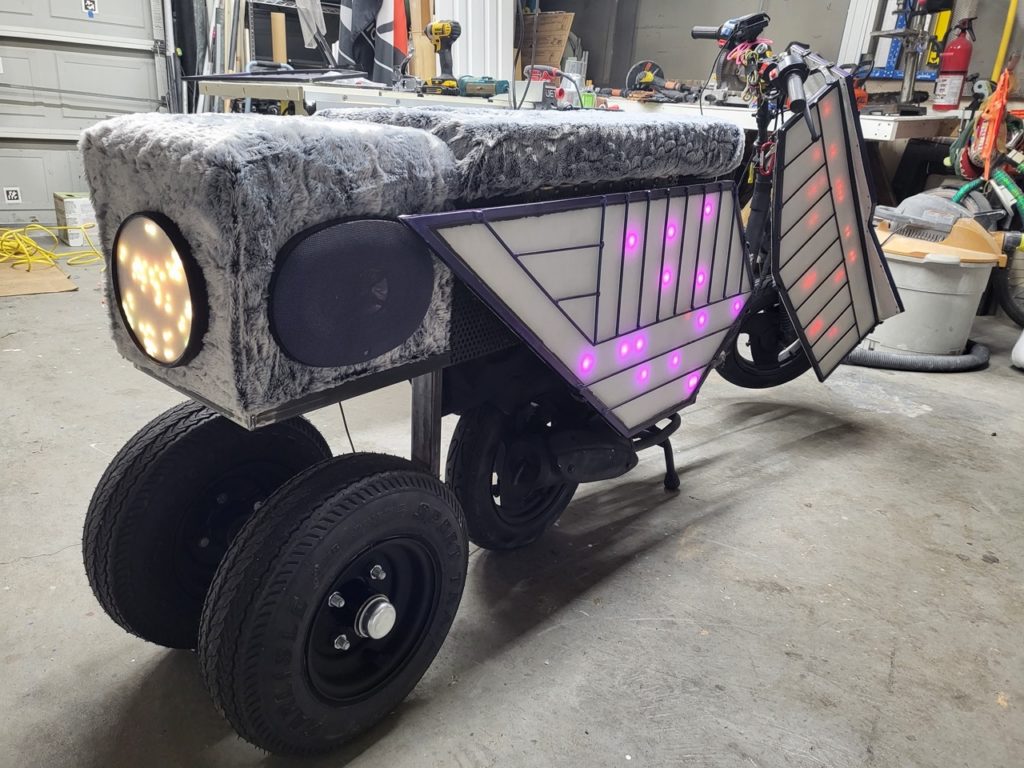
Speaking of the side panels… the mounts for these were mostly removed with the new frame so they needed to be re-welded. The side panels were originally mounted at an angle. I felt this gave the design more motion but this time I mounted them parallel with the seat to make it more comfortable for passengers.
TODOs:
Weld driver footrest to frame
Weld Passenger Foot Pegs
Weld bottom to seat storage
Remount Headlights
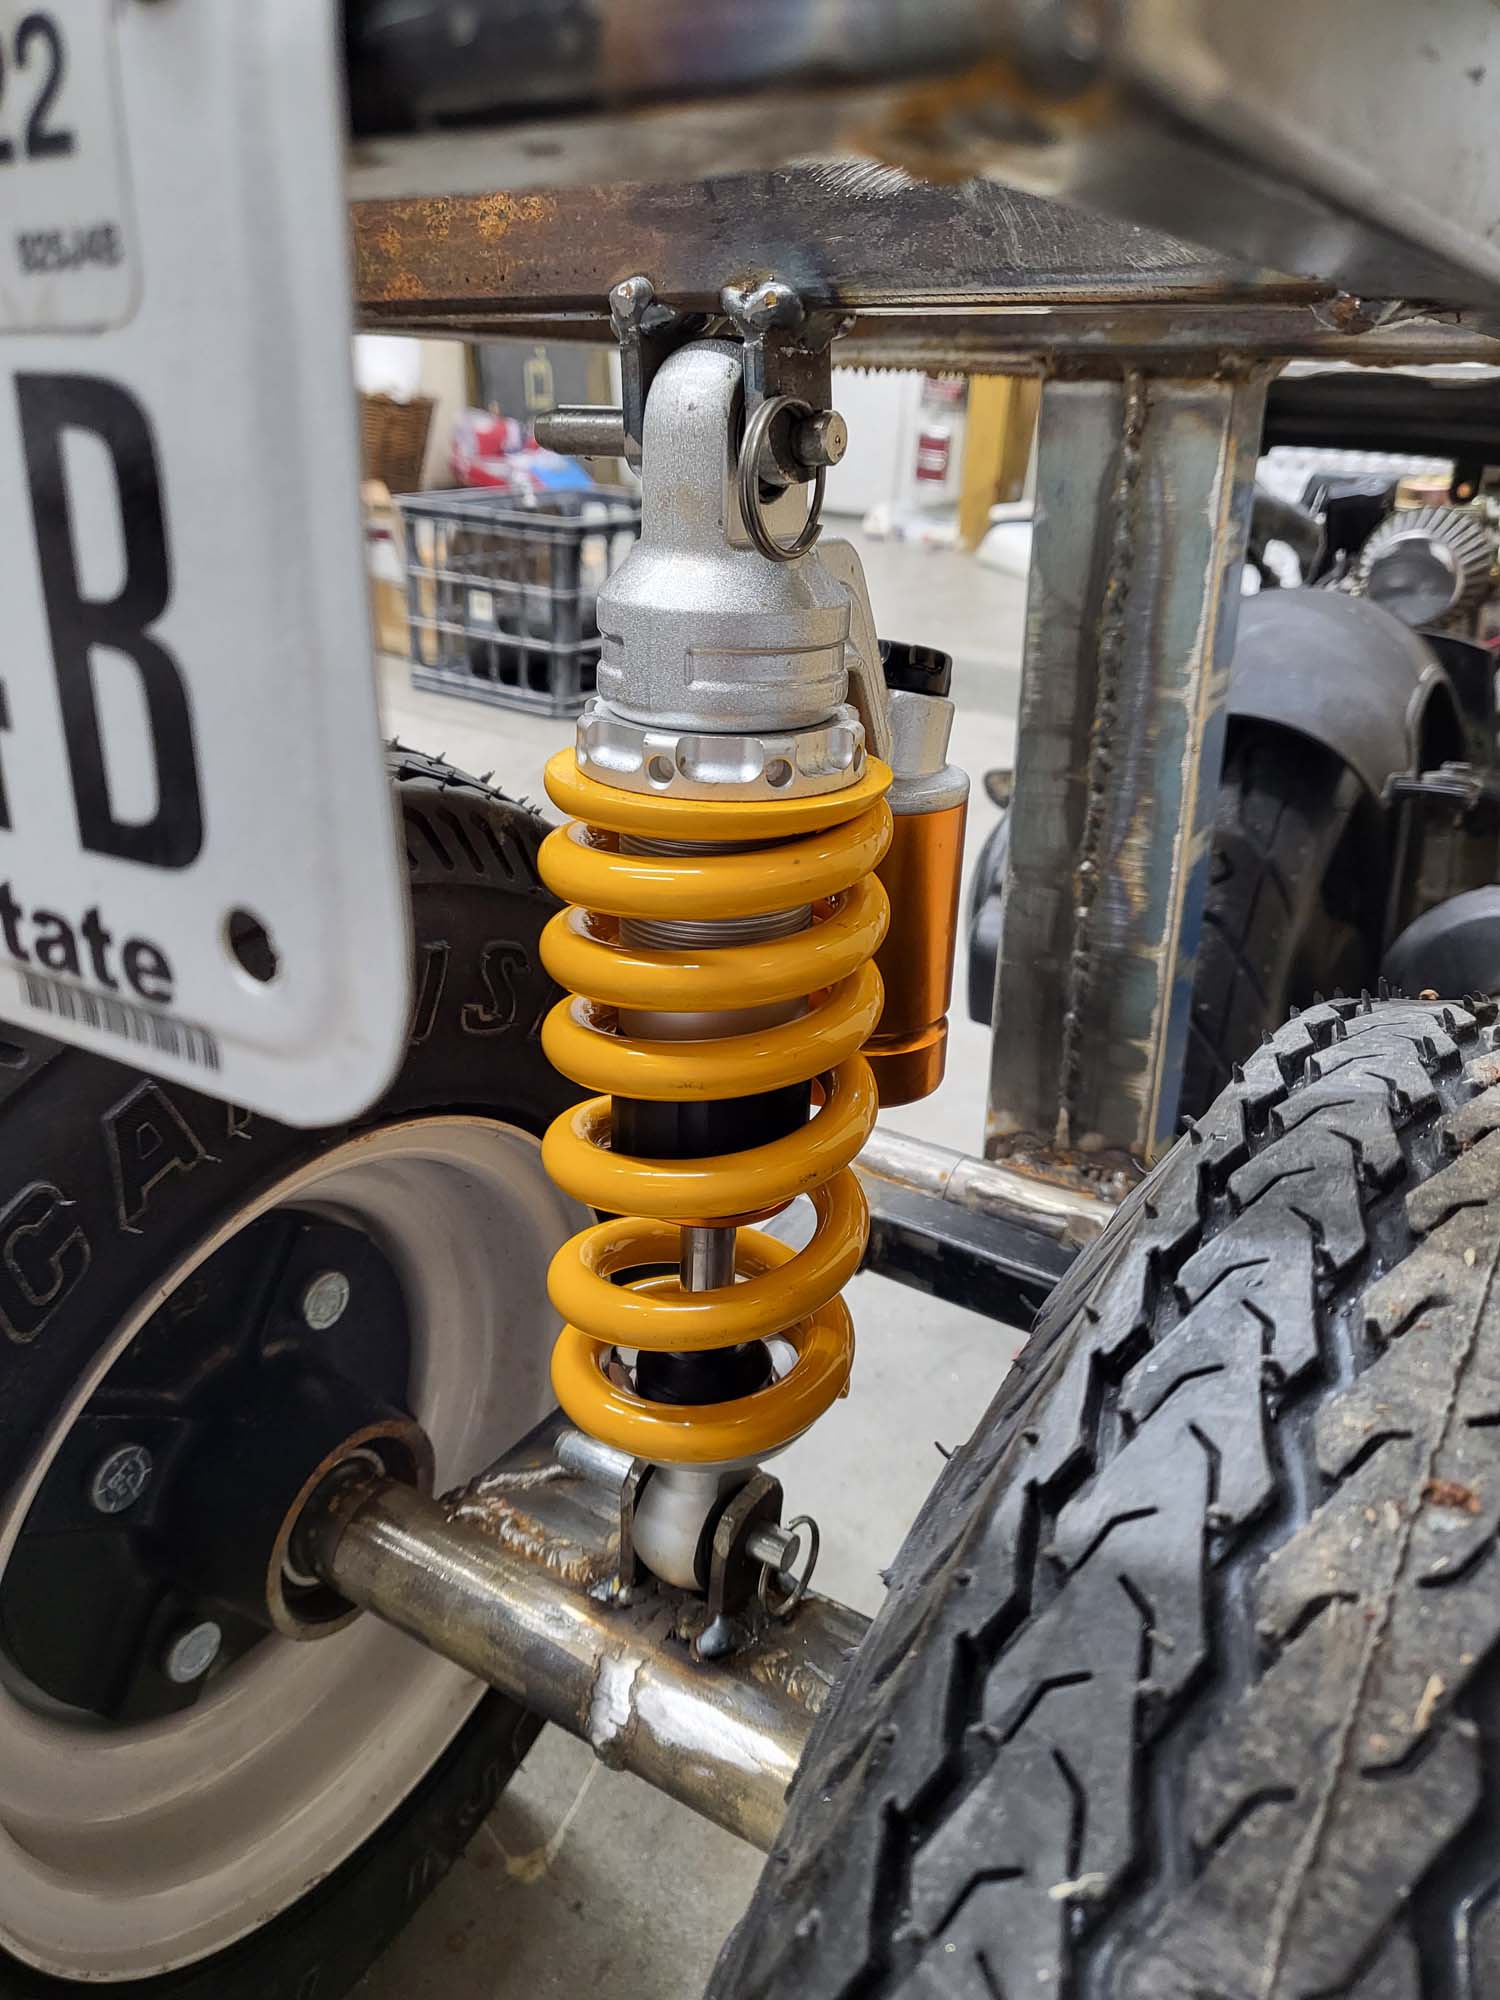
Rework Rear Suspension
Paint the whole frame
Paint the motor
Finish painting the wheels
Finish cleaning up the wiring
3D Print Foot Rest Pad
Build more Li-ion battery packs (recycled cells)
Re-paint the original three pannels (maybe)
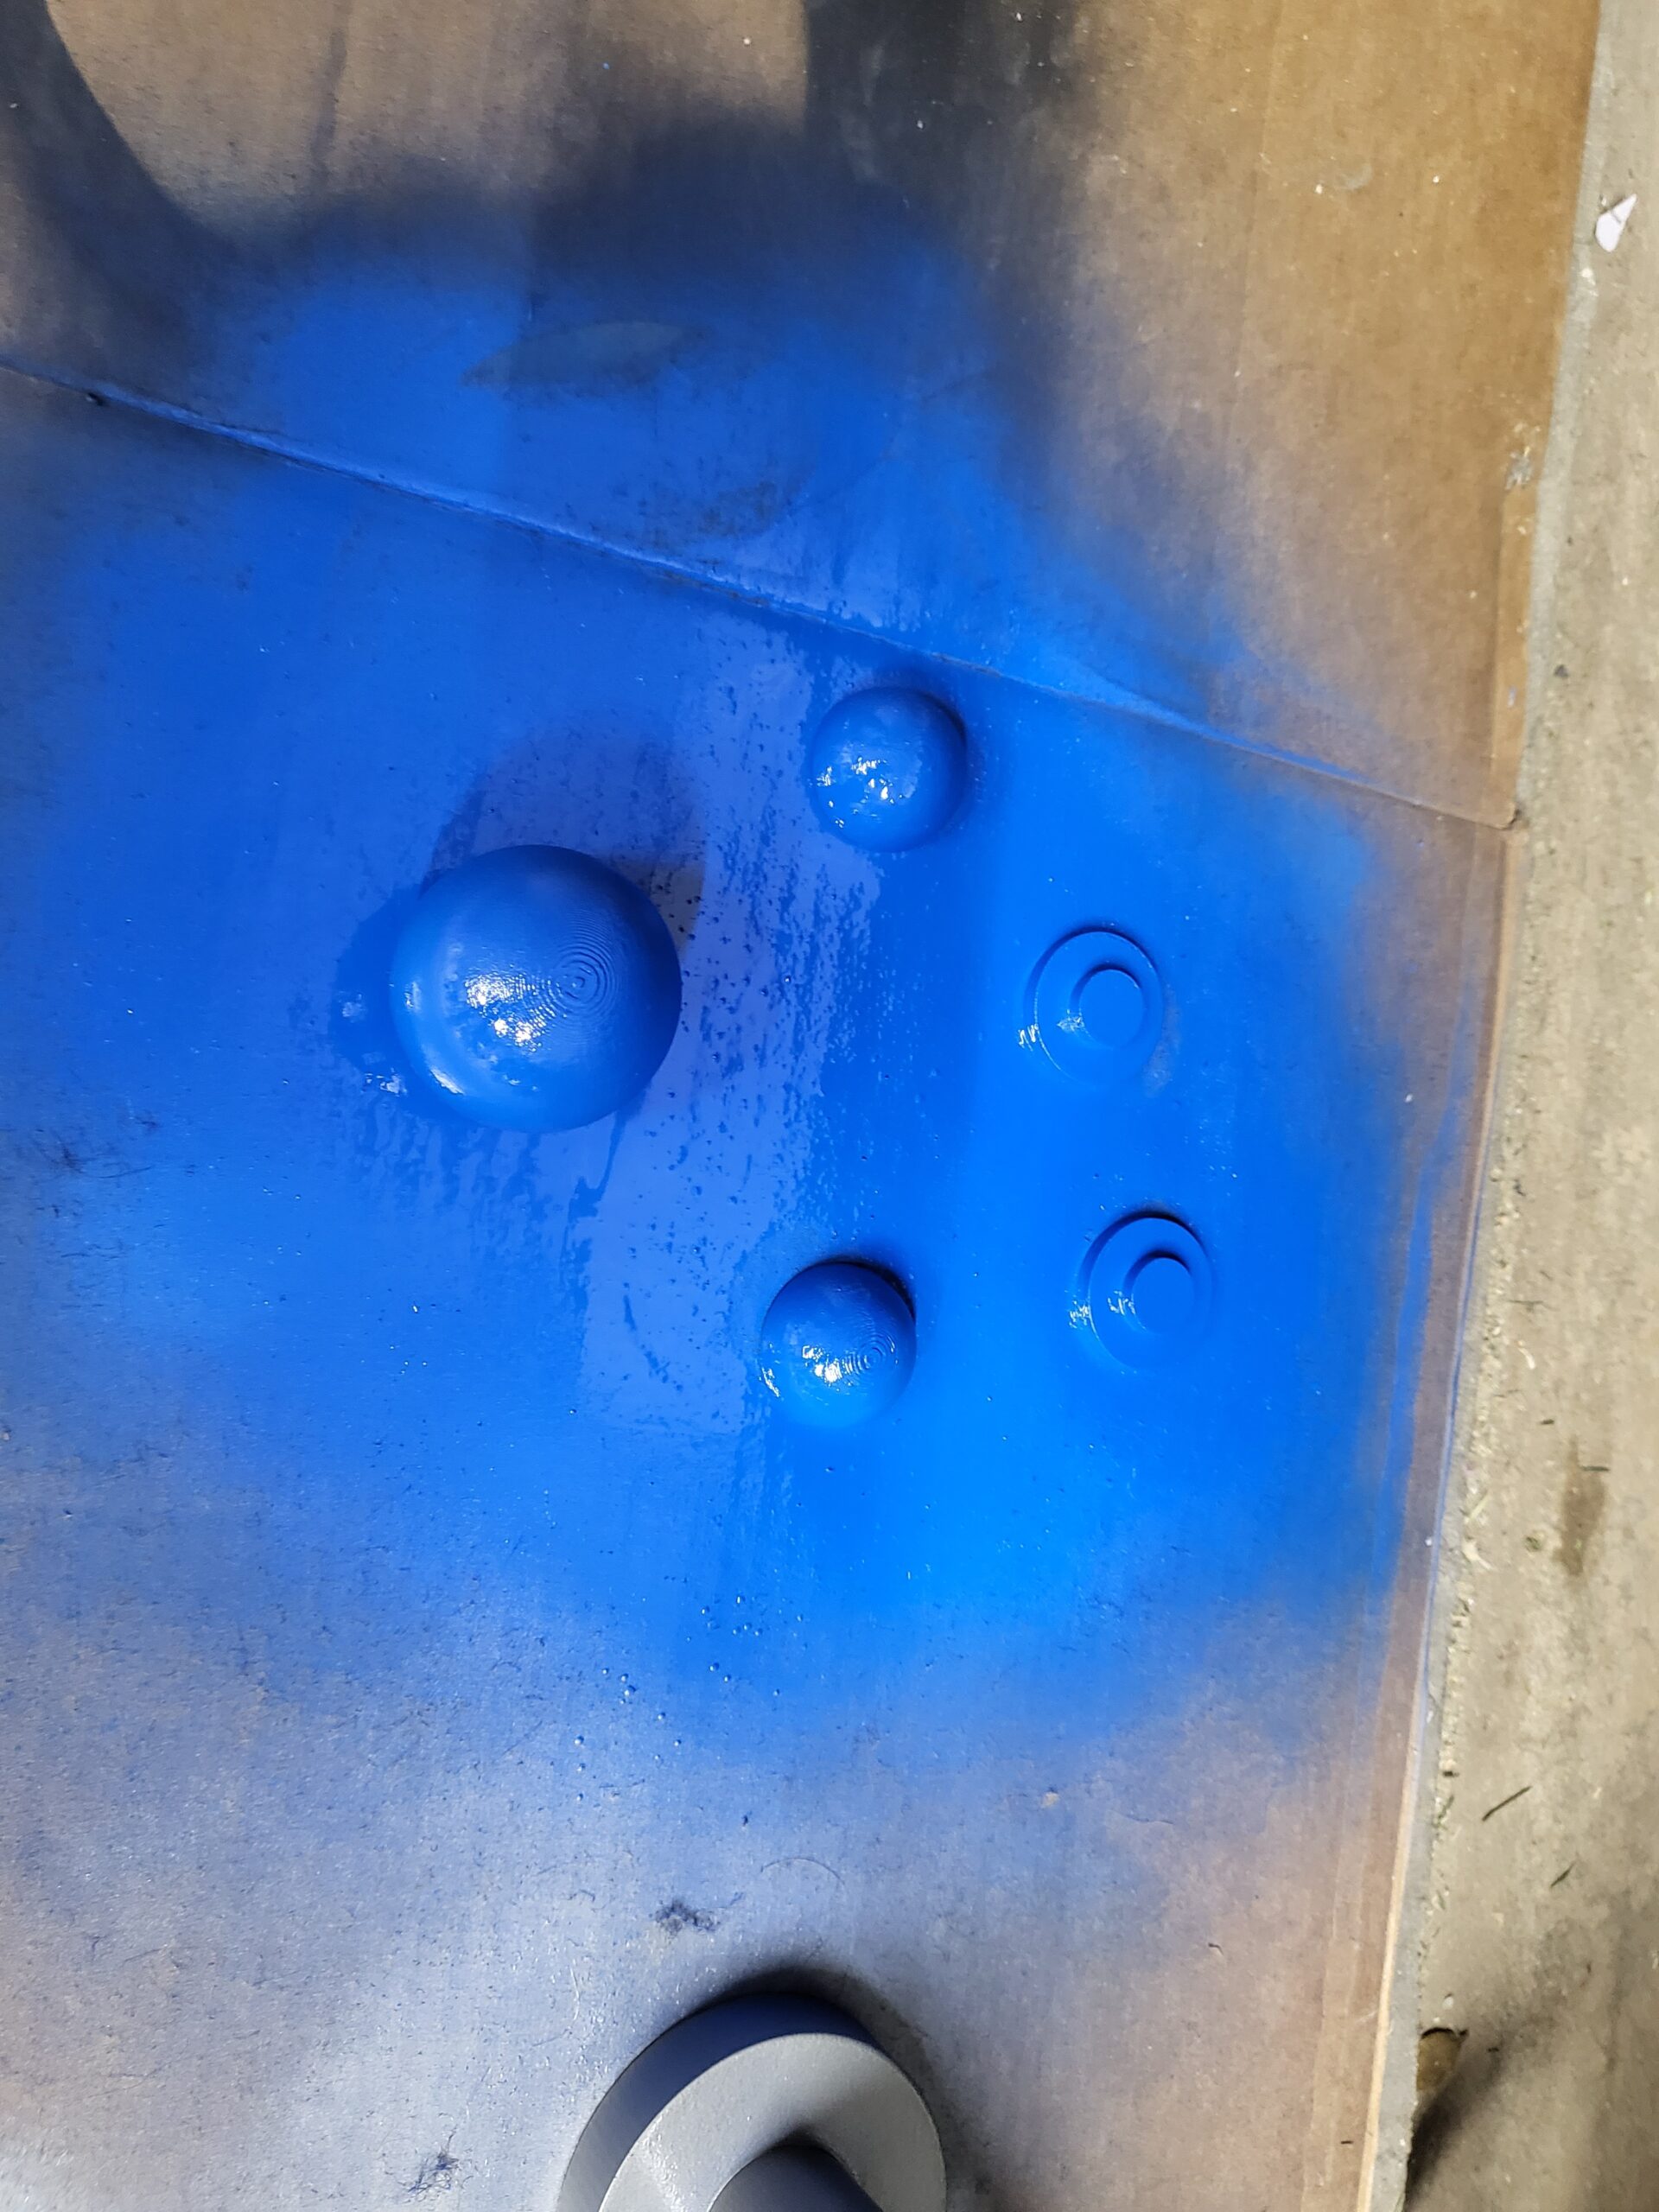
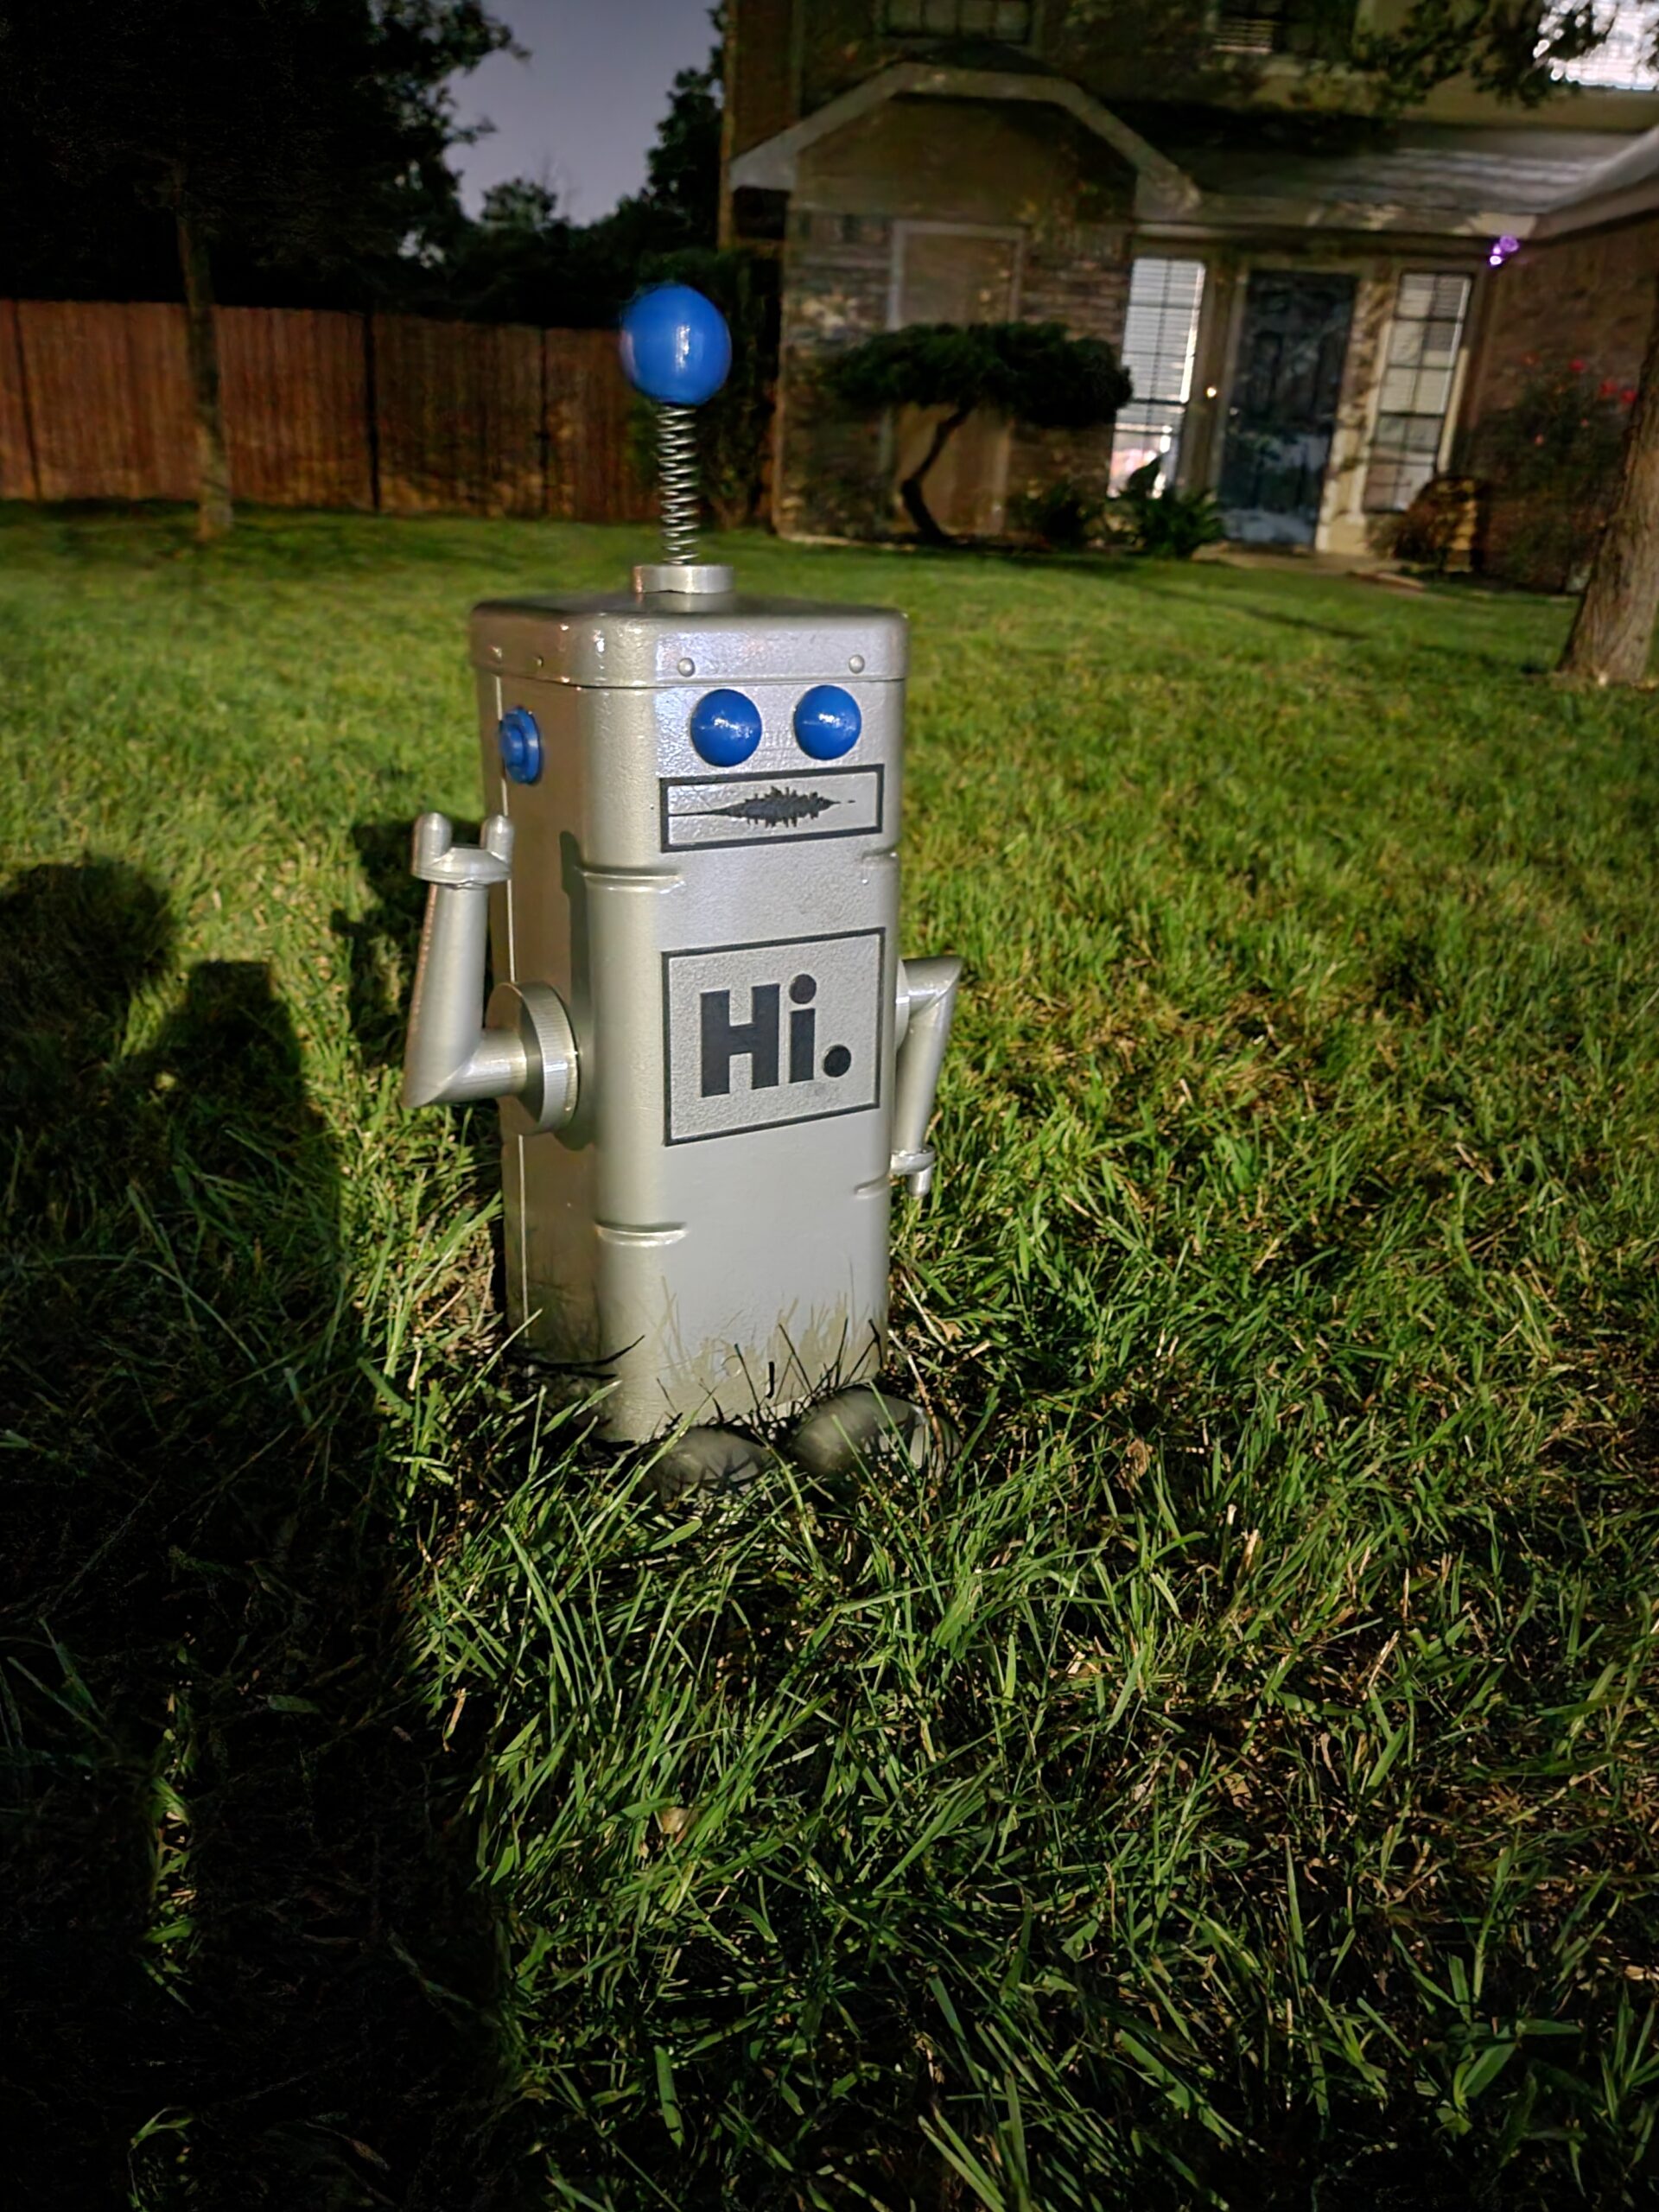
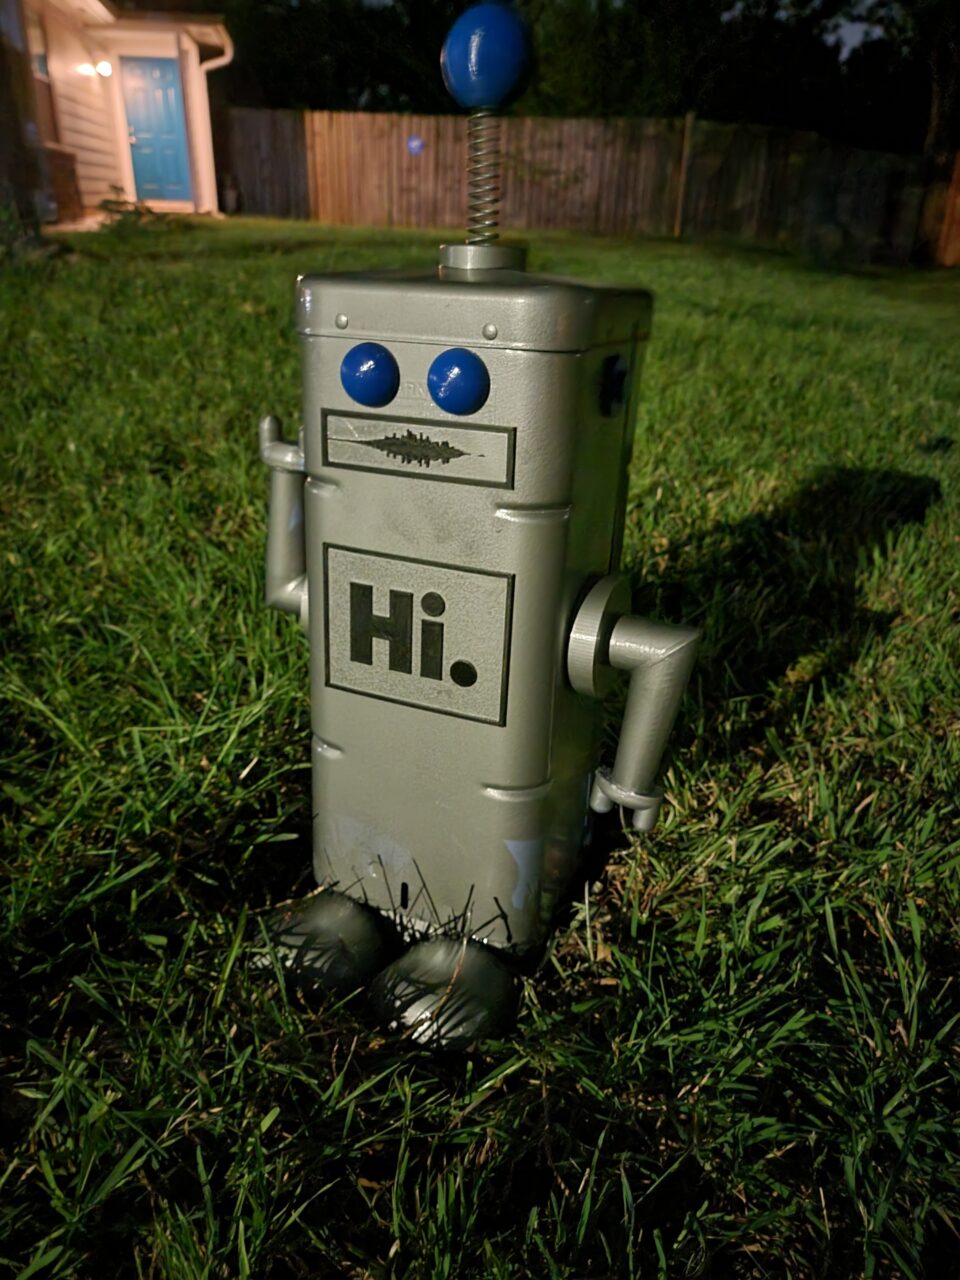
Cable Bot
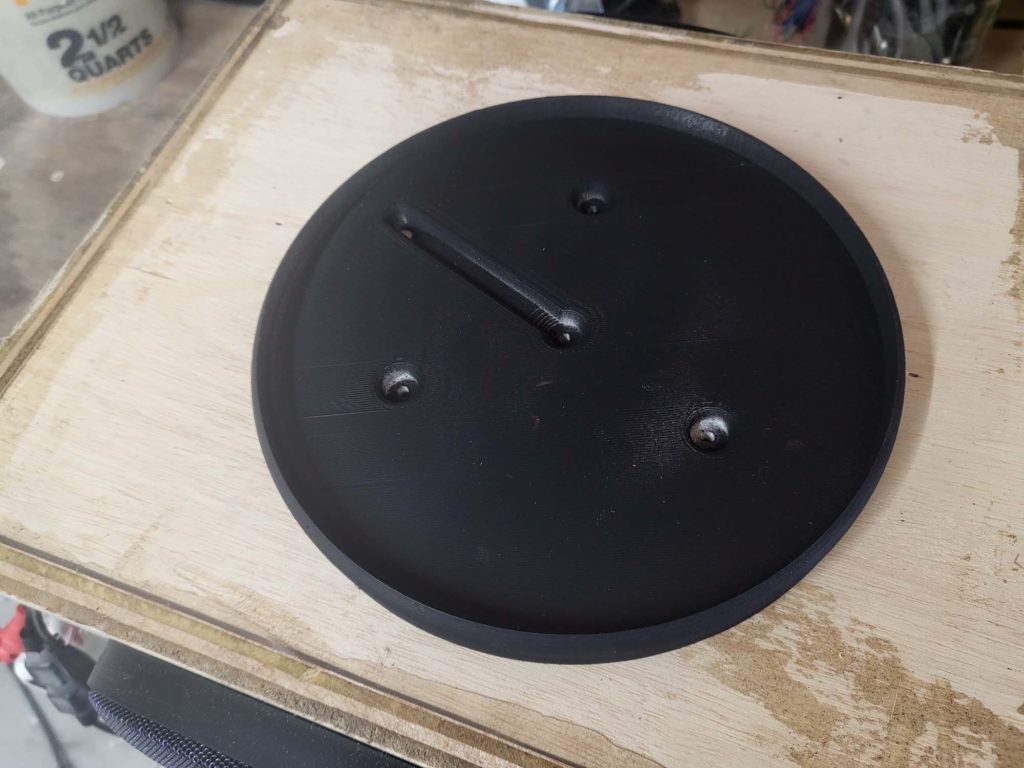
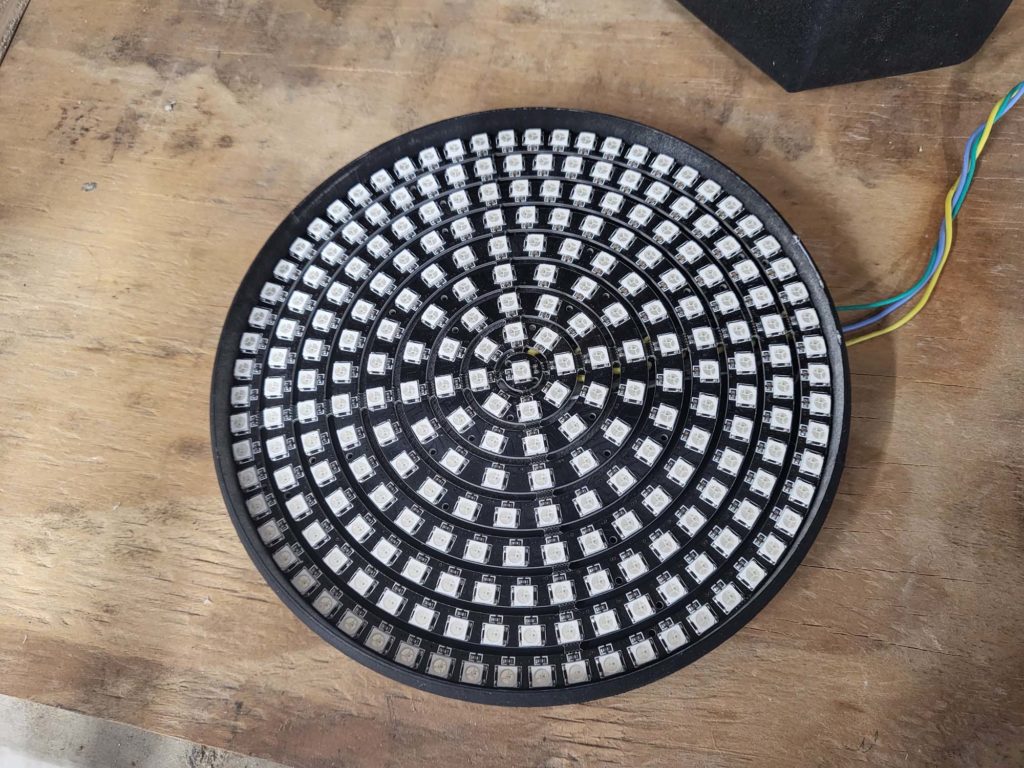
So….. we have this cable box on the property line between our house and the neighbors. I have always wanted to beautify it, so one night I did. Really it was about a week from the idea to design, 3D print, paint, and installation.

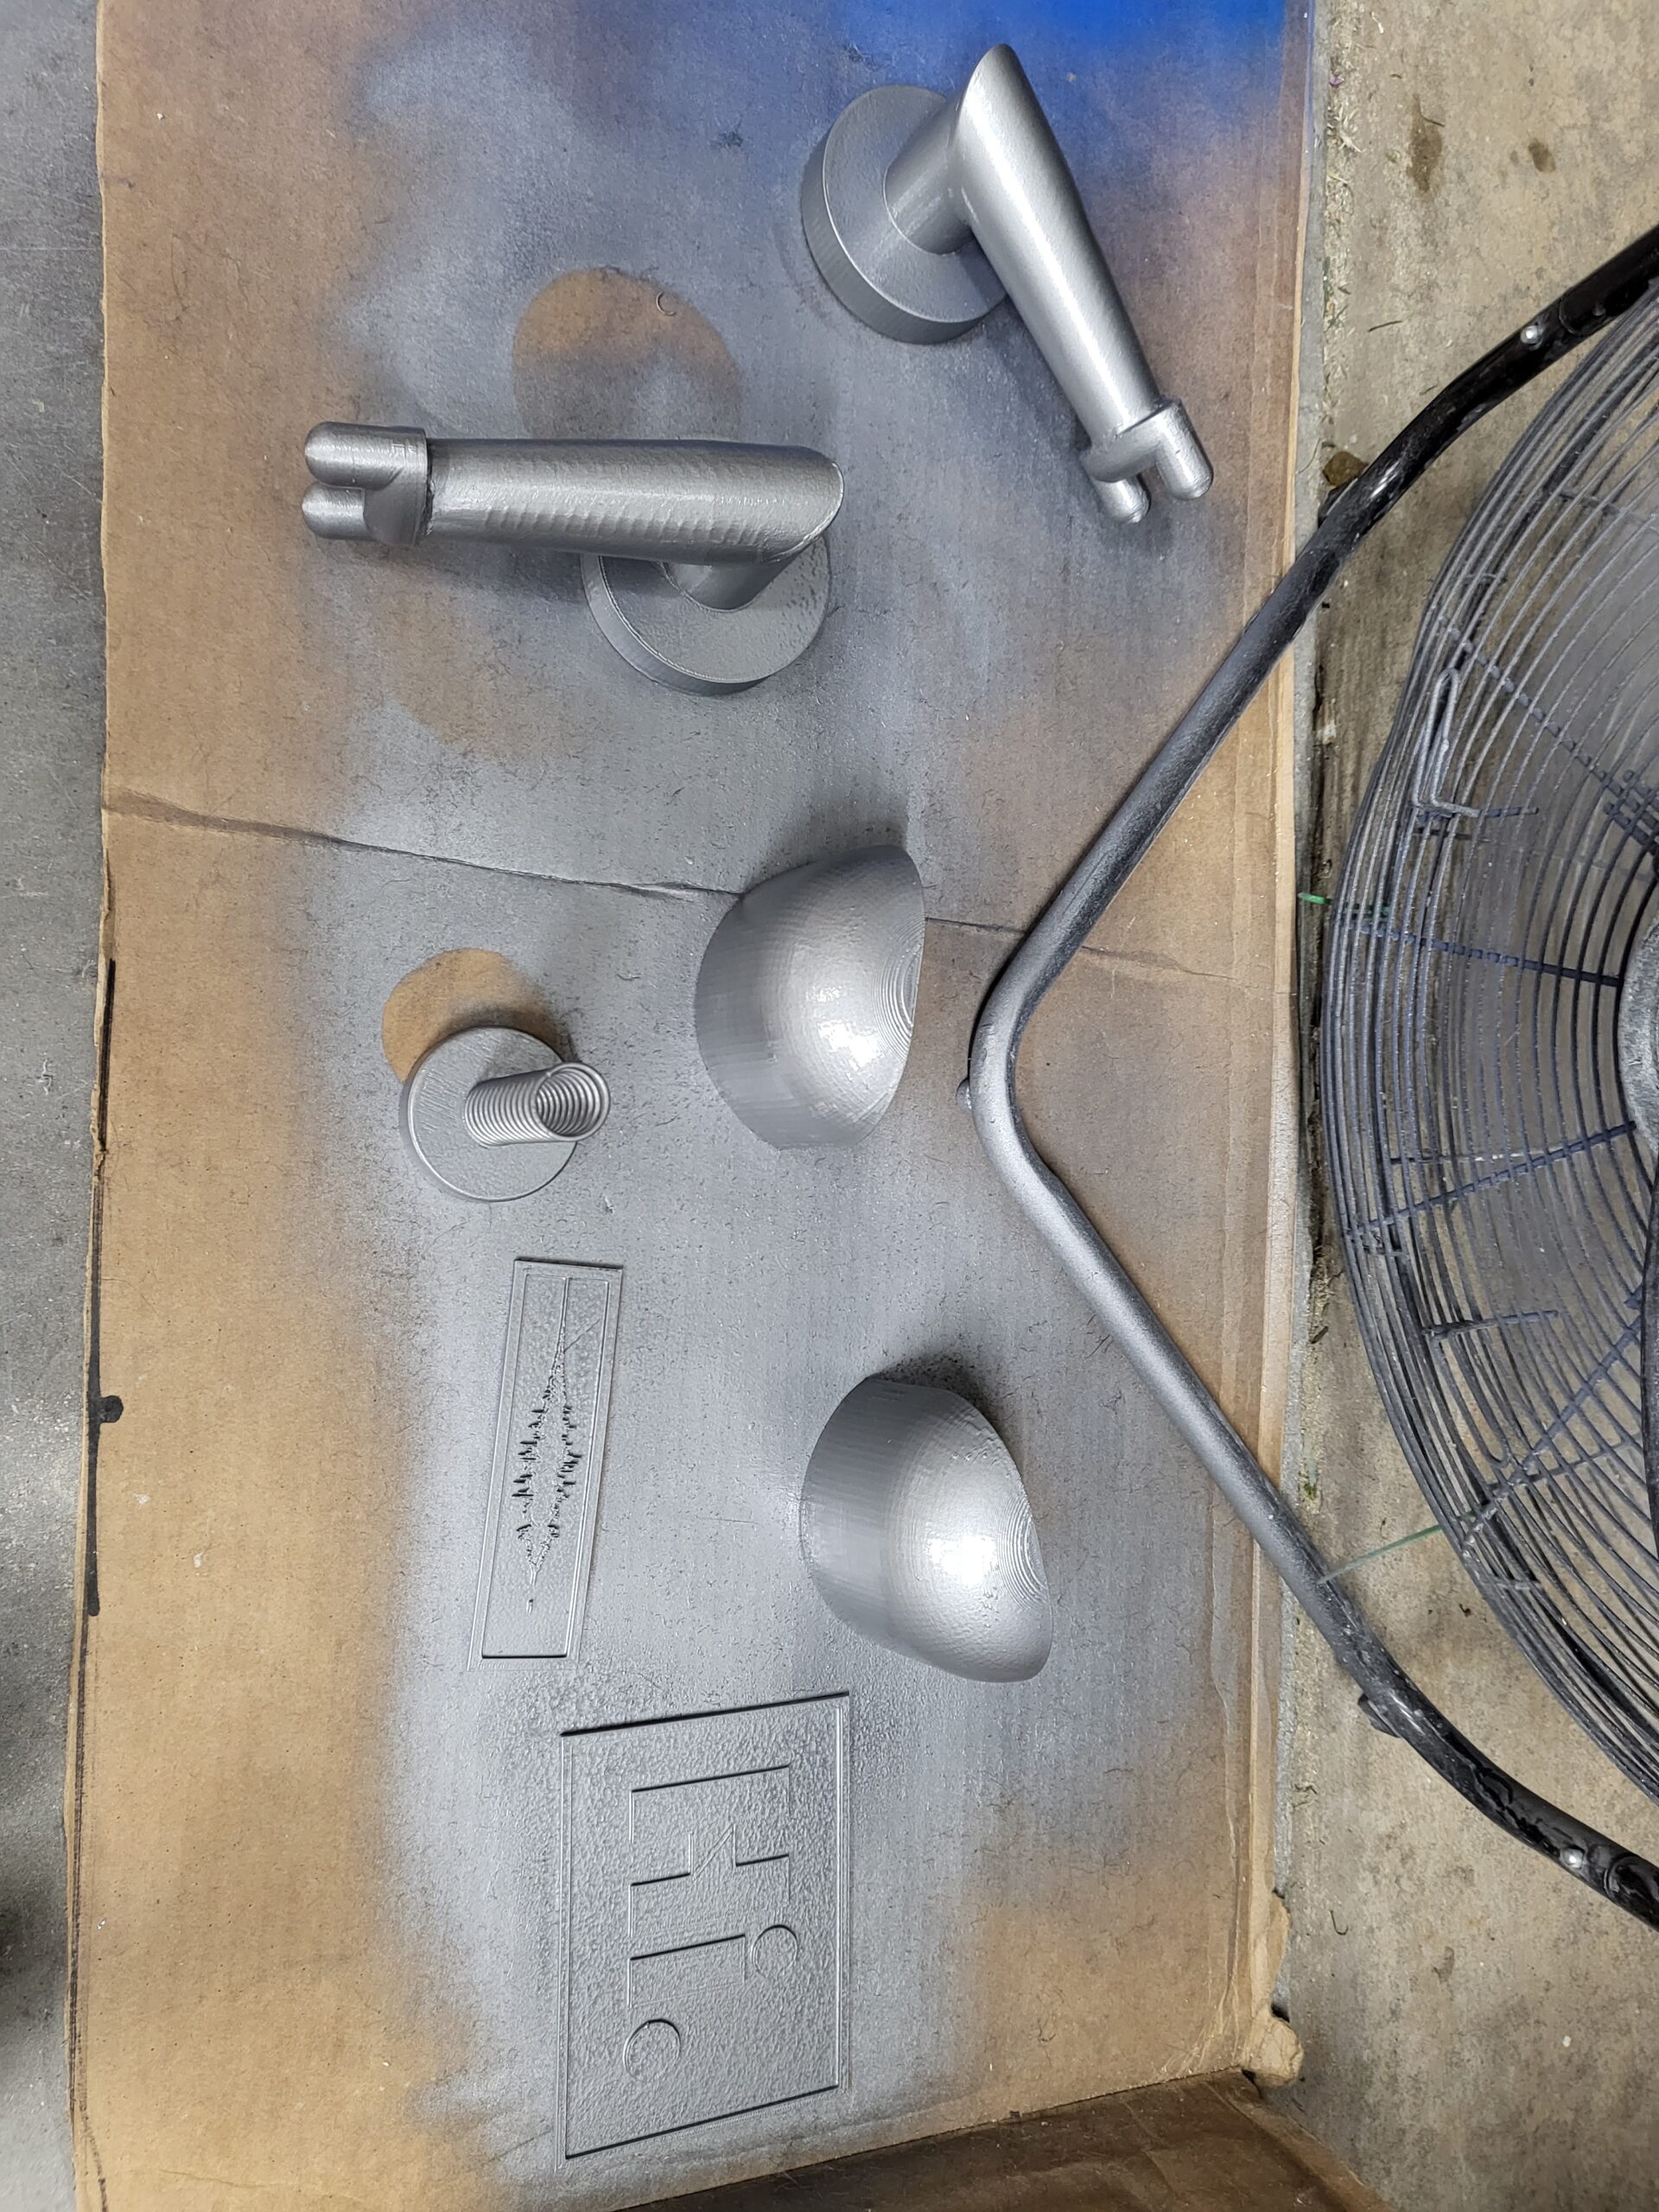
Design Files
https://www.thingiverse.com/thing:6109832
Response
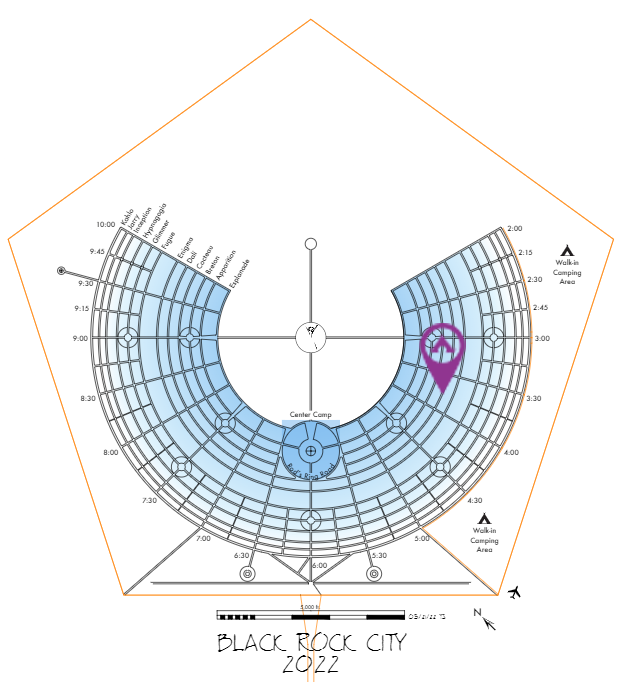
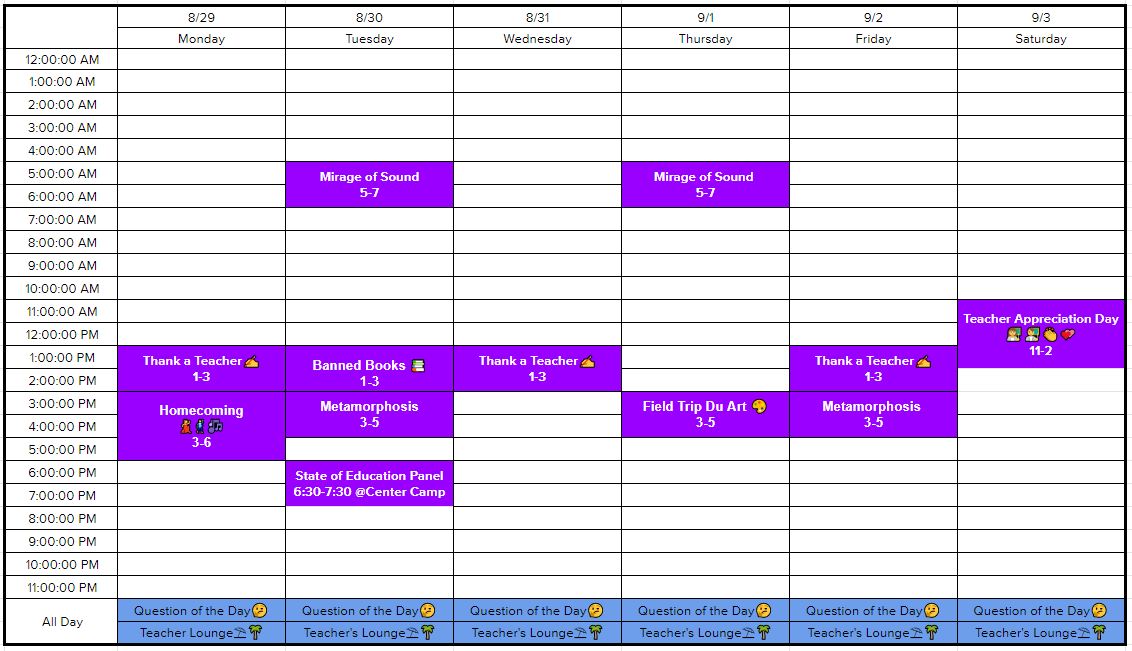
Burning Man 2022
We have an address! Dali & 3:45
This year we wanted to change things up and have a variety of events and interactivity throughout the week. We really focused on our teacher/school/education theme.
See our full schedule below or view the events on Playa Events.
HOOTIE V2
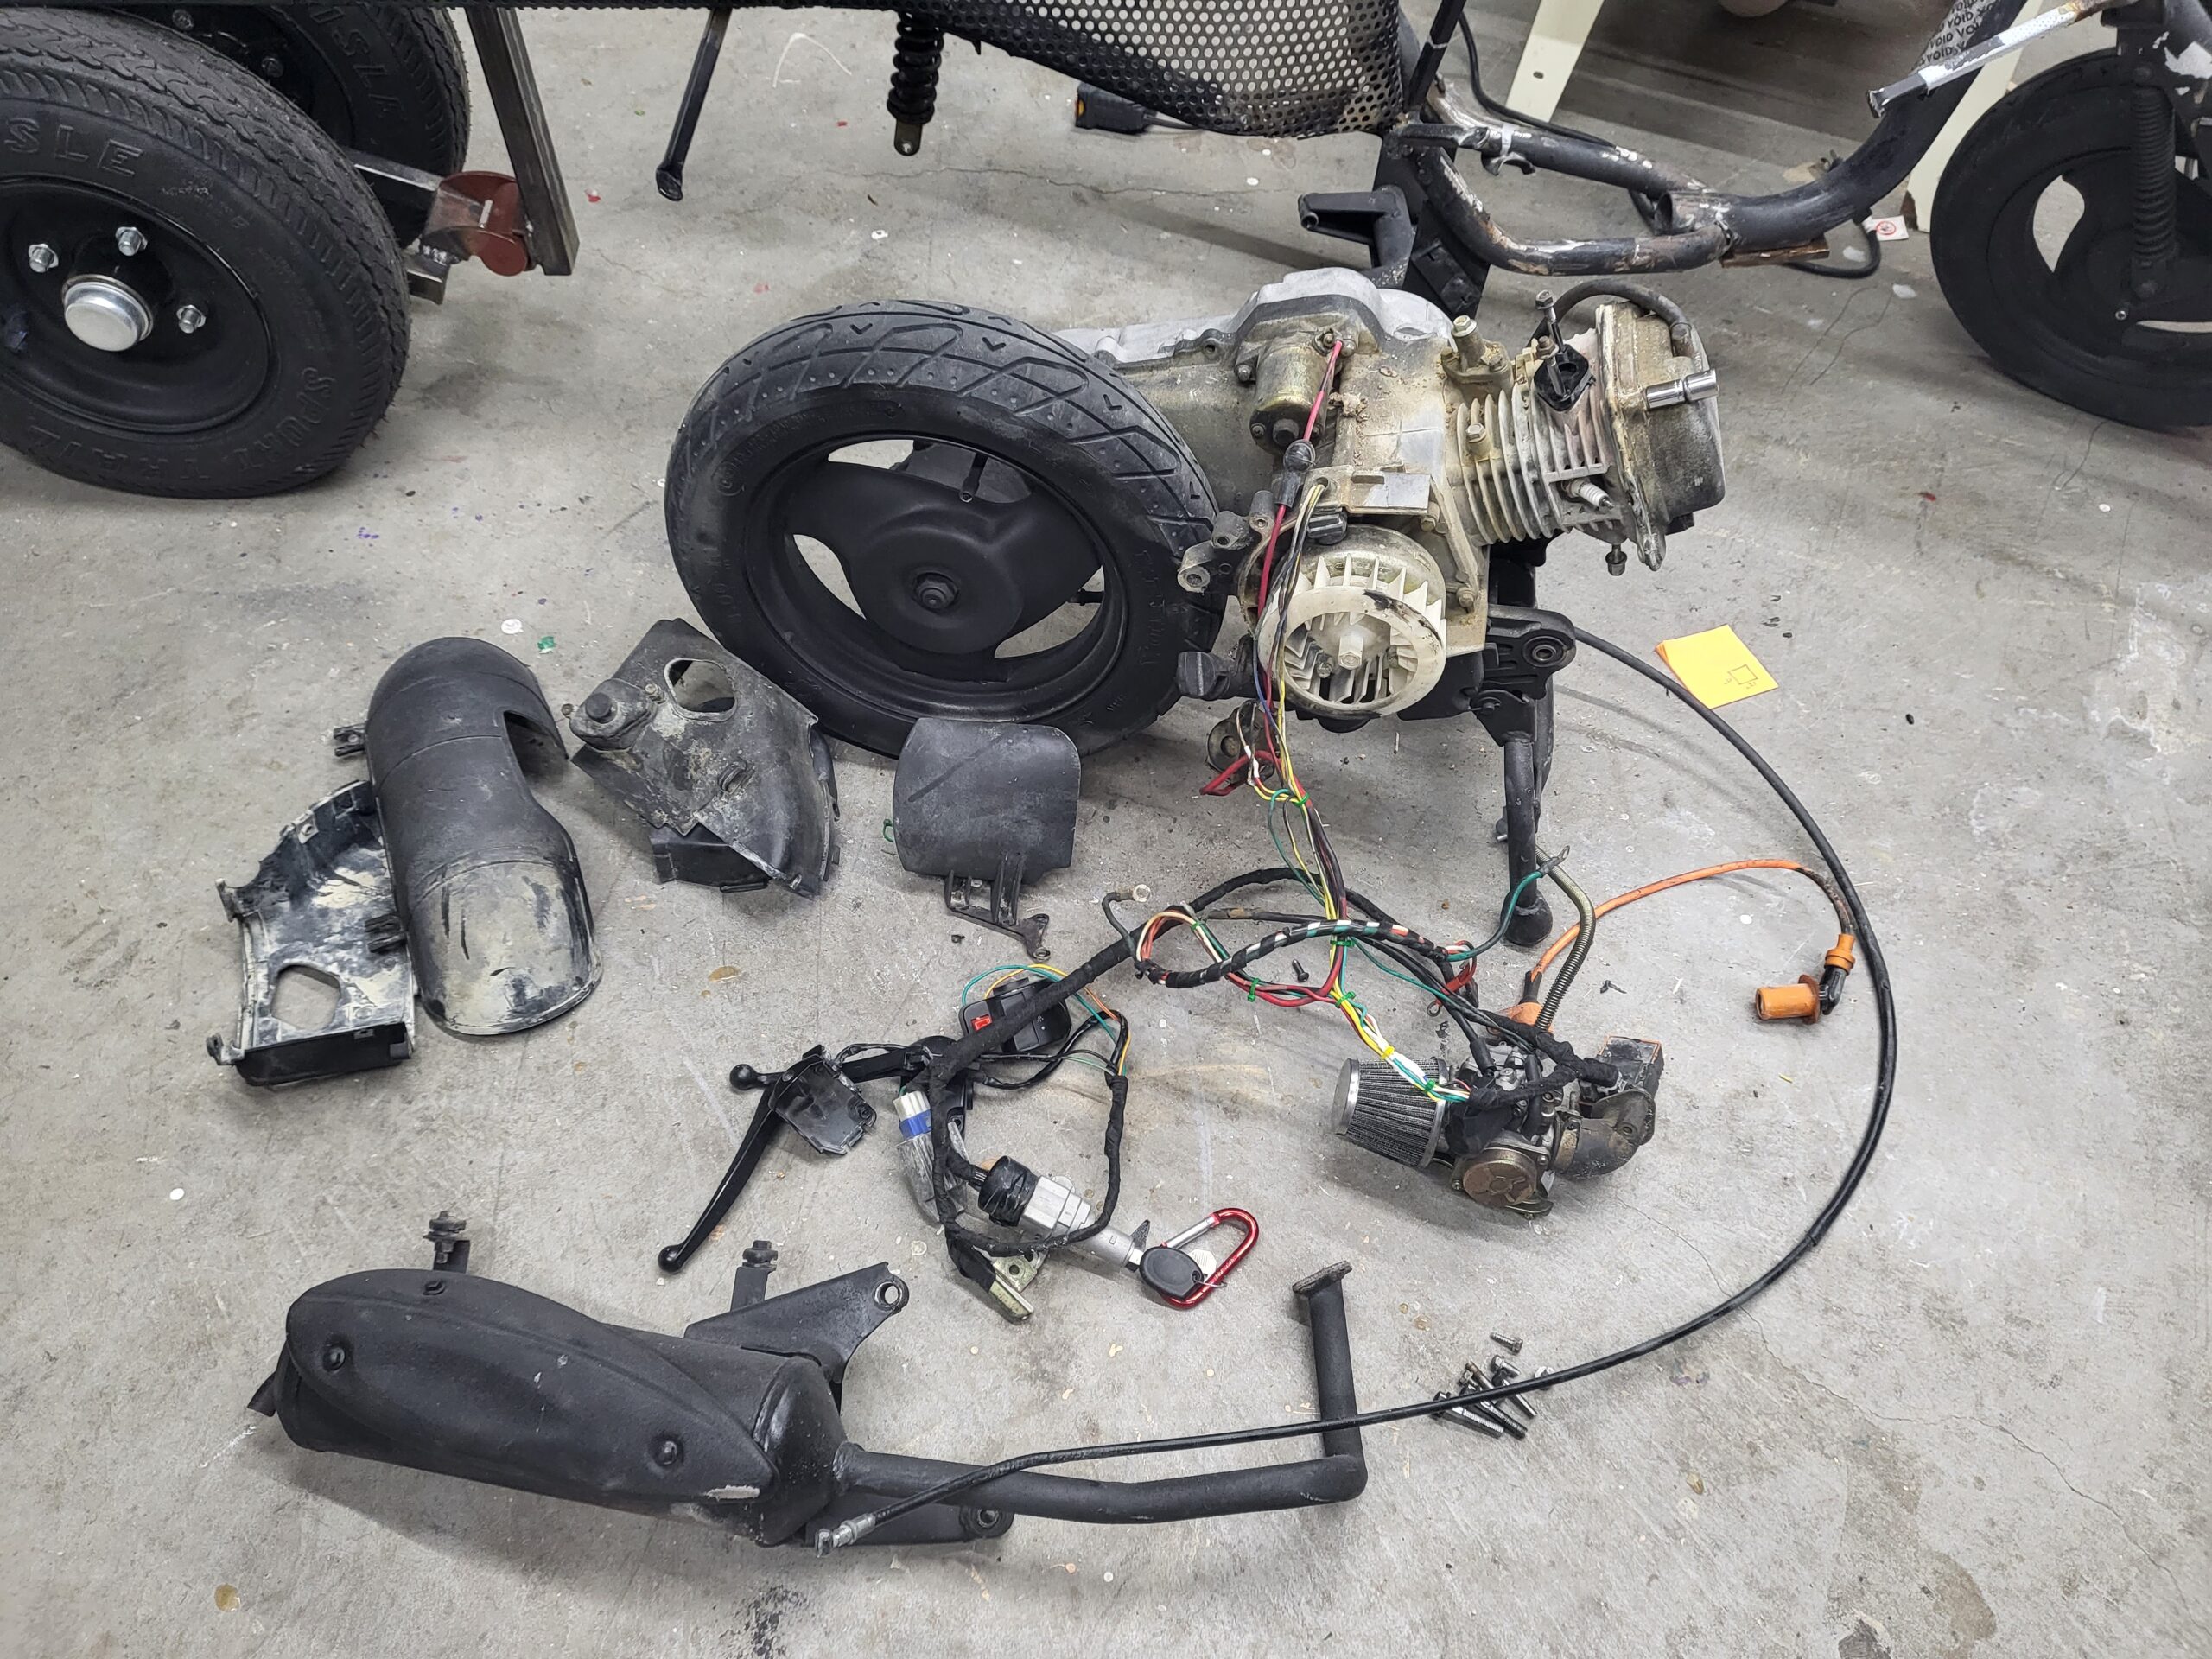
After a trip to the Playa in 2021 for Renegade Burn and discussing the vehicle with a couple of DMV volunteers, I knew I wanted to make some upgrades. Before that could start, I needed to give it a good cleaning and look for any issues.
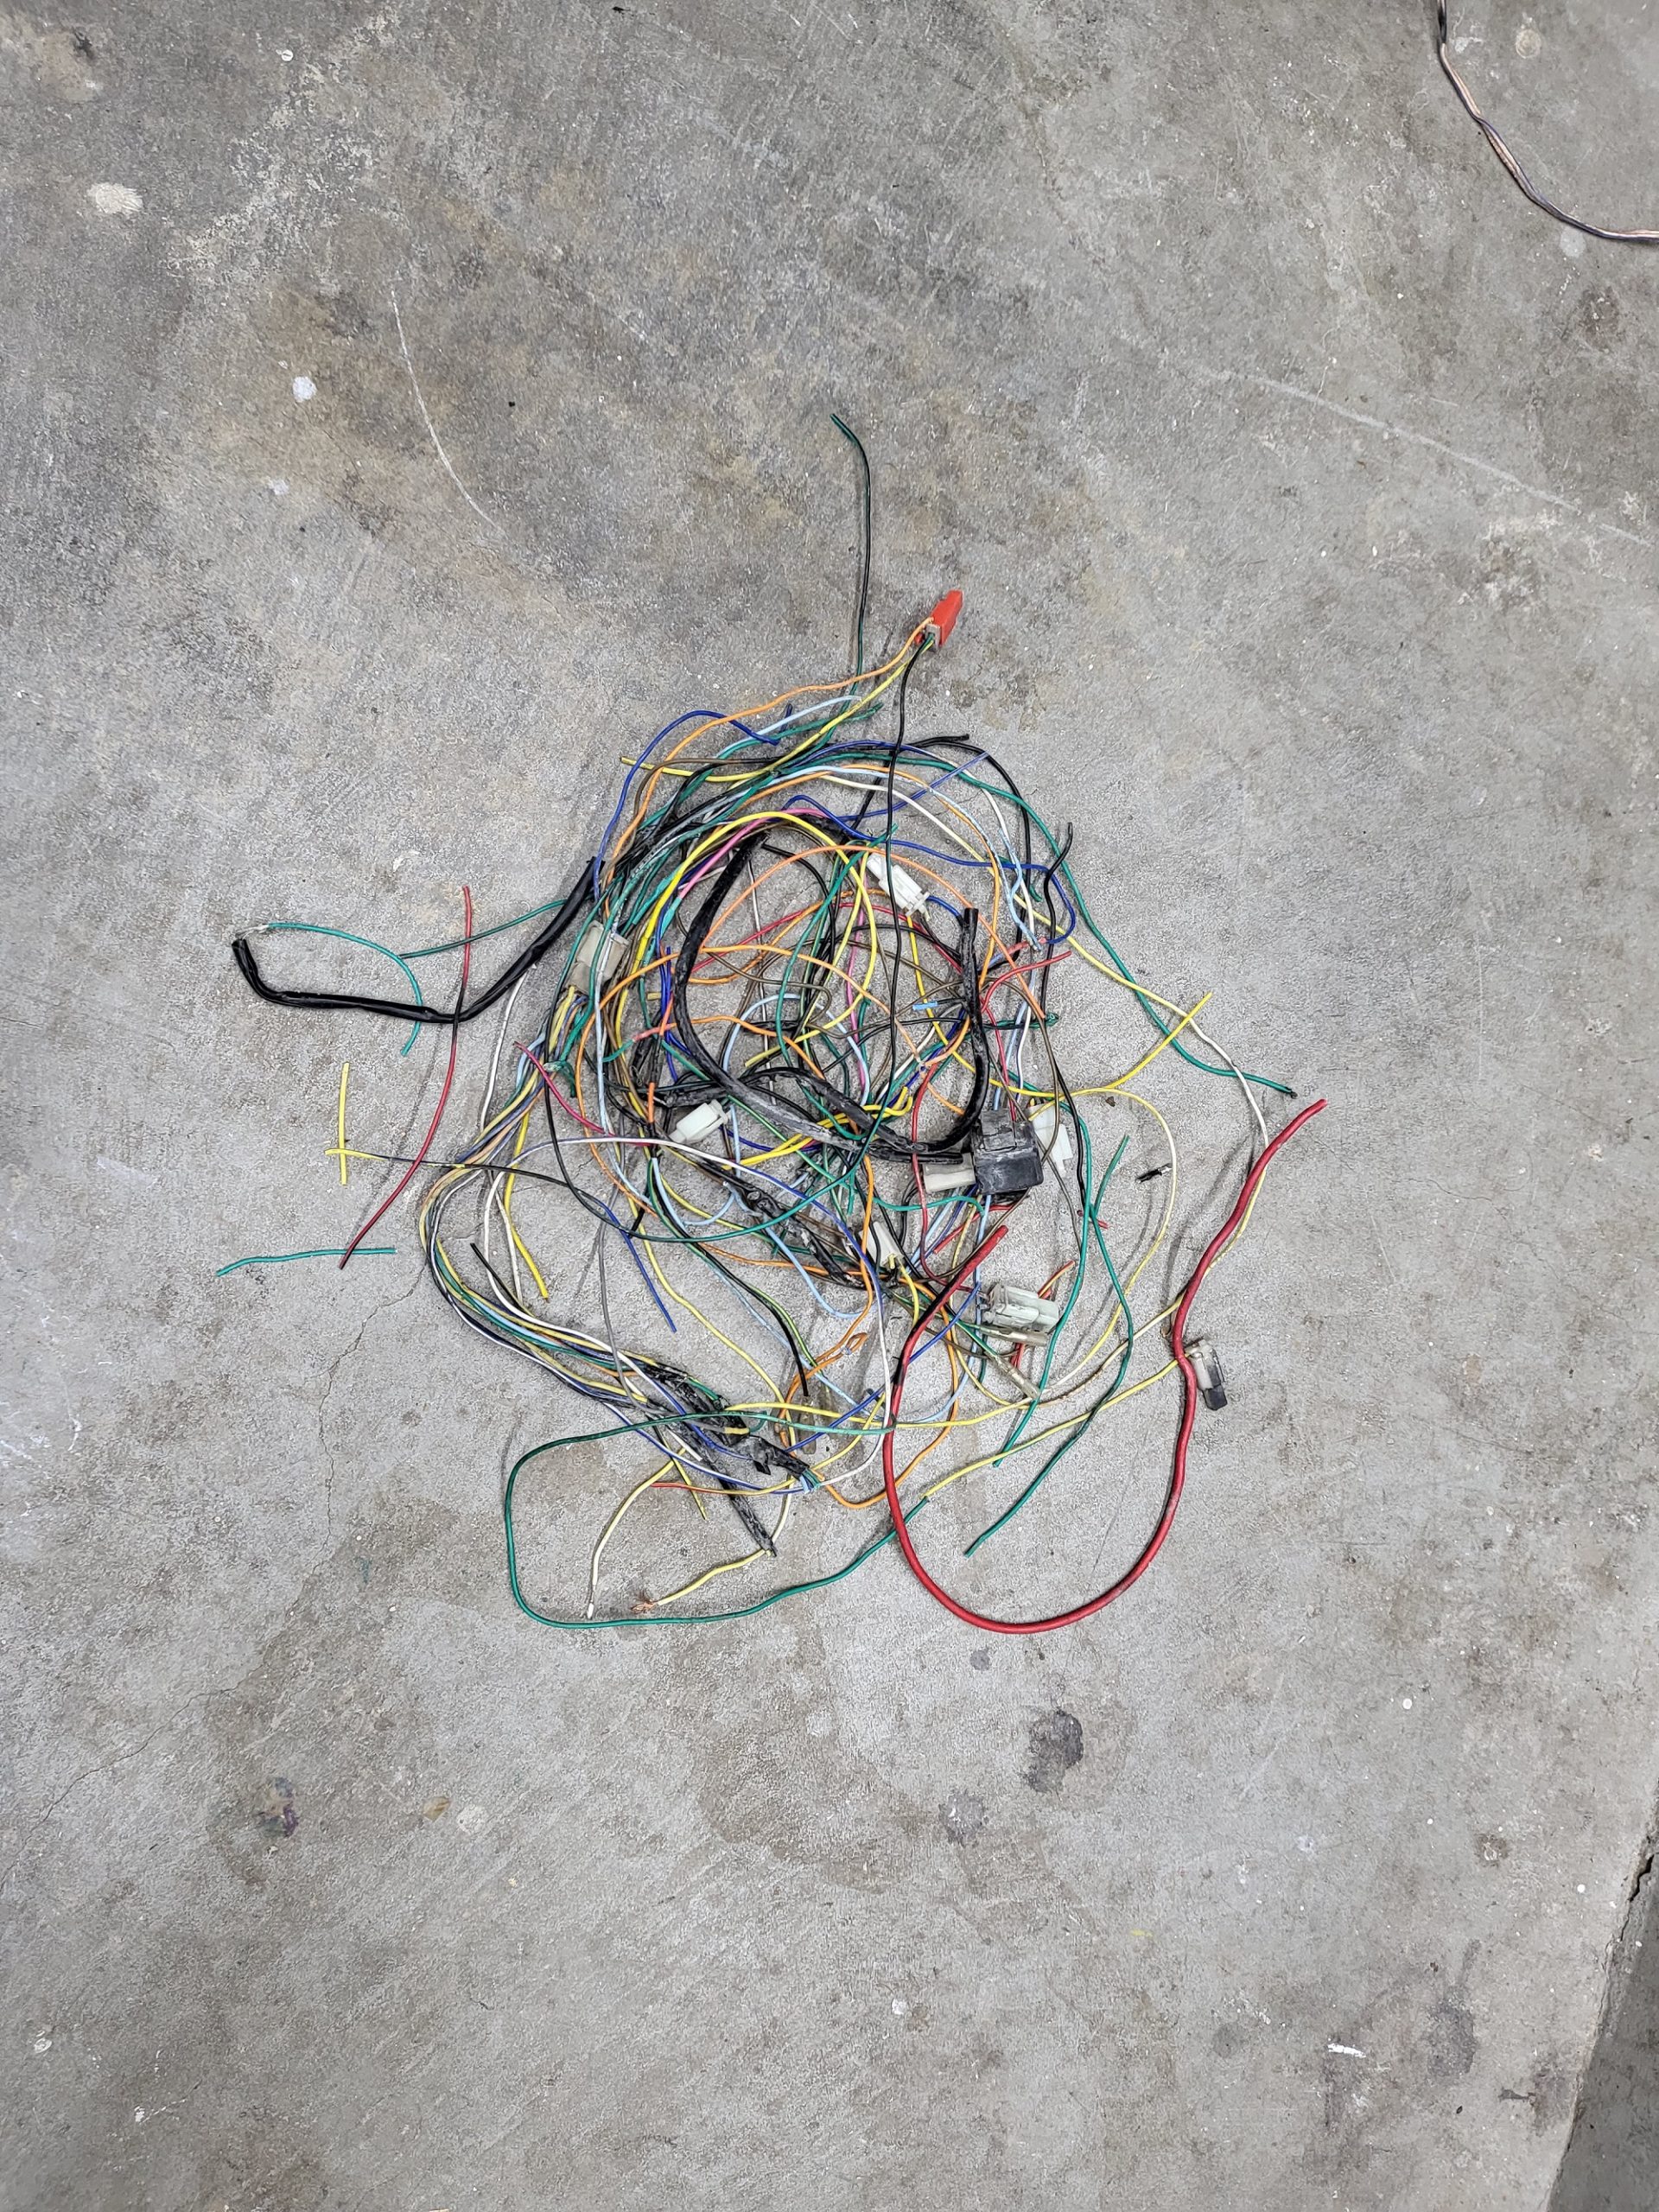
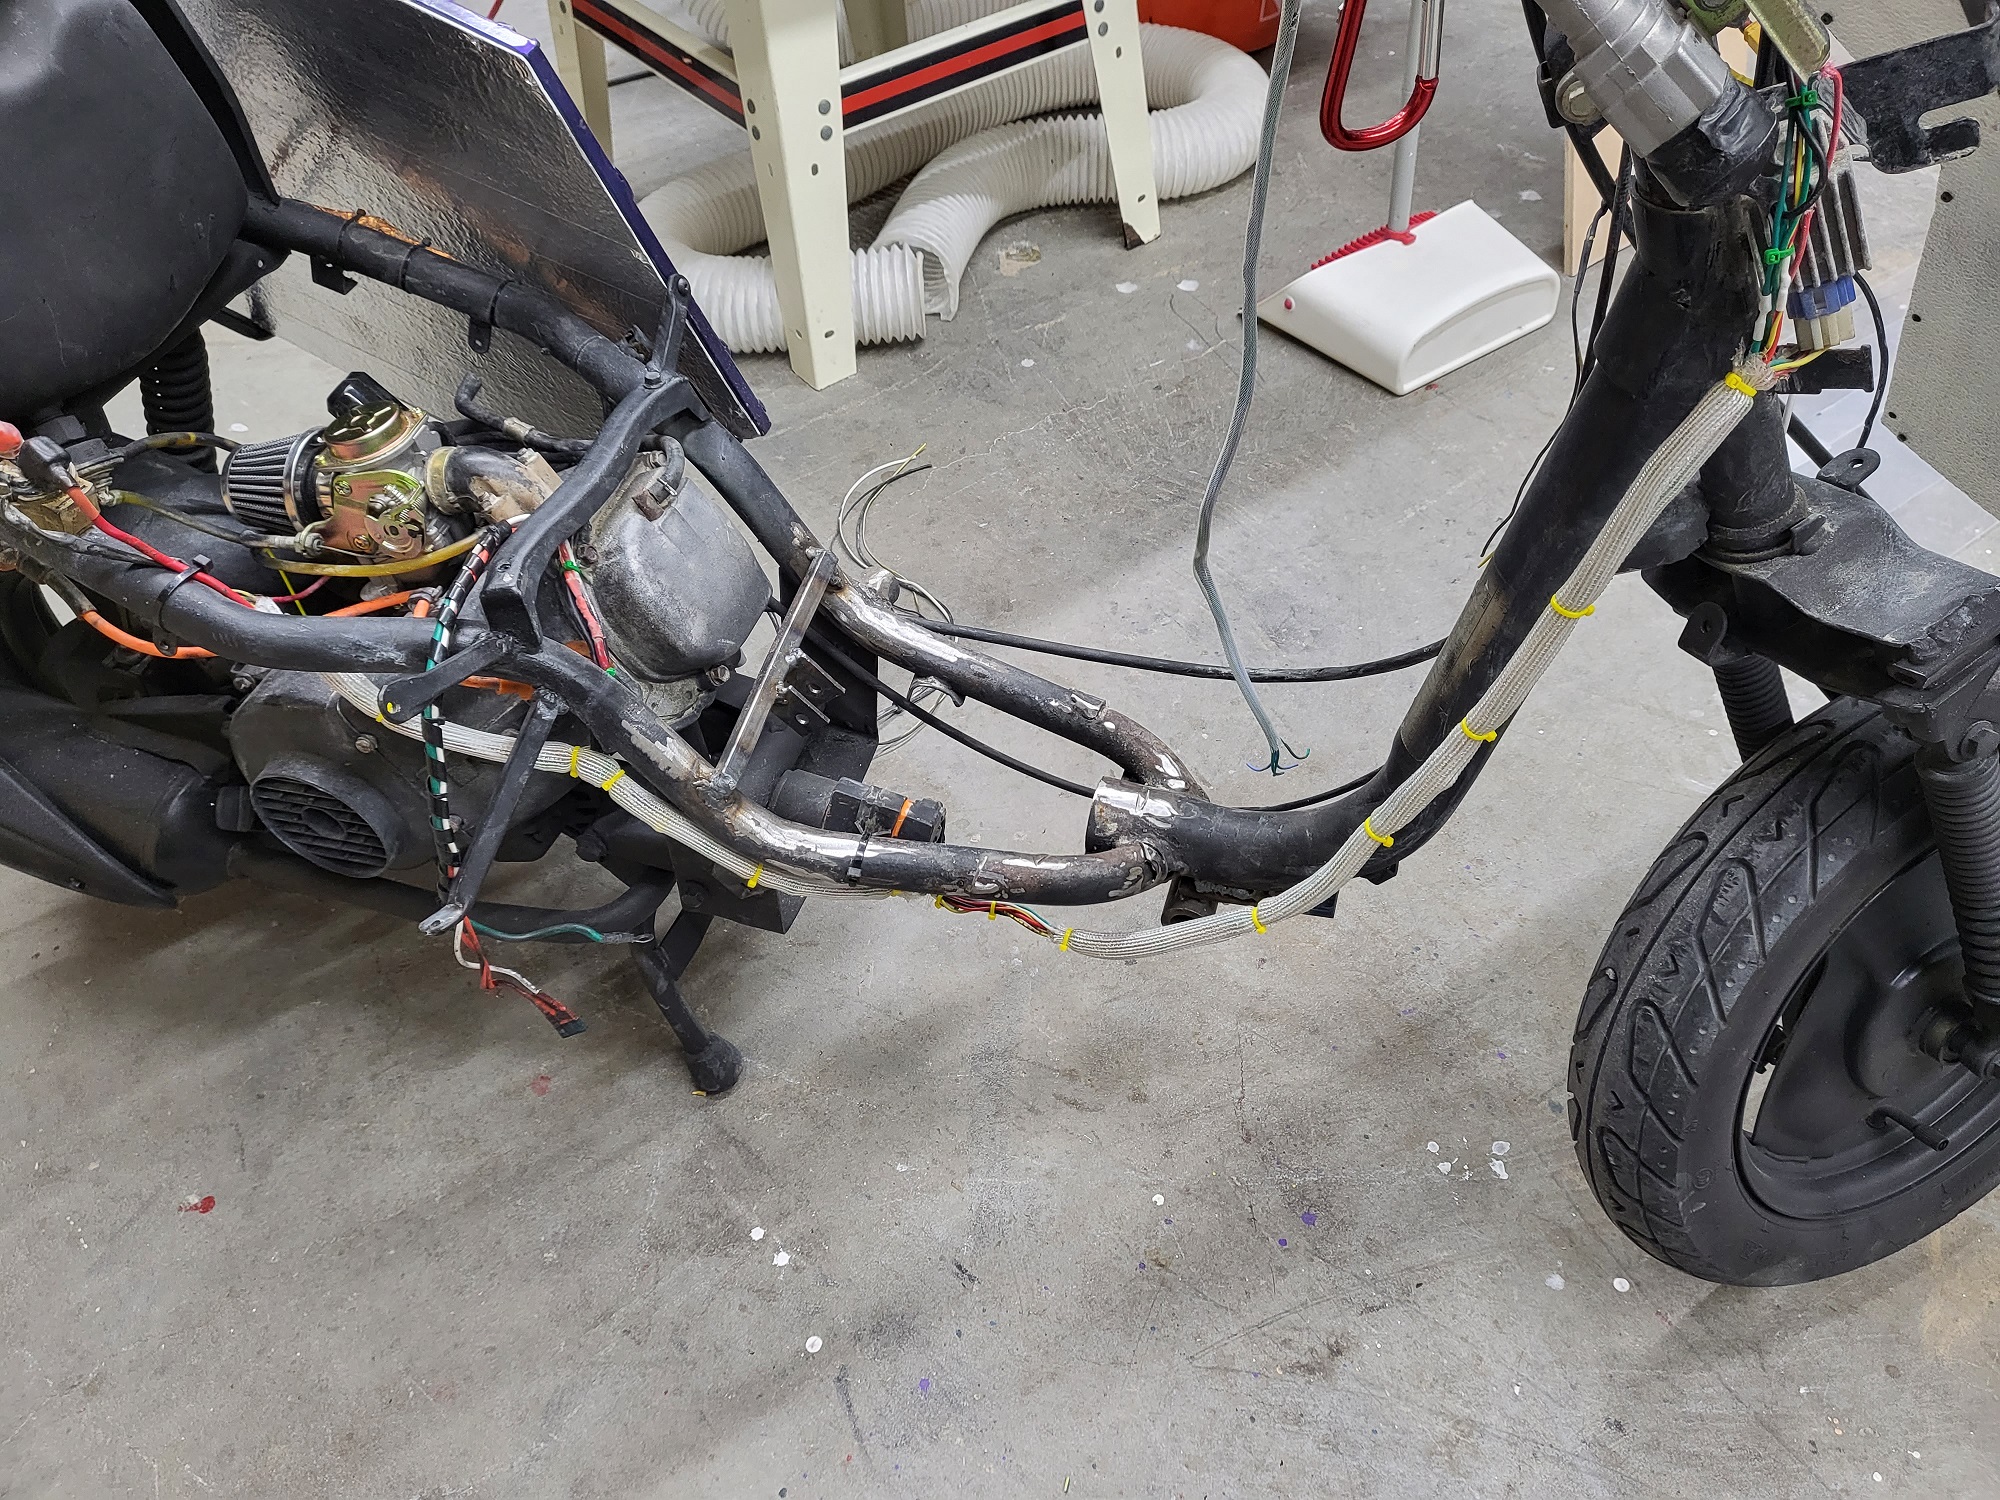
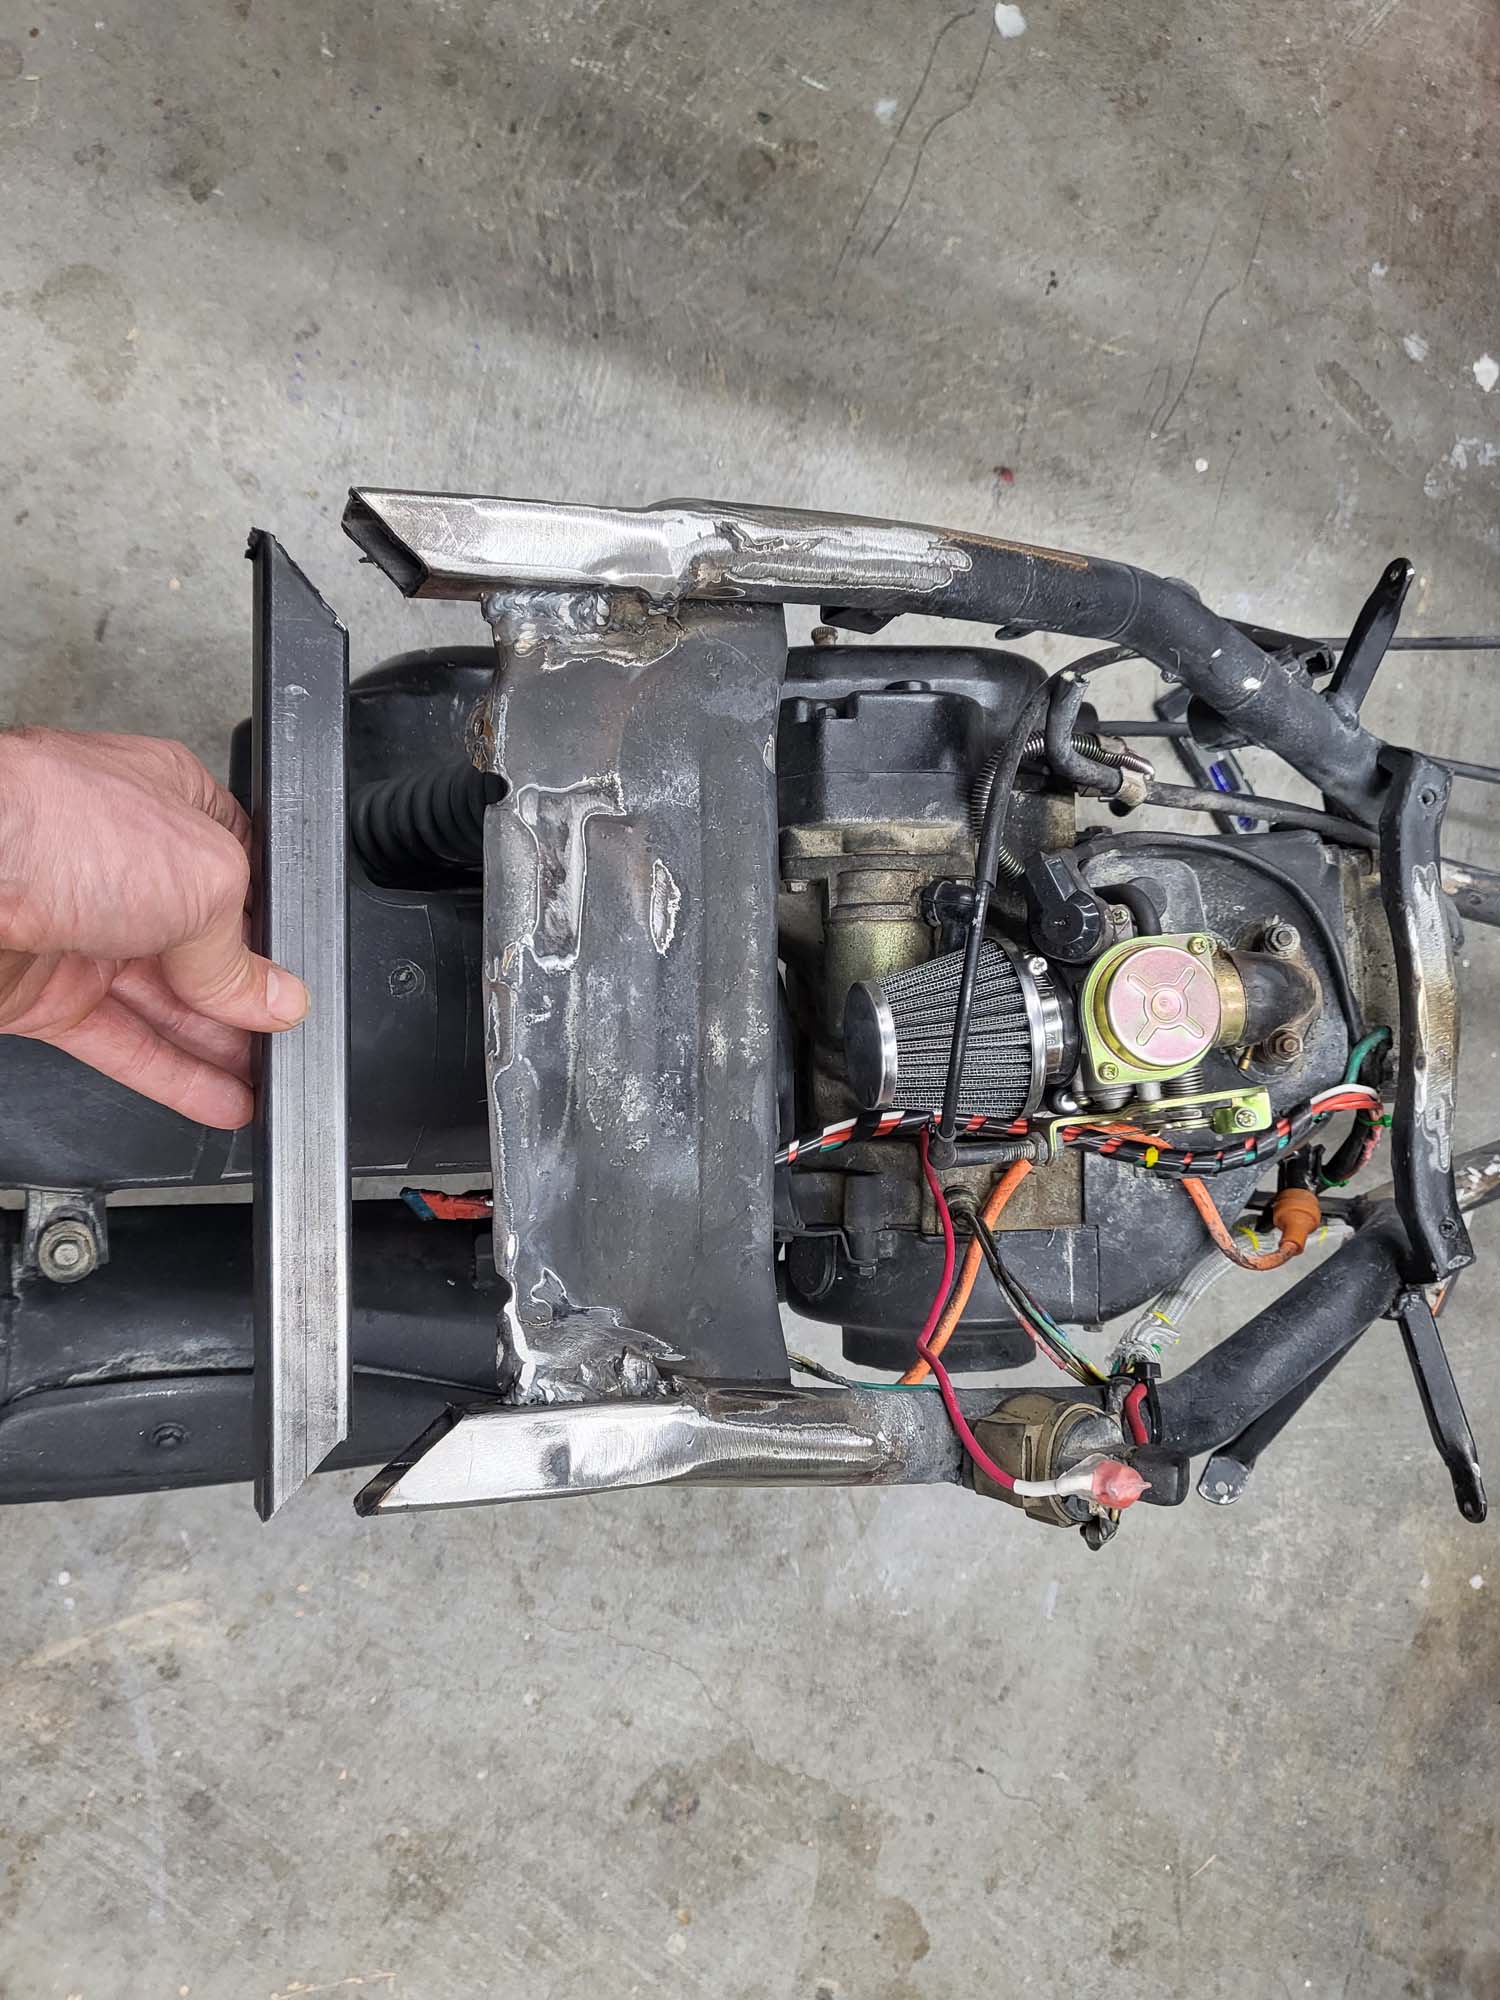
The first thing I wanted to clean up was the wiring. It was something I really neglected and it was pretty much a rat’s nest zip-tied together. I redid all the solder joints because the OEM’s work was very sloppy. This isn’t over, but it is a great start. I also removed anything that was not required to make it functional and street legal.

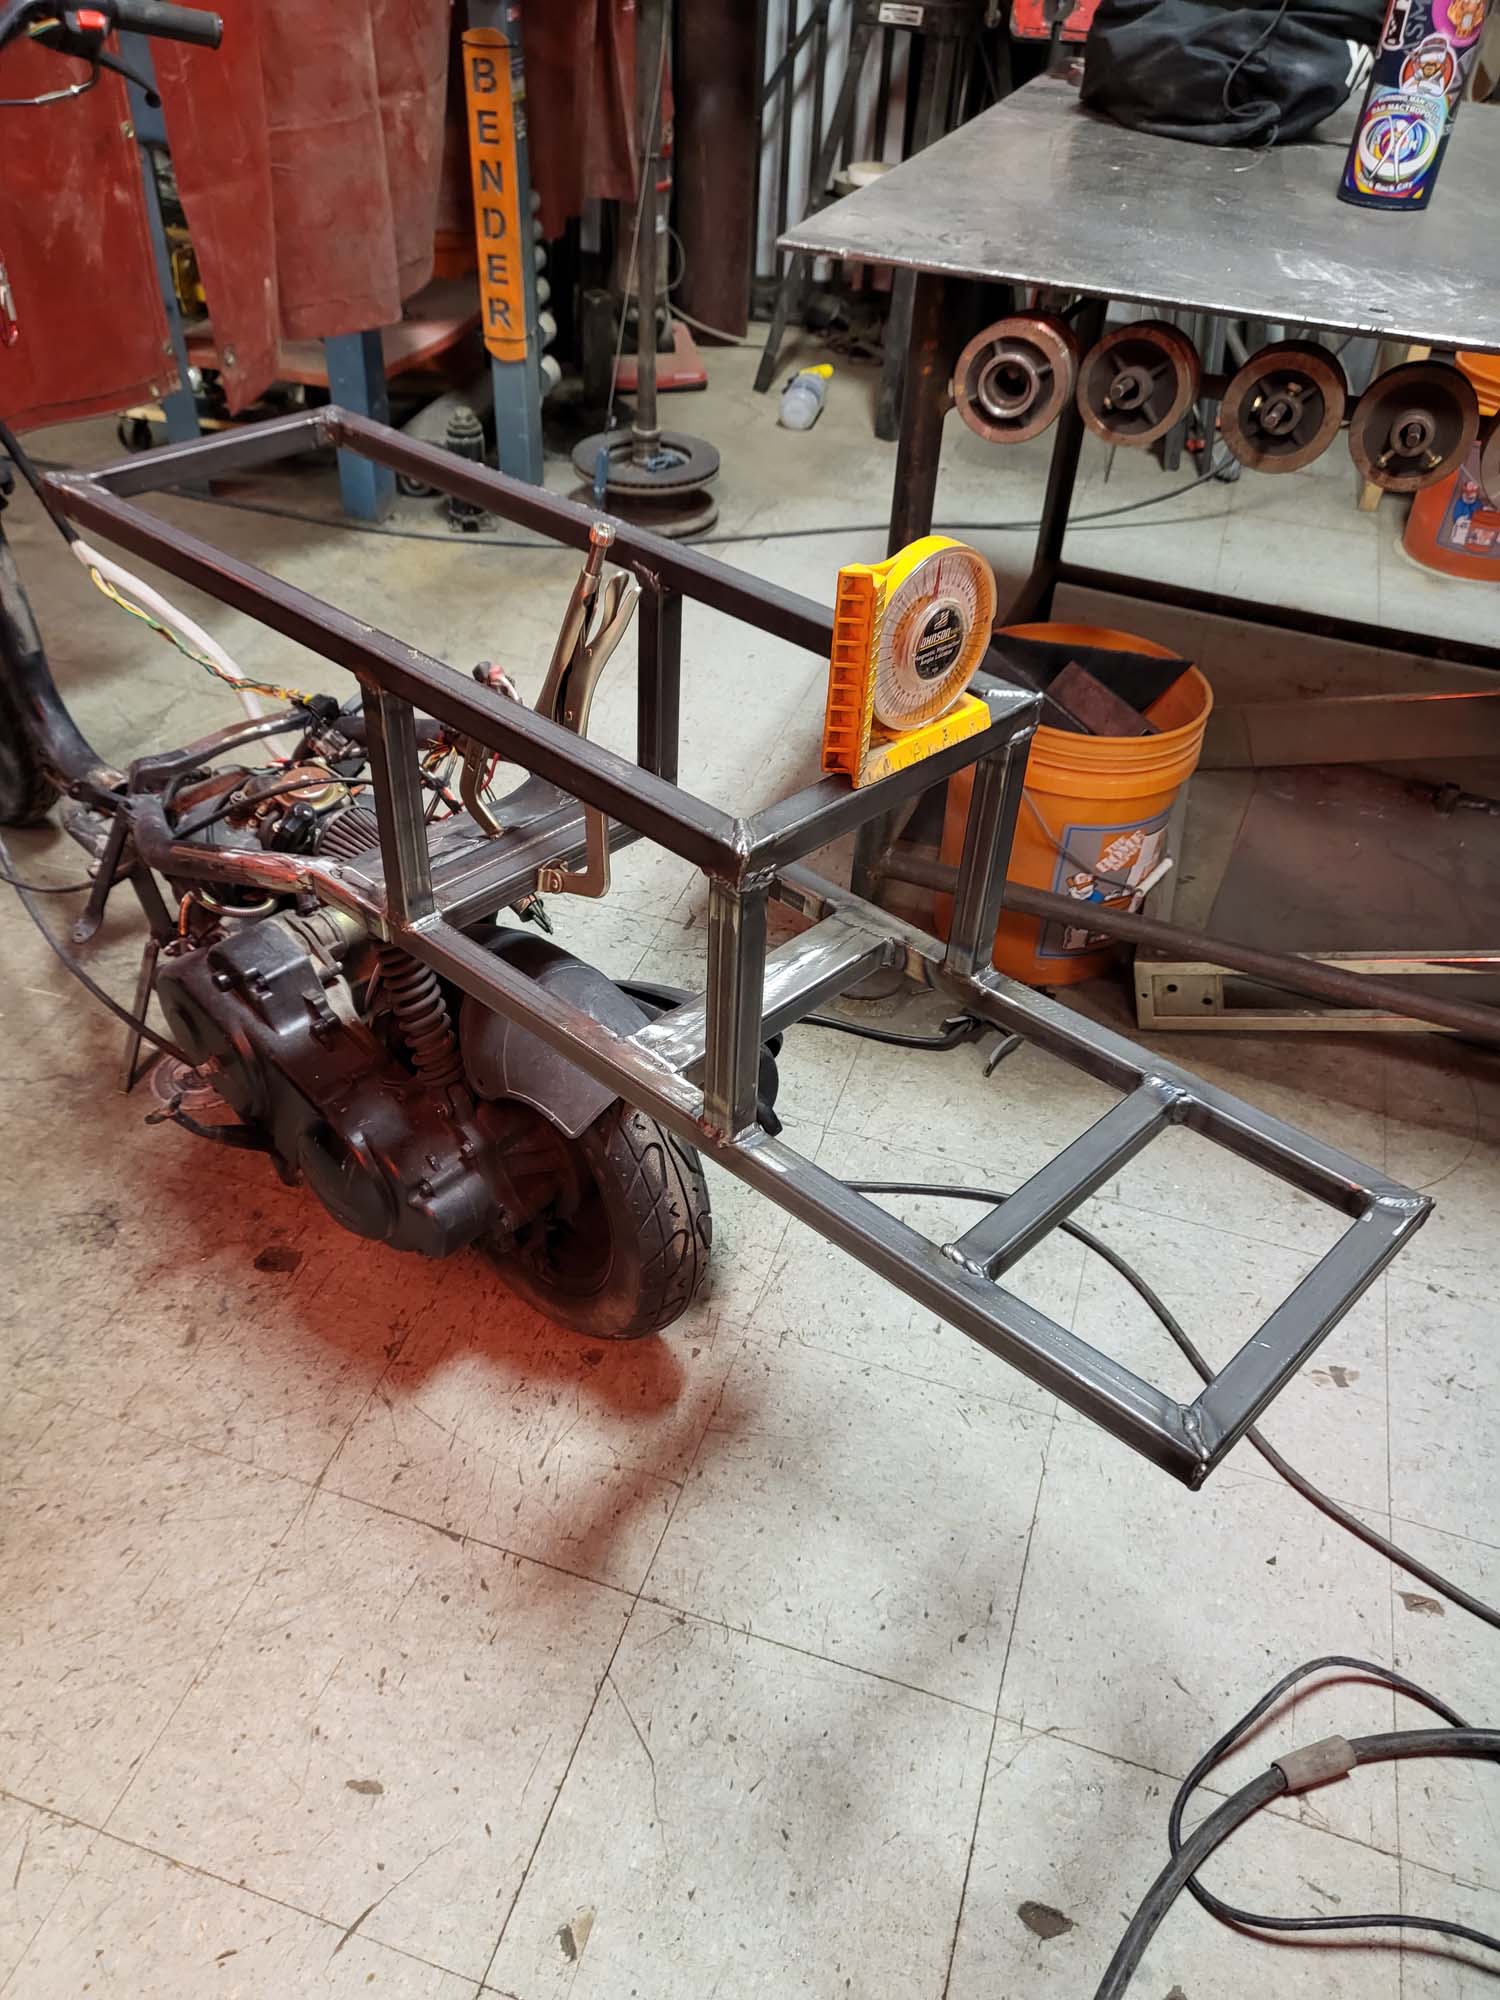
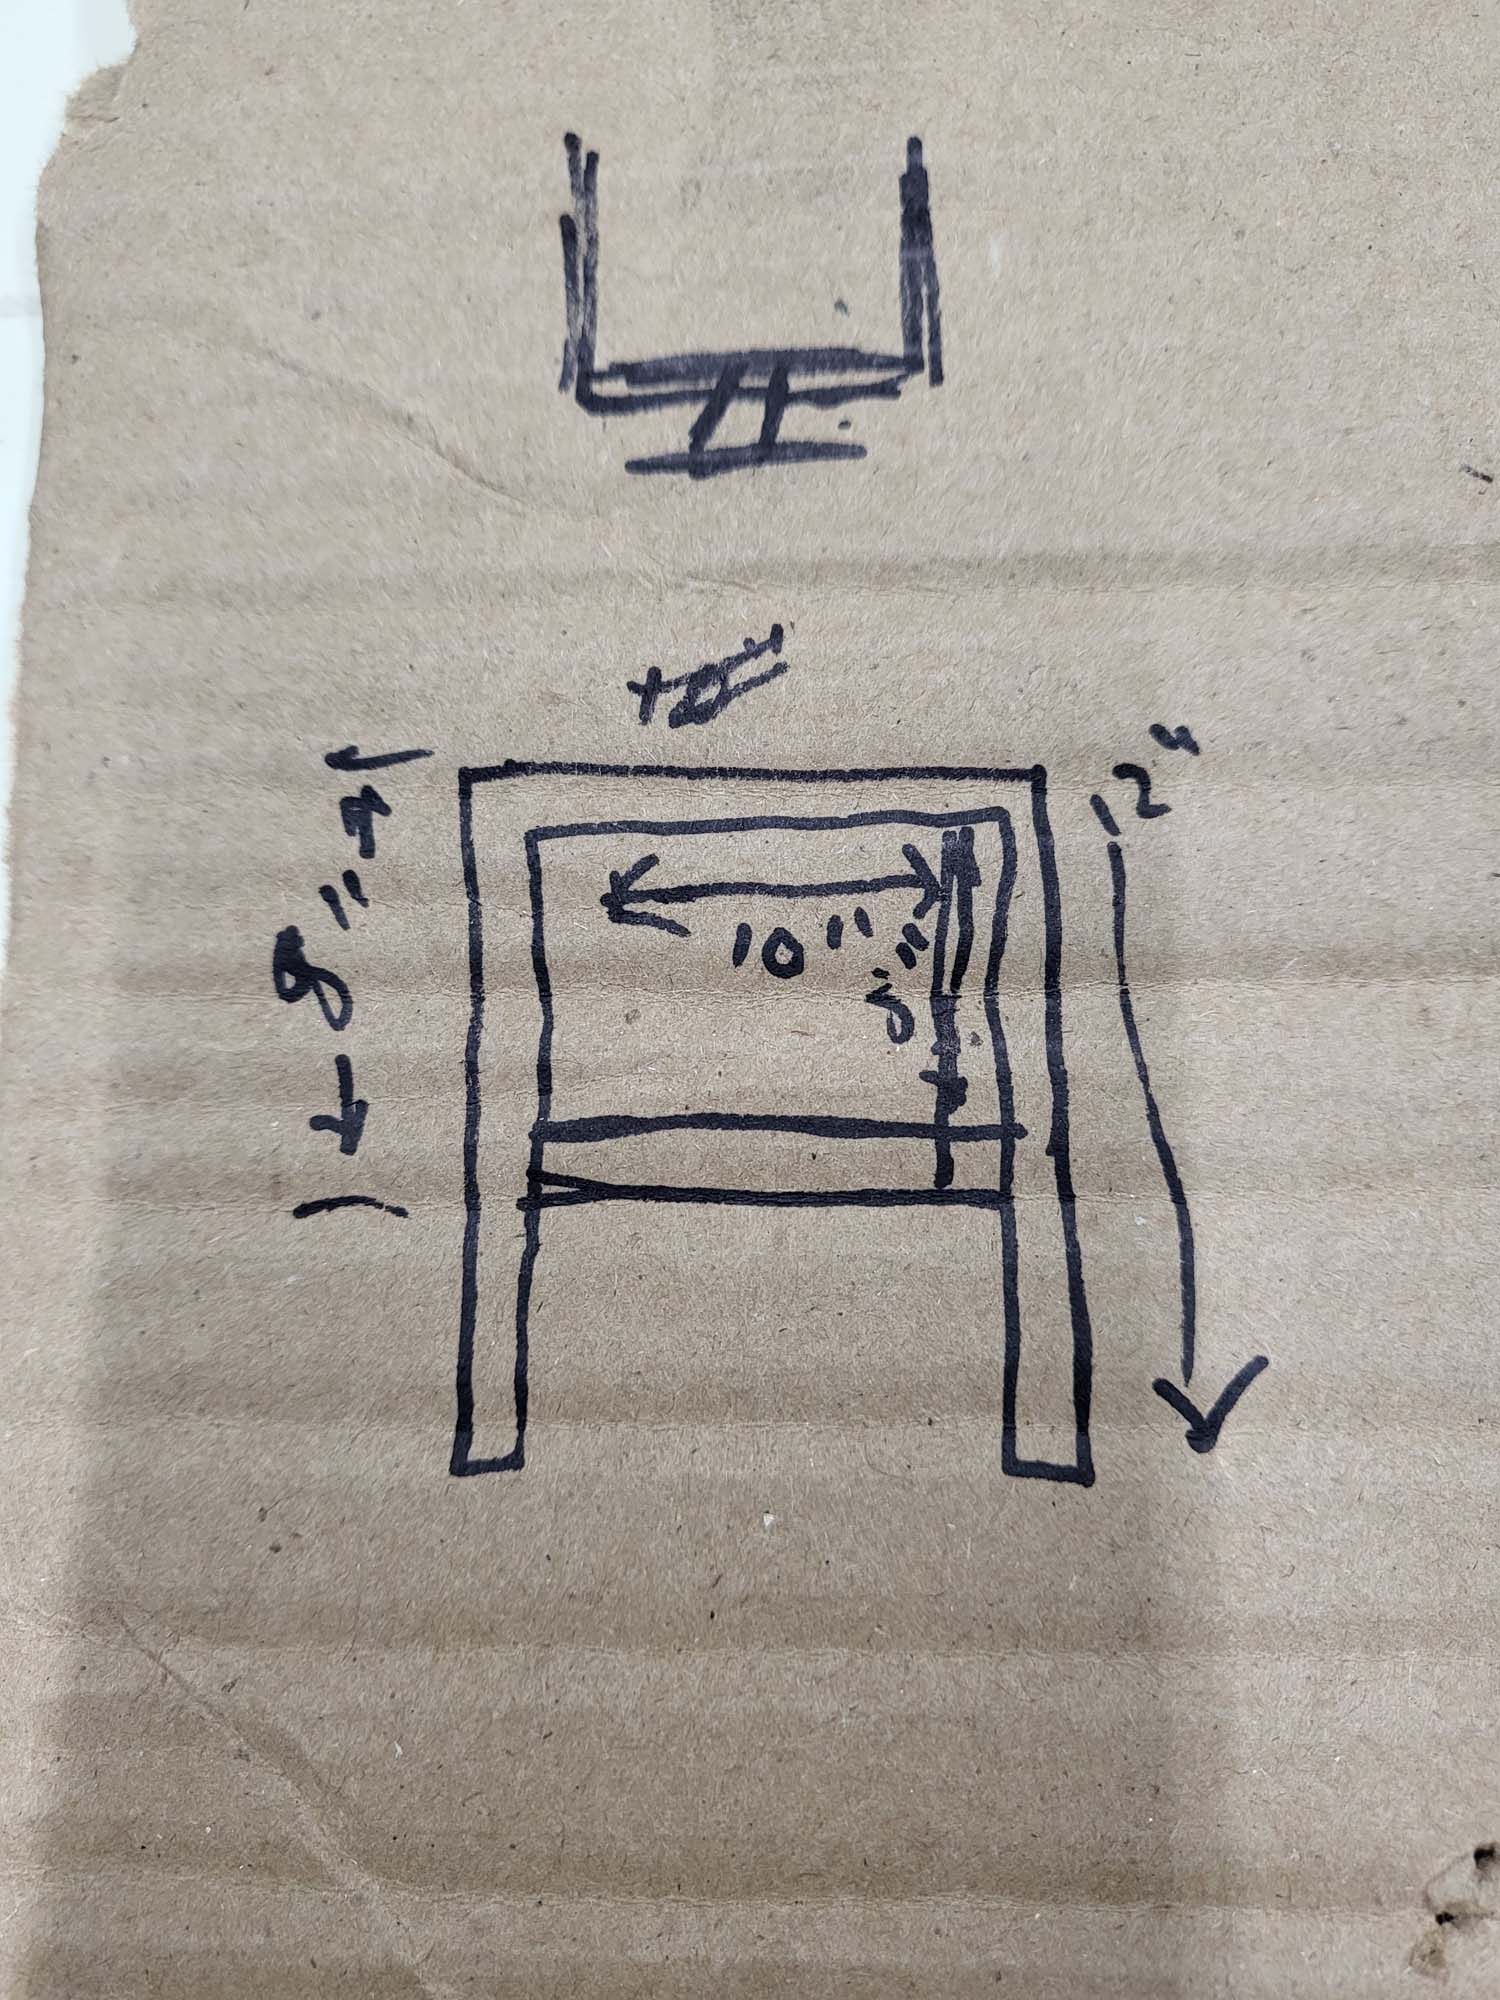
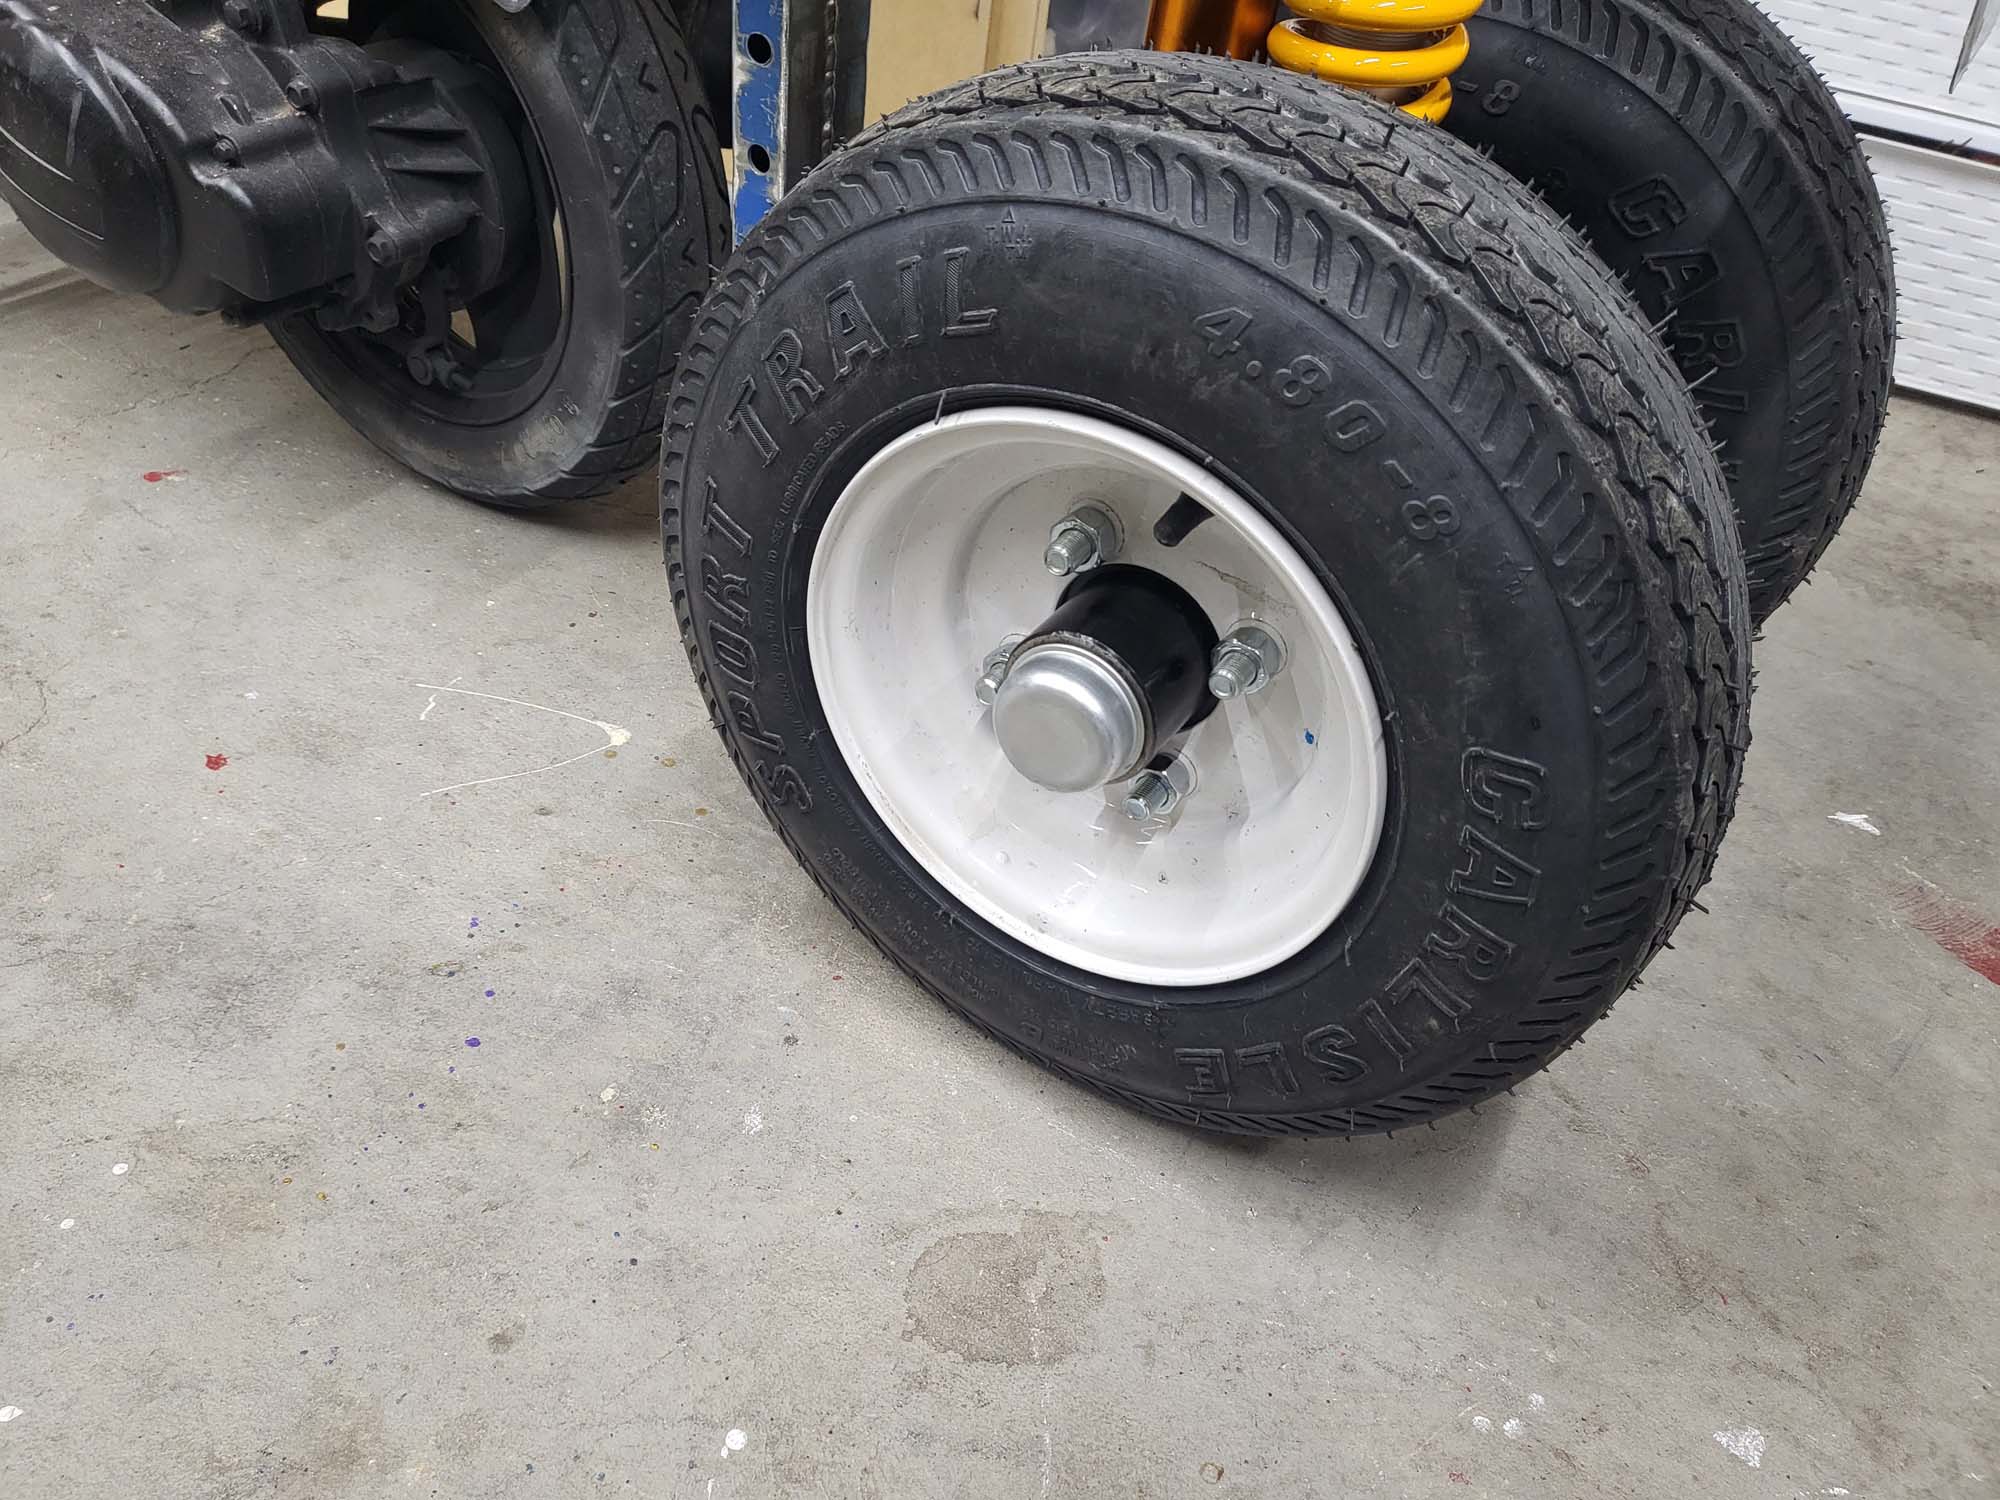
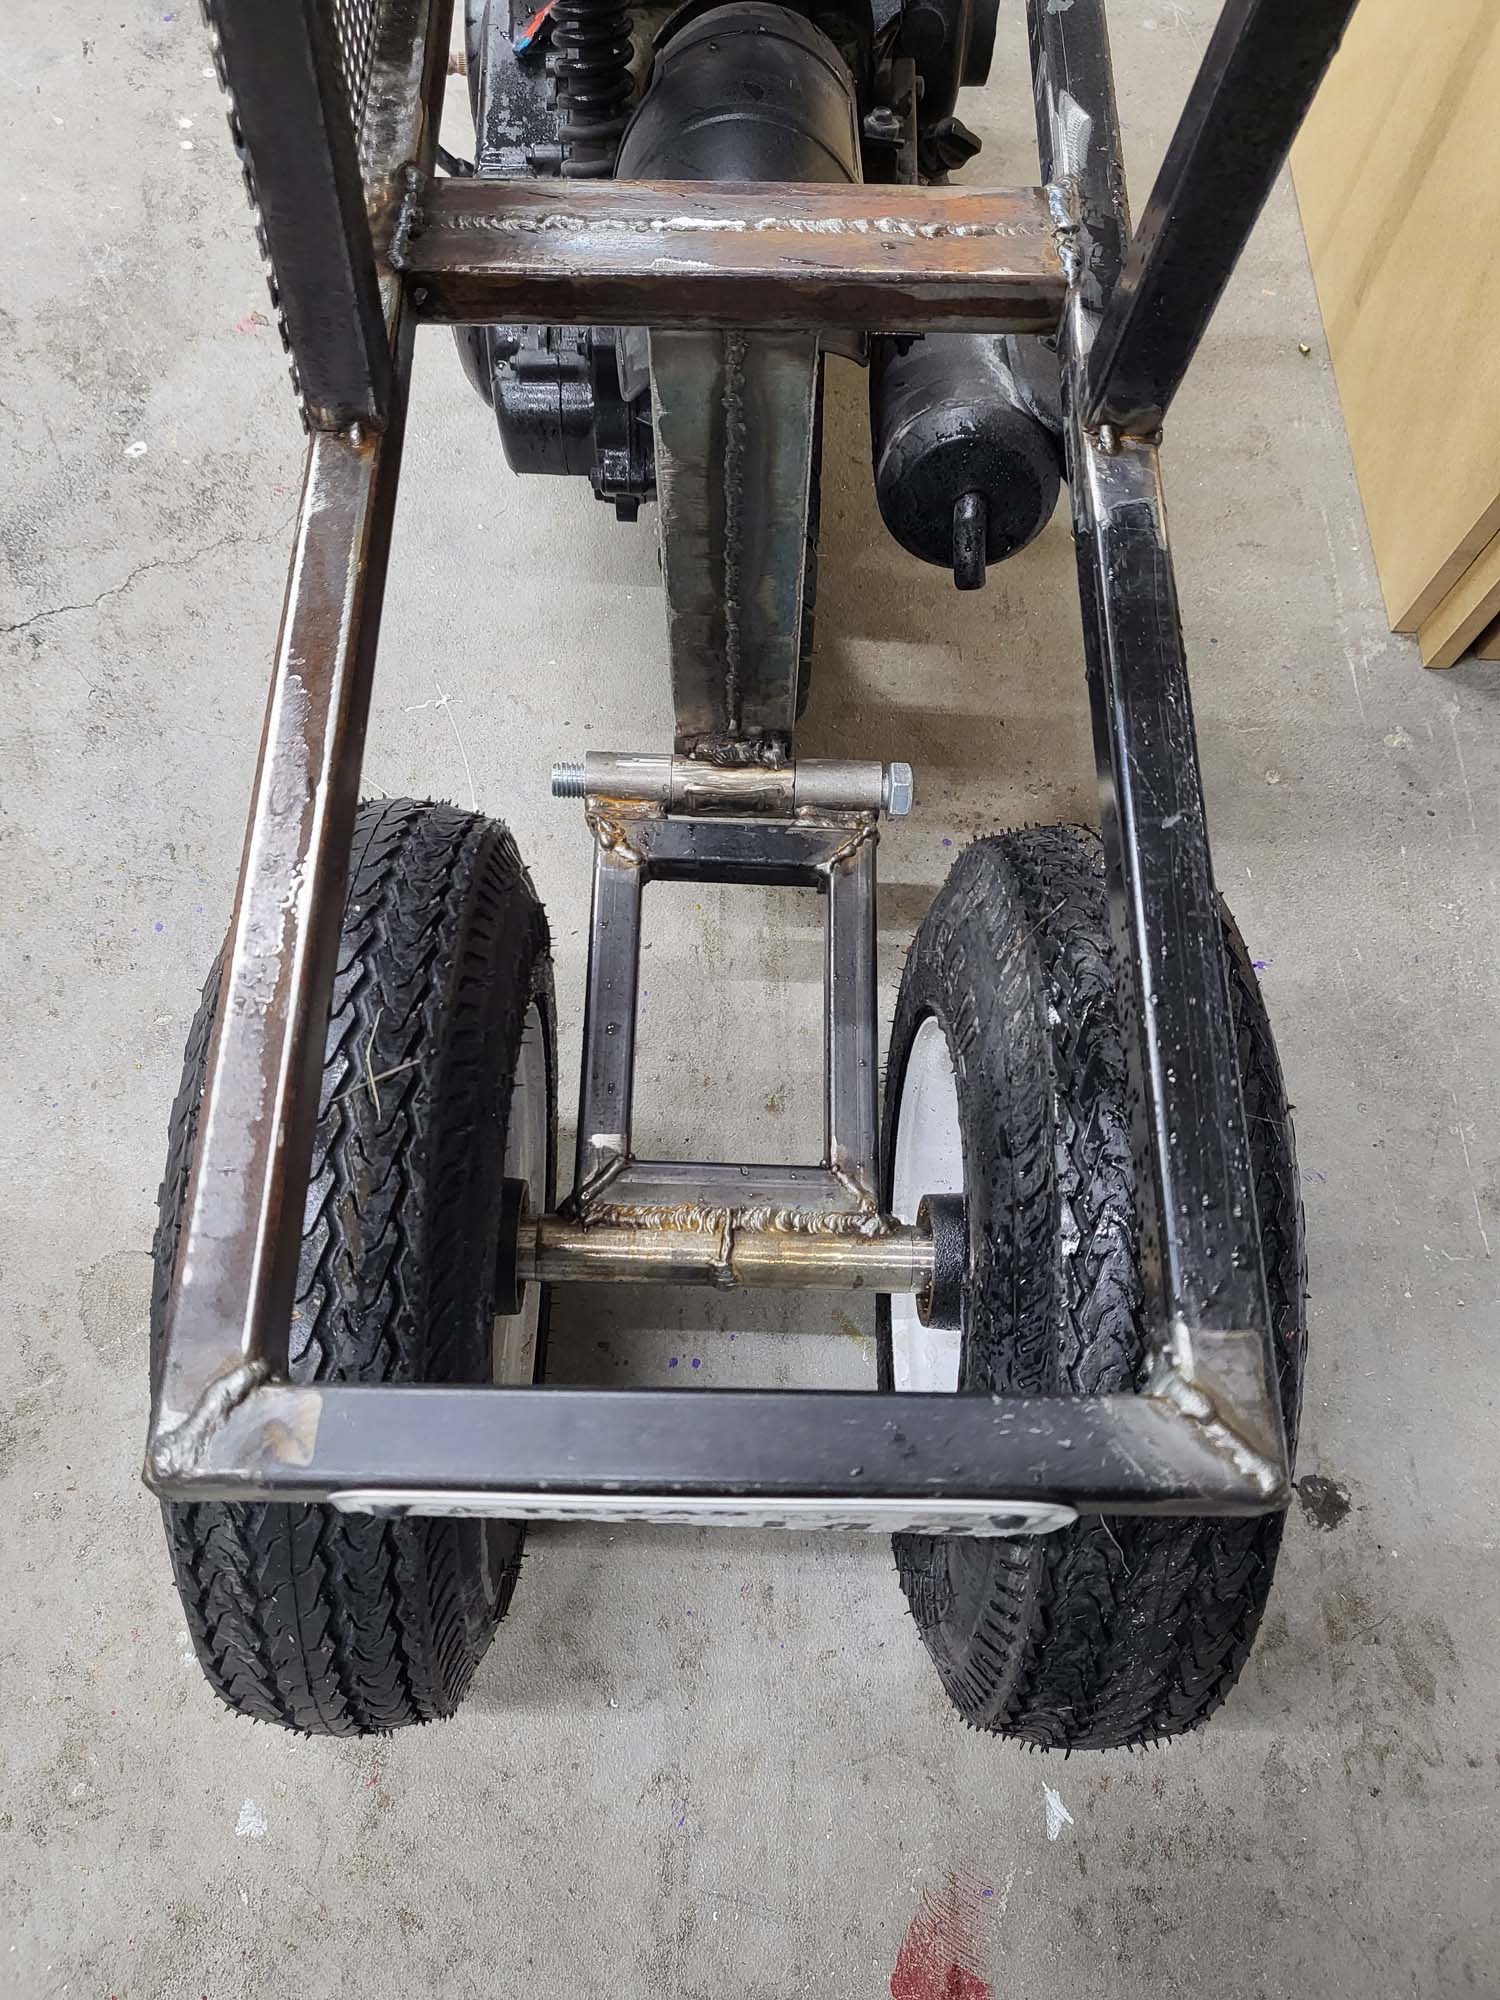
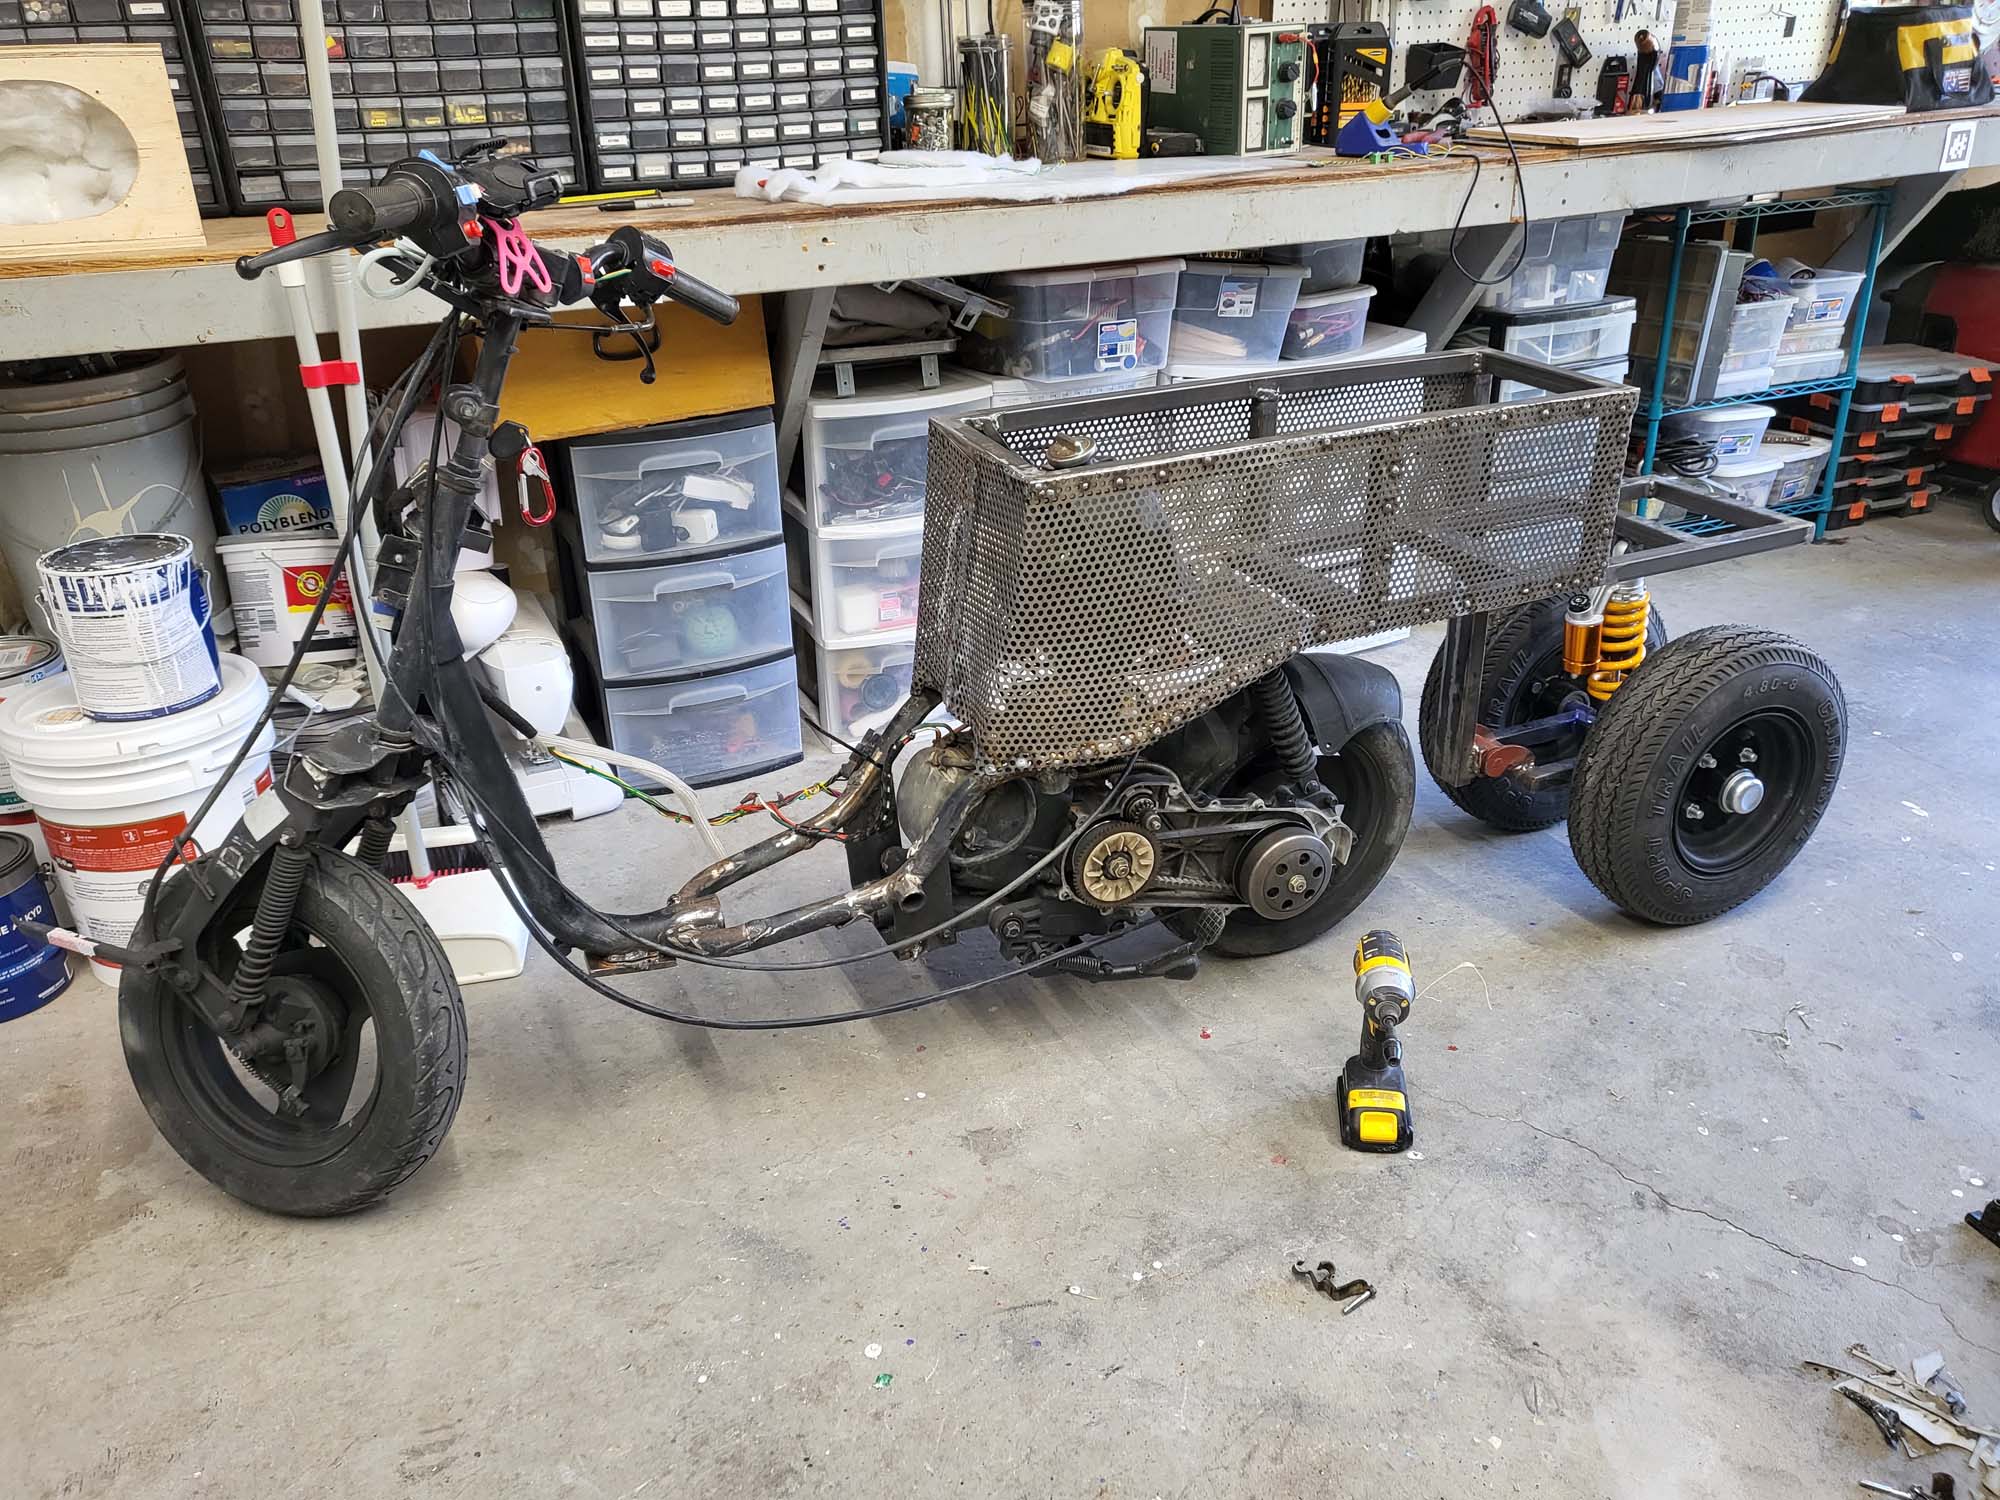
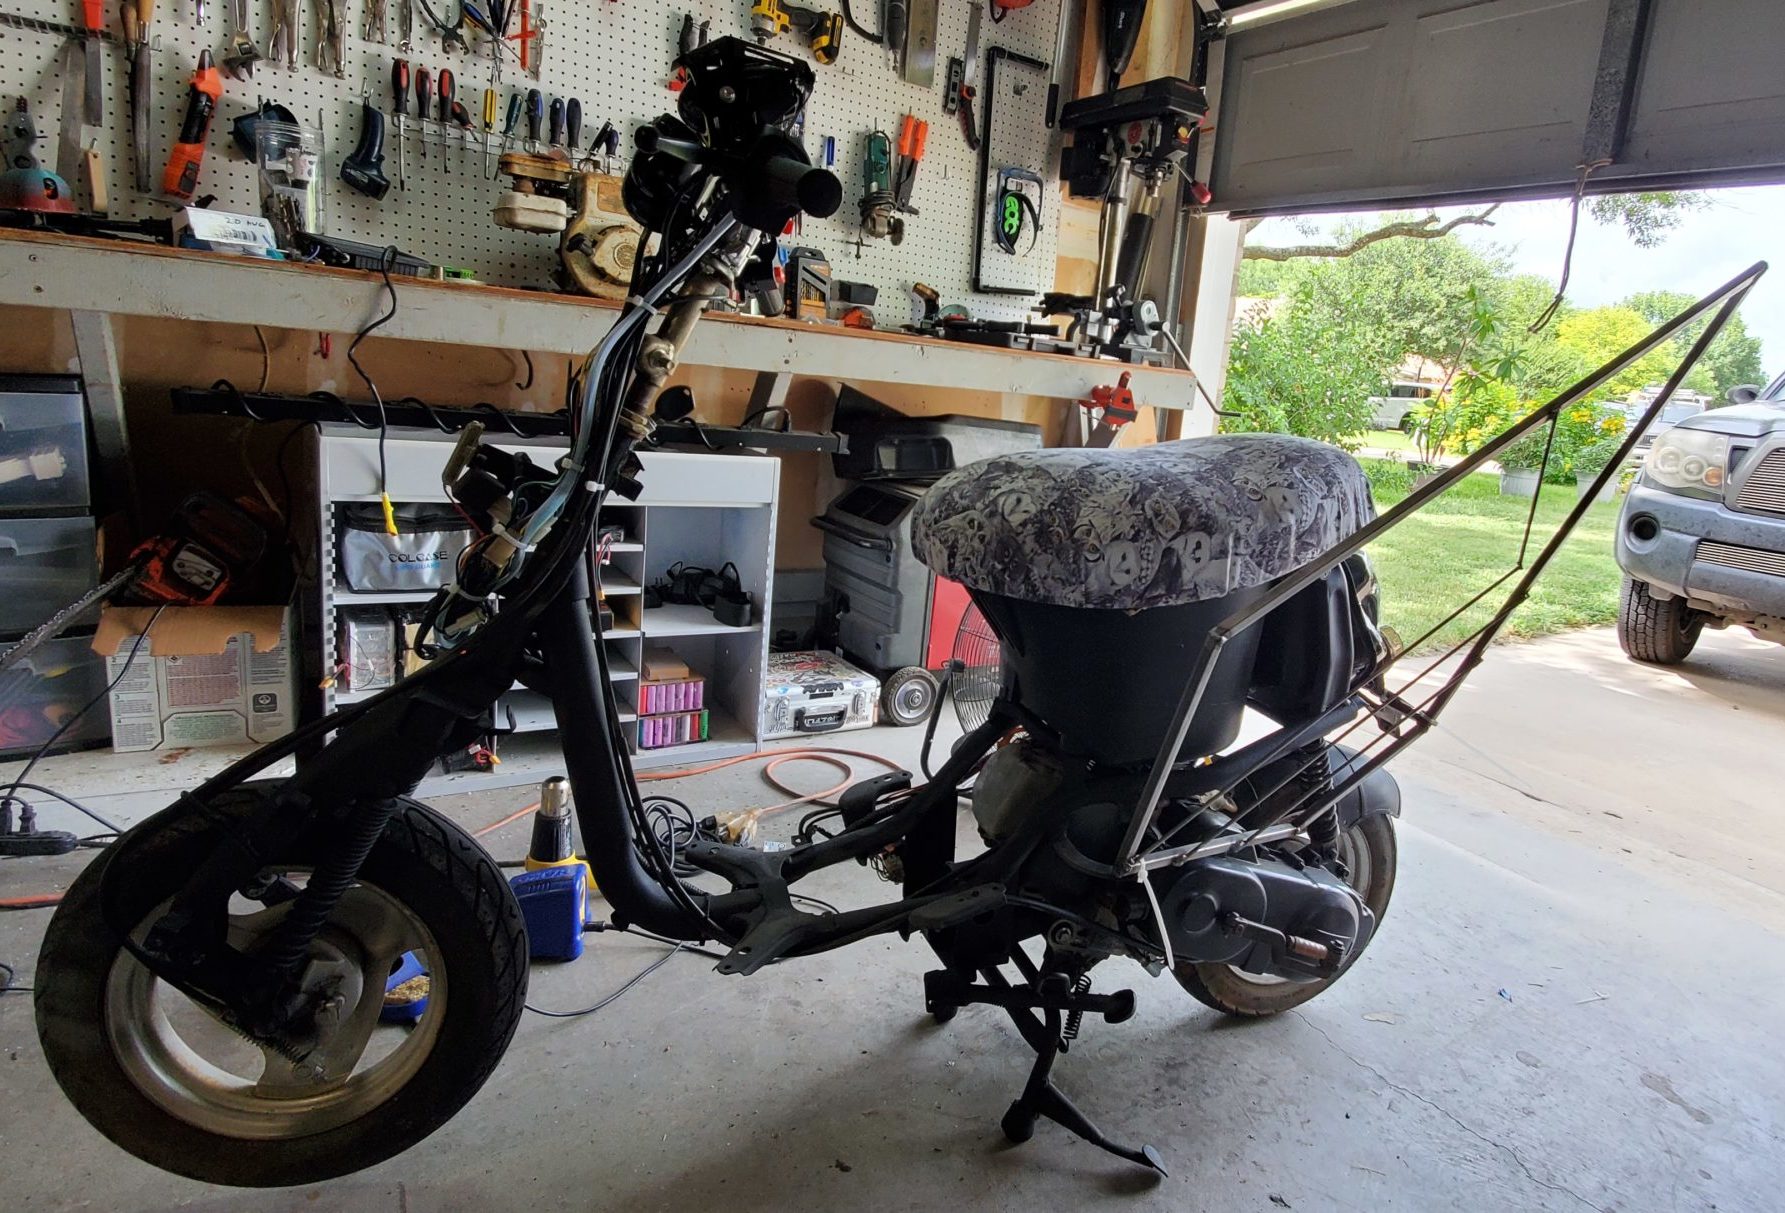
The plan is to extend the back and seat so that more people can fit comfortably. Under the back will be two 12 inch trailer wheels roughly a foot apart that keep the vehicle upright. I will have to build some type of suspension for it. I also need to build a panel for either side of the front forks. This is to hide the base vehicle more while looking at it from the side. I also want to build a better platform for the driver’s feet.
After cleaning up the wires, the next step was to build two more LED panels, one for either side of the front forks. I am starting to be able to knock these out fairly fast now.
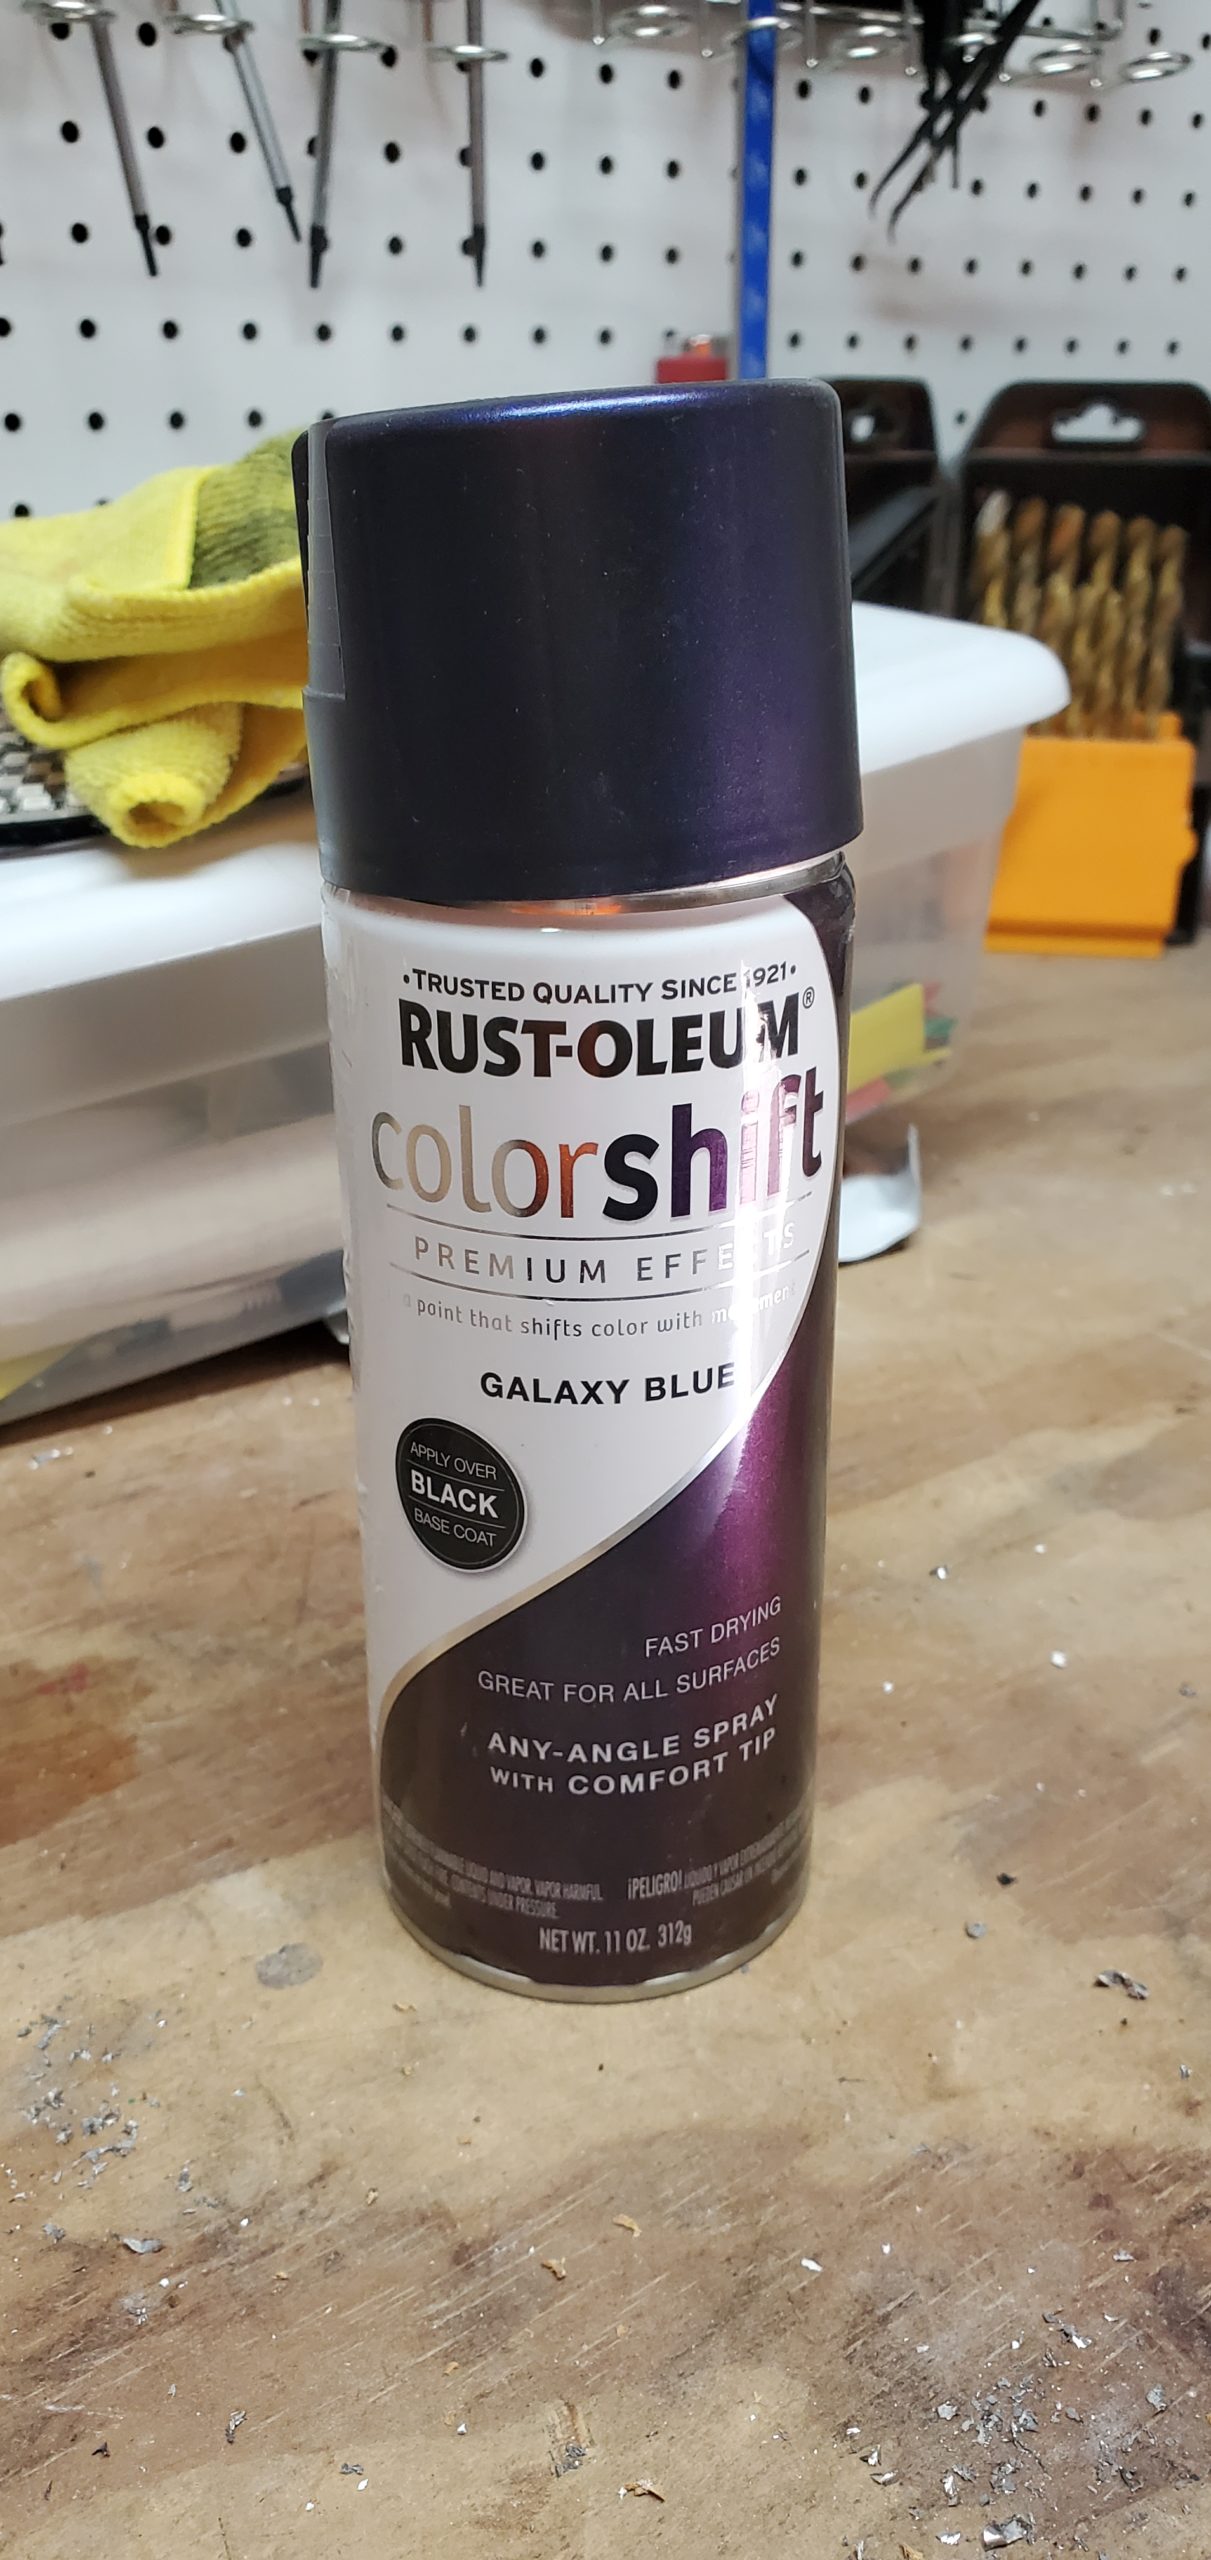
The color shift paint I was initially using was something I had on my shelf. After we decided to use it, I had a hard time finding it because the company discontinued it. When I did find a store that had it in stock, it was ridiculously expensive. I was experimenting with mica pigments for a separate epoxy project, and realized I could make it myself. I am using Eye Candy mica powders–a 5:1 mixture of their Geisha Doll and Sapporo.
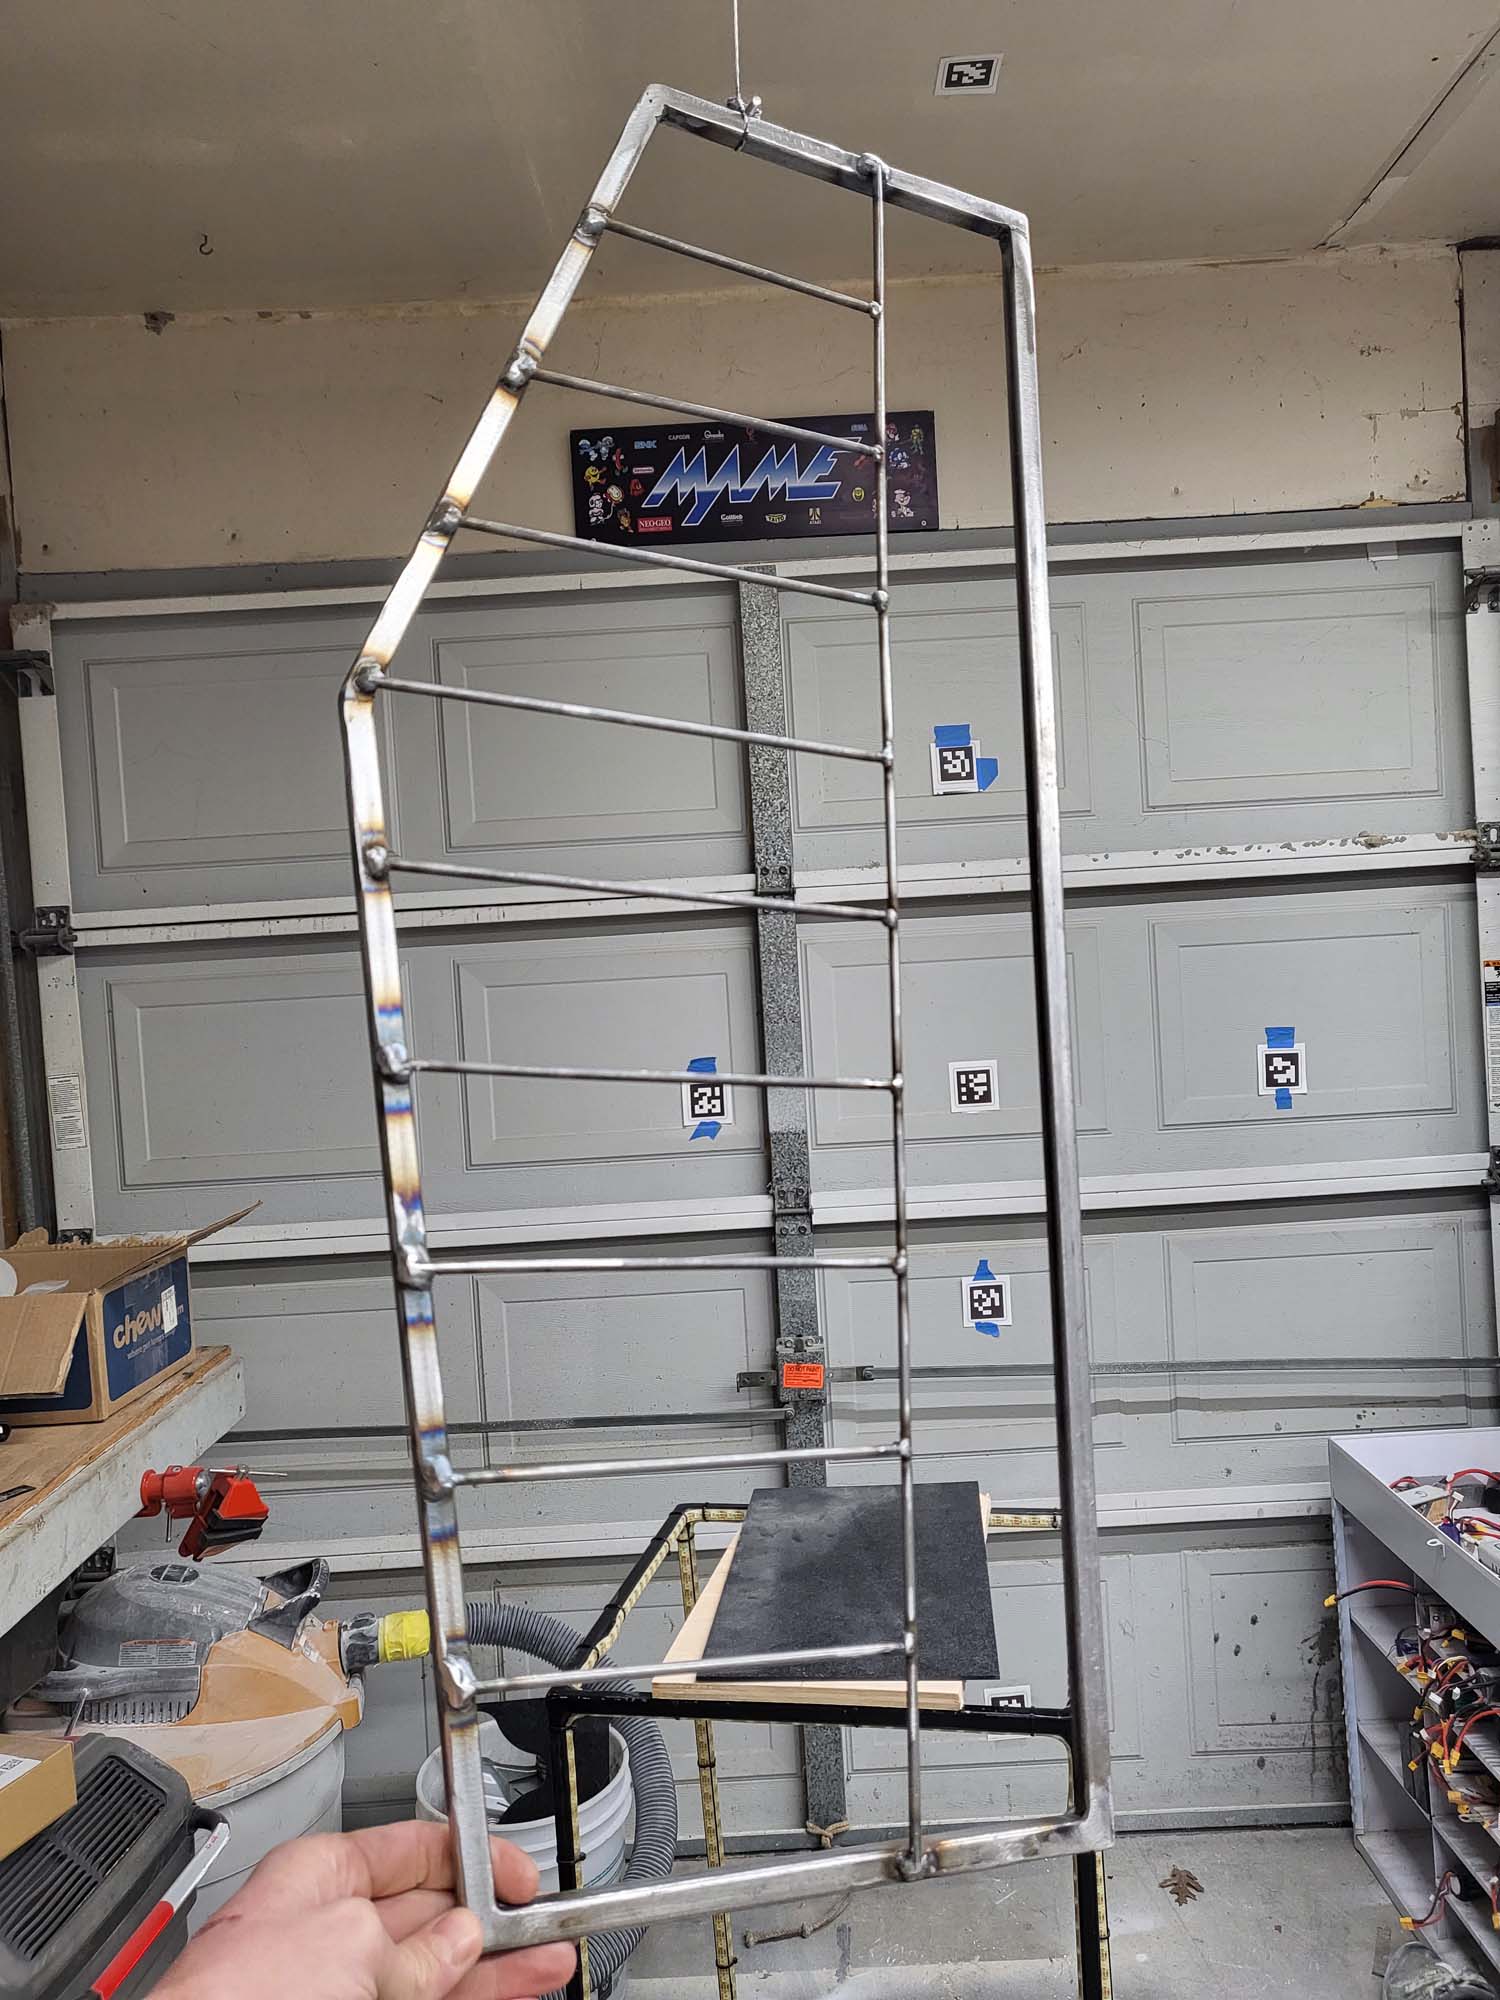
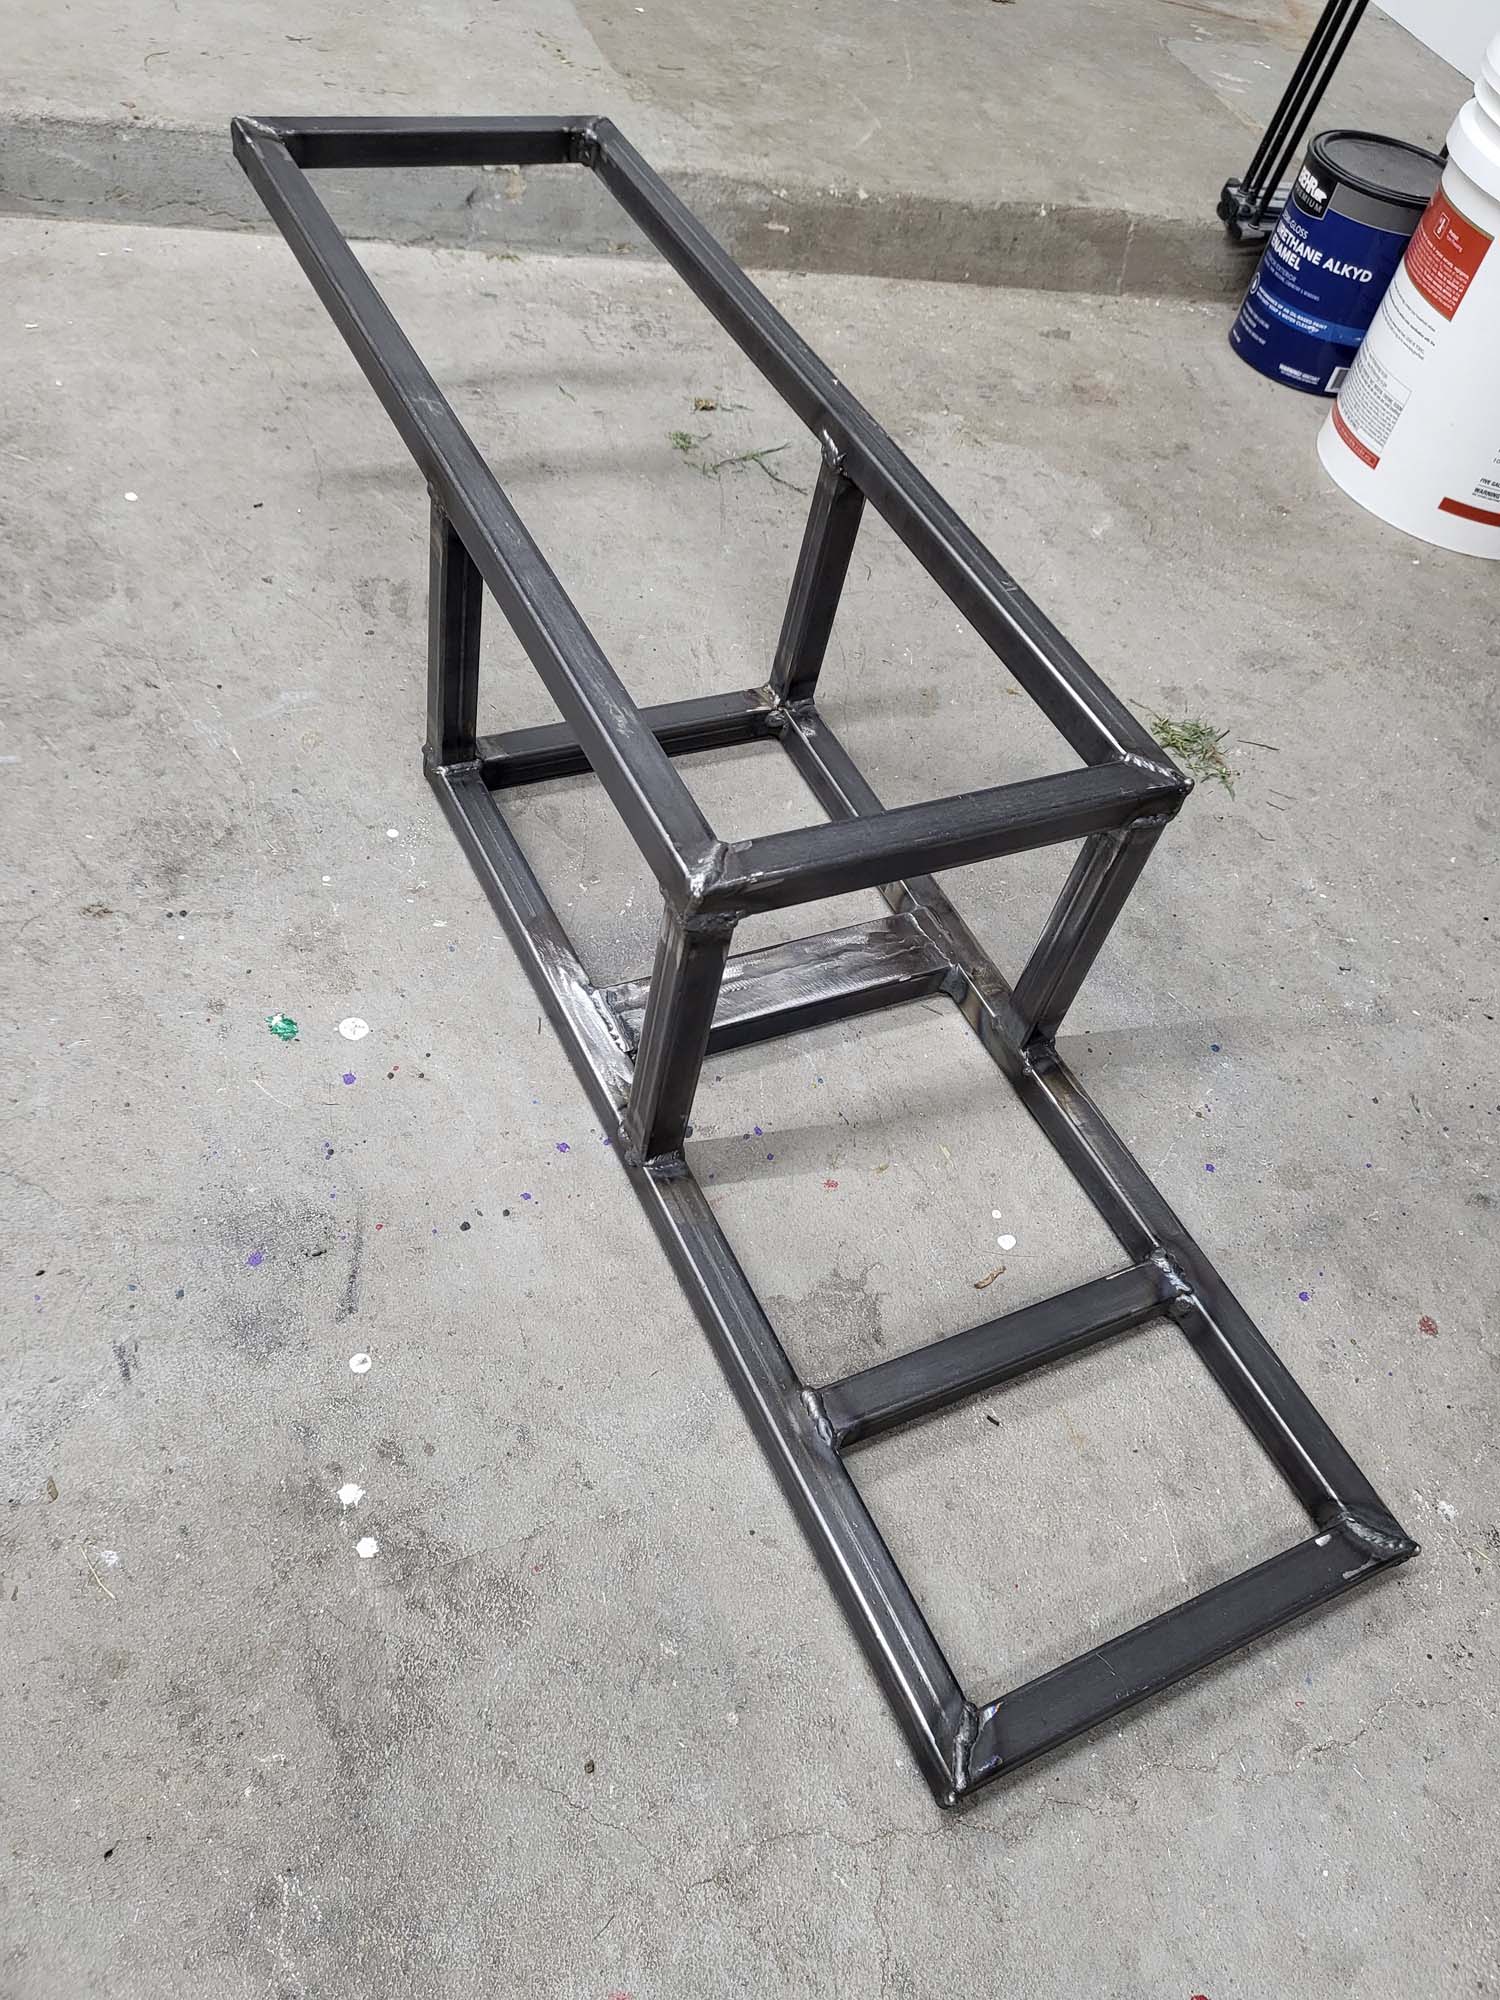
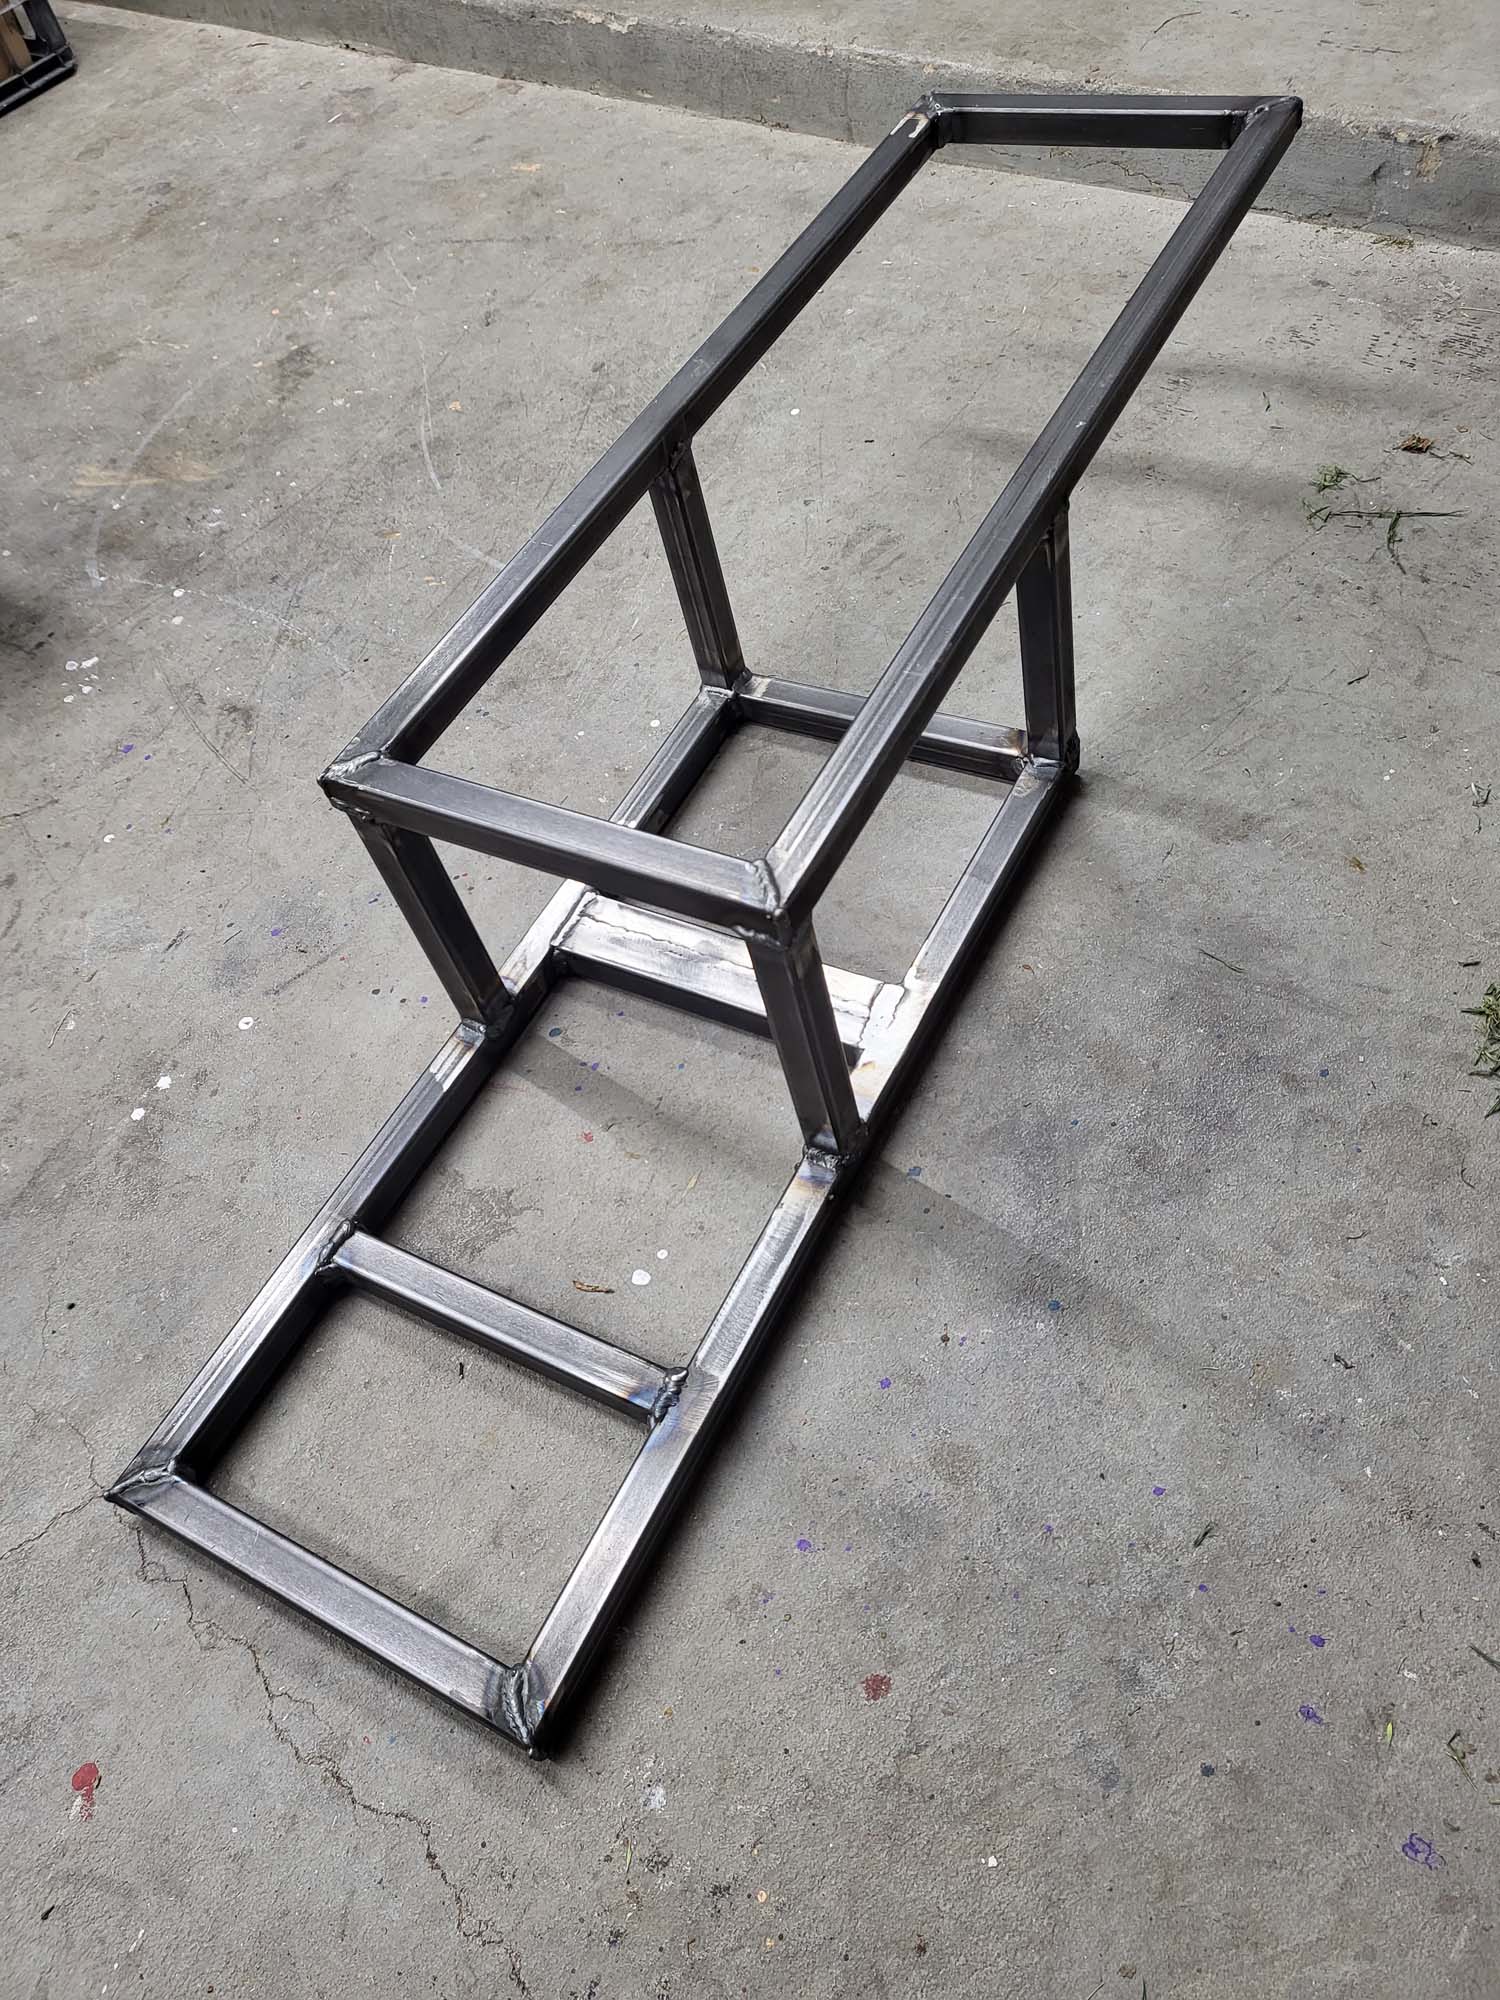
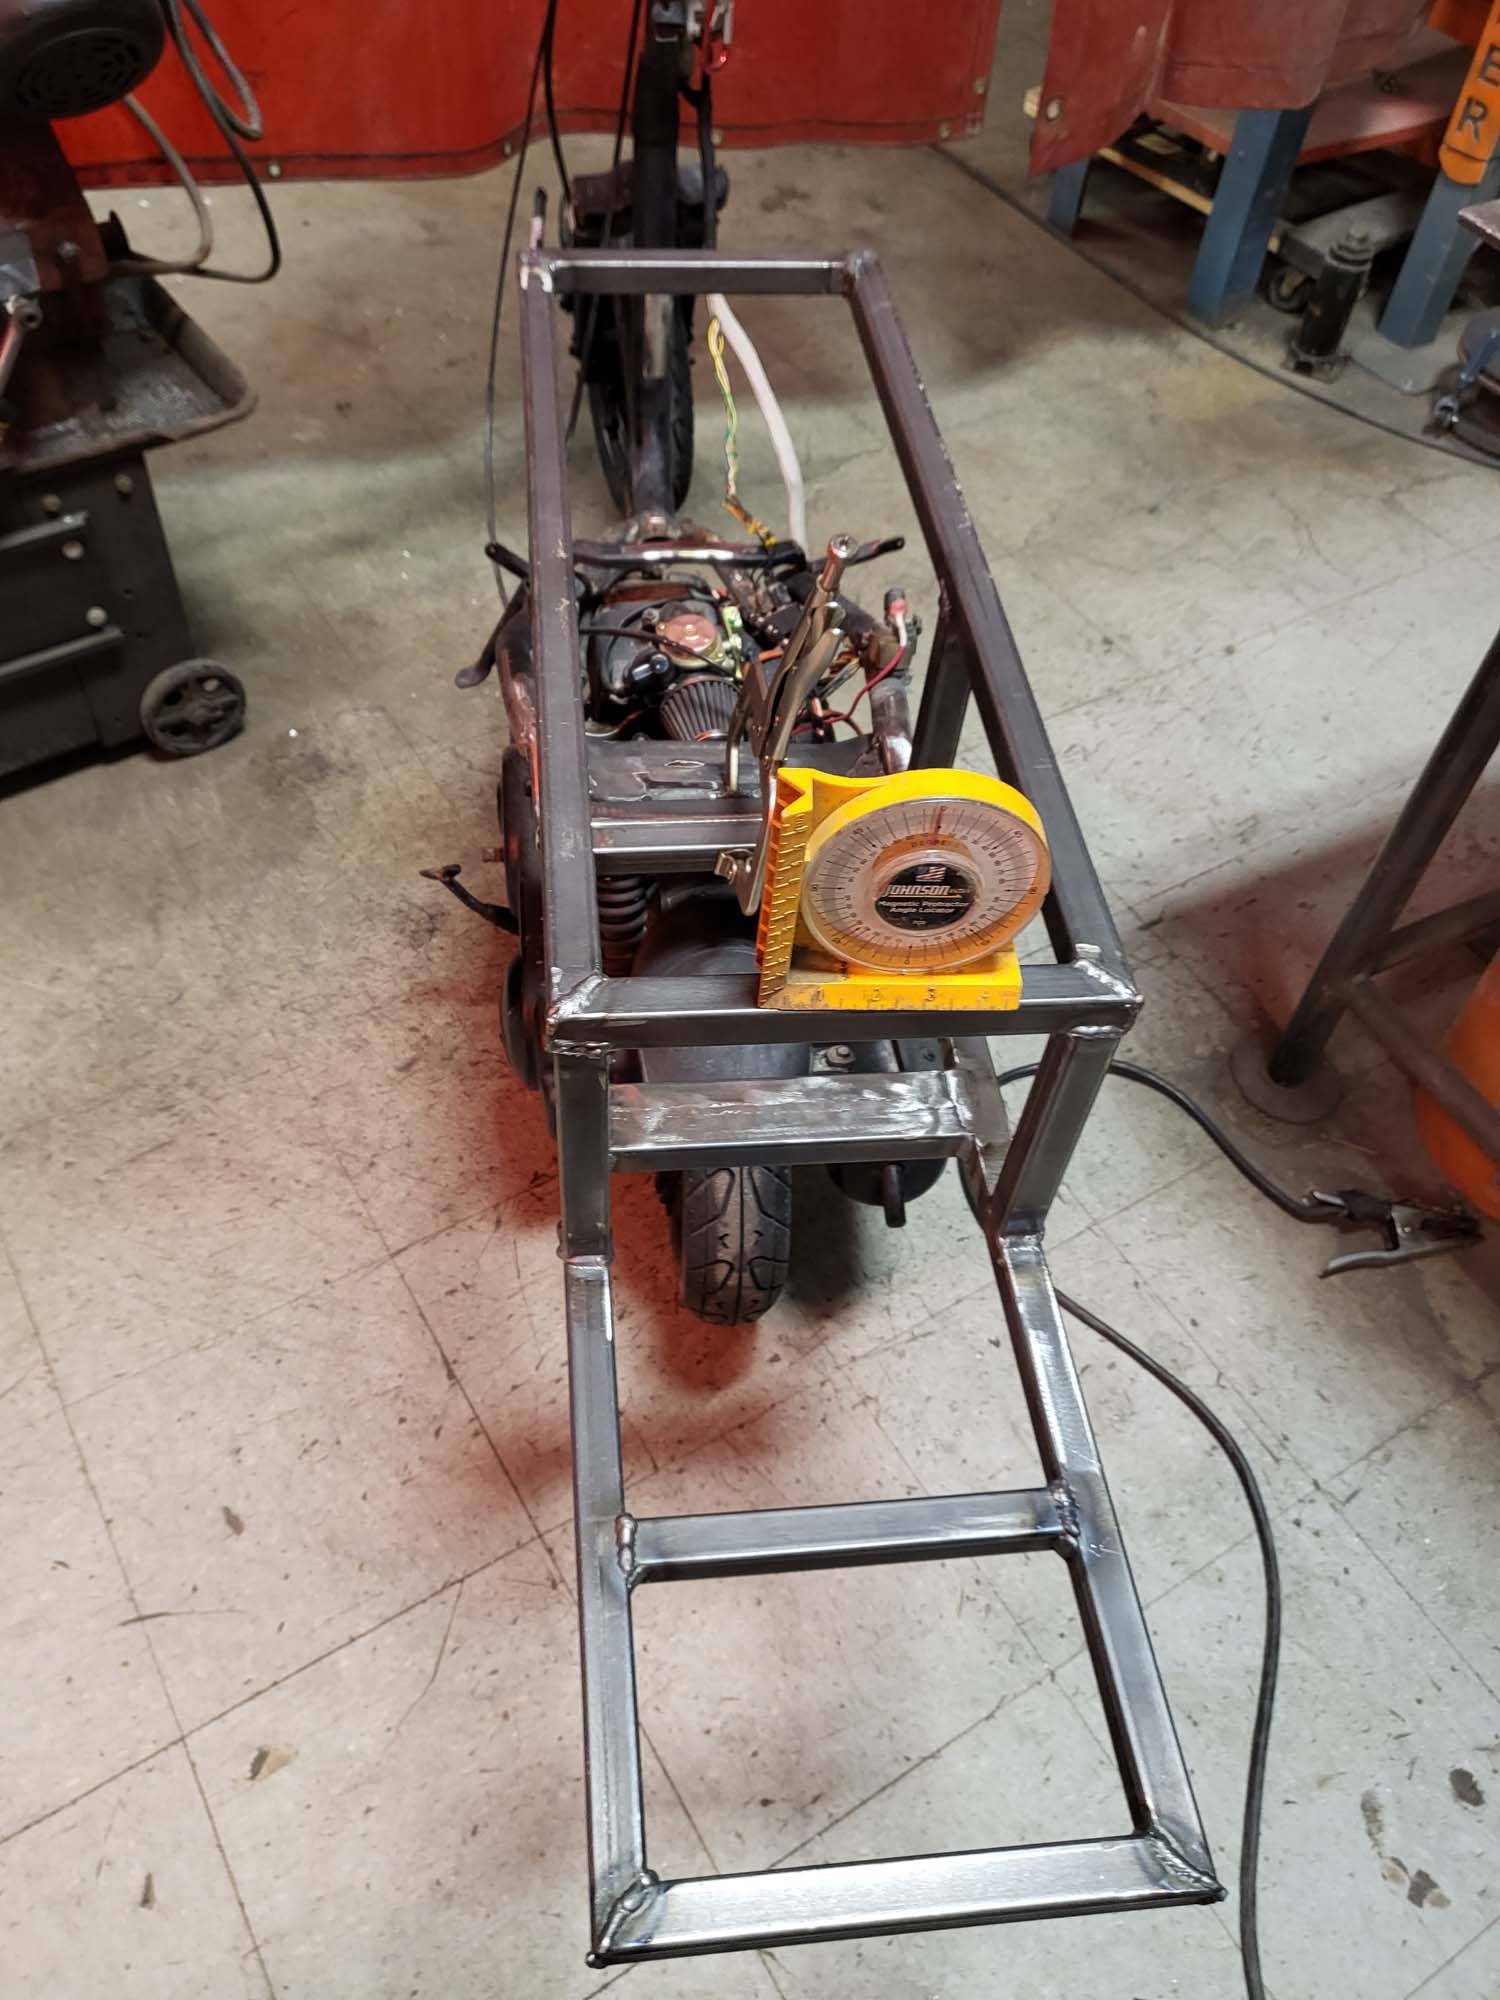
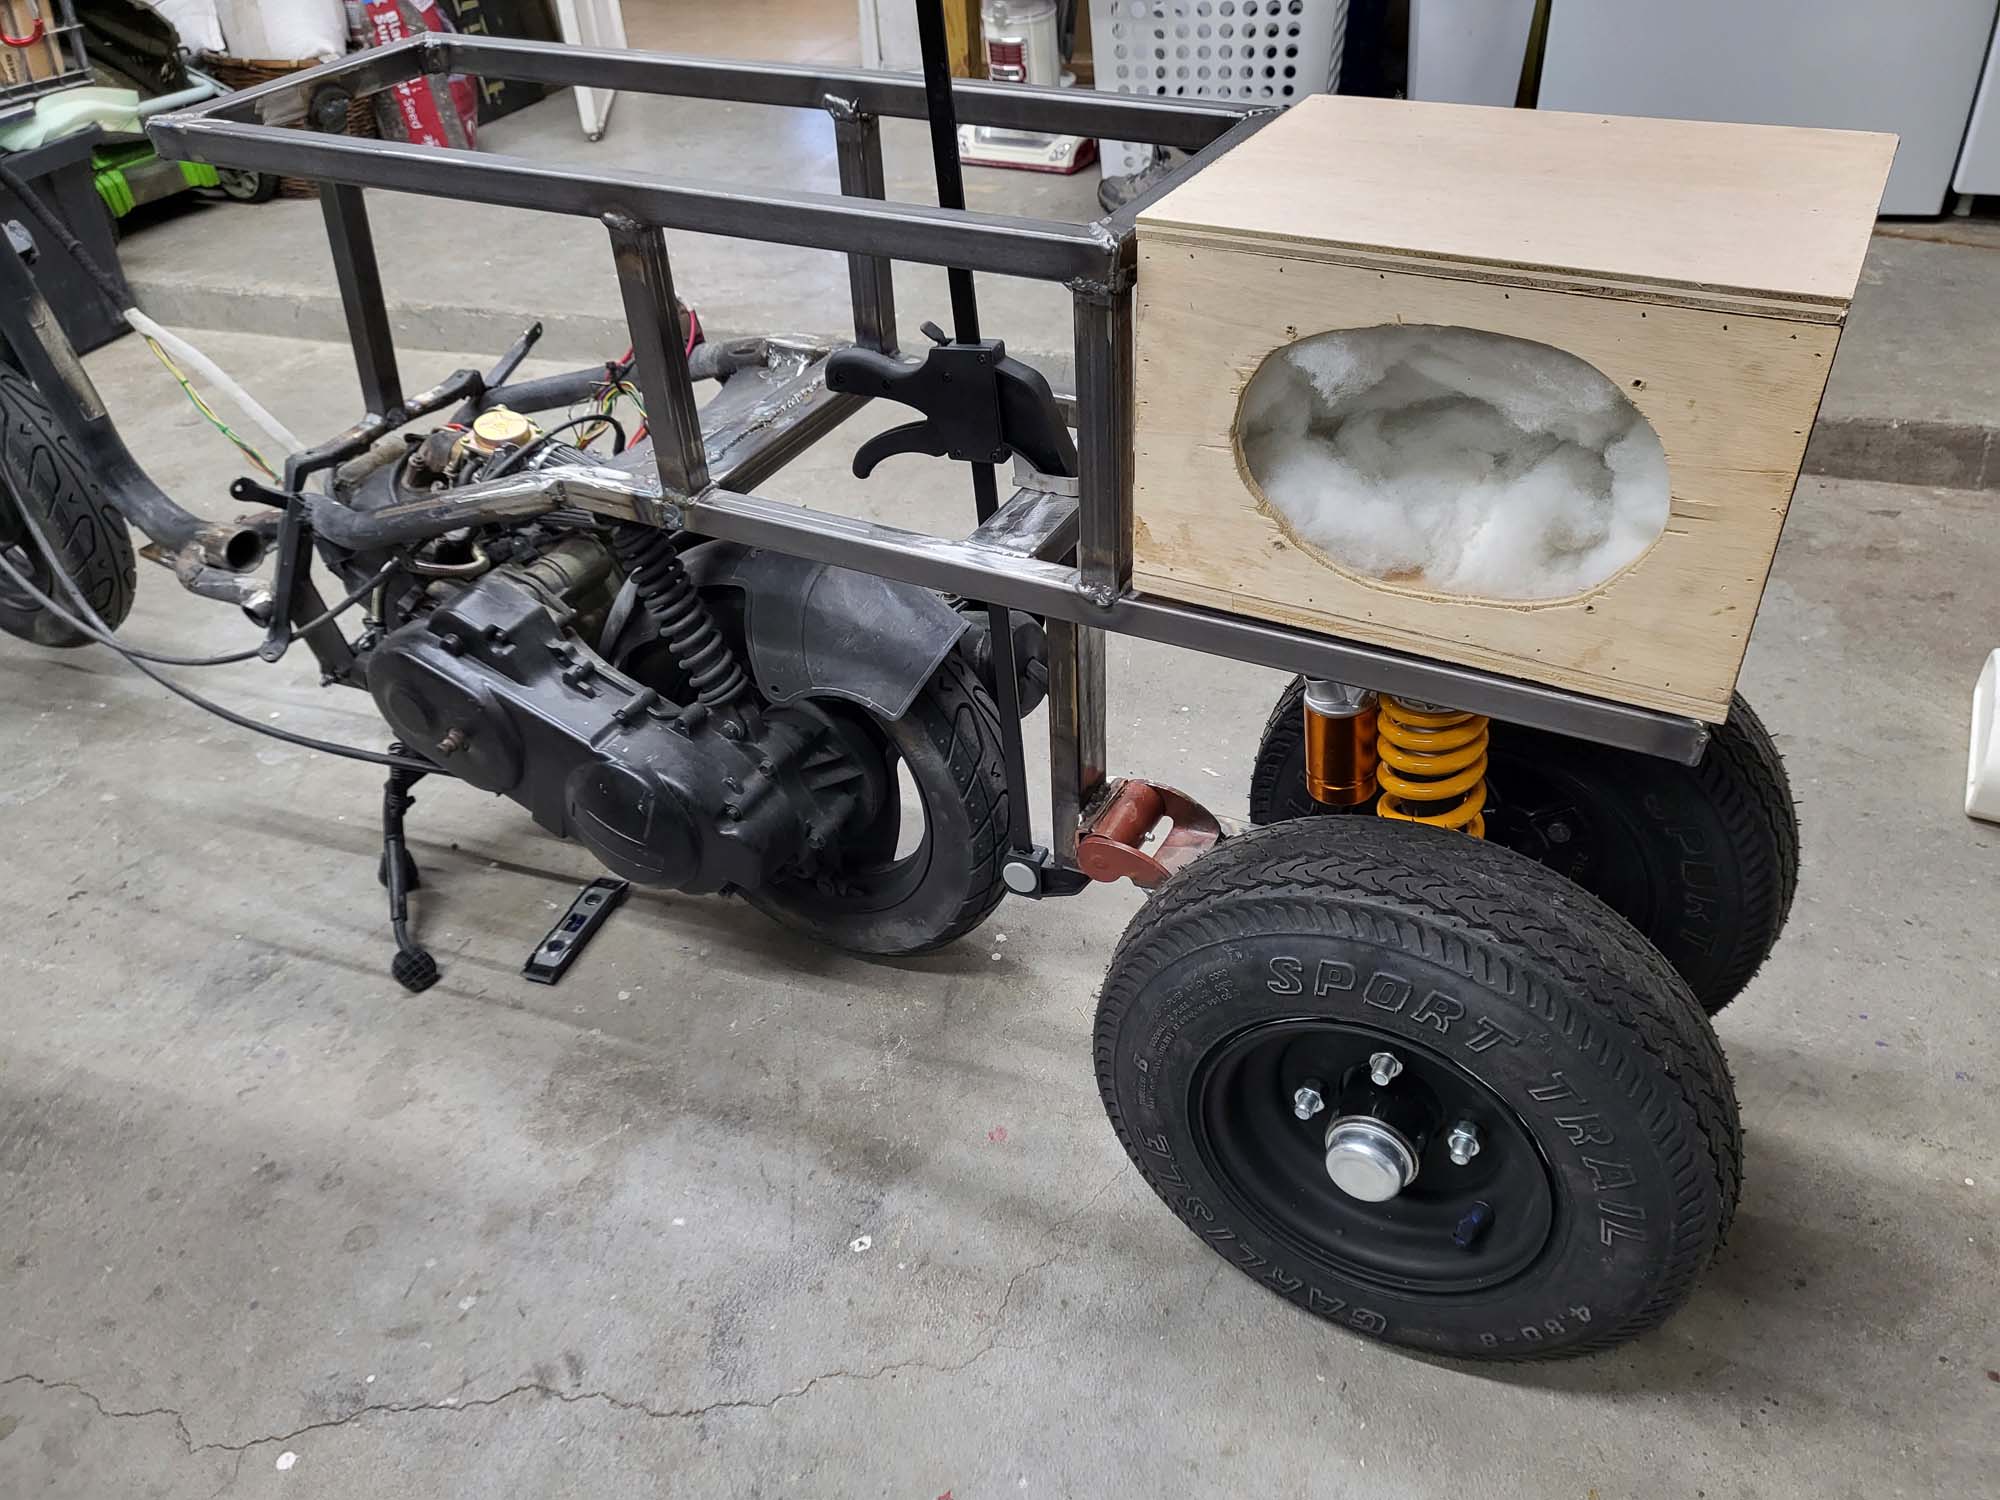
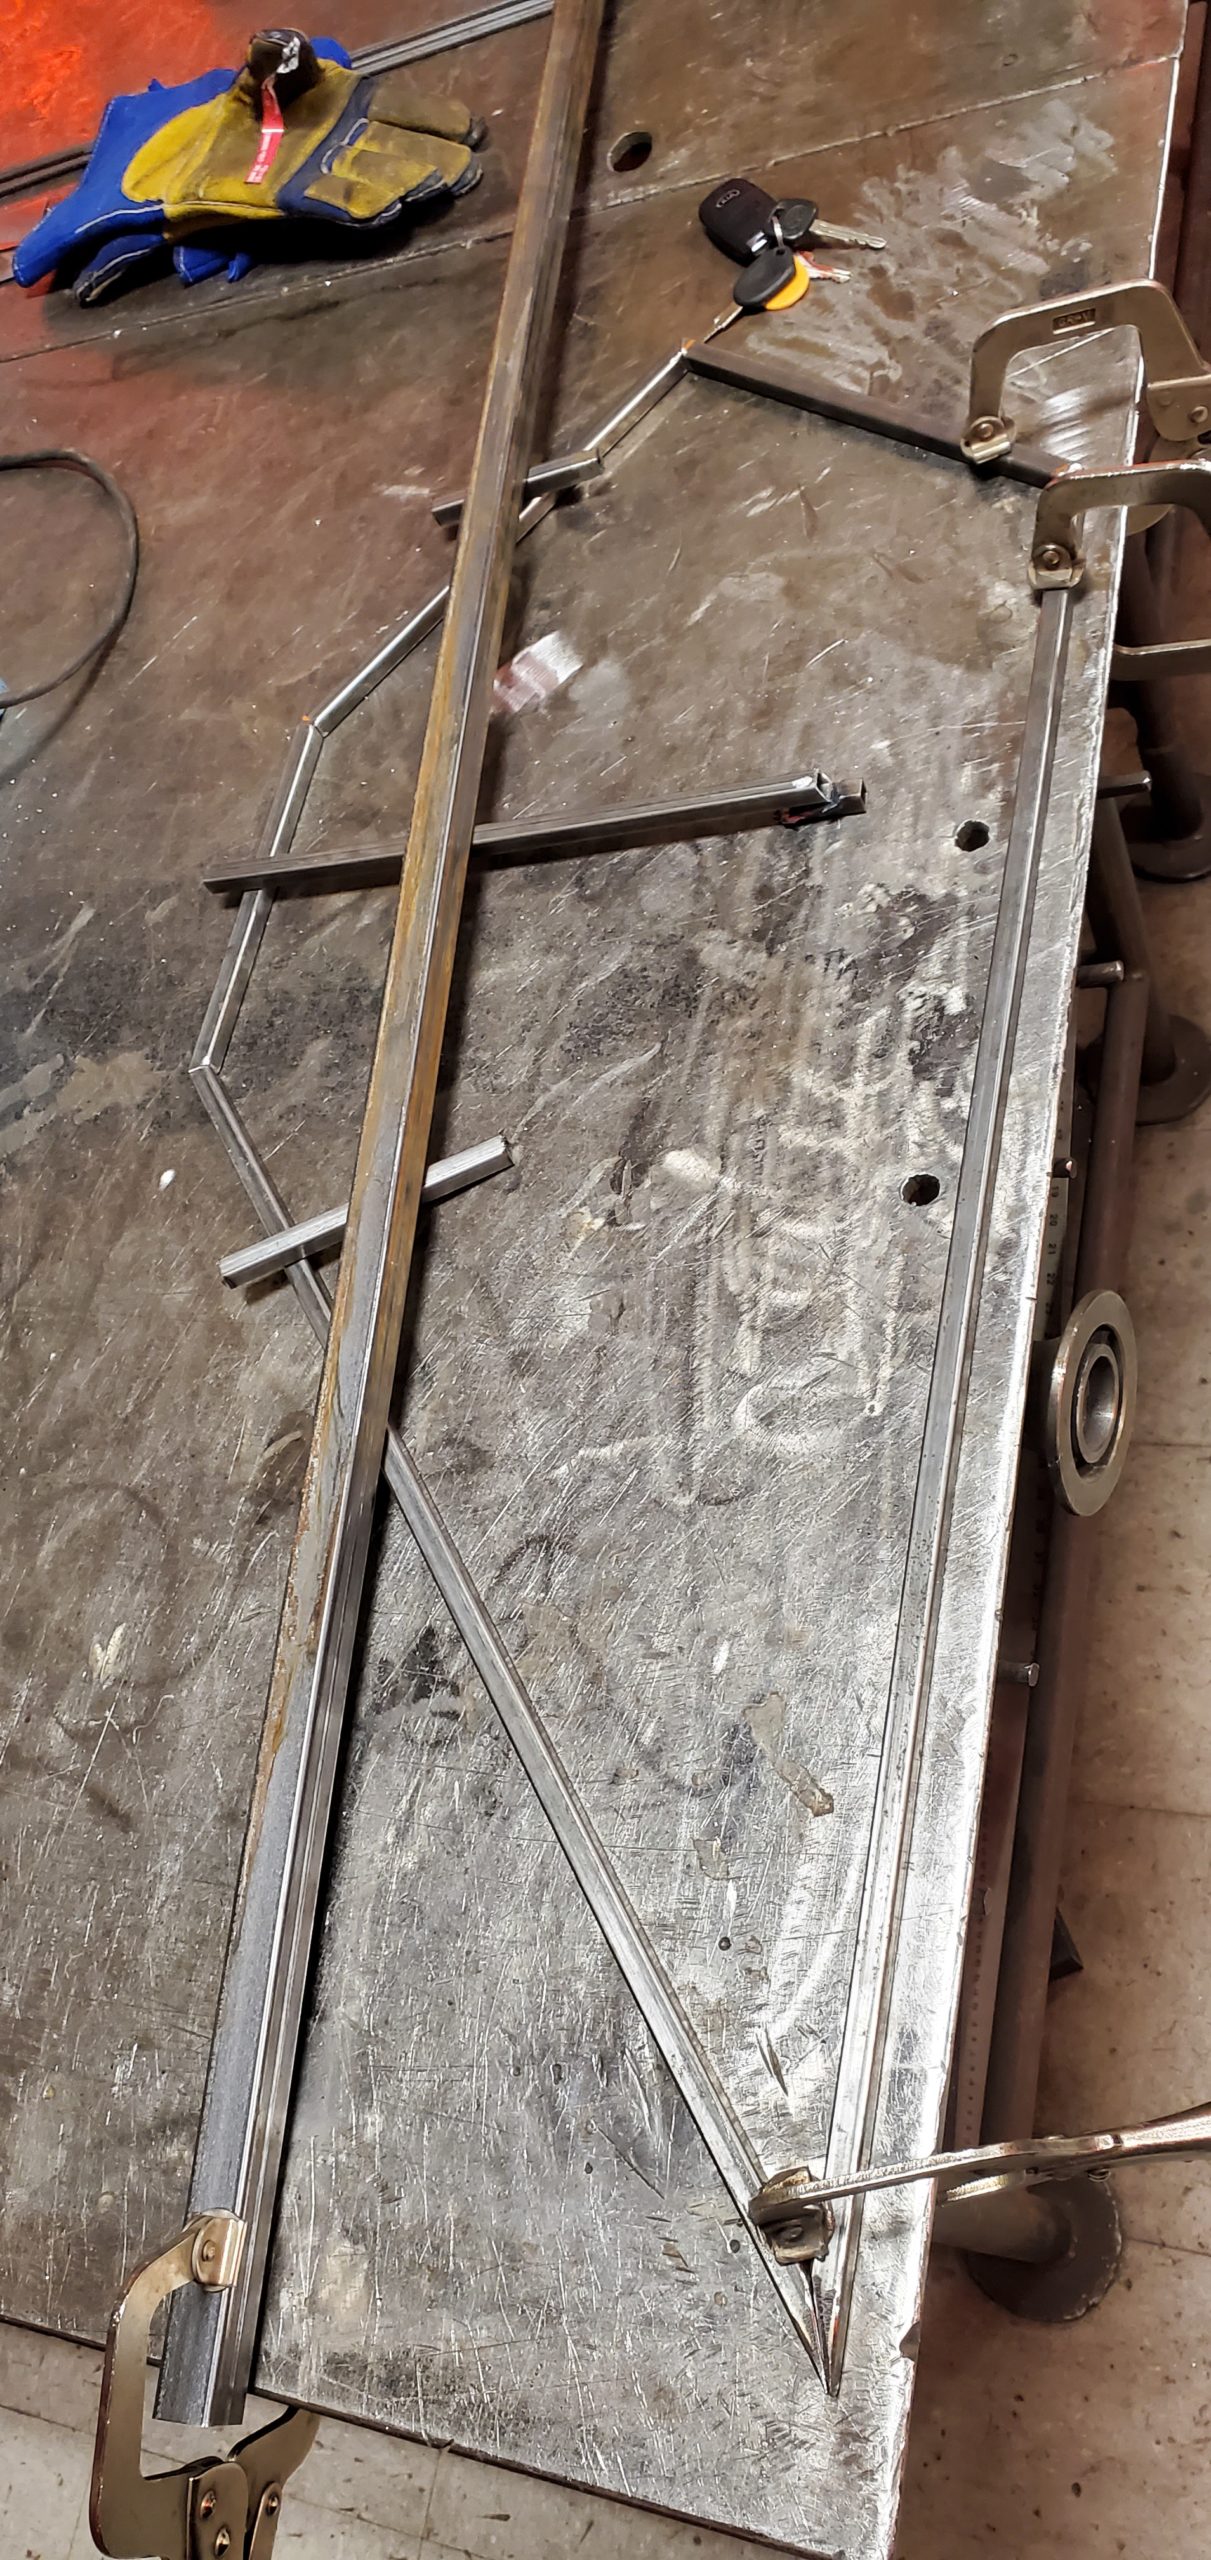
After the panels were done, I started to rebuild the frame. I used one-inch square tubing for the new sections of the frame. The first step was to remove as much of the frame as possible and weld a piece of one-inch square tubing to the frame to give myself a good mounting point.
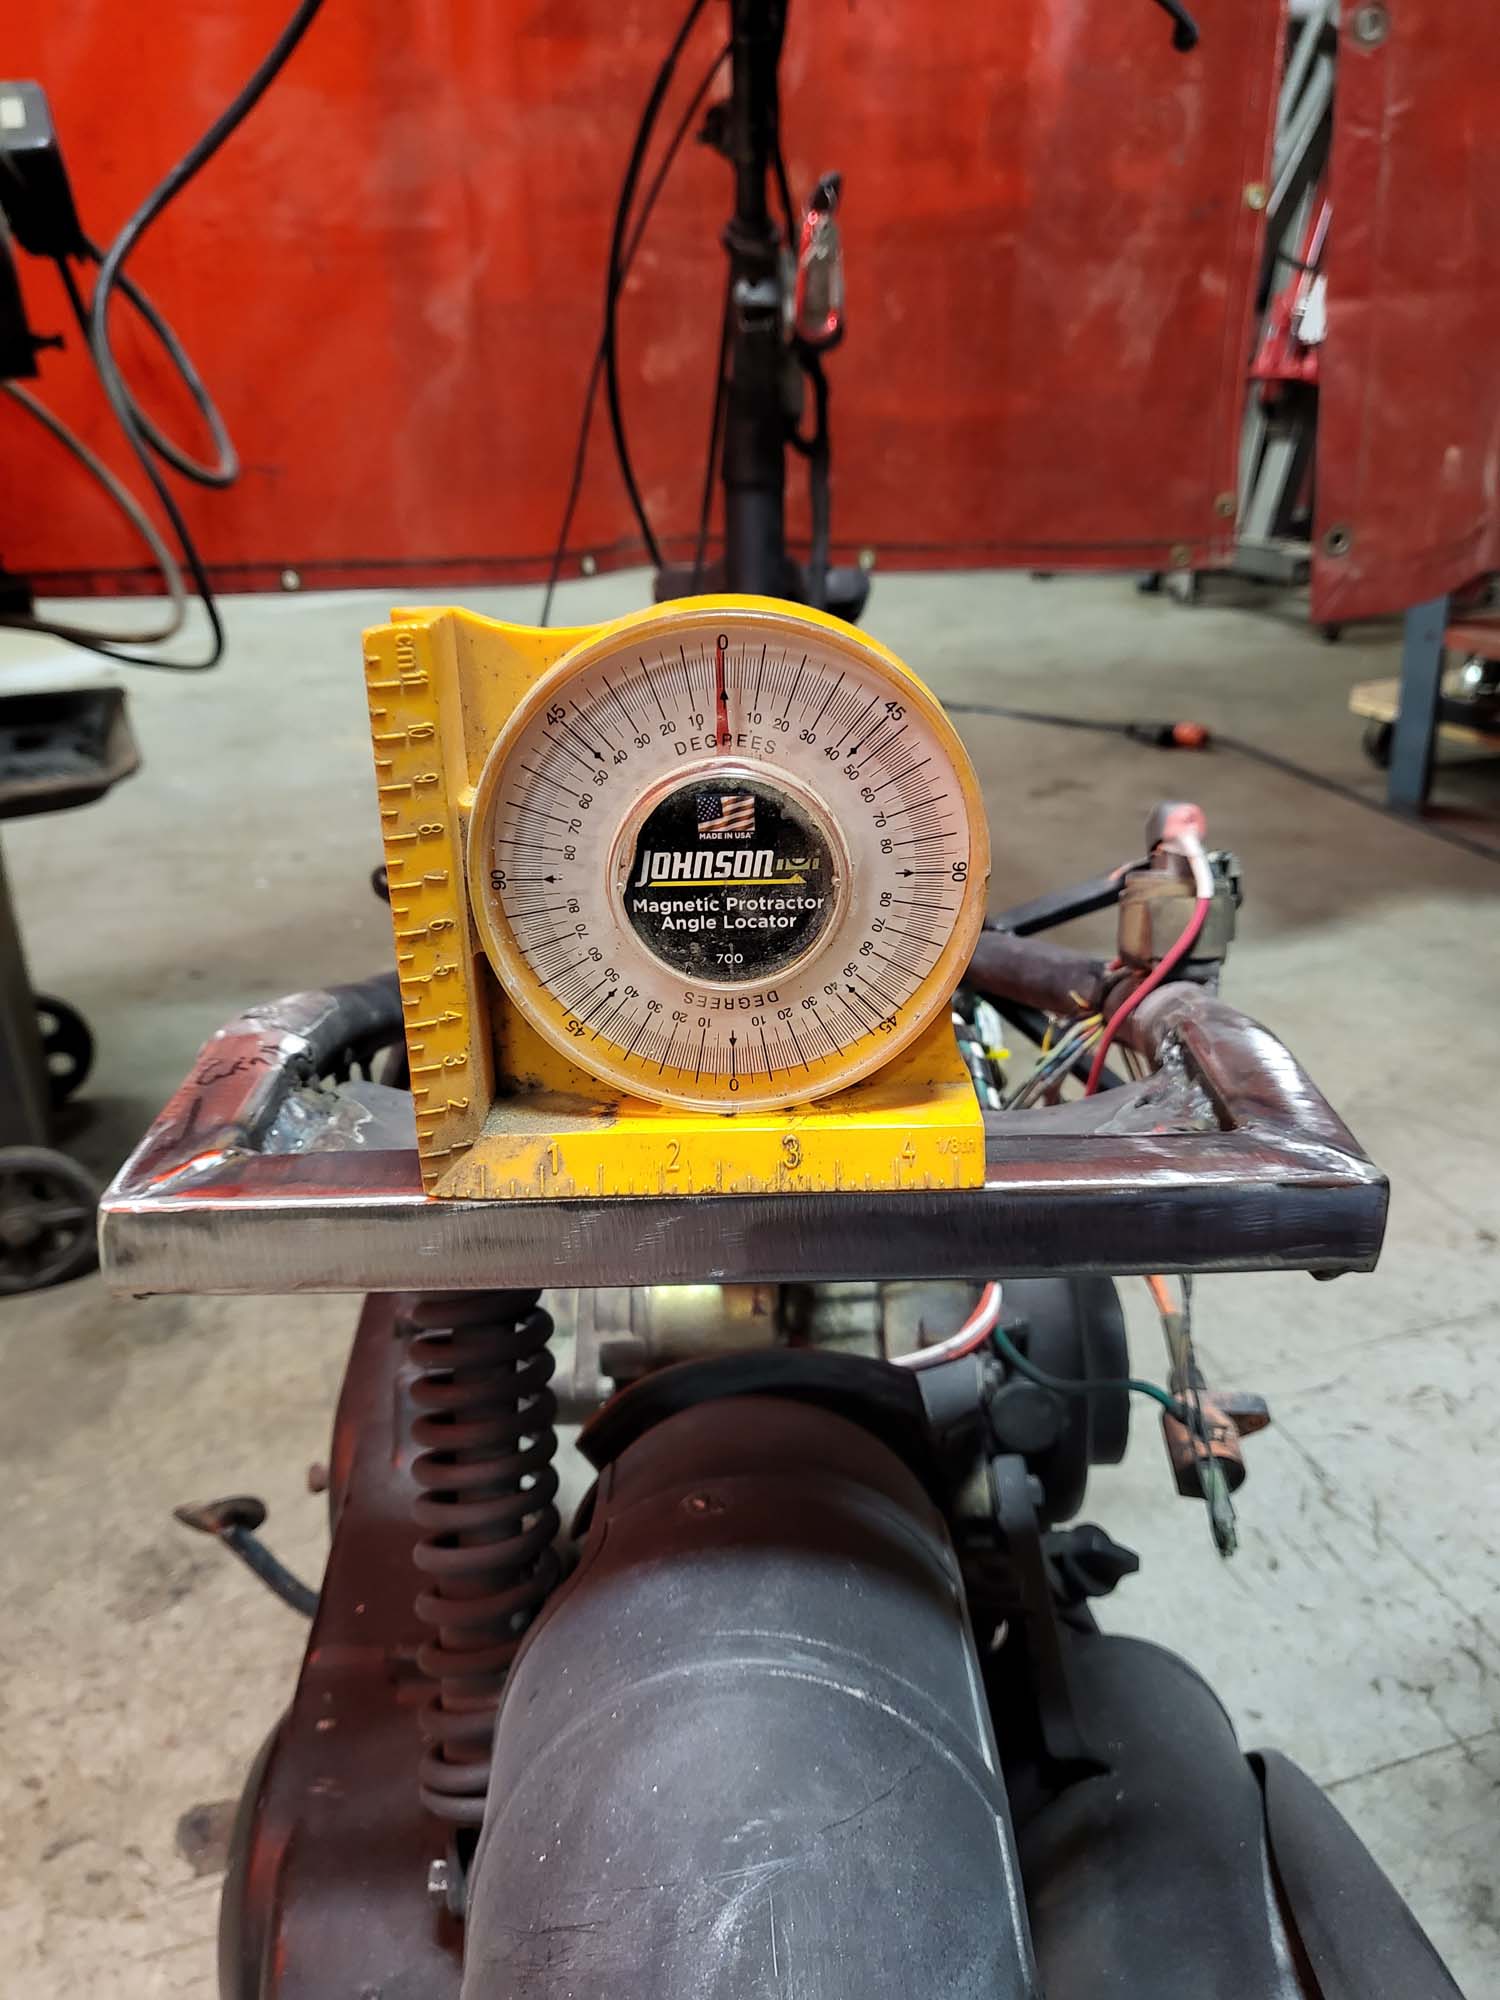
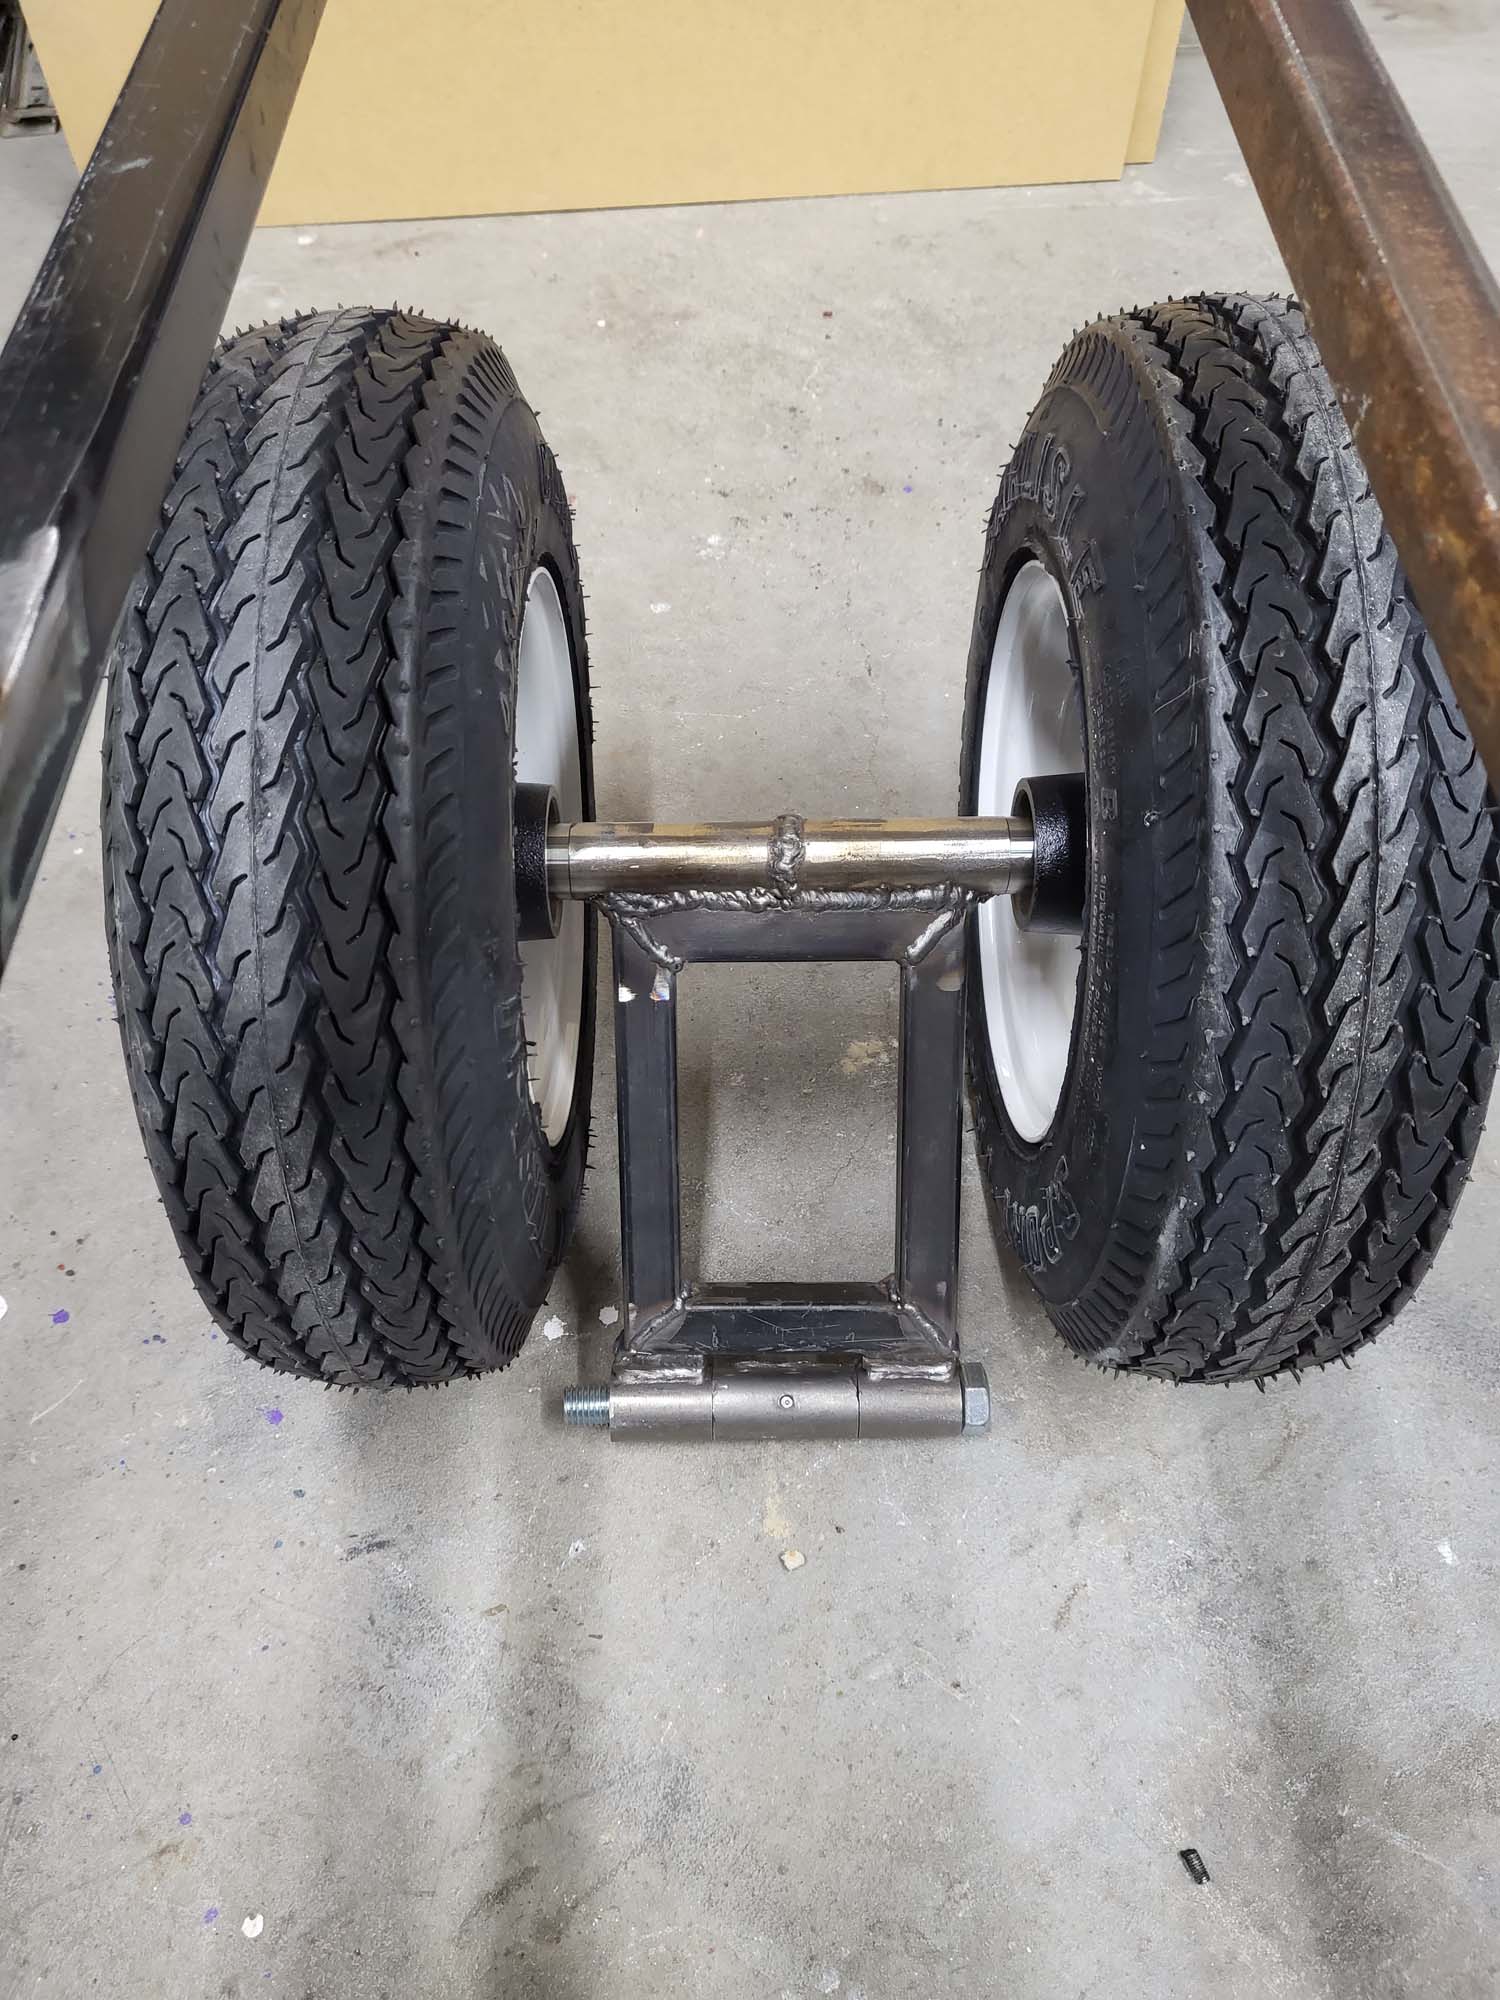
I built the new section of the frame off the bike so I could make everything as square and parallel as possible. Doubled up the tubing where the new section mounts to the old frame and for the rear suspension.
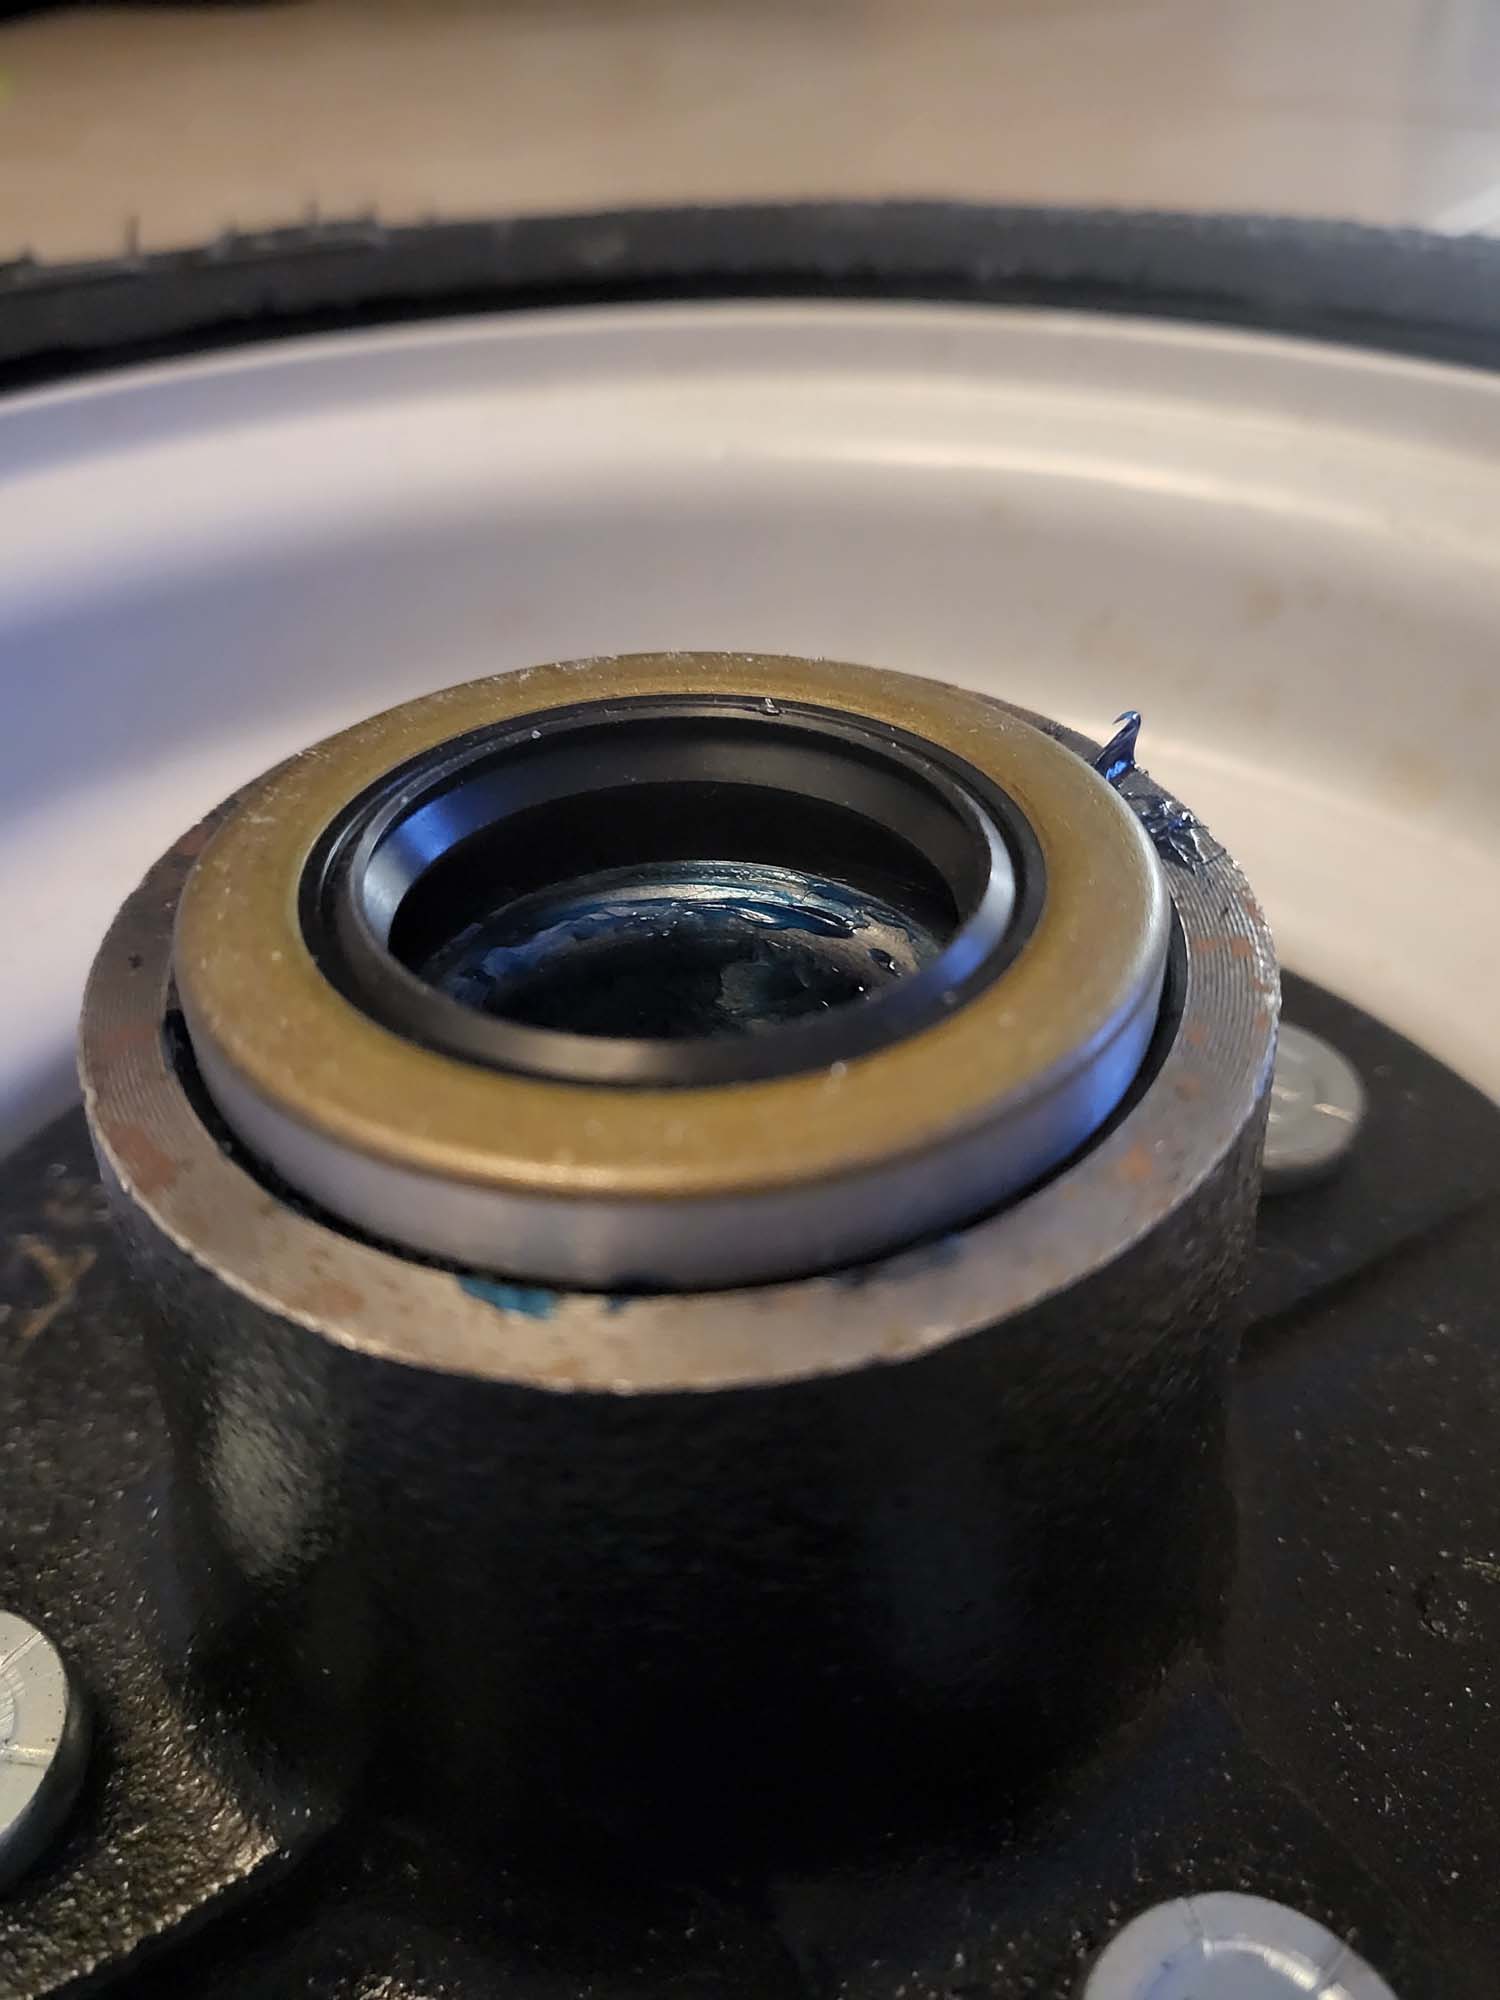
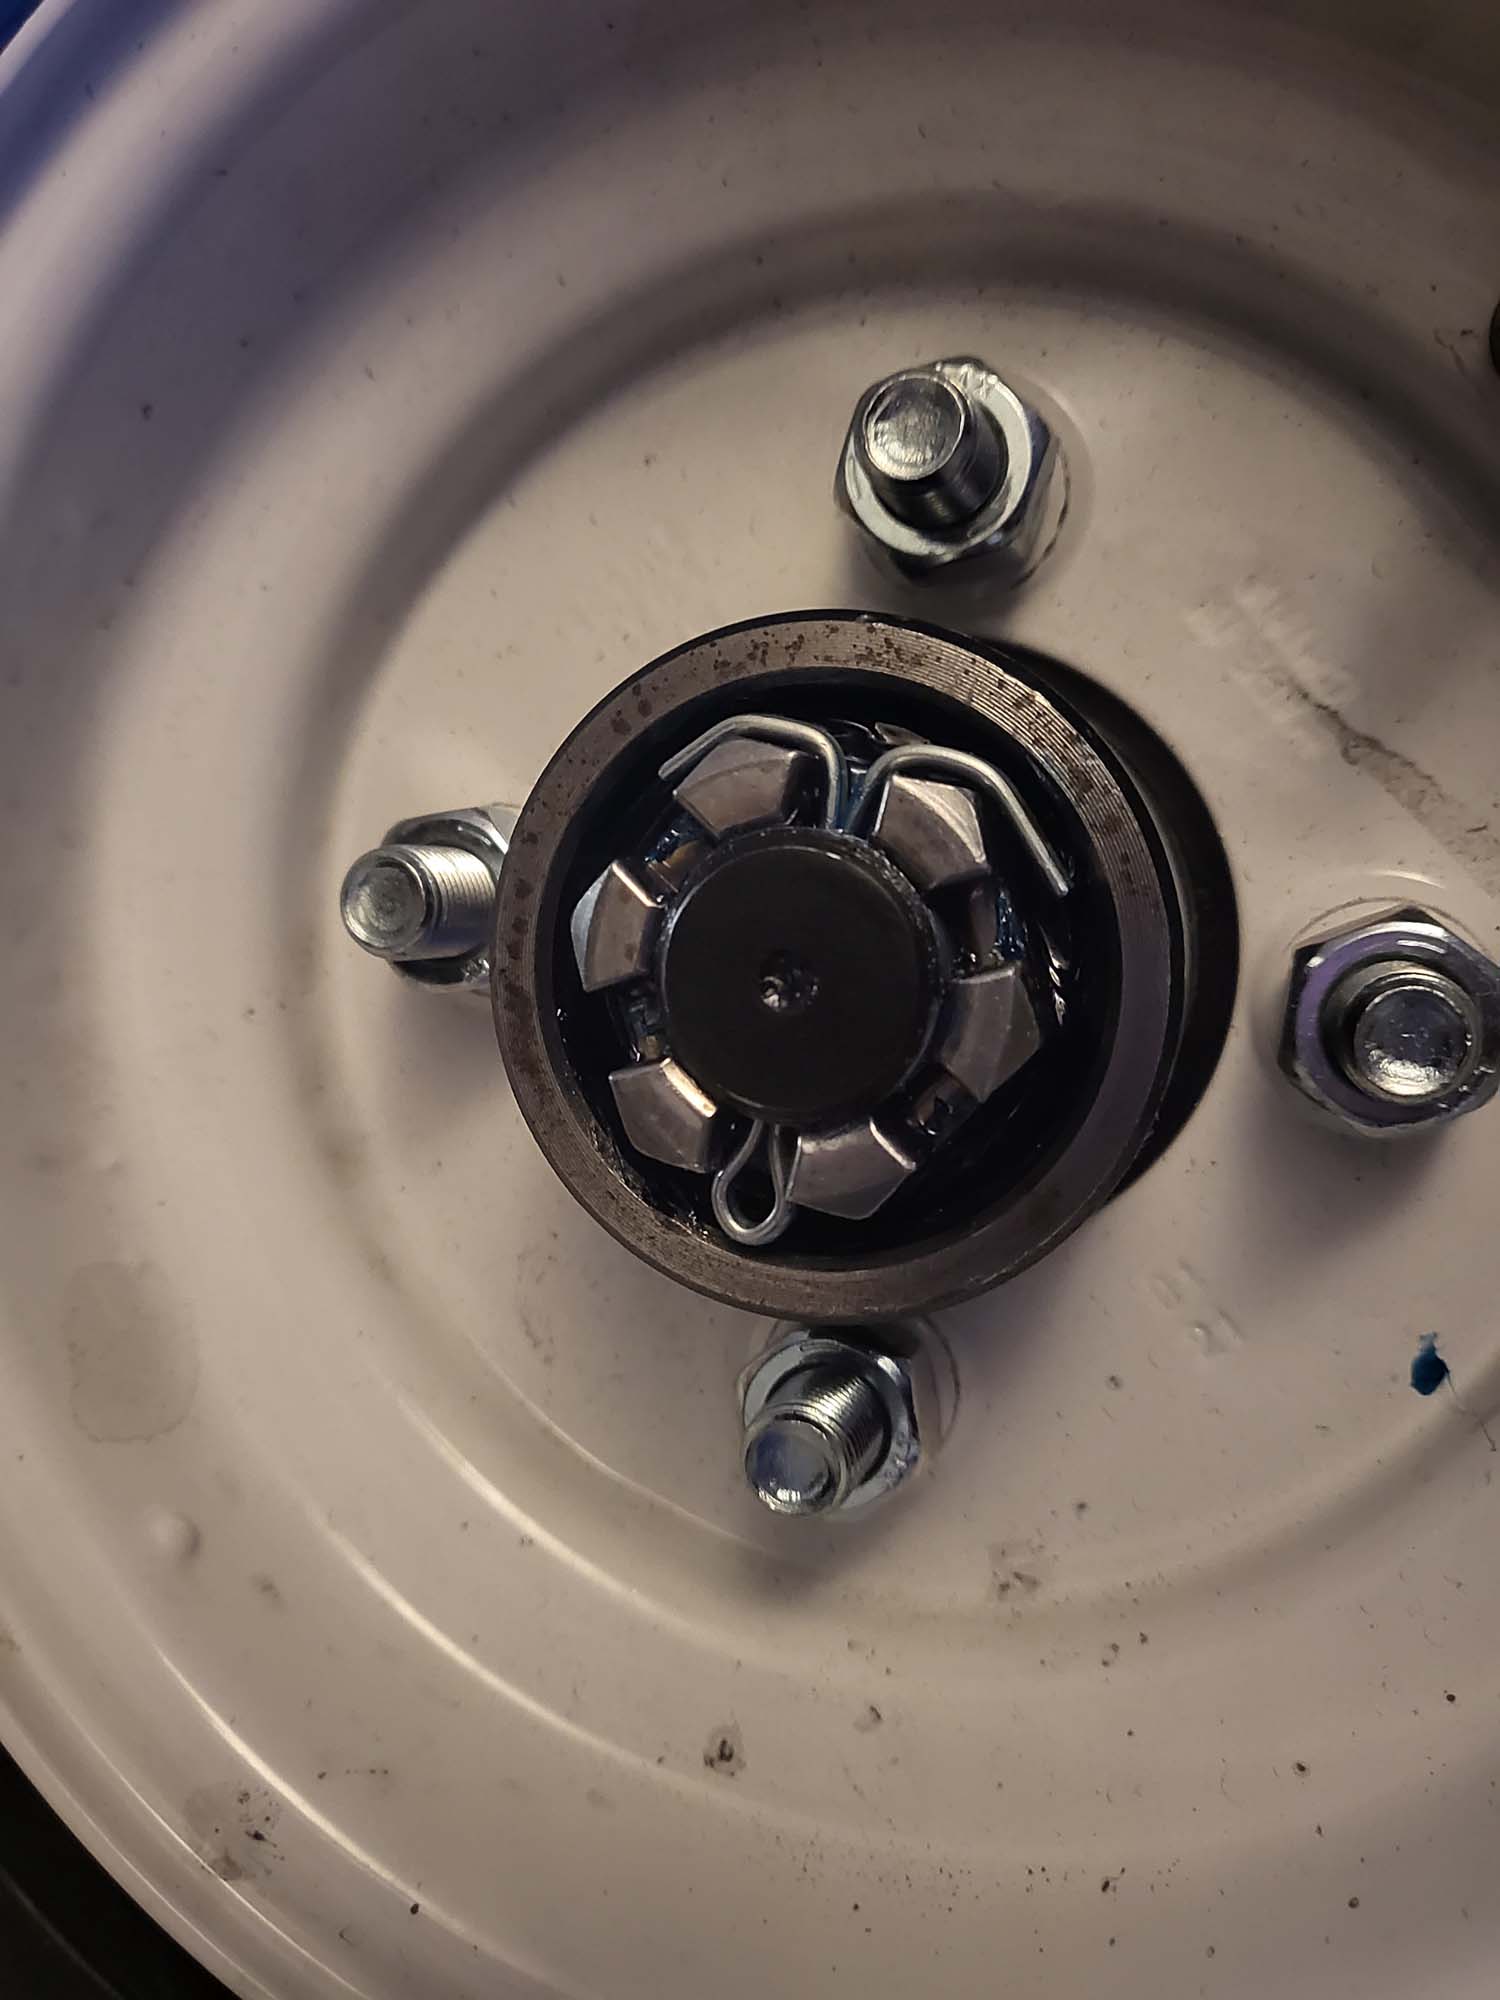
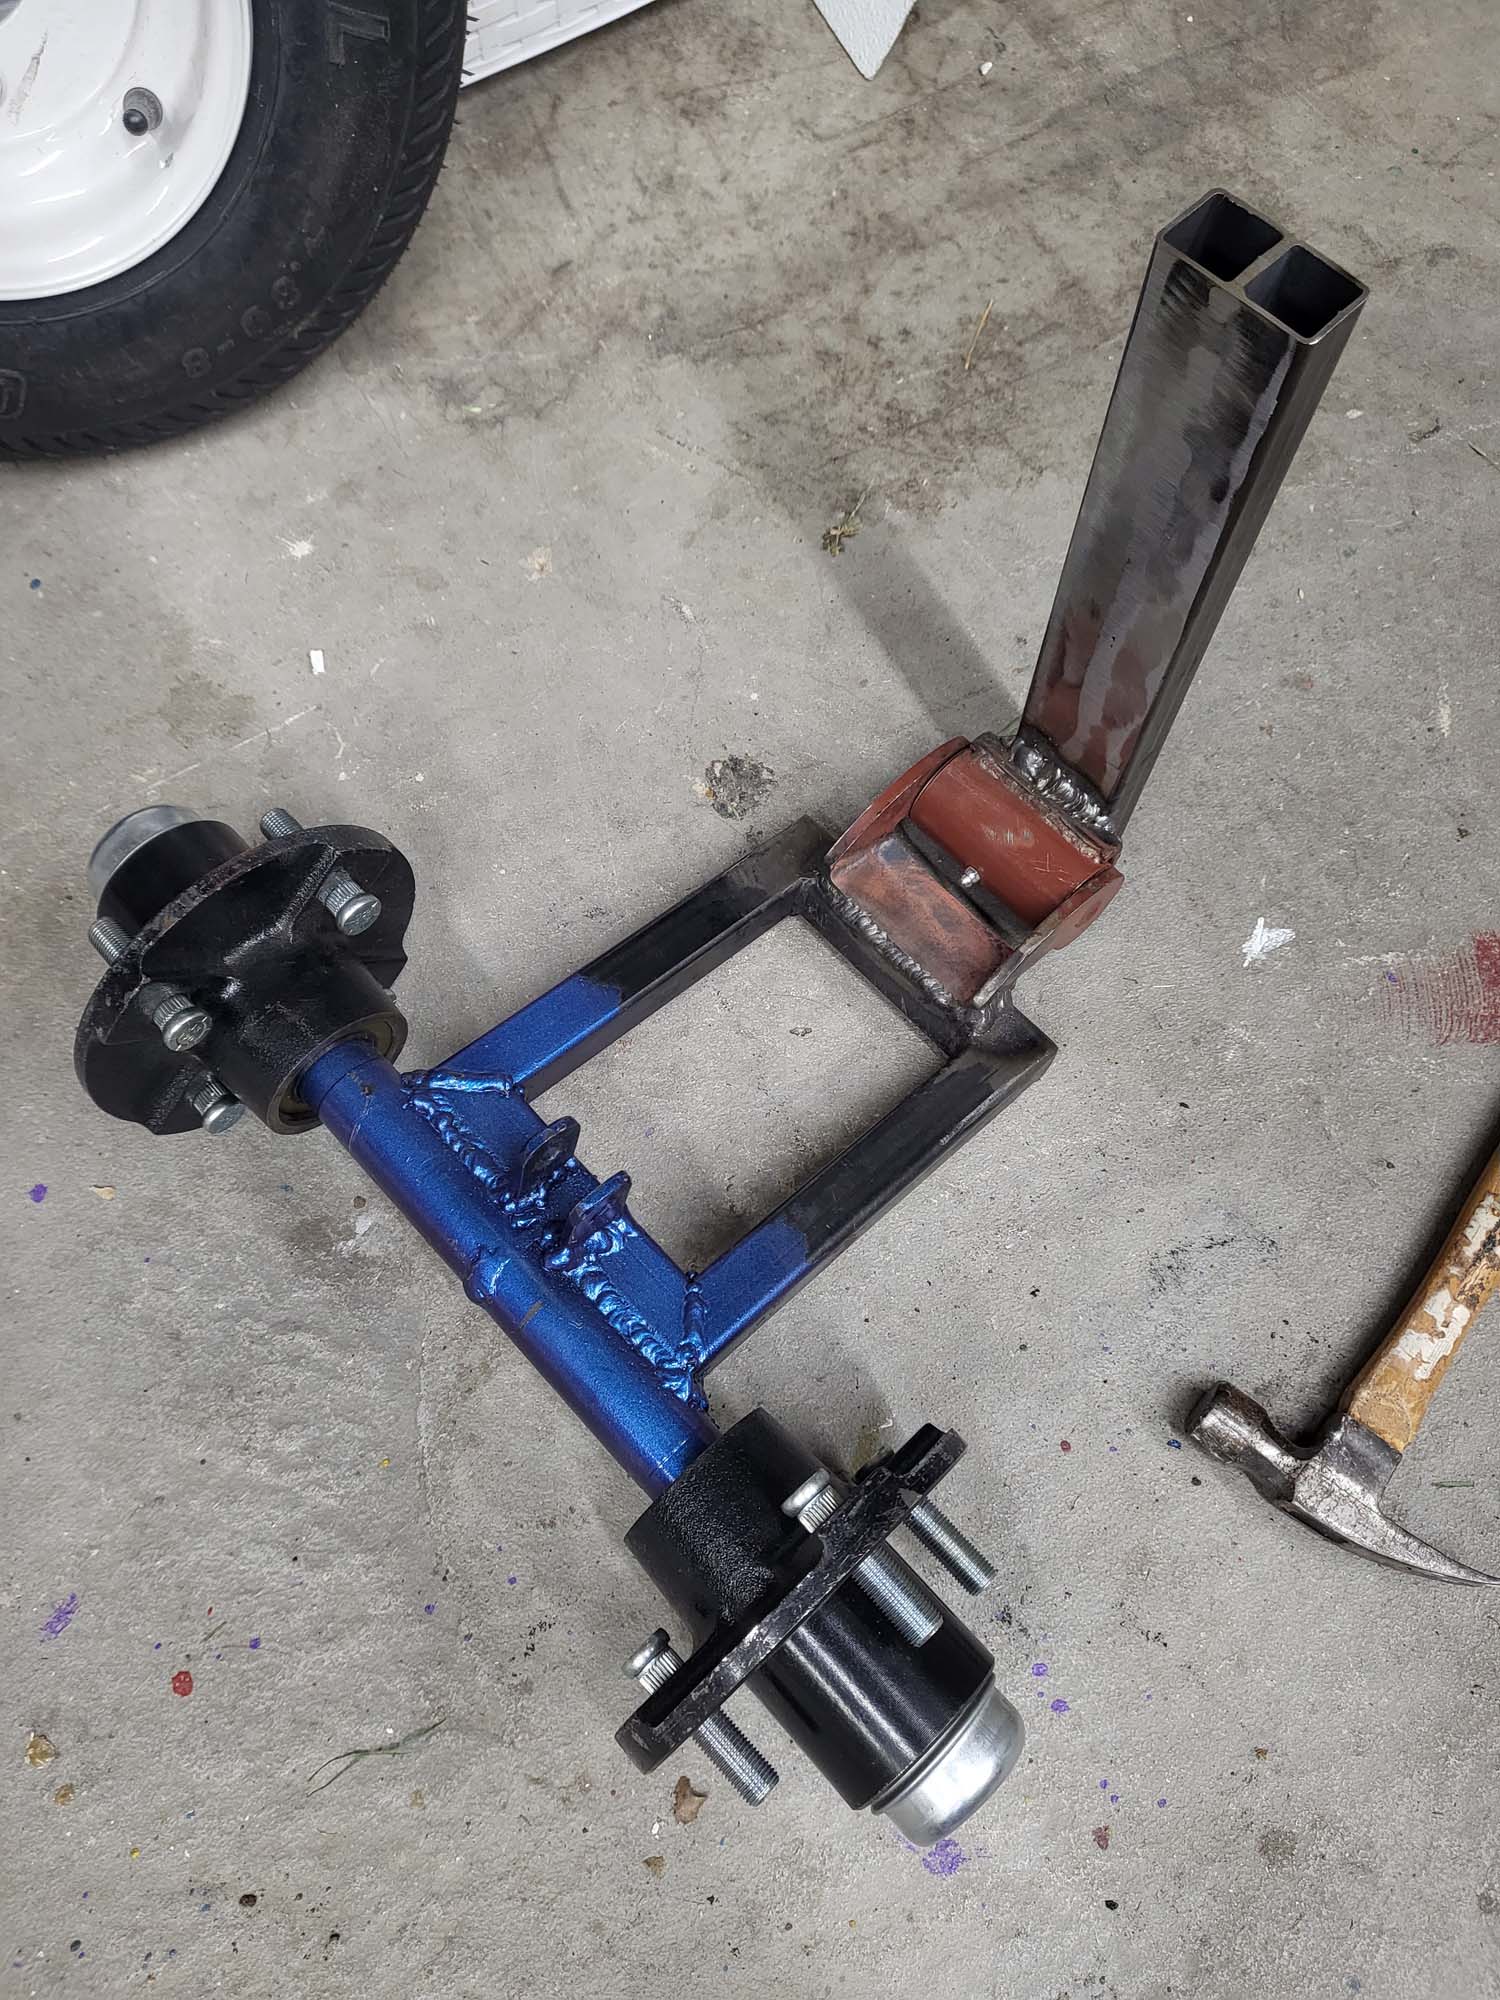
I had to design suspension for the two trailer wheels on the back. This was something new to me and I went through a few iterations. I asked a some experts what they thought… Some suggested a swing arm and others said to mount it rigid but slightly off the ground. I went with the swing arm idea.
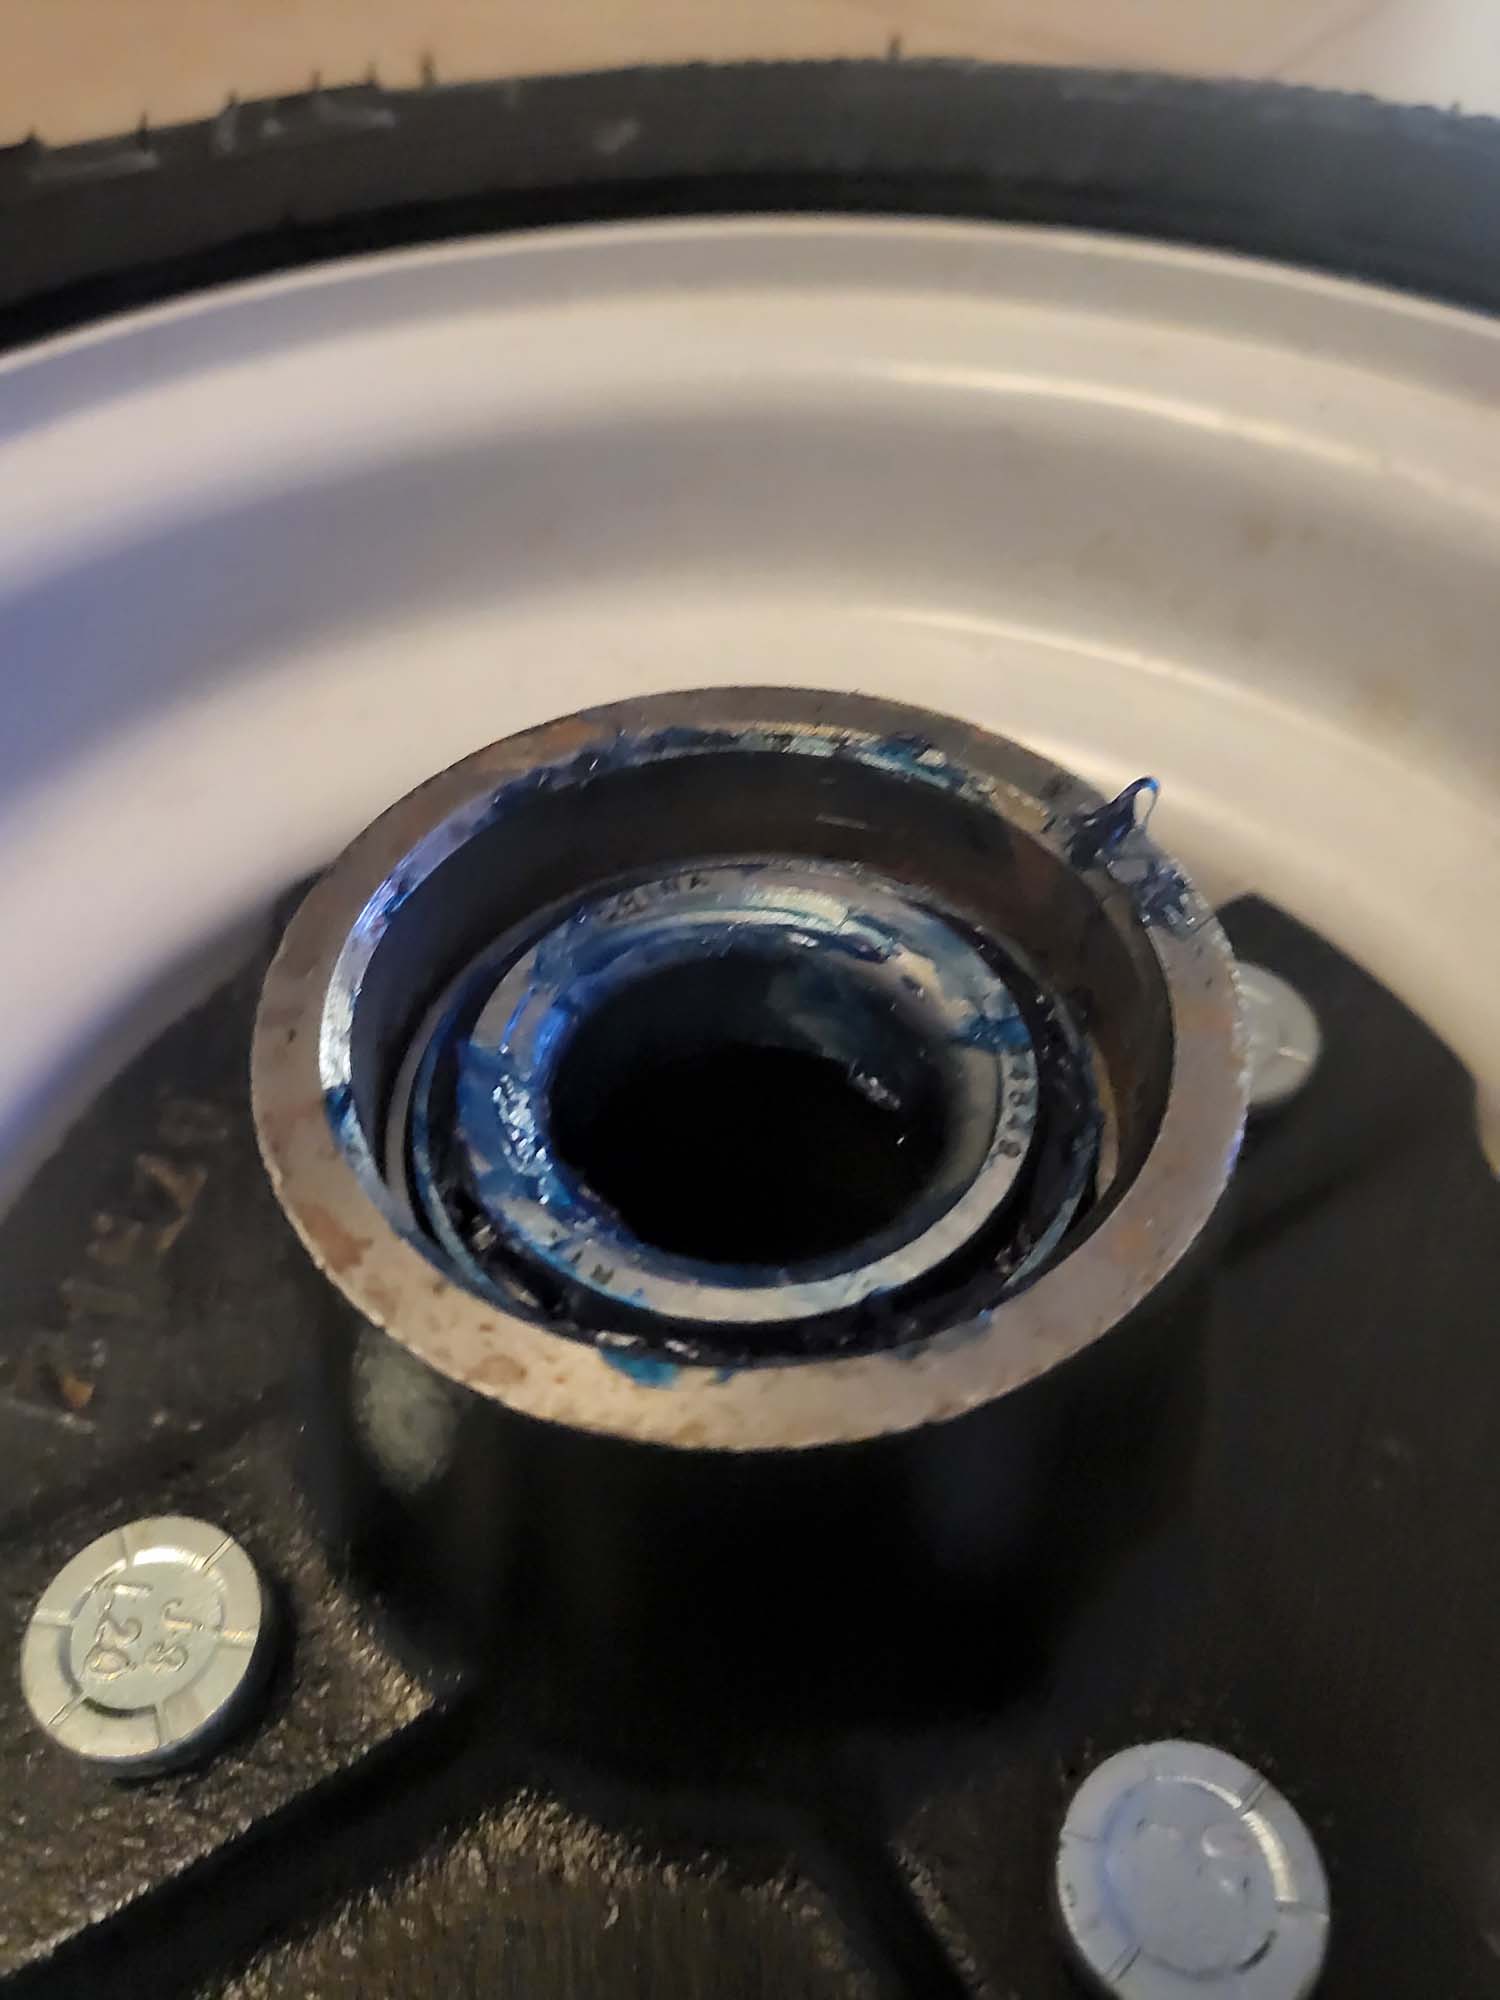
I ordered trailer hubs kits from Trail Parts USA. They were worth every penny and saved me so much time on the lathe. I tried a couple of different hedges. Honestly, I may come back to this because the current hinge has too much slop but I want to finish up the rest of the current tasks.
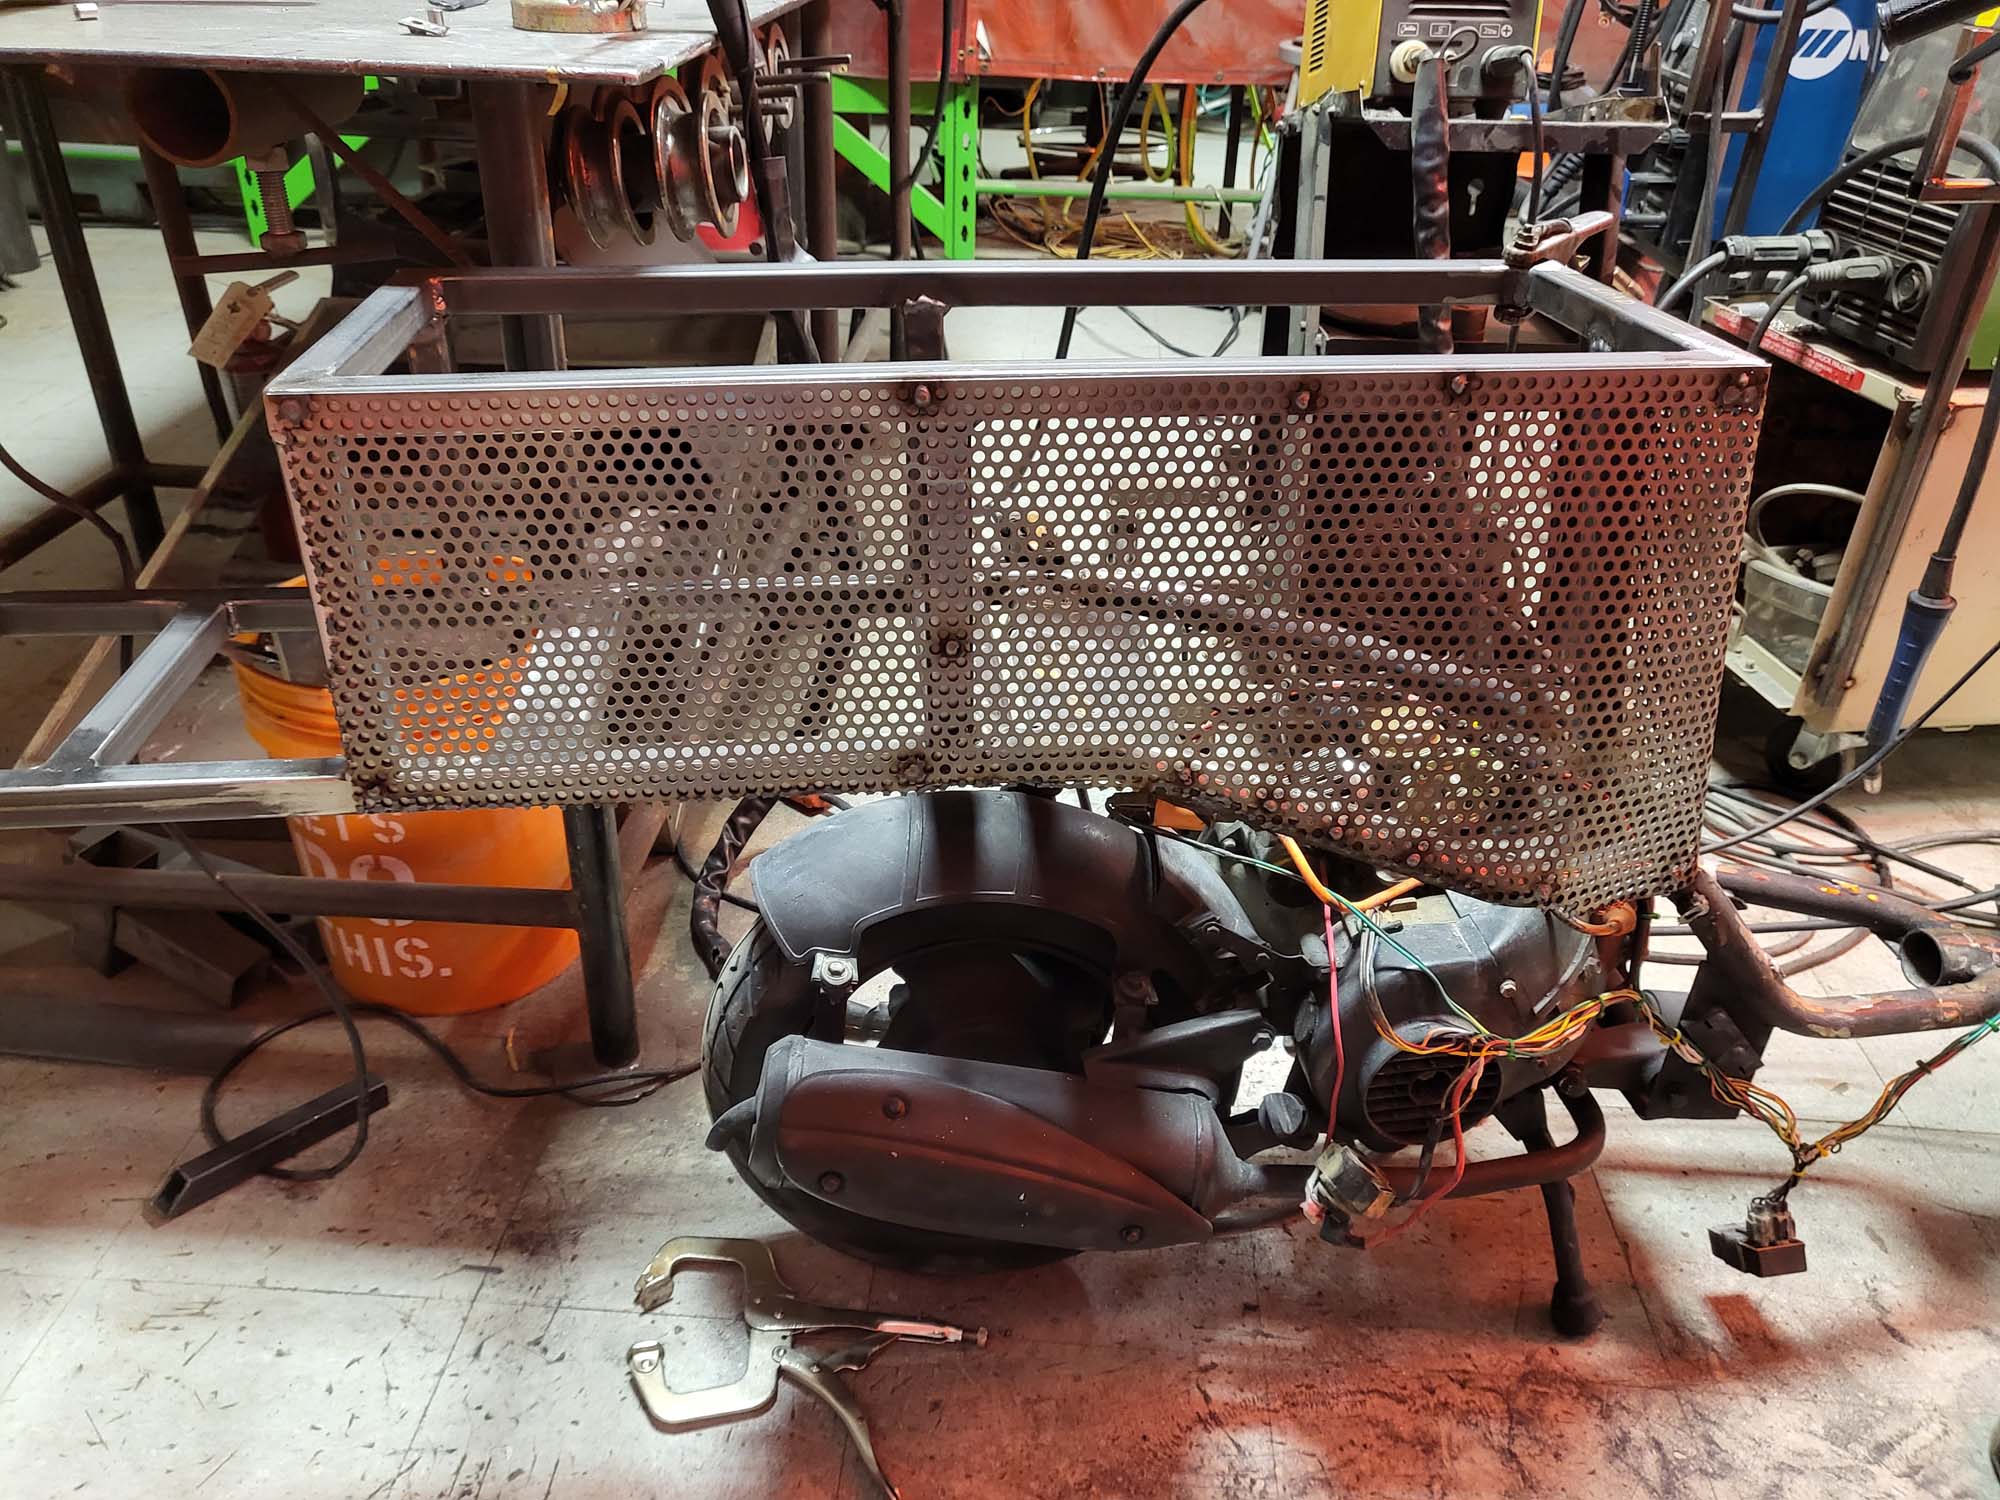
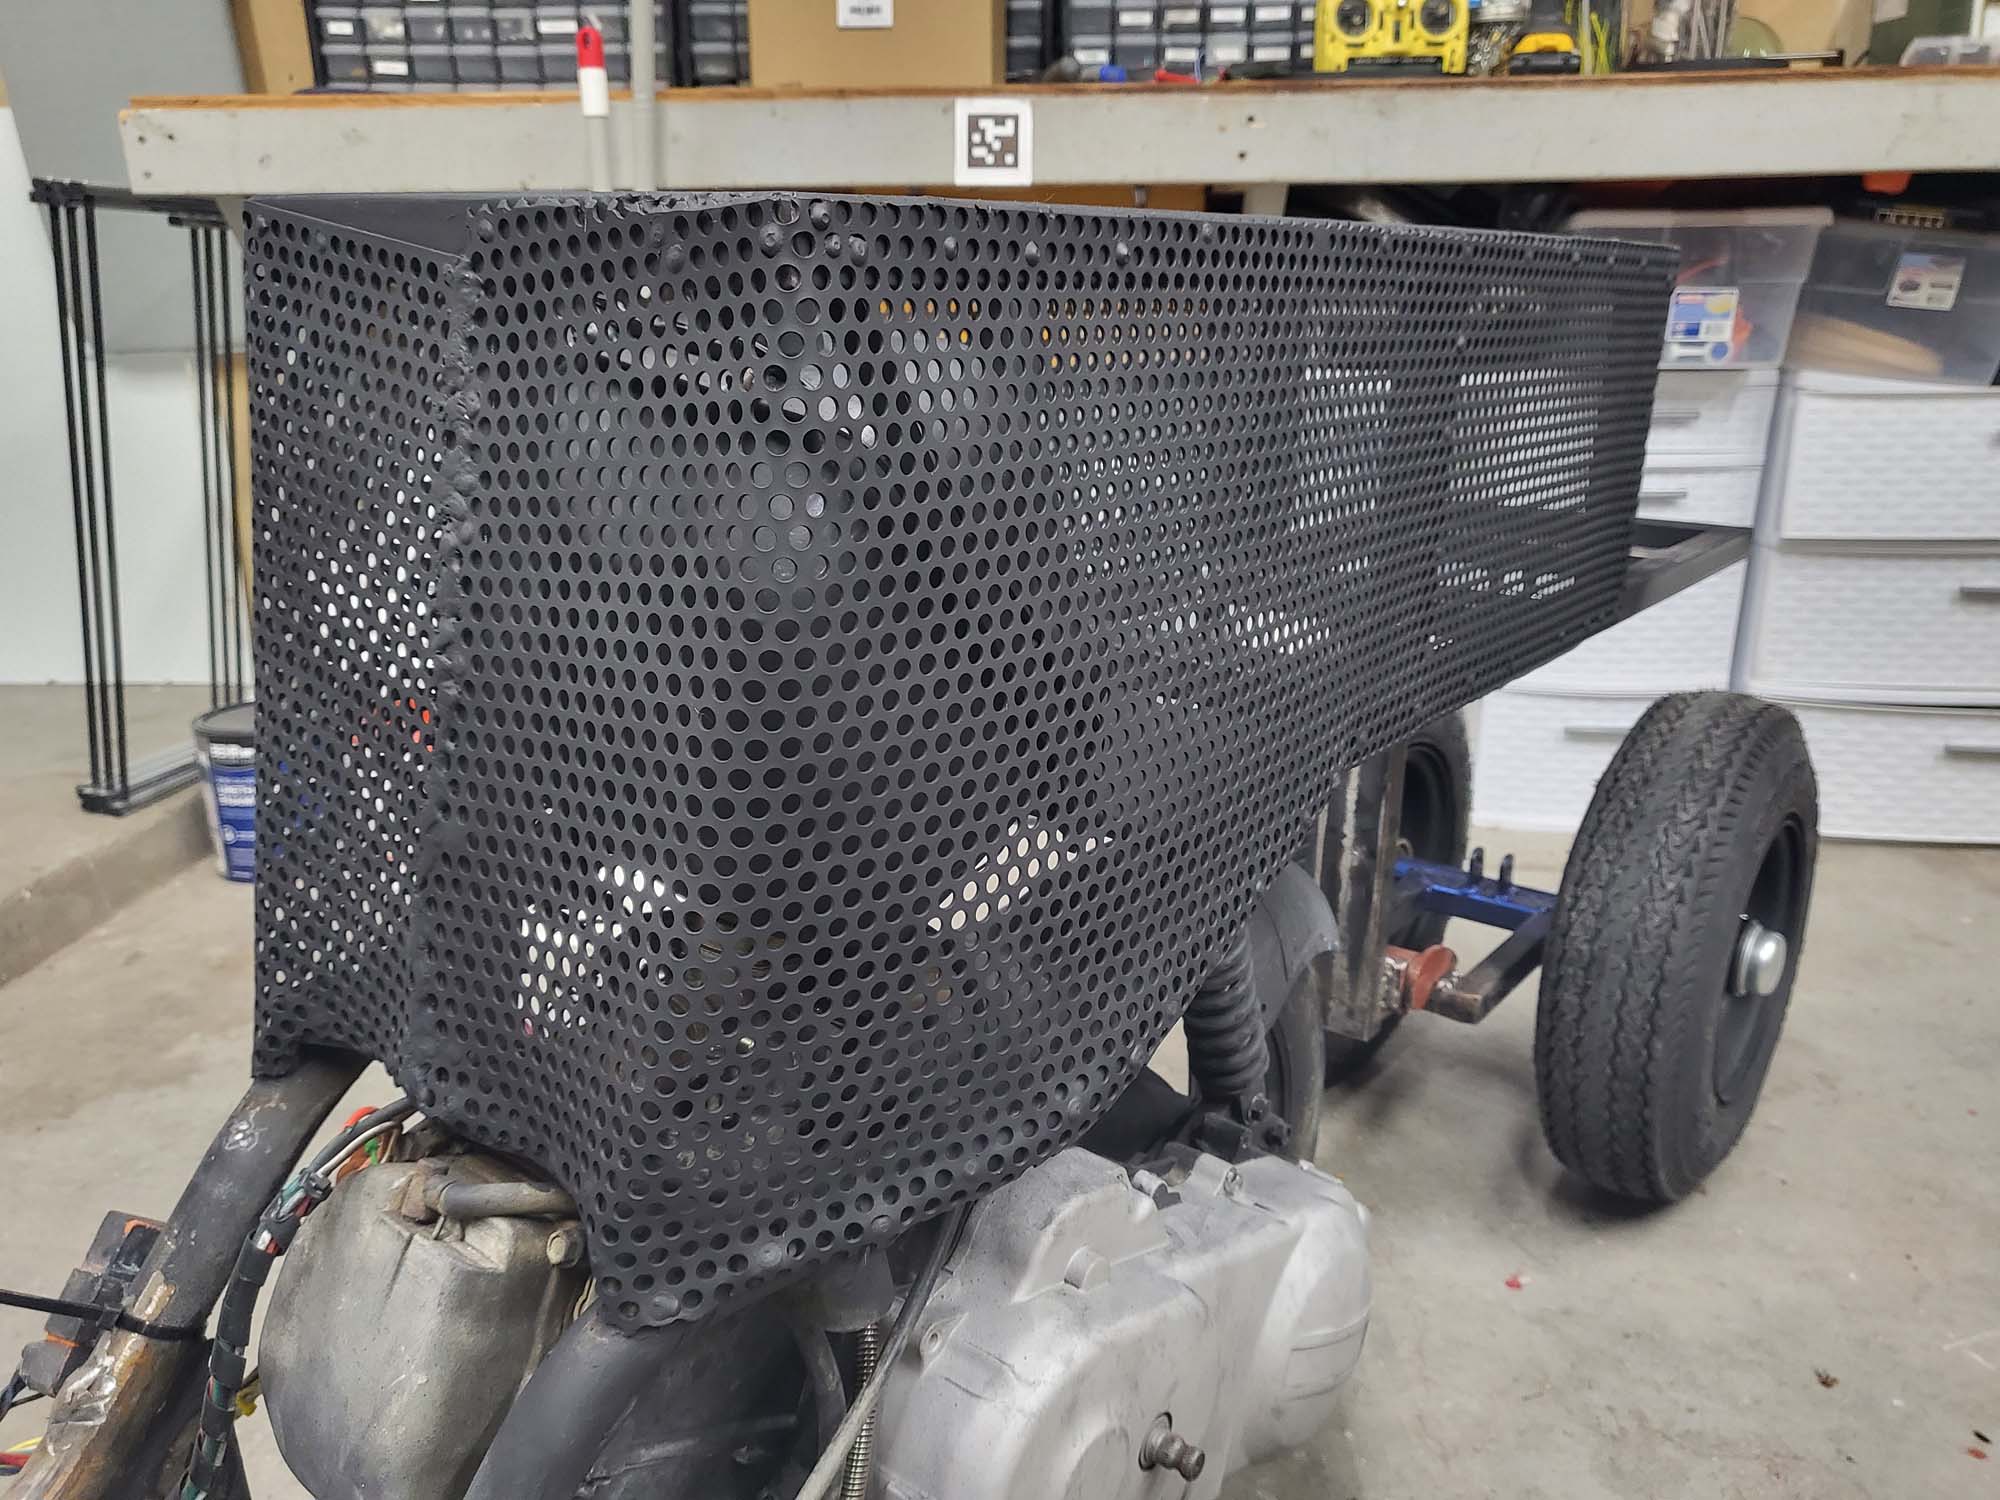
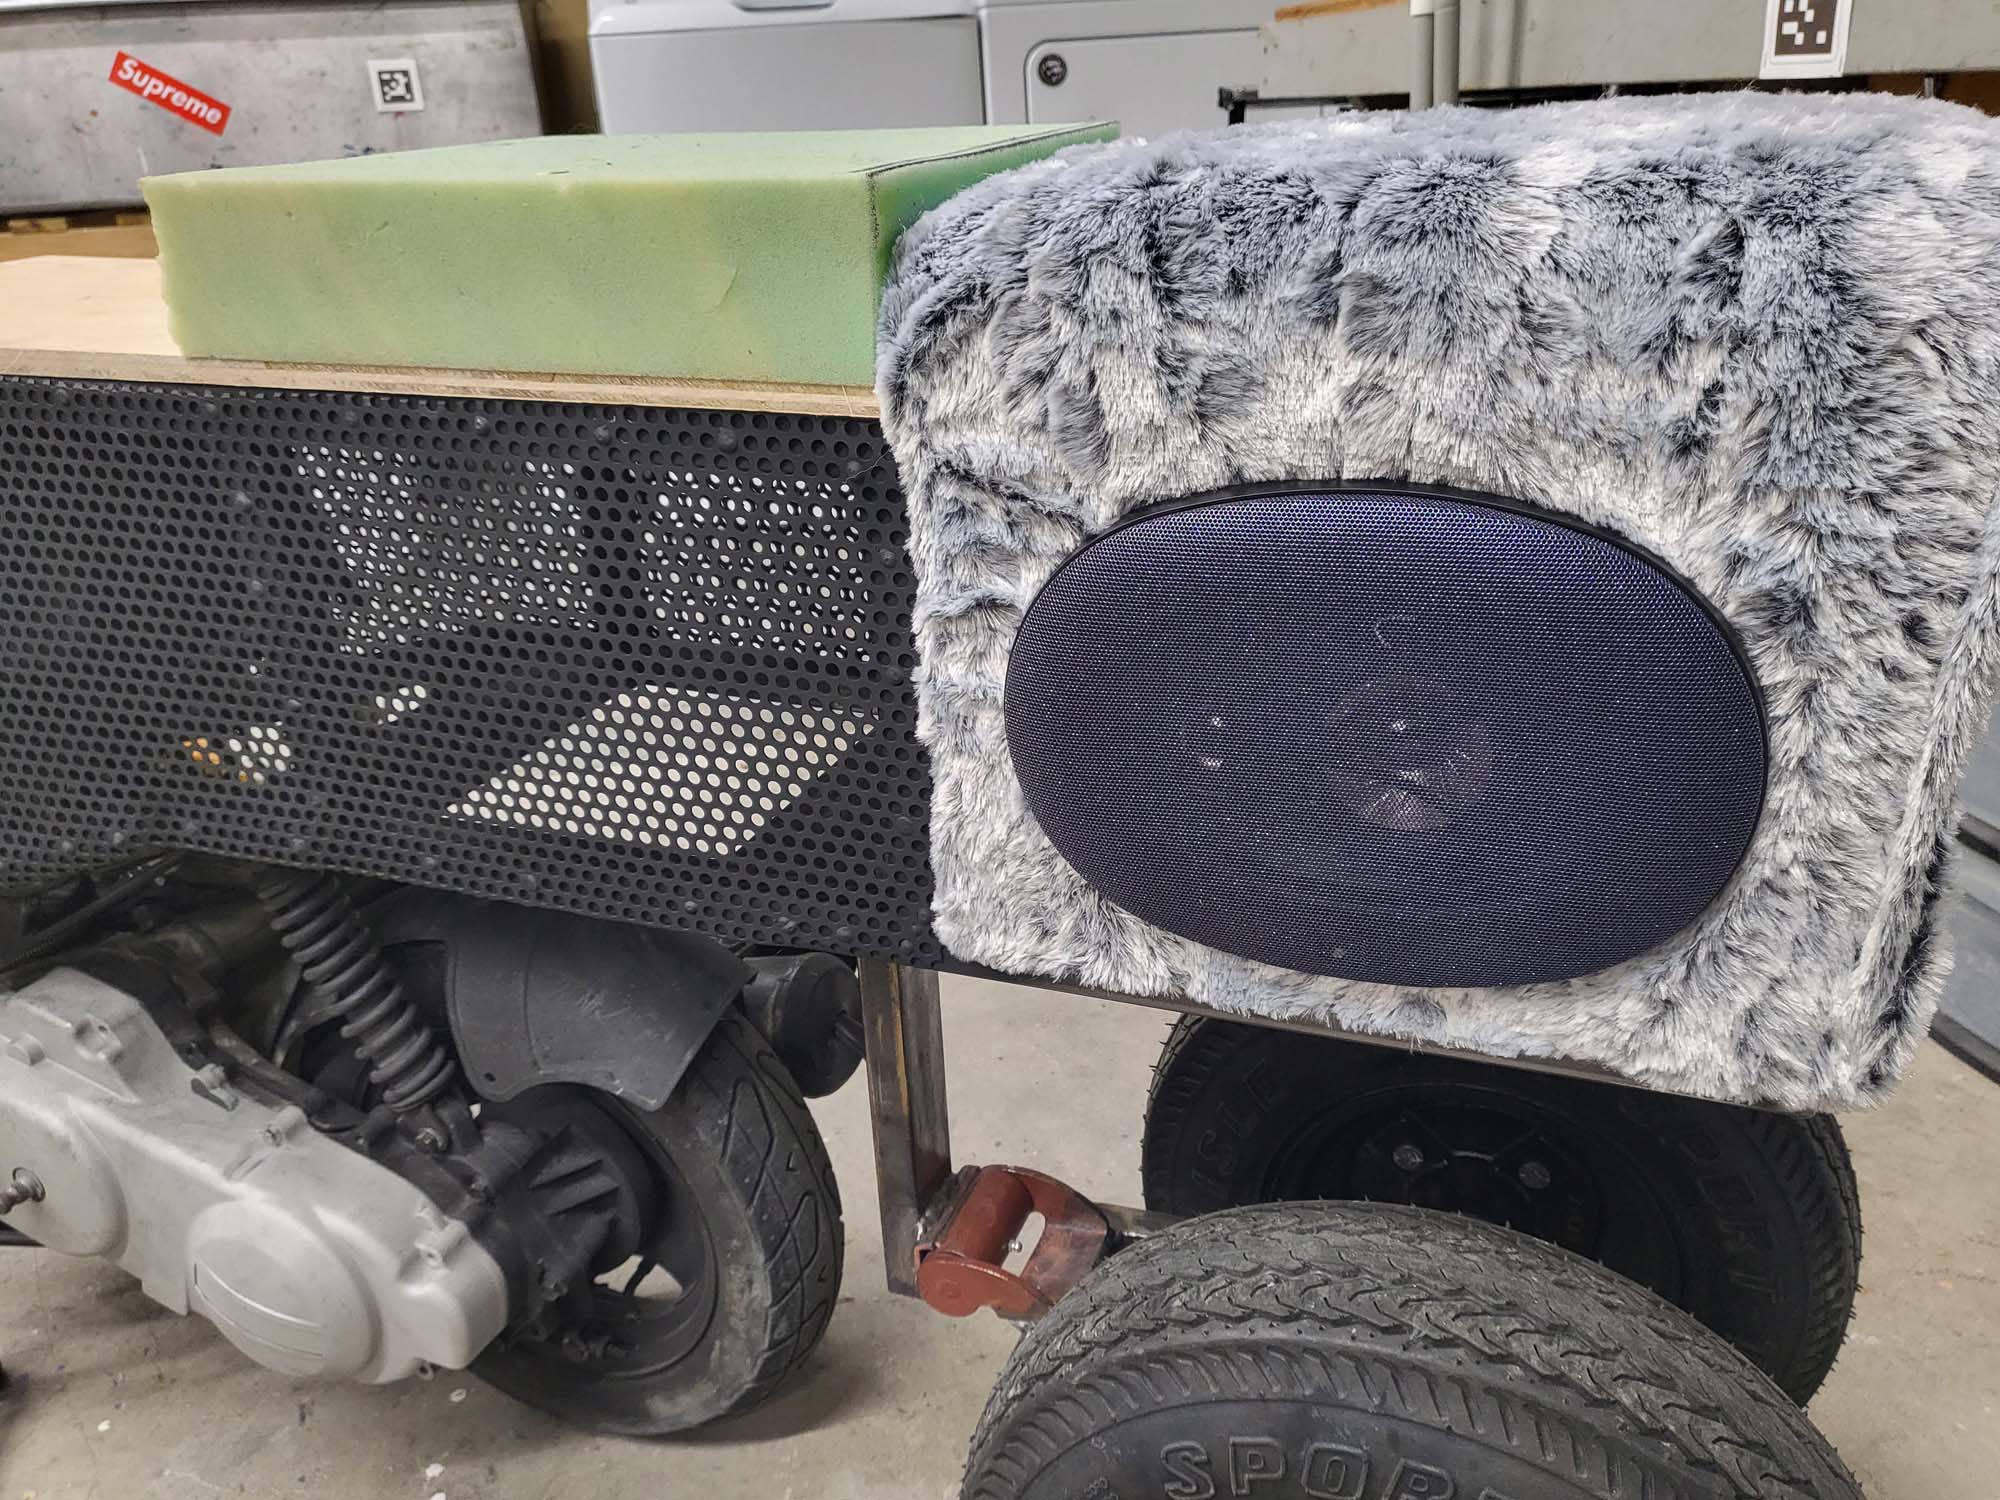
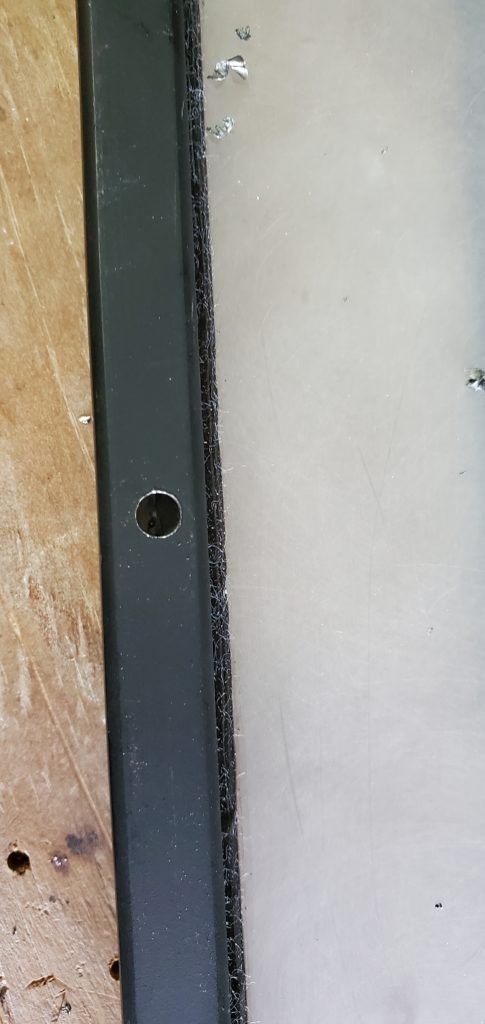
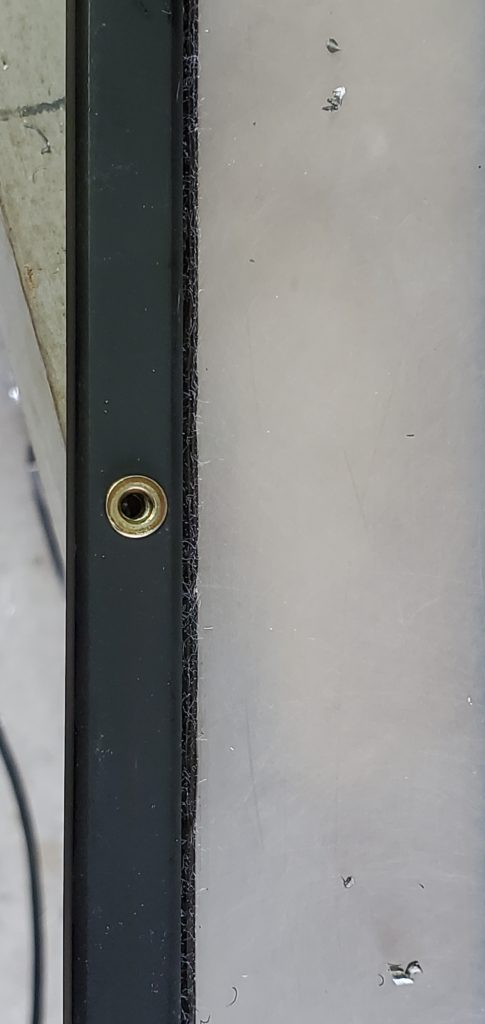
Now that everything is framed I wanted to enclose it to create storage in the seat. My work gave me a few sheets of this steel with holes in them. I still have to add the bottom pieces… that is in my to-do list below.
The sound system in version 1 consisted of a bunch of cheap junk I picked up from Goodwill. They did not sound that bad but I wanted something that fit ascetically with the design. I am using marine grade equipment due to the corrosive nature of the Playa dust. There is a 3-way 6×9 on either side of Hootie. These are powered by a 300-watt Velex Powersport Class D Amplifier.
Hootie V2 has just over 1,200 individually addressable LEDs. Each side of the vehicle has a minimum of 240 LEDs. The back LED panel doubles as a brake light. When the vehicle’s brake engages, all 241 LEDs instantly turn red. The front of the vehicle has headlights with high and low beams.
Burning Man 2021 – Renegade Edition
CANCELED?!?!?! NOT AGAIN!!! After seeing the turnout for the Renegade Burn in 2020, we all decided we were going back in 2021 no matter what. For not planning any official interactivity, the week was quite eventful. We provided much-needed shade to passers-by that led to many great conversations and friendships.
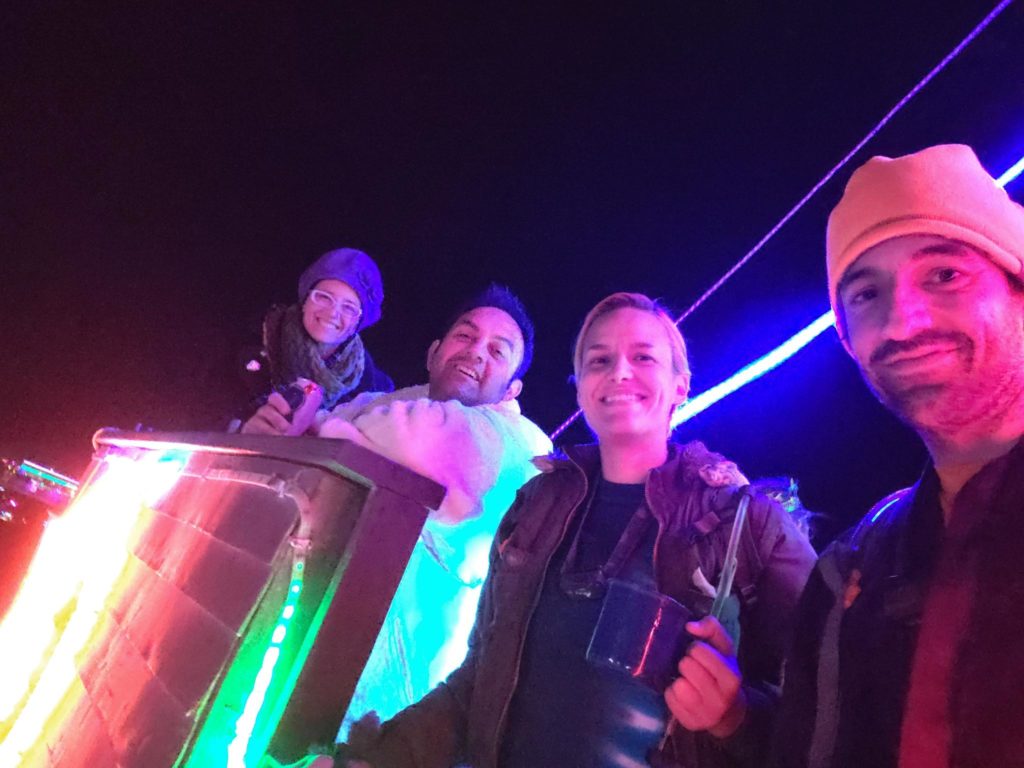
Robot Disco and our new mutant vehicle, Hootie, made their maiden voyages to the playa.
Because there was no airport, we were also able to bring drones to give renegade burners FPV rides to see aerial views of the playa. We also connected with a drone camp to help set up an incredible drone show one night.

Overall, it was wonderful with a side of danger.
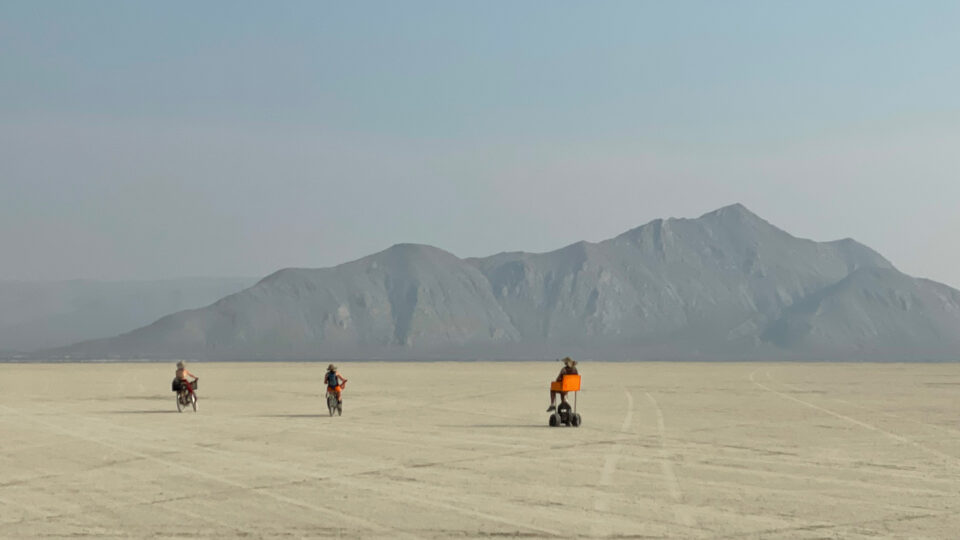
10-mile ride out to the edge of Playa. I was worried Robot Disco was going to run out of battery the whole time.
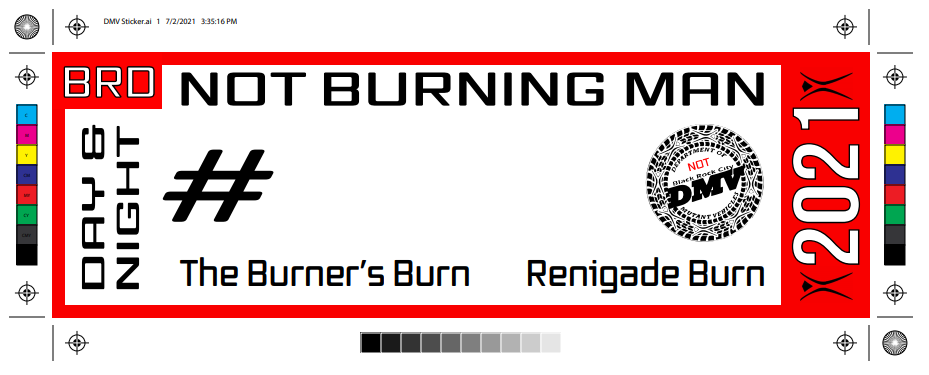
We handed out DMV inspection stickers to the mutant vehicles that showed up this year.
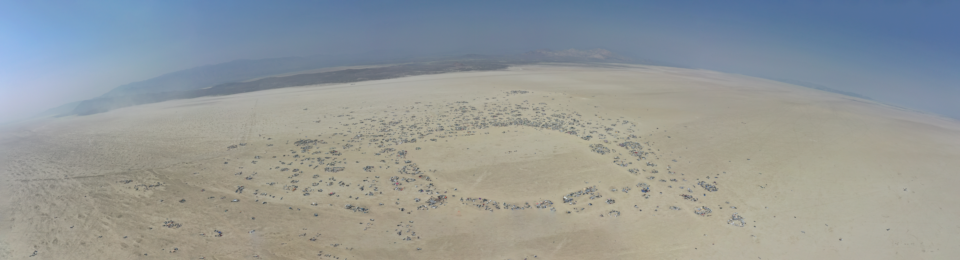
There was no airport, so we were able to fly drones. This was a panoramic image stitched together from five photos taken with a DJI Mavic Air 2. I also took out a few FPV drones so that we can fly and give burners and bird’s eyes view with FPV goggles.
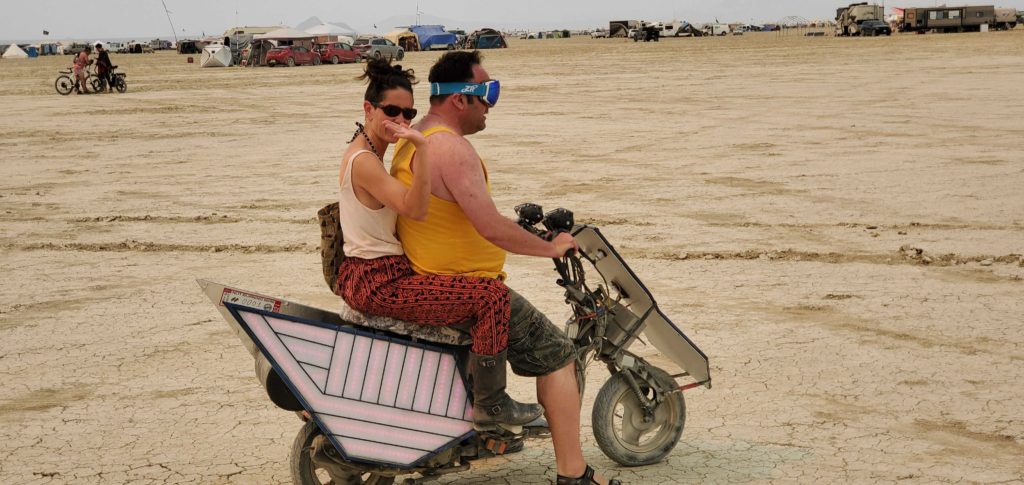
HOOTIE MUTANT VEHICLE V1
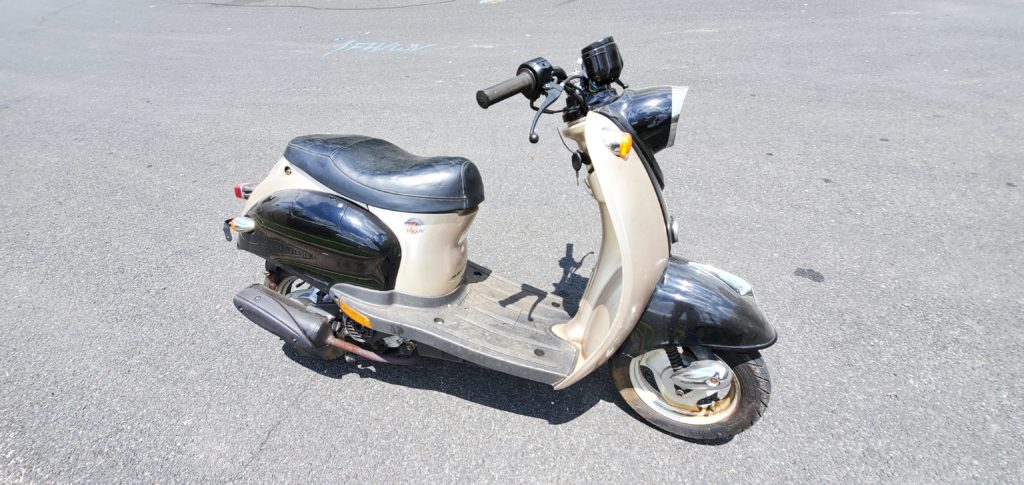
The base of the vehicle is from a 50cc Retro scooter. I purchased the scooter in May of 2021 not knowing what I was going to do with it, but within days, the Hootie project began. This mutant vehicle project brings in all my skills as an artist, maker, and fabricator, including coding, welding, metal lathe, laser cutters, 3D printing, CNC, electronics, and more.
I knew I wanted to build an owl, I did some research. I looked for other owl mutant vehicles, different kinds of owls, drawings of owls, opinions from my partner, to name a few sources of inspiration.
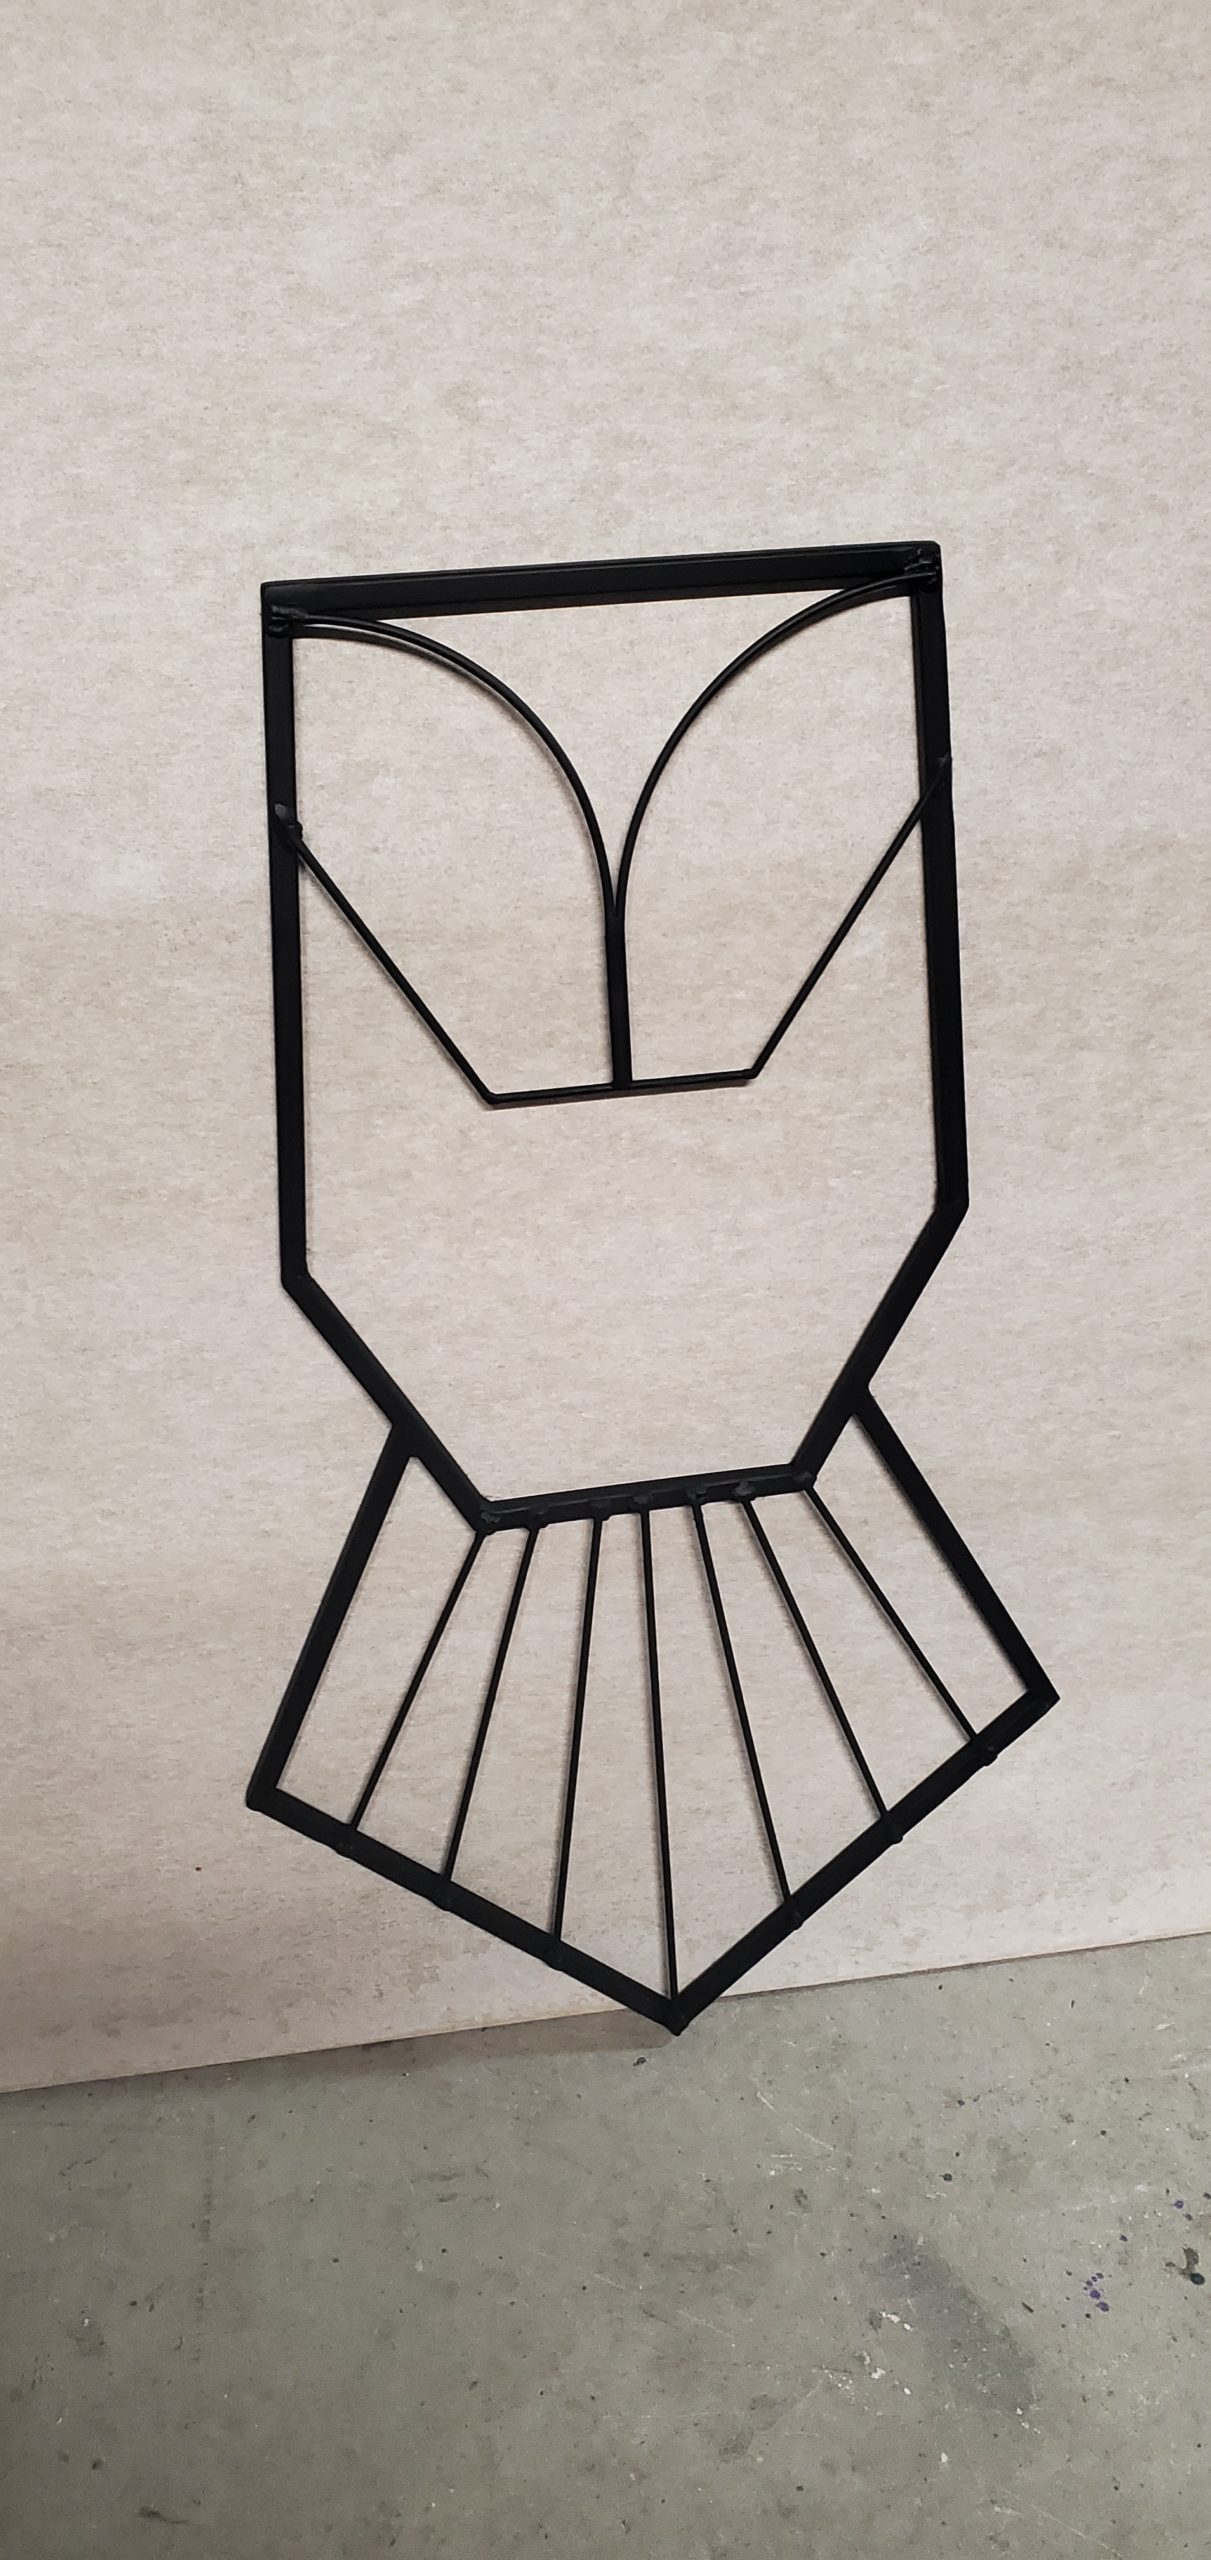
I knew I wanted the aesthetic pieces of the vehicle to be removable panels. This was mainly for ease of transportation (1,800 miles each way). Once I had a direction of where I wanted to go, I did a 2D sketch in Fusion 360 using the dimensions of the scooter’s frame. The idea was to have the center body on the front of the scooter and have a wing on either side hiding the motor.
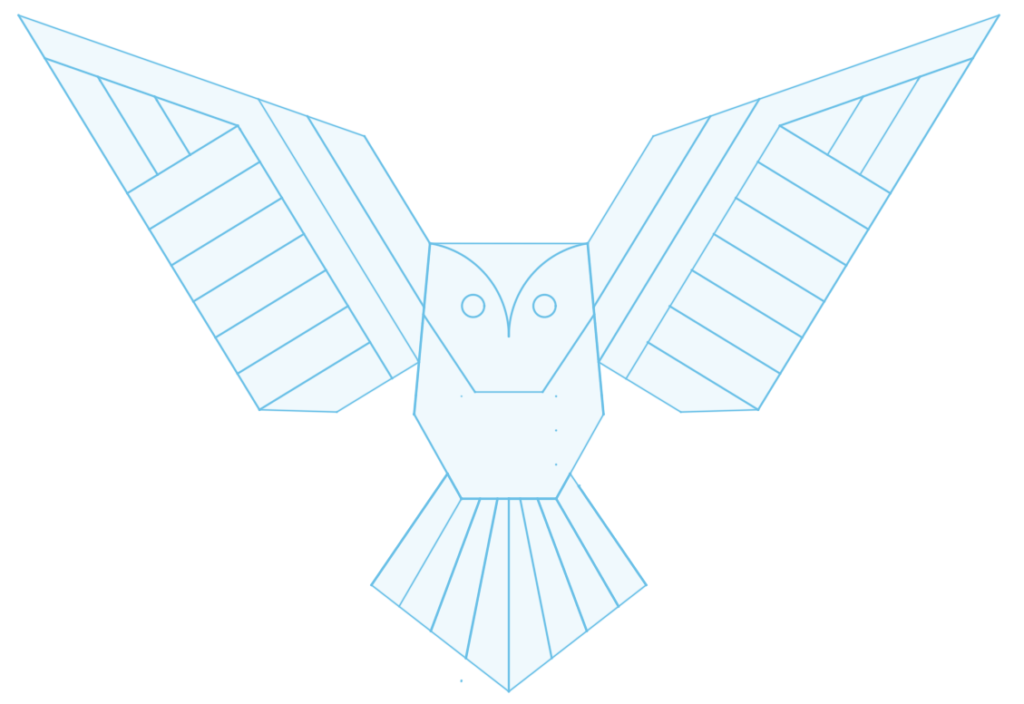
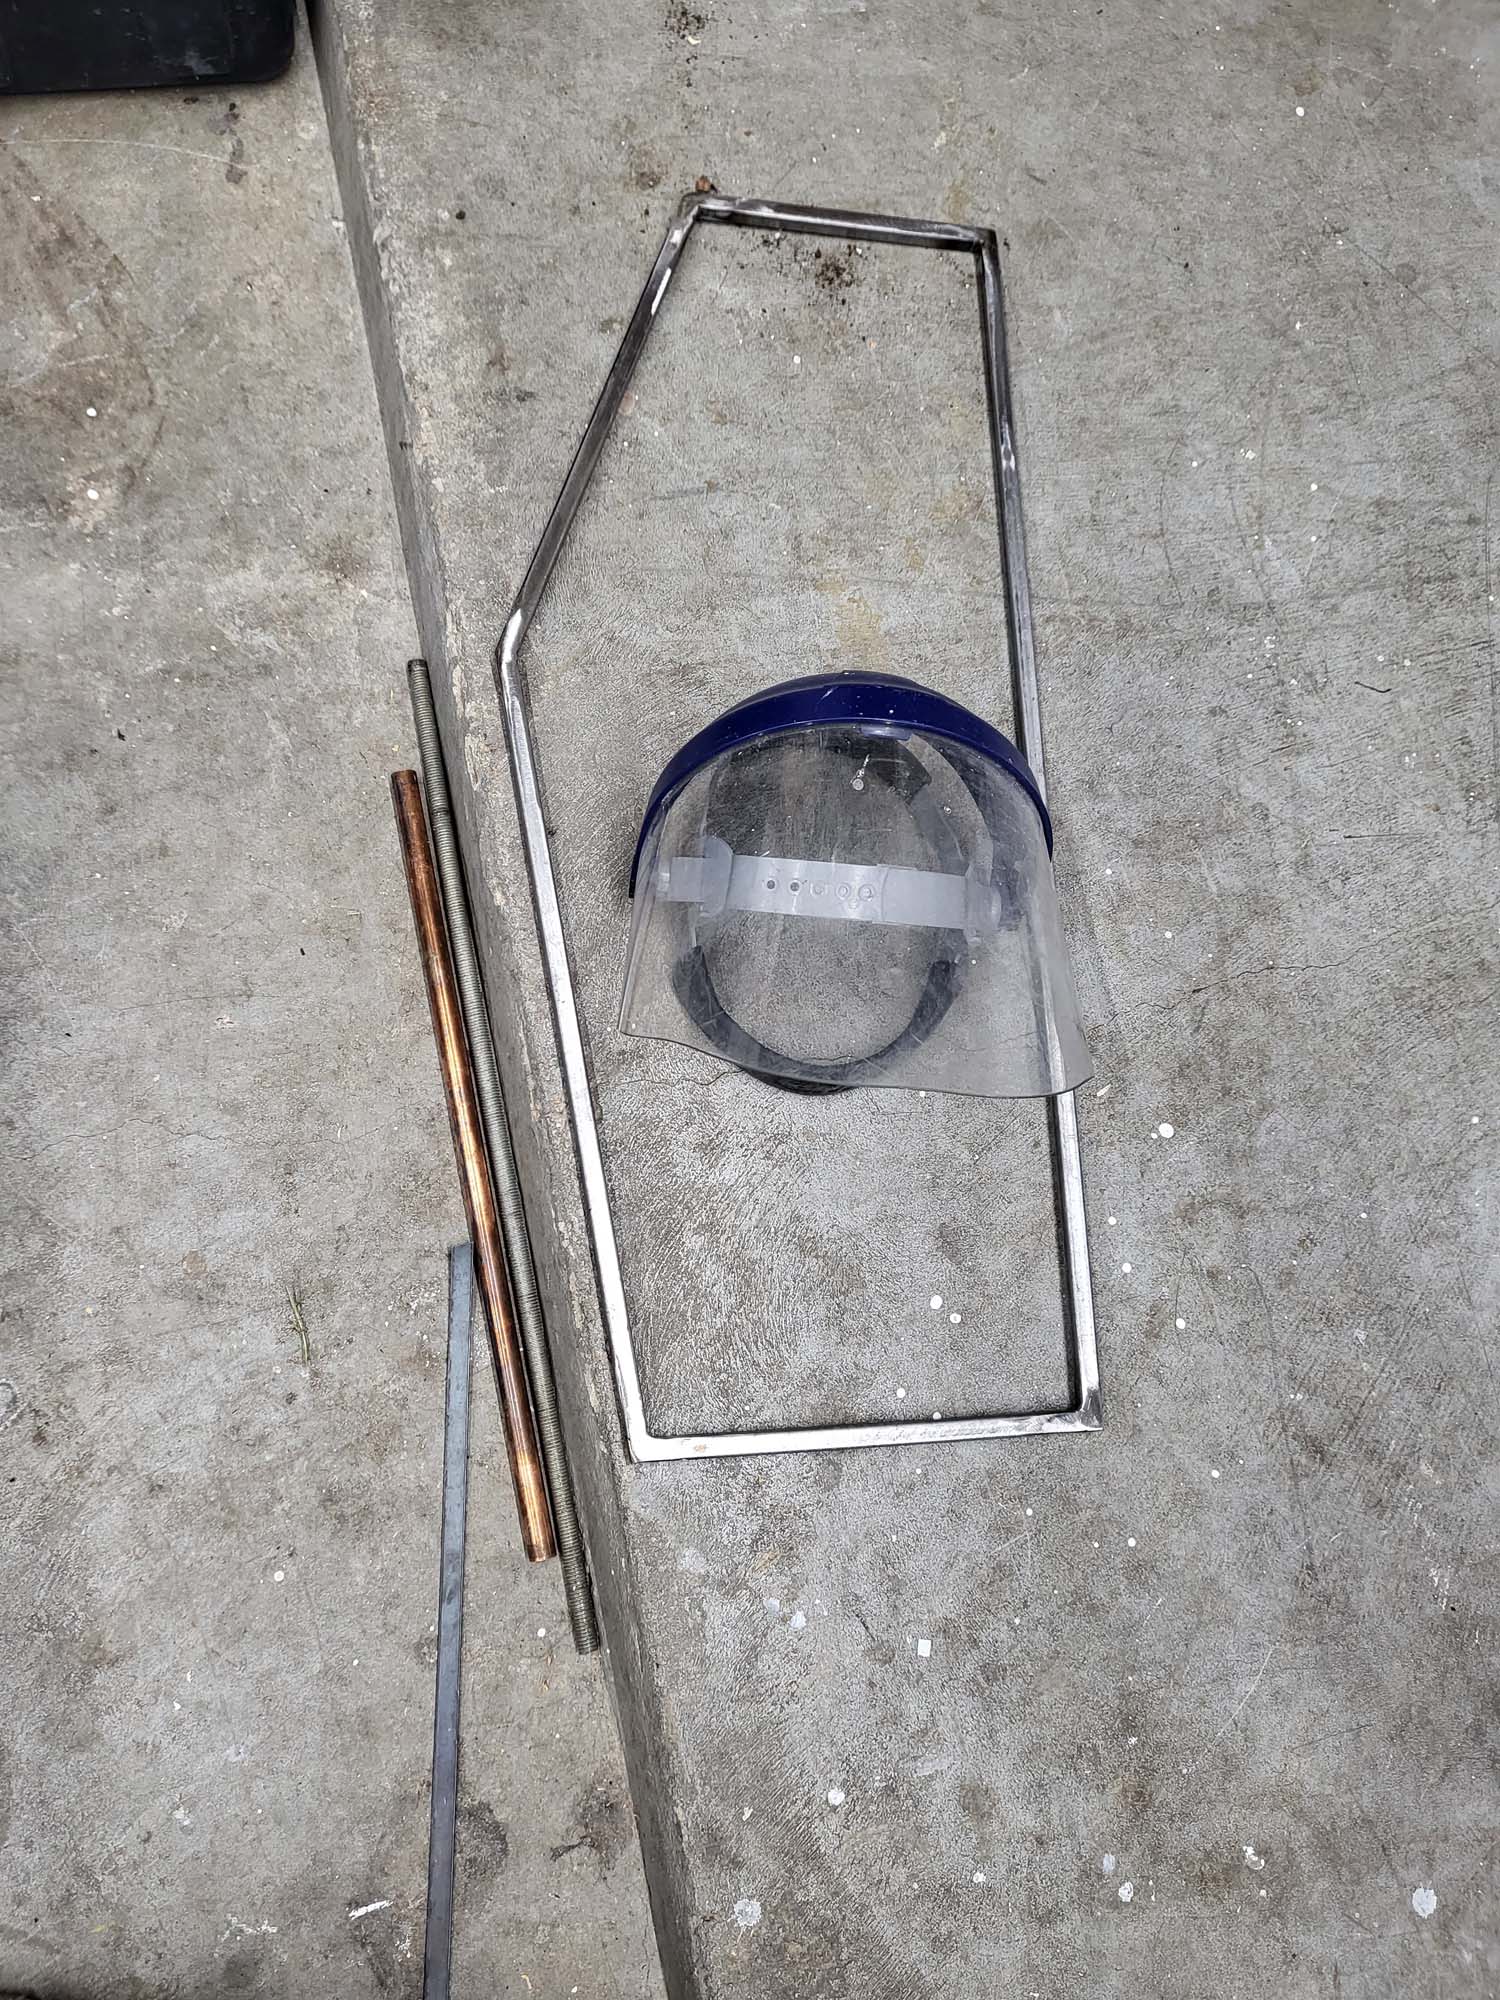
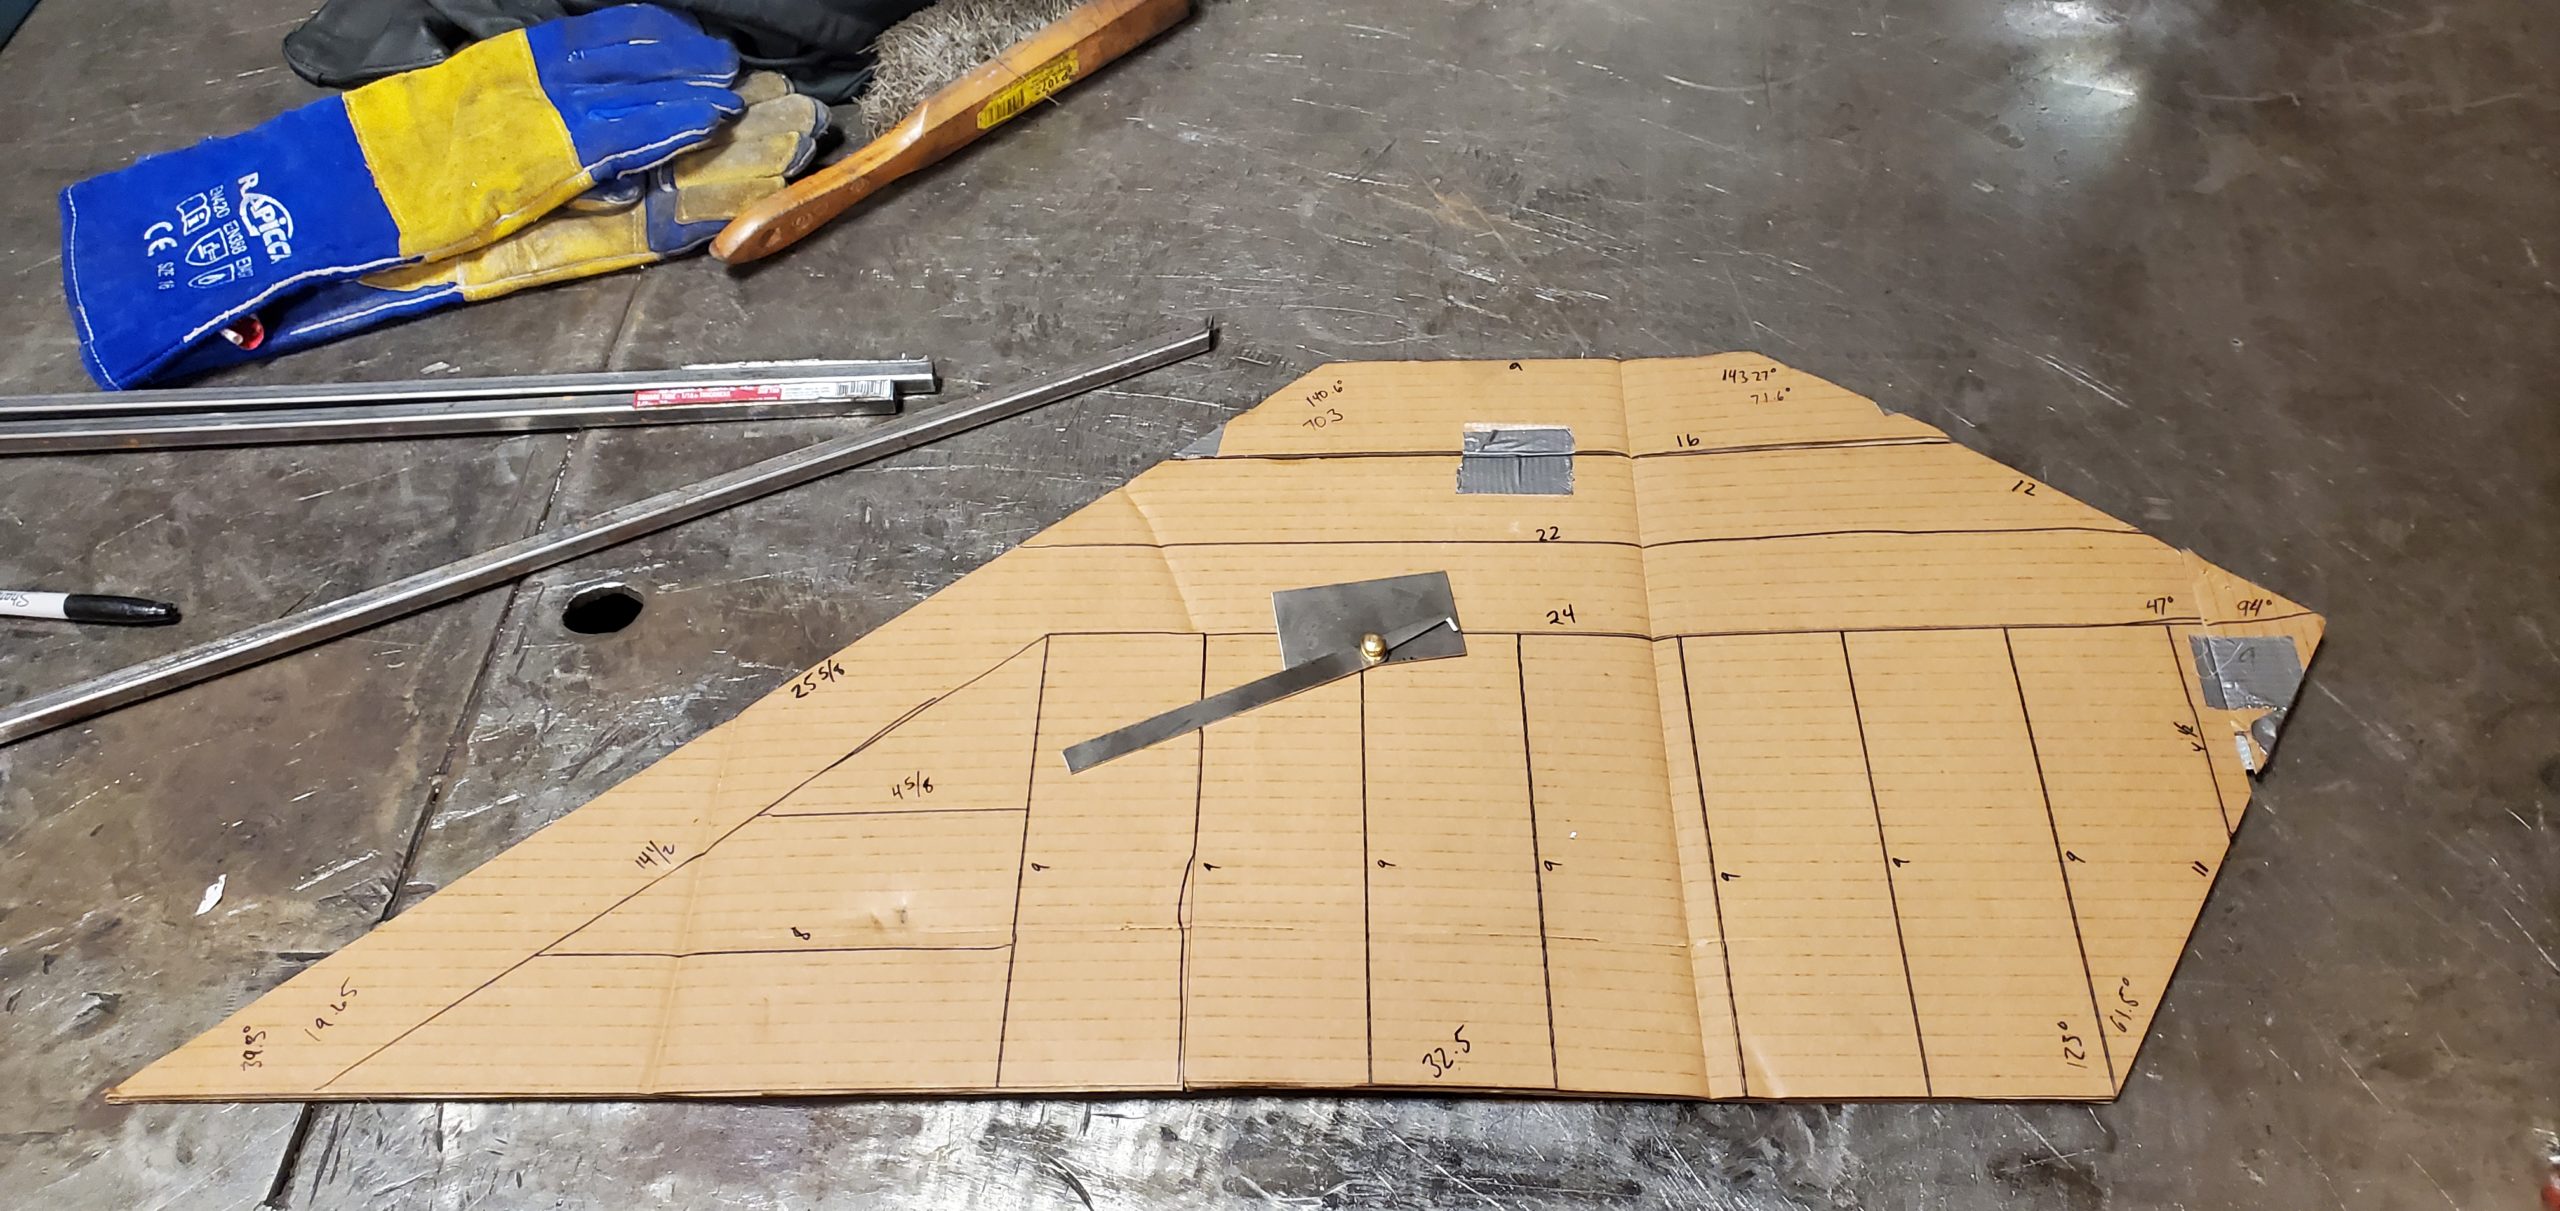
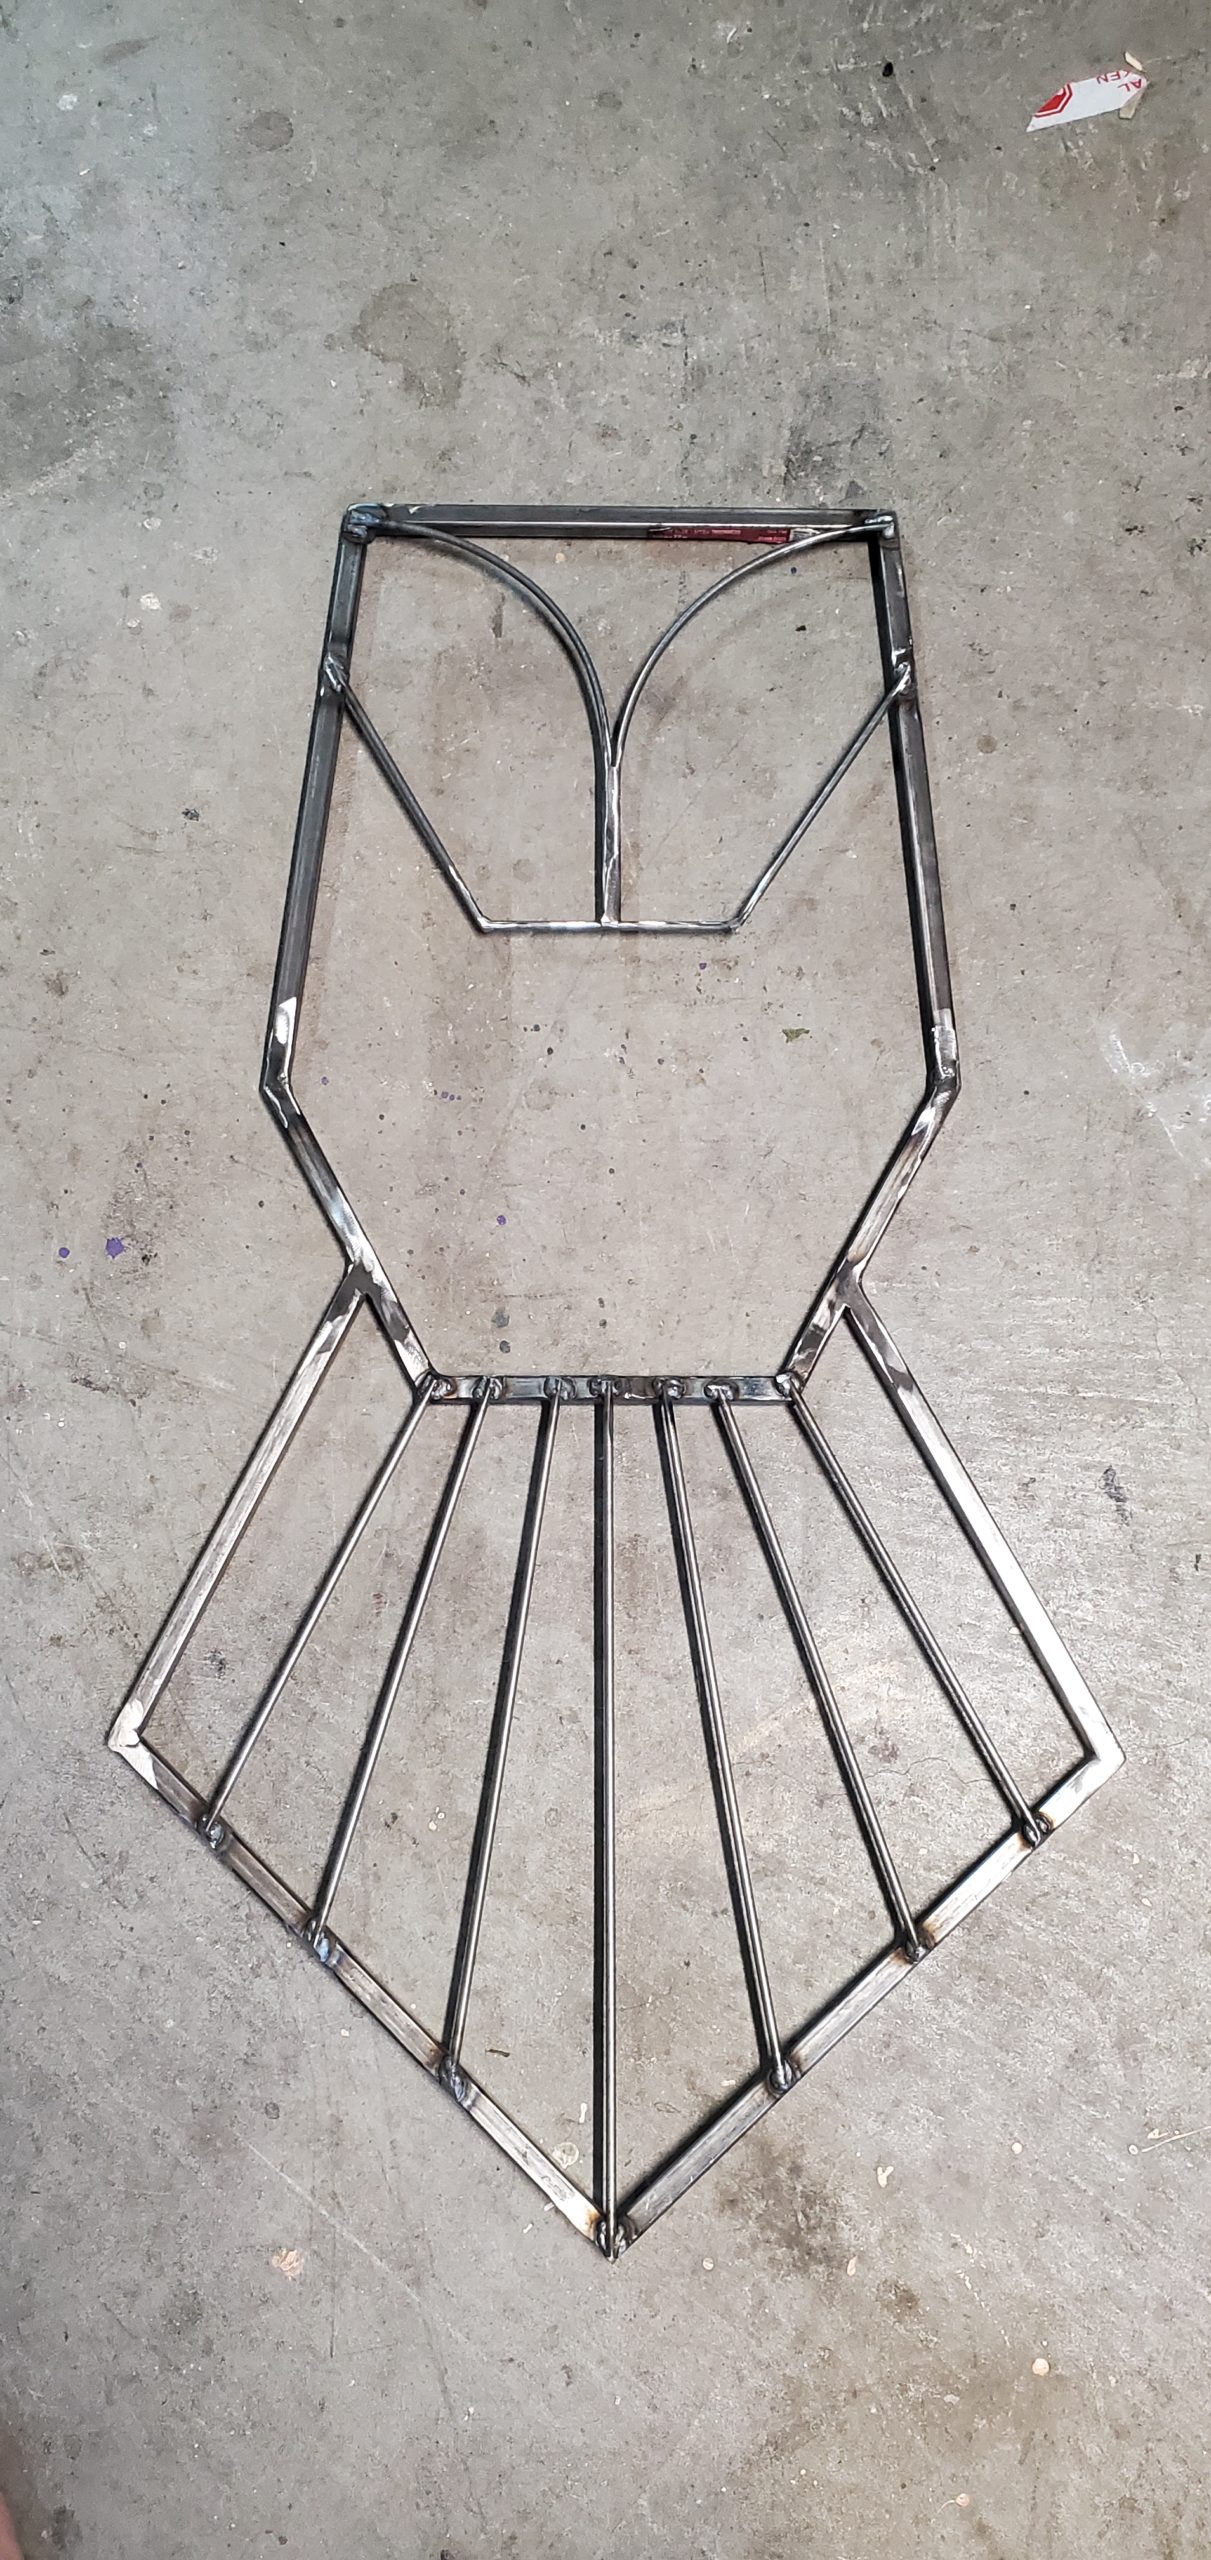
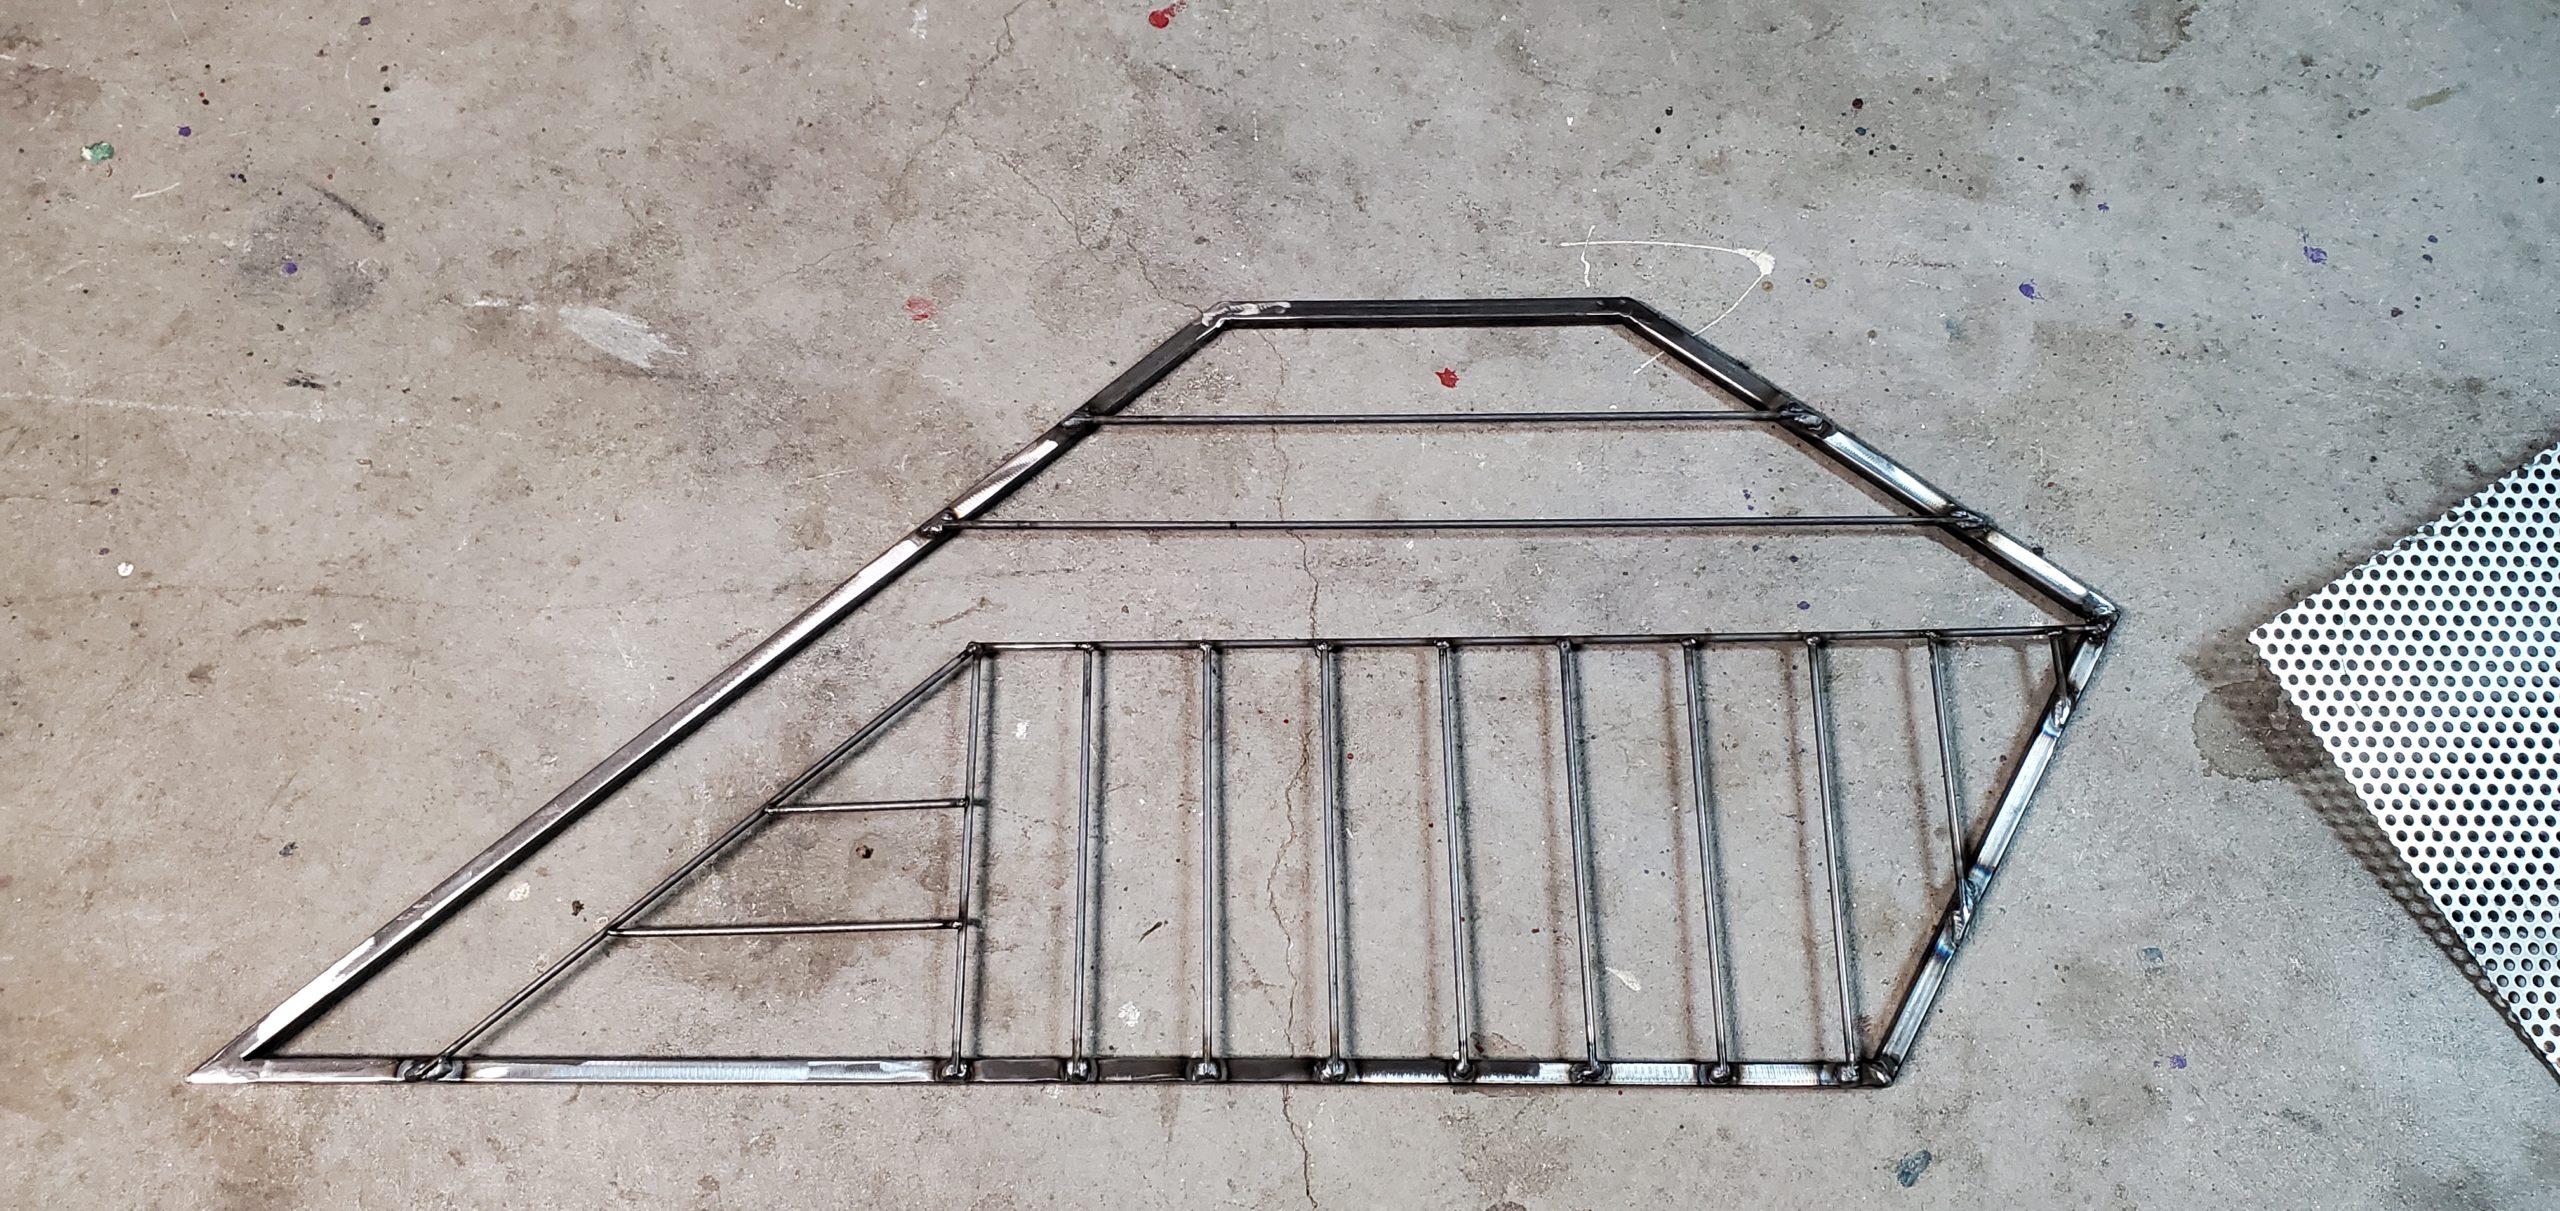
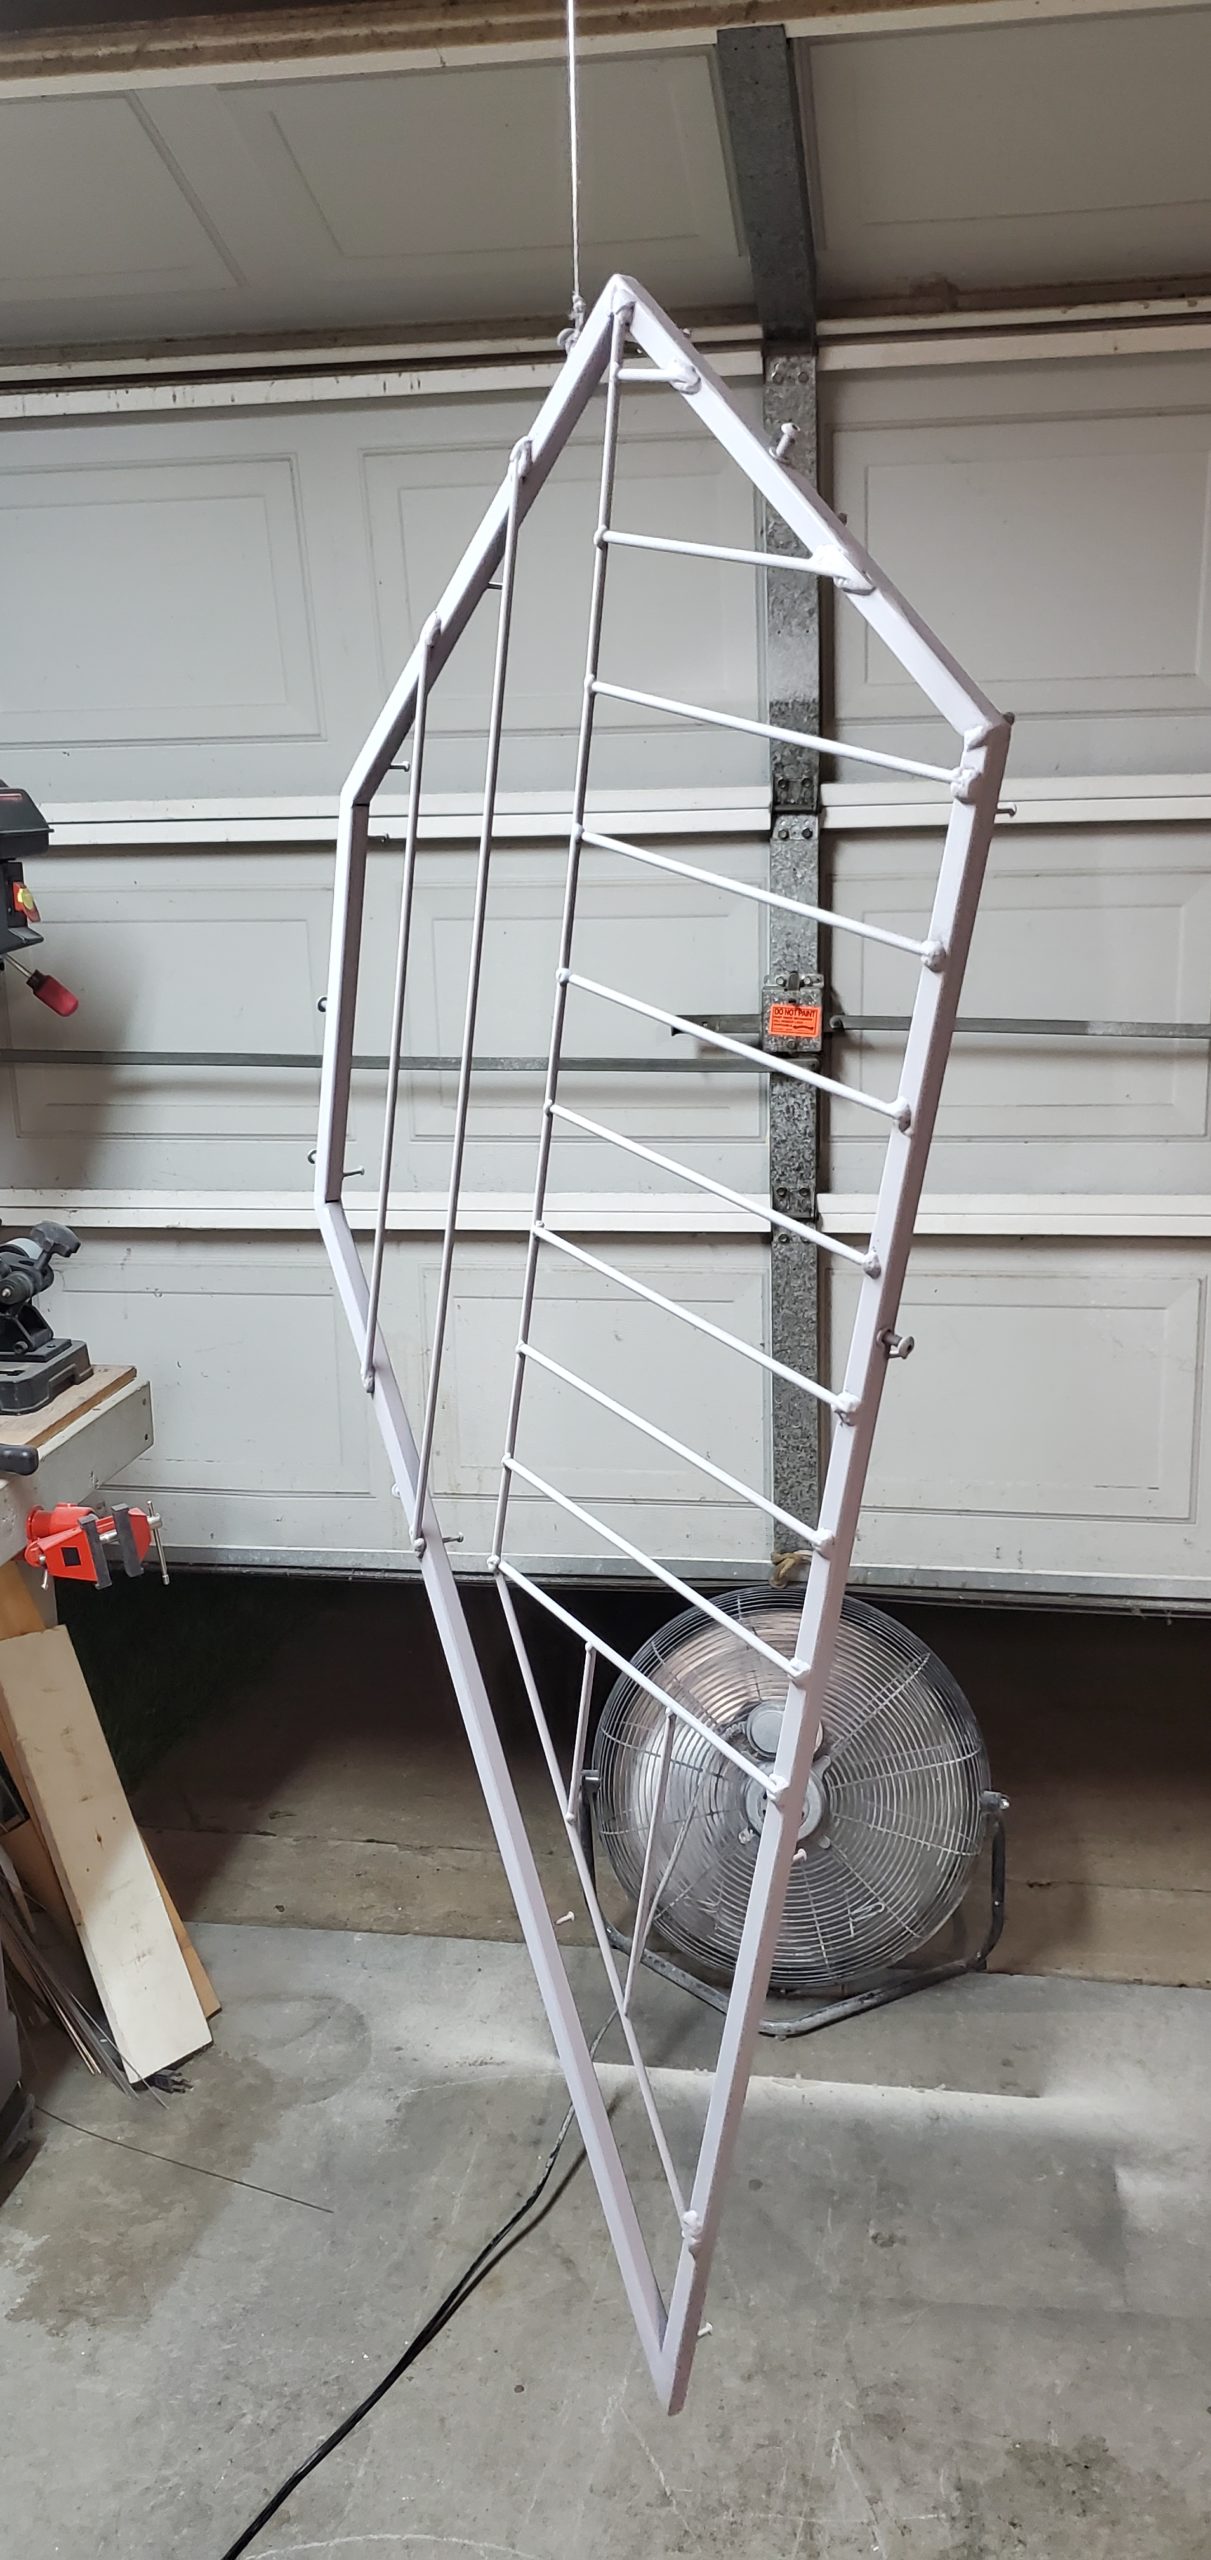
The panel frames are made of 1/2 inch square steel tubing. 3/16ths inch steel rods are used as the line details. These are MIG welded together. The steel is painted with primer, a base of black, a couple of coats of color-shifting paint, and a clear coat to protect it as much as possible. I start by creating a cardboard template.

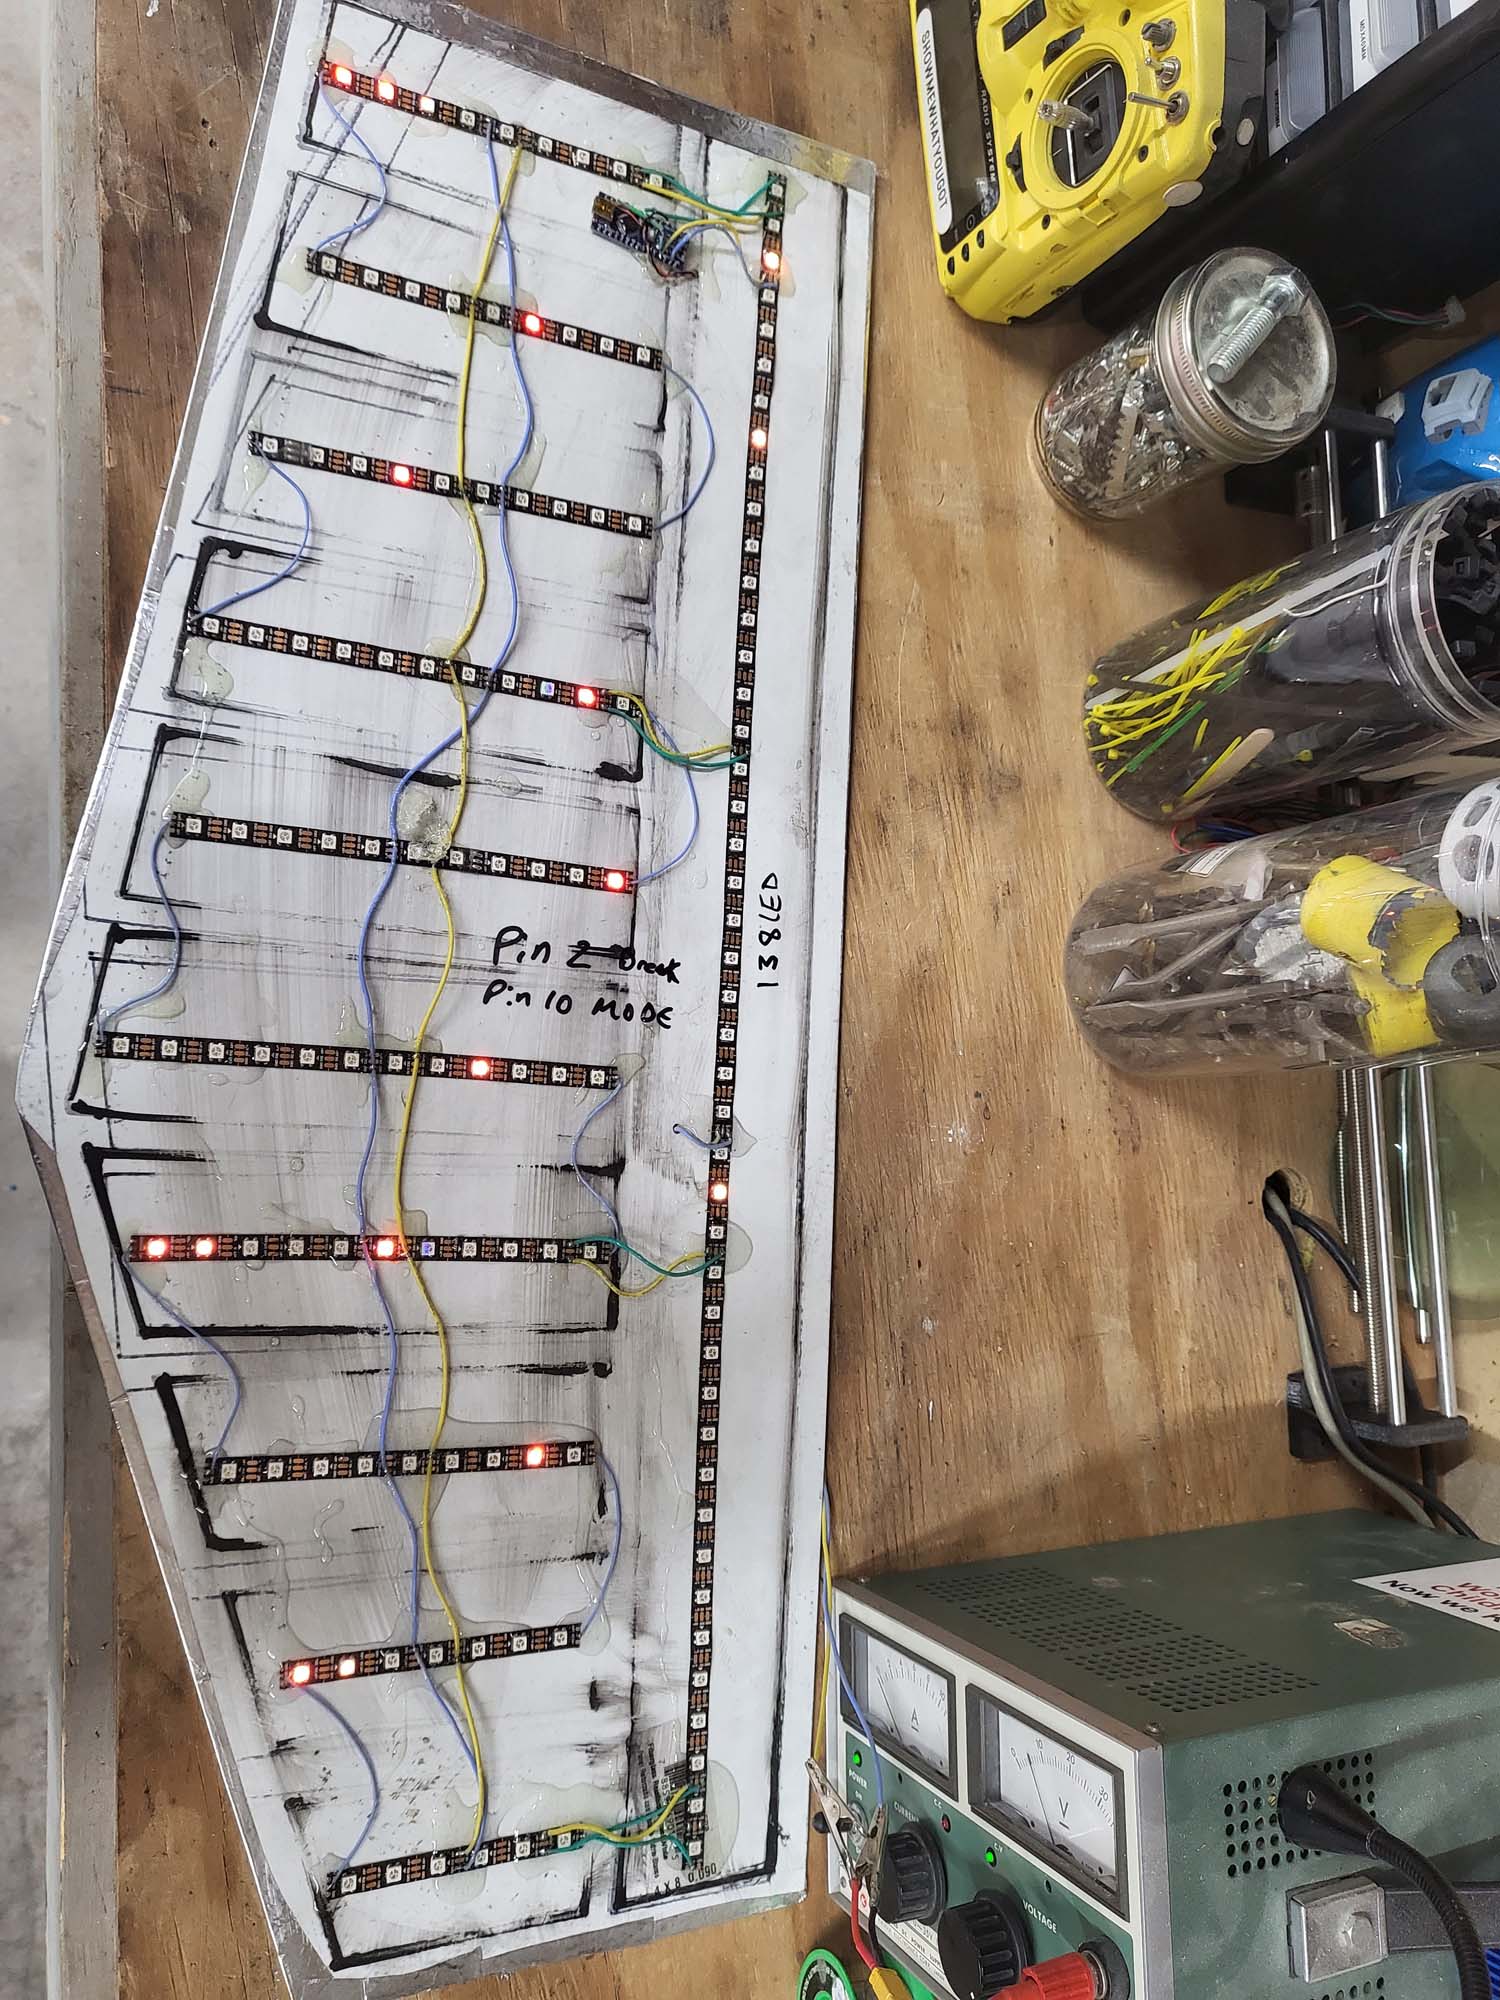
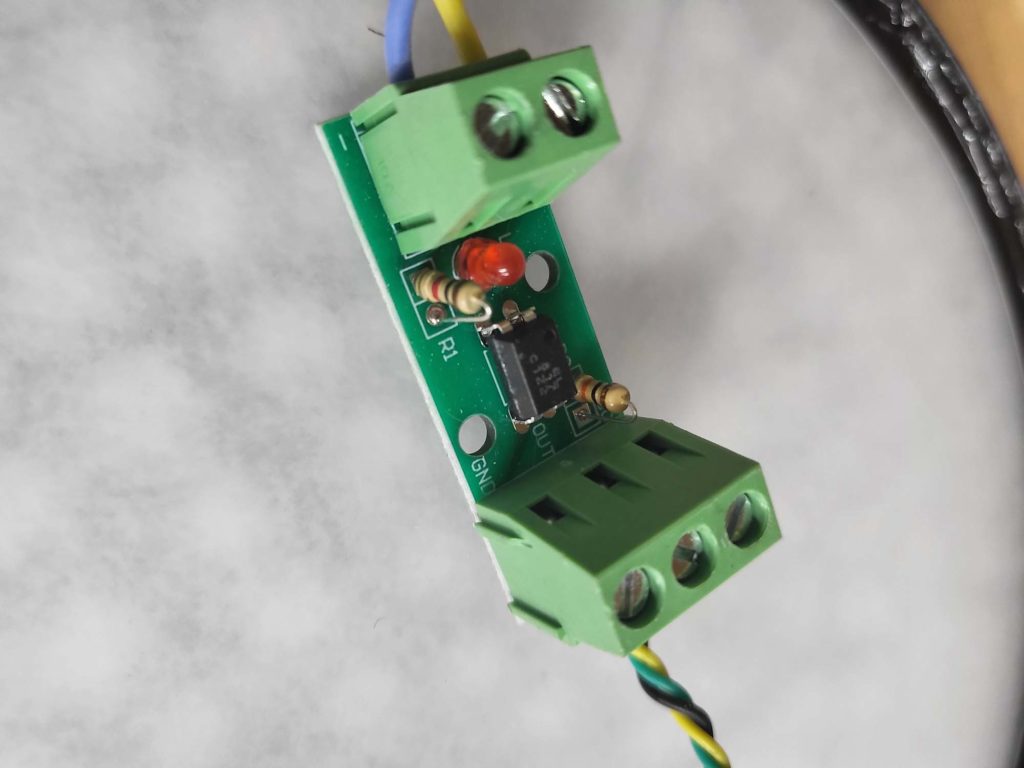
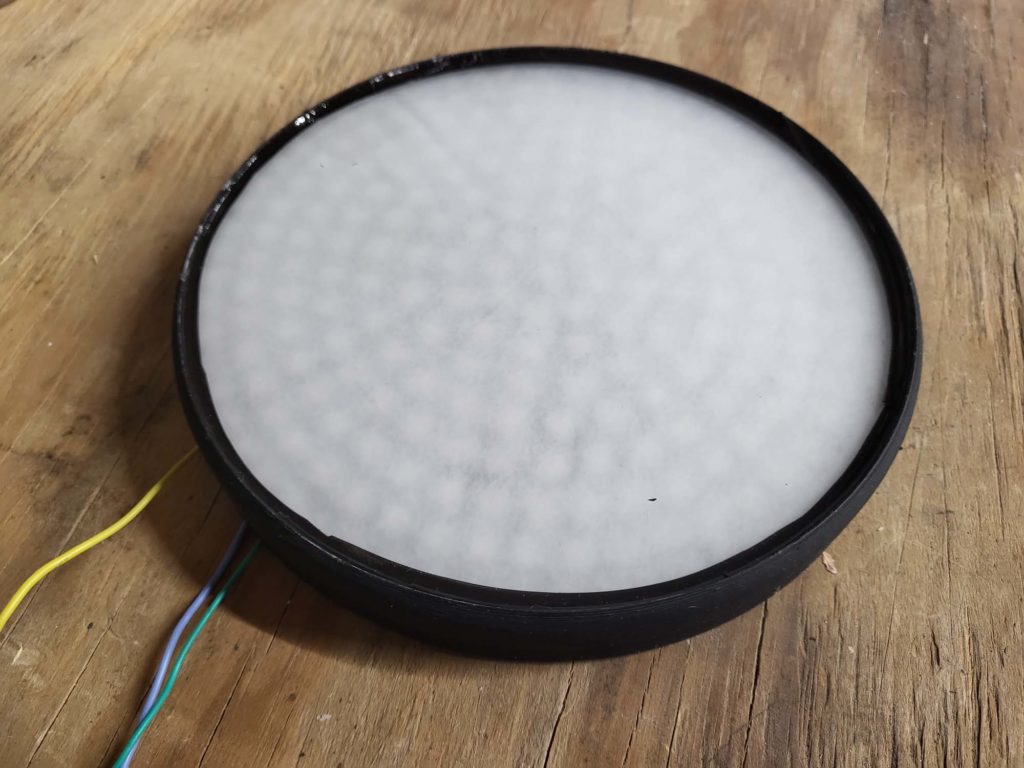
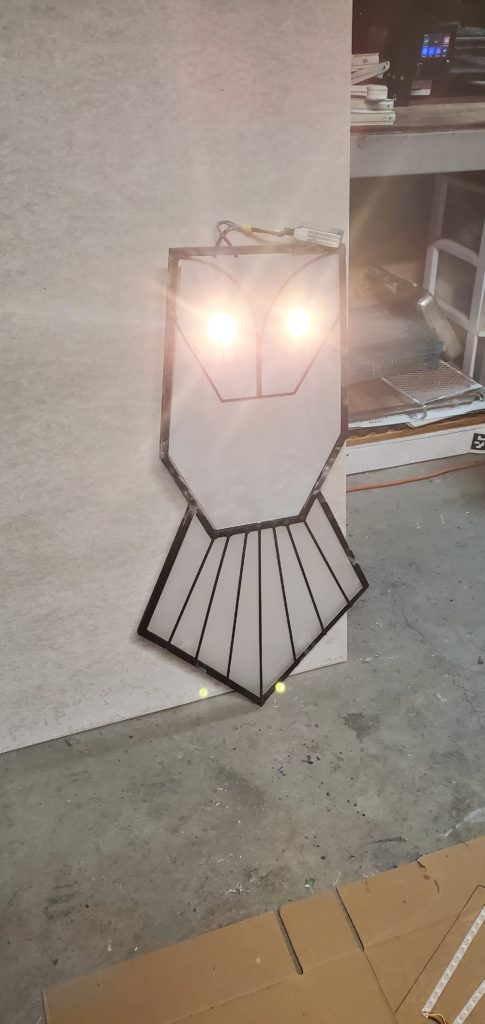
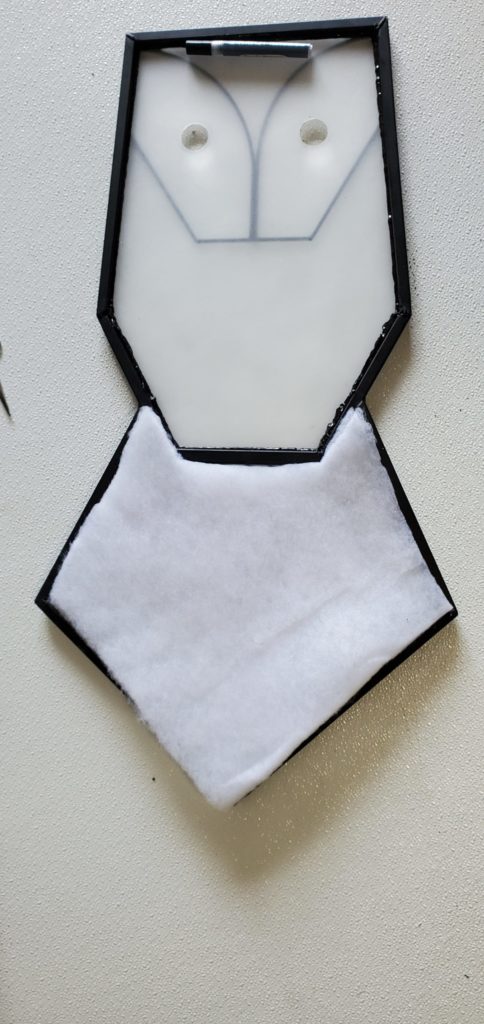
The individually addressable LED strips are mounted on fiber-reinforced plastic sheets. I used 60 WS2812B LEDs per meter strips for all panels. The strips are self-adhesive, but I added a fair amount of epoxy to hold everything together and on all the solder points for good measure. Each panel has its own microcontroller and DC-DC inverter for powering the LEDs. I did this for redundancy and if I have an issue with one panel, the remaining ones still work. The microcontrollers are simple Arduino Nanos and the inverters are XP-PoIr DTJ2024S05. I use these XP inverters at my job, and they are rock-solid, plus they are mostly sealed. I utilized M3 rivet nuts and bolts for affixing the FRP LED panels to the frames.
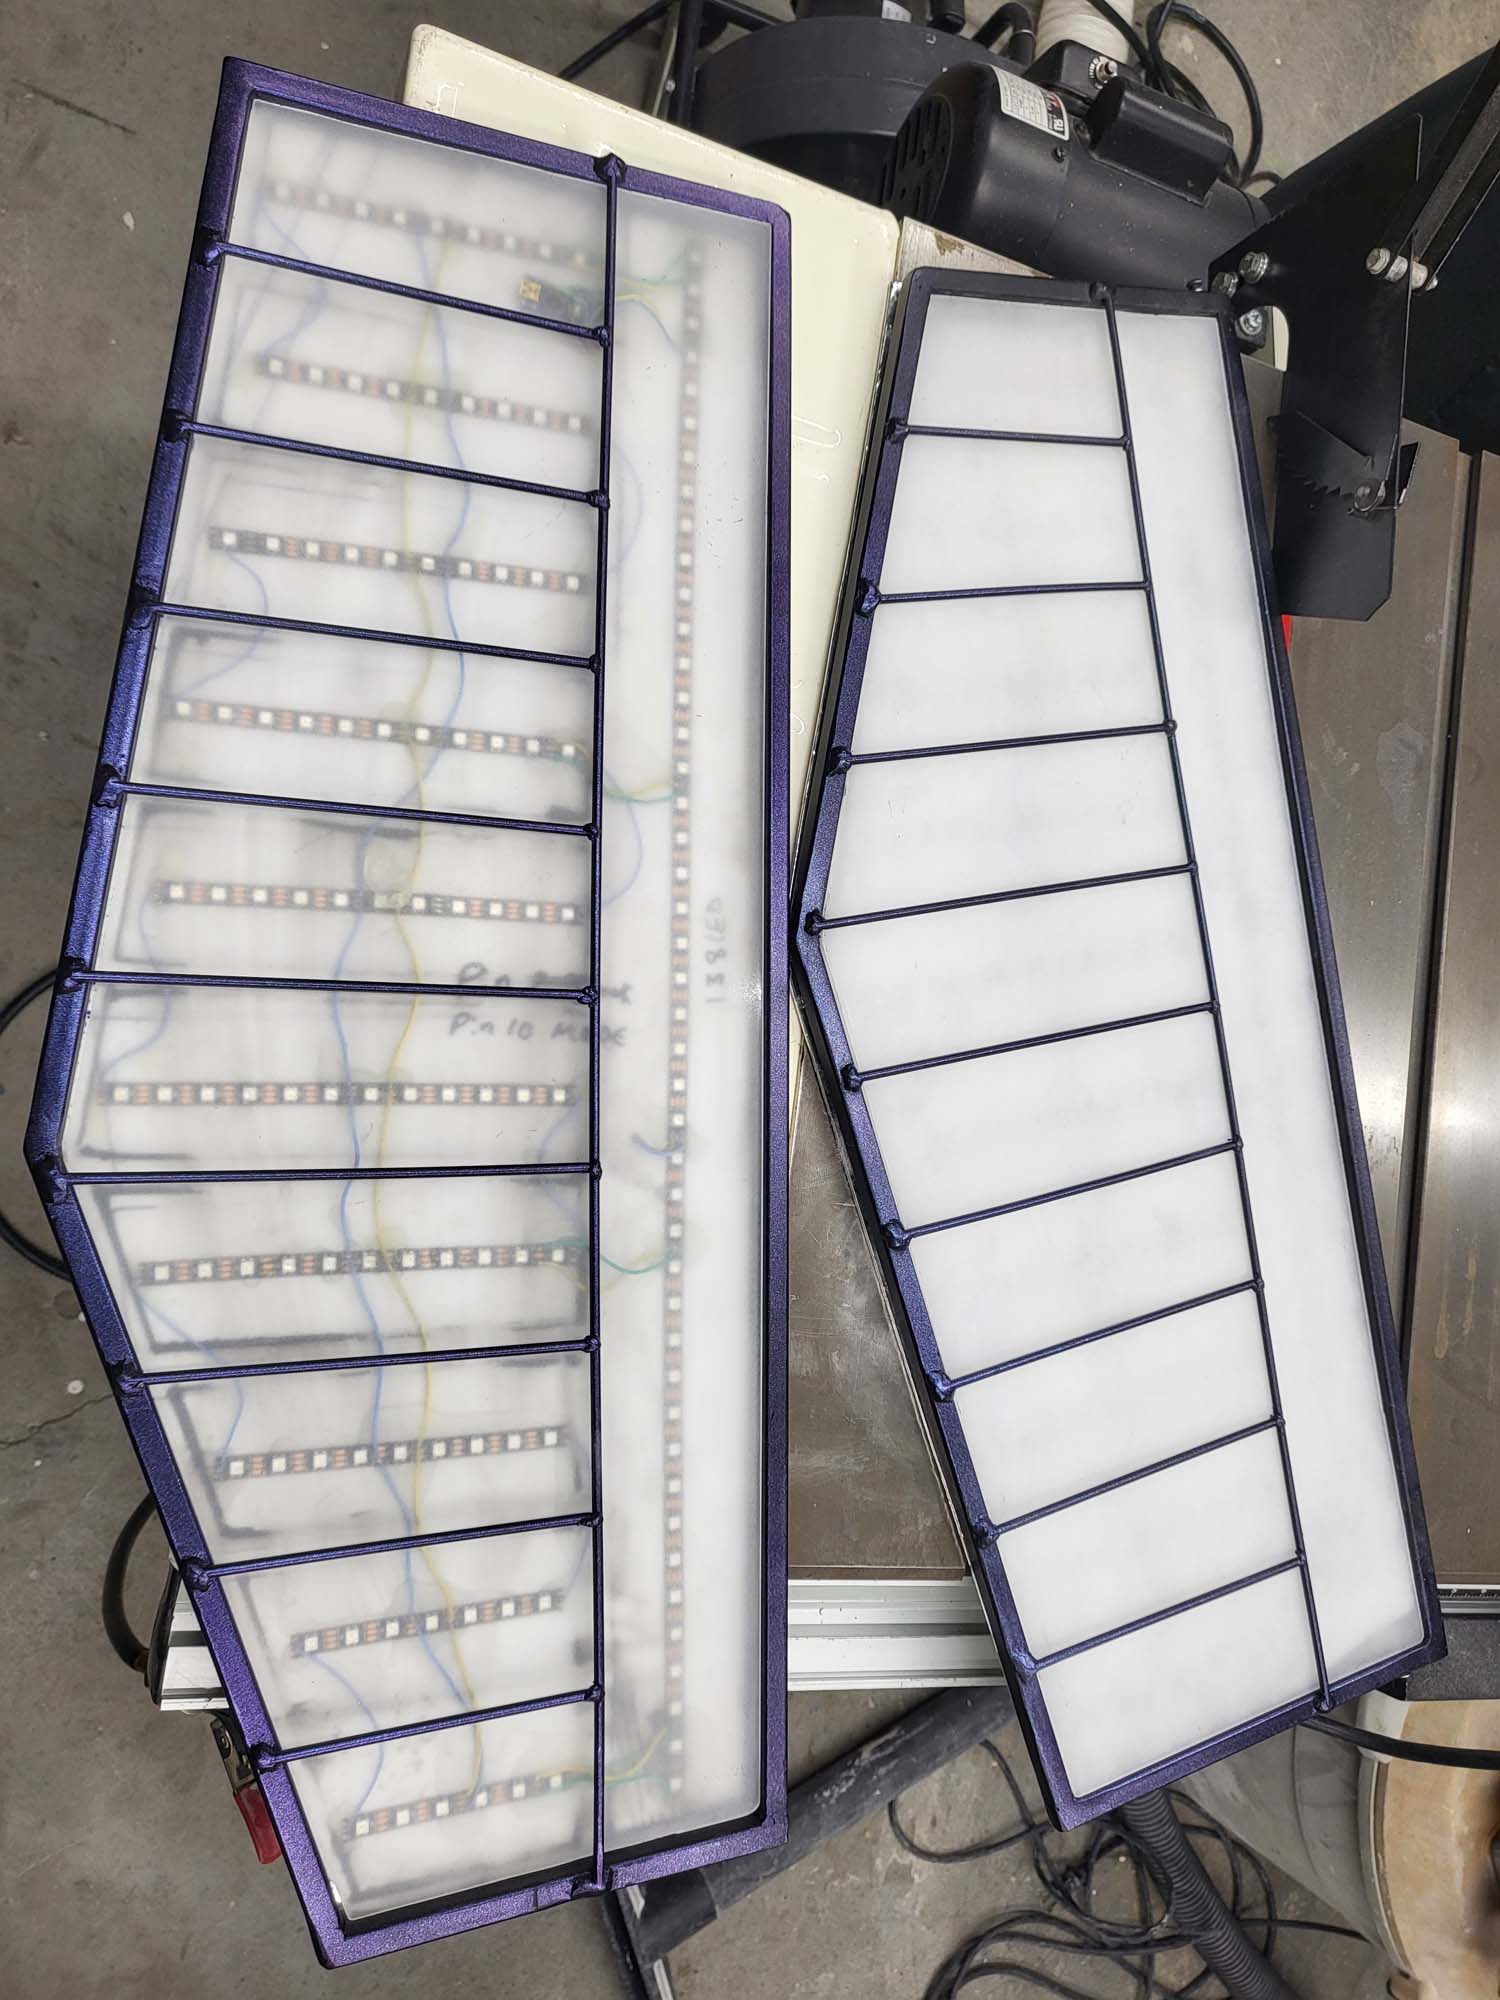
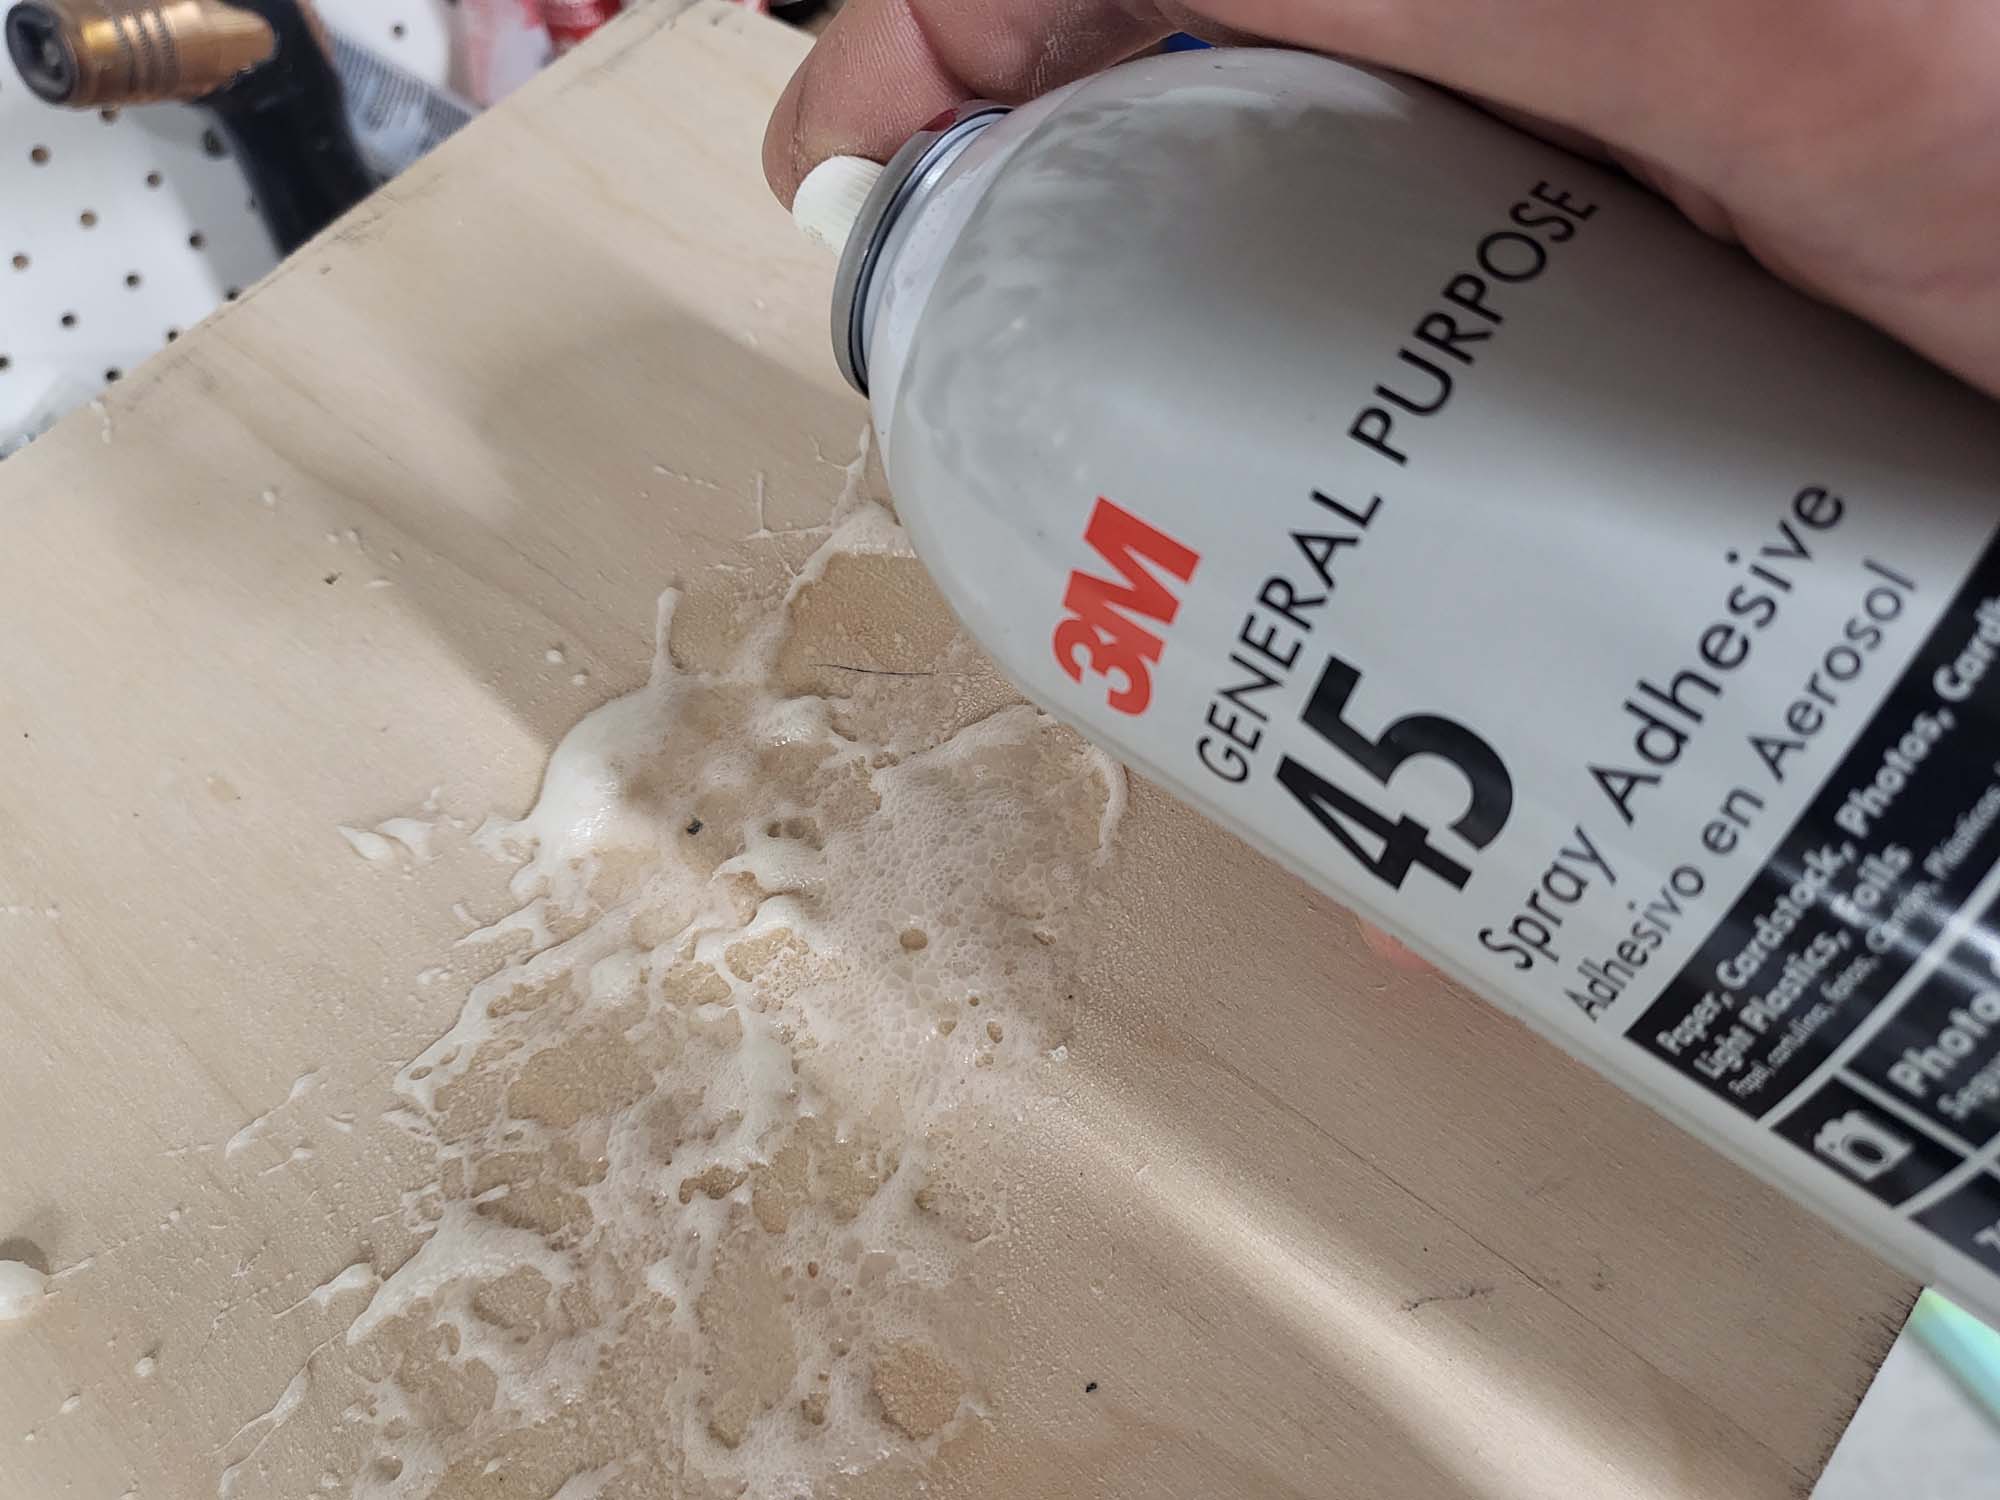
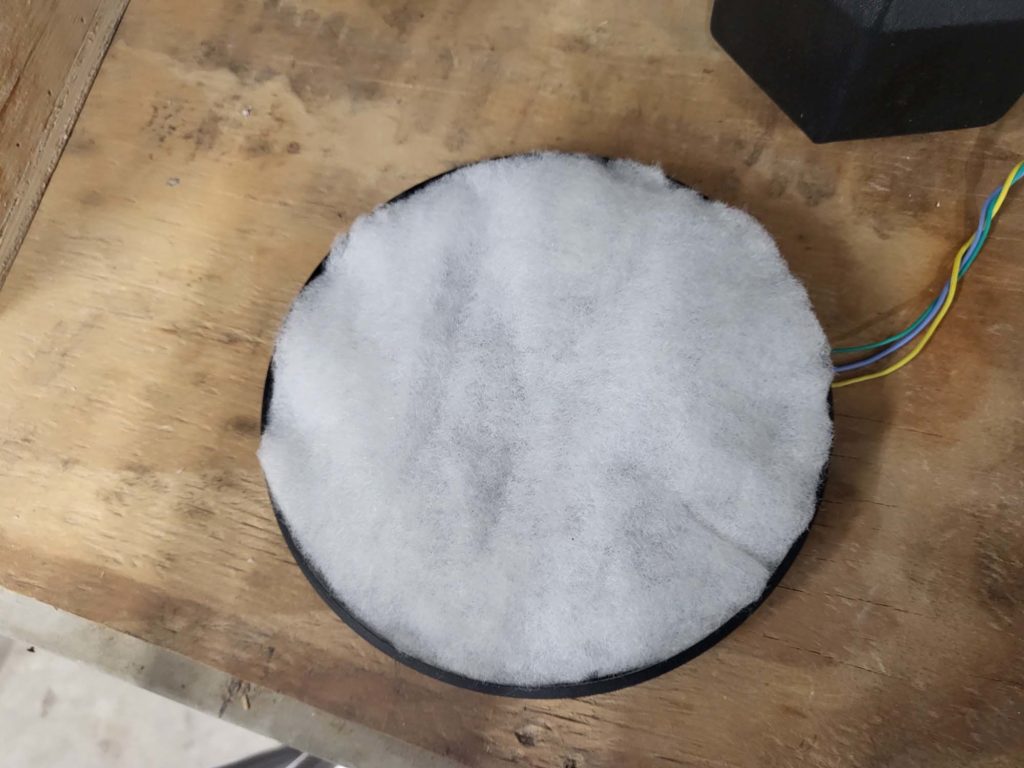
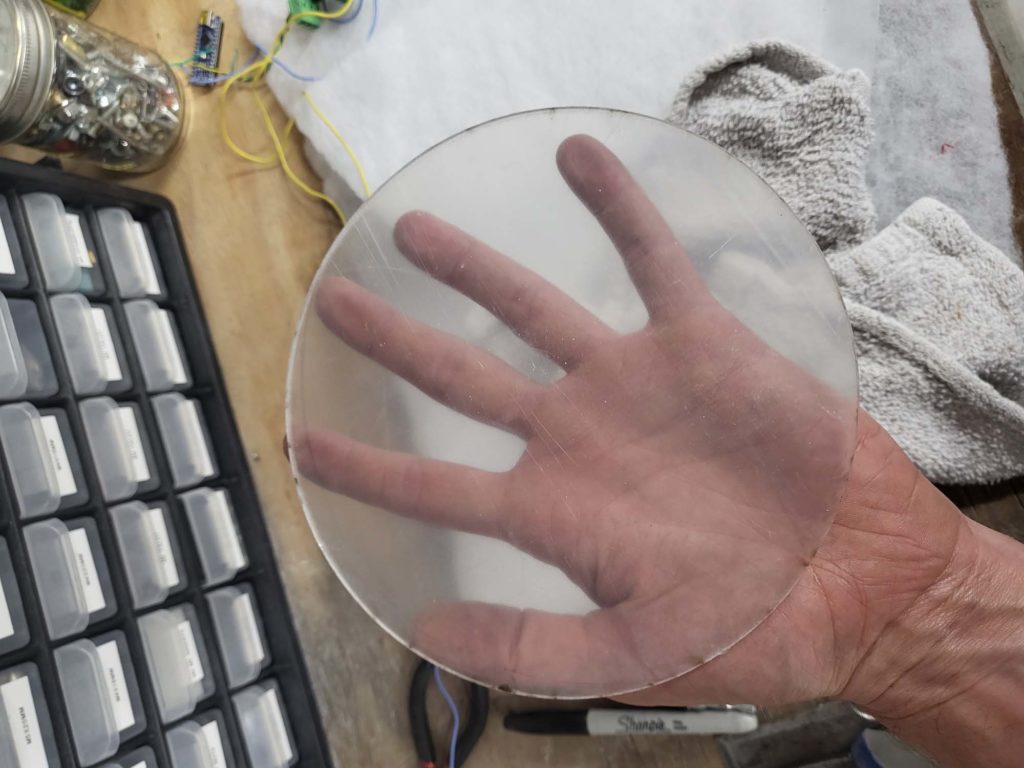
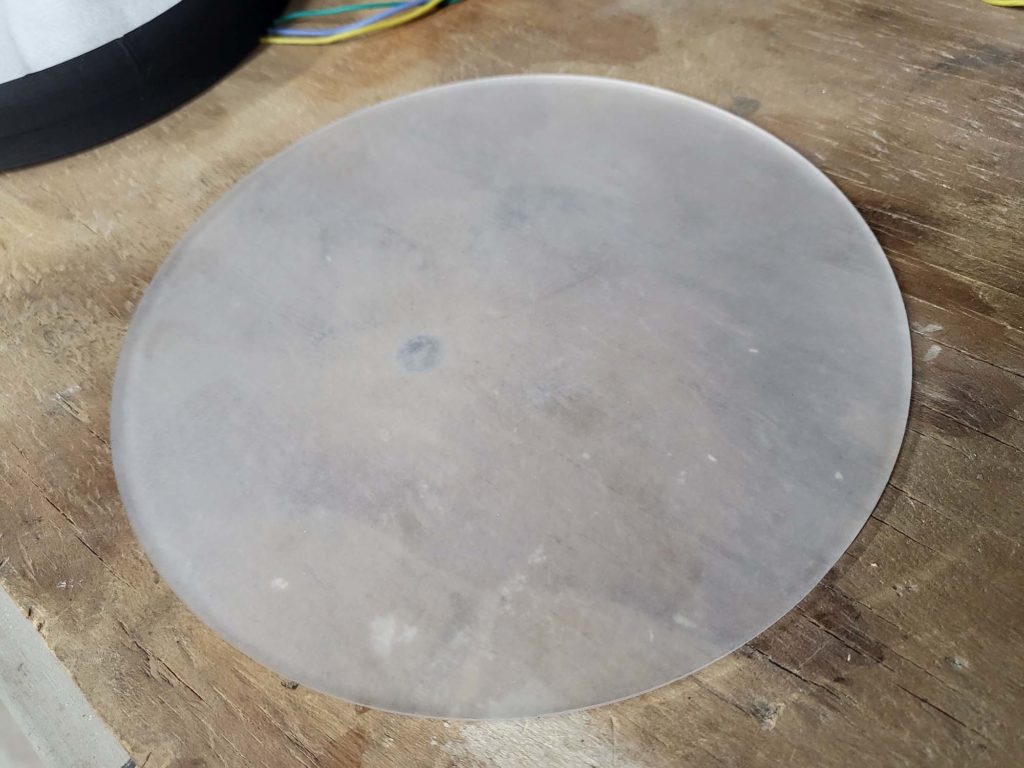
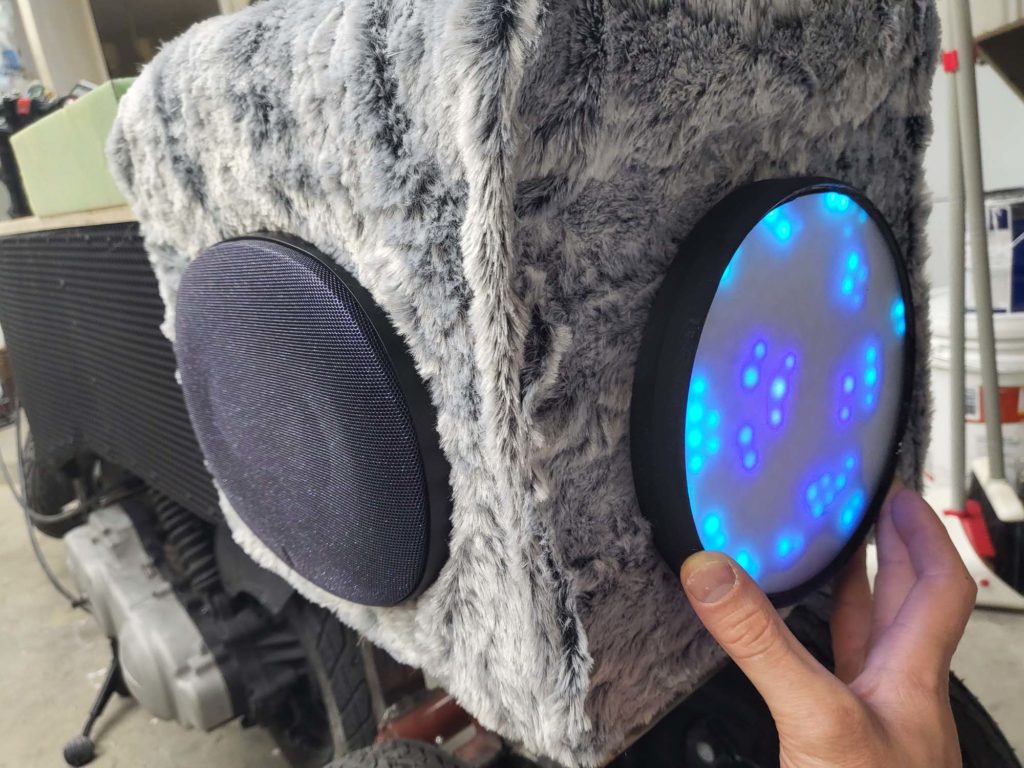
For in front of the LEDs, I cut acrylic sheets to fit inside the frame and rest on the steel rods. These are sanded on both sides to defuse the LEDs. The acrylic was secured to the frame with black silicone around the edges. The LED strips were still visible, so I had the idea to sandwich poly-fil sheets between the LED panels and the acrylic. I really loved how this look came out. It looks finished whether the LEDs are on or off, and when the LEDs are on, the polyfil does a great job at diffusing them while still allowing each LED to be visible.
The panels are mounted to the scooter frame using the same ½ inch steel square tube. One side was flattened with a hydraulic press and a hole drilled into it for an M5 screw. The panels have M5 rivet nuts on the sides that the screws bolt to. The other side is welded to the scooter’s frame.
After a trip to the playa in 2021 and discussing the vehicle with a couple of DMV volunteers, I knew I wanted to make some upgrades.
Burning Man 2020
Burning Man is canceled! We kept regularly meeting as a camp, and Bryan started building what was supposed to become a mutant vehicle for 2020. Once the burn was off, plans changed and our beloved Robot Disco was born. RD delighted our neighbors instead of burners in 2020, and would venture to the playa for the 2021 Renegade Burn.
On what would have been the eve of the Man Burn, in lieu of the official Man, we built a popsicle stick effigy to burn. It took about eight hours to build and required 600 popsicle sticks. We built a metal stand and burned it in the Colorado River at a special place called Secret Beach in Austin, TX with our friends, some amused spectactors, and Blake and Nanako on live stream.
360 degree video – click and drag to look around
Mutant Vehicle Intent
Mutant vehicles have always been my favorite part of the Burn. They are what brought me to Burning Man, and the 10 Principles are what keep me coming back. I initially built Hootie just to build it. When I get an idea, I tend to throw myself neck-deep into it until it’s “complete”.
Once Hootie was somewhat complete and drivable, the reactions and smiles I would get driving it around Austin really drove me to continue expanding and building on the project. We brought Hootie to the Renegade Burn, and people really loved it.
One interaction, in particular, has really stuck with me… We were sitting at camp and something told me to go take a ride, so I headed off to the center of the city. As soon as I got to what would normally be Esplanade, a group of people stopped me. One of the Renegade Burners asked to take a photo with me and Hootie. She told me her mother had recently passed, and she was expecting to see an Owl soon. We talked for a bit, she cried, we hugged, and we took the picture. I really felt at that moment that she was able to accept and let go just a little bit. As someone that lost a parent at a young age, this interaction will remain one of my most cherished Burn memories.
Ultimately, Hootie is a test for a larger mutant vehicle build. Teacher Money has aspirations to start building a larger mutant vehicle this year to bring out in 2023. Hootie Version 0 (that we took to Renegade Burn), was the alpha test. Hootie Version 1 going to 2022, is really the beta test for the larger project. We learned so much by bringing the vehicle to Playa and will learn even more bringing Hootie to this year’s full burn. We already learned what breaks, what rusts, and what corrodes. Honestly, it’s just good to start small. We do plan to keep Hootie moving beyond 2022. The ultimate goal is for Teacher Money to bring out multiple mutant vehicles.
Why an owl? Owls have shown up as a good omen at a lot of the major events in our lives, so it only seemed fitting.
TLDR: Hootie makes people smile, it’s a great conversation starter, and it’s a beta test for a larger project.
See more here: