Update: I have updated the link below to version 0.9a, I fixed the icon issue.

I am excited to release the alpha version of PiBerry 0.91a, A Raspberry Pi SD Card Utility. I initially developed PiBerry to make backing up and restoring SD cards easier. I have also incorporated the ability to setup a SD Card for its 1st use using any of the standard Raspberry Pi SD card images. The backup and restore process have an option of using a standard (.img) or a compressed (gzip) option. Using compression will substantially reduce the size of the backup but it will also make the process take much longer (backing-up or restoring). Continue reading or watch this video to learn more about and how to use PiBerry.
Click here to download PiBerry 0.9a
I am currently working on the beta version that will make the application much more user friendly.The current version of PiBerry asks a series of questions via separate popups. The next version (beta) will consolidate each option within one window.The current version also allows the use of the system disk, this will be removed in the next version.
Sneak Peak at the next version:
Video Demo
How To Use PiBerry 0.9a
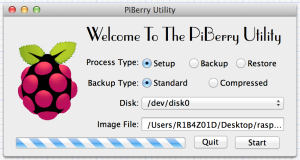
- Open PiBerry:
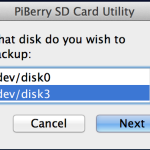
- The 1st window ask:
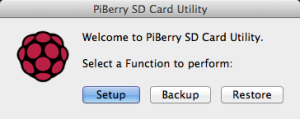
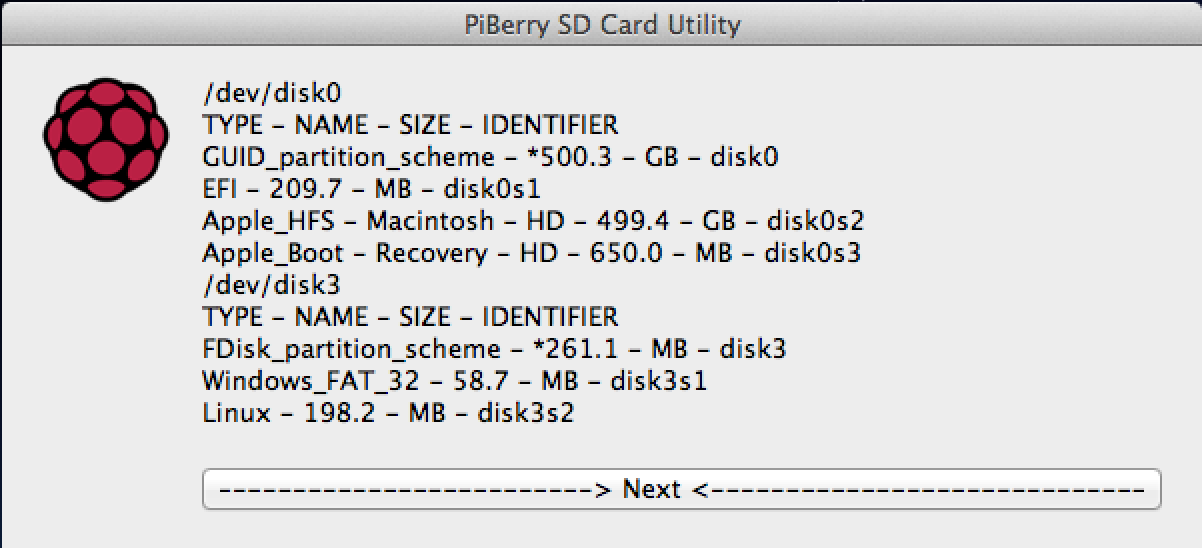
- Do you need to view the disks mounted to your computer?
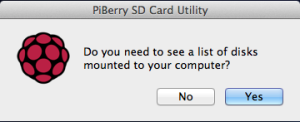
- The No option skips to step number 4.
- The Yes will display a dialog of all disks mounted.
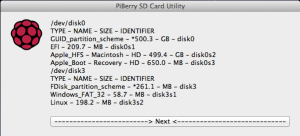
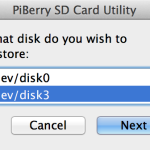
- Select the disk to use:
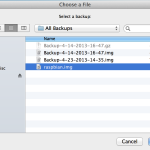
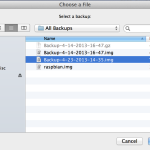
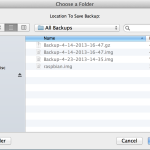
- Select folder or backup to use:
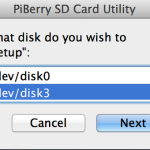
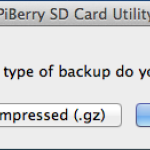
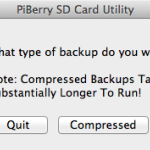
- Choose the Backup/Restore type: The Setup option skips to step number 7.
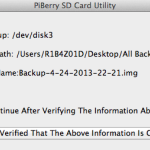
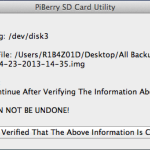
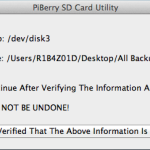
- Verify all the information:
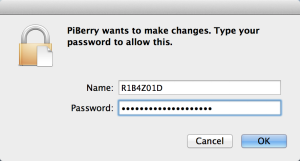
- Enter you admin credentials:
- Wait for PiBerry to quit:


*~ This program is free software. It comes without any warranty, to ~*
*~ the extent permitted by applicable law. You can not redistribute it ~*
*~ and/or modify it under with out written permission from Bryan Ribas. ~*
*~ This software was developed for my own entertainment or purpose. ~*
*~ All programs offered for download have been executed repeatedly on a ~*
*~ variety of Macintosh OSX based machines. The software comes AS IS. ~*
*~ No warranties, express or implied, are given. They have been offered ~*
*~ in good faith and any consequential damage due to their use is the ~*
*~ sole responsibility of the user accessing the system in question ~*
*~ and operating the software on it.Every file and program has been ~*
*~ tested, but due to the many factors which can vary the software cannot~*
*~ be guaranteed to work on all systems and with all versions of OSX. ~*