After a trip to the Playa in 2021 for Renegade Burn and discussing the vehicle with a couple of DMV volunteers, I knew I wanted to make some upgrades. Before that could start, I needed to give it a good cleaning and look for any issues.
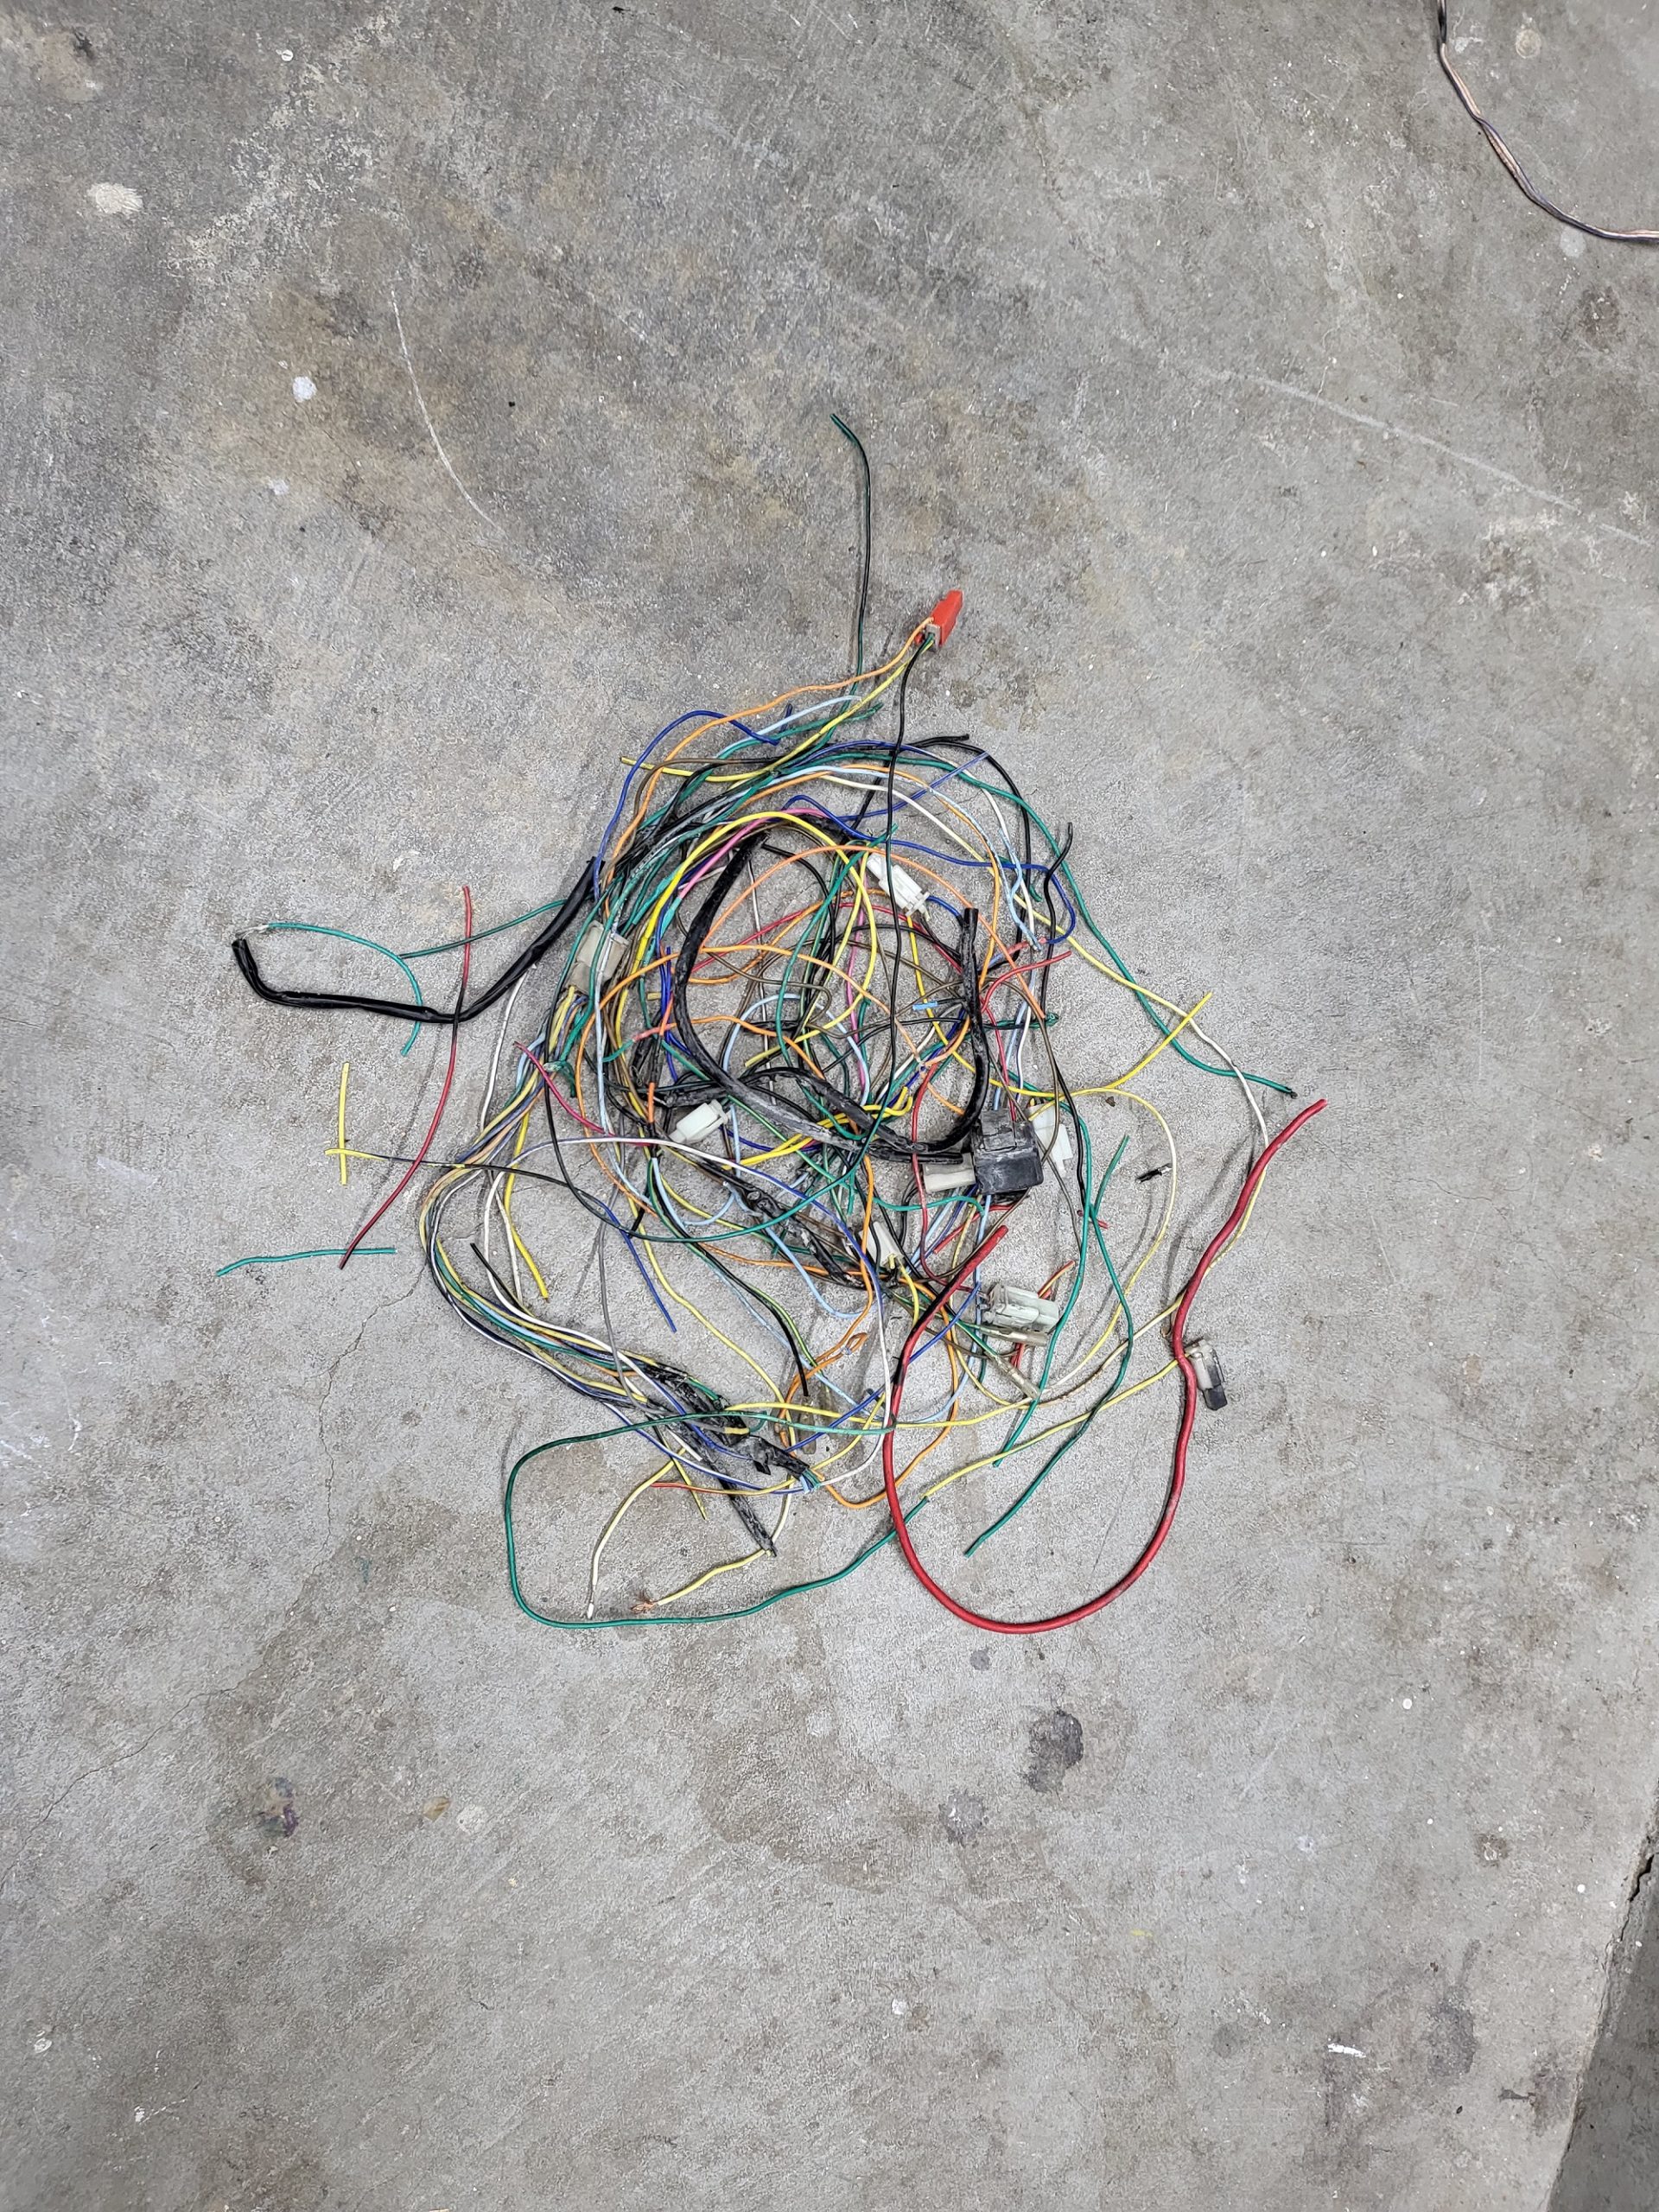
The first thing I wanted to clean up was the wiring. It was something I really neglected and it was pretty much a rat’s nest zip-tied together. I redid all the solder joints because the OEM’s work was very sloppy. This isn’t over, but it is a great start. I also removed anything that was not required to make it functional and street legal.

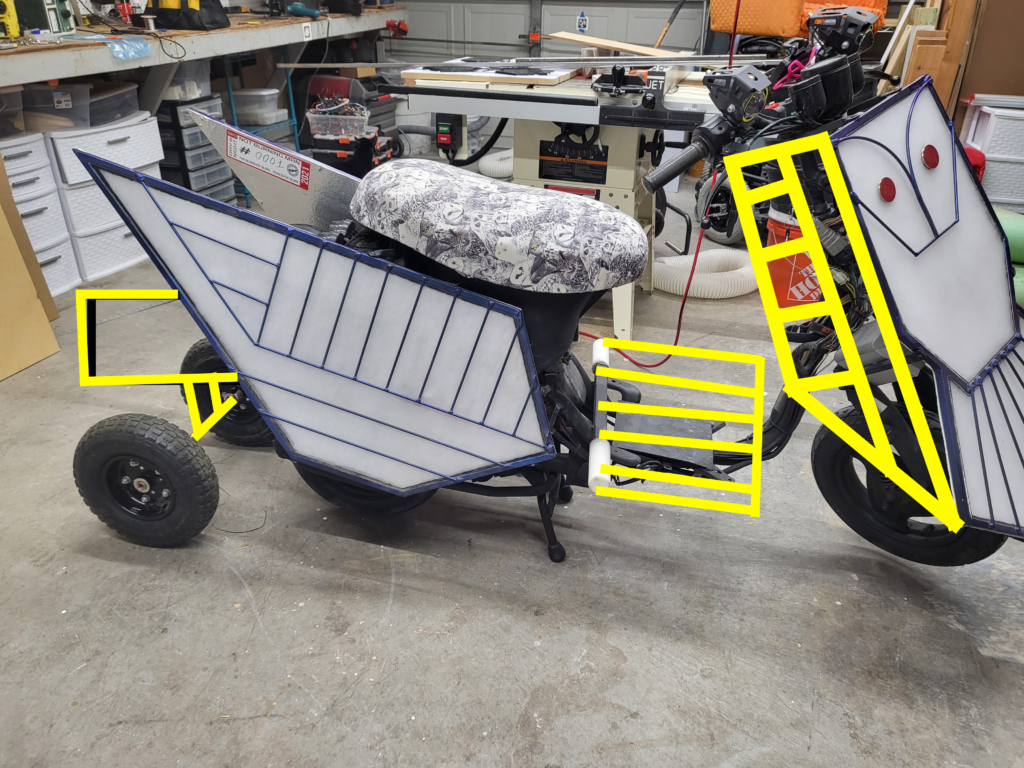
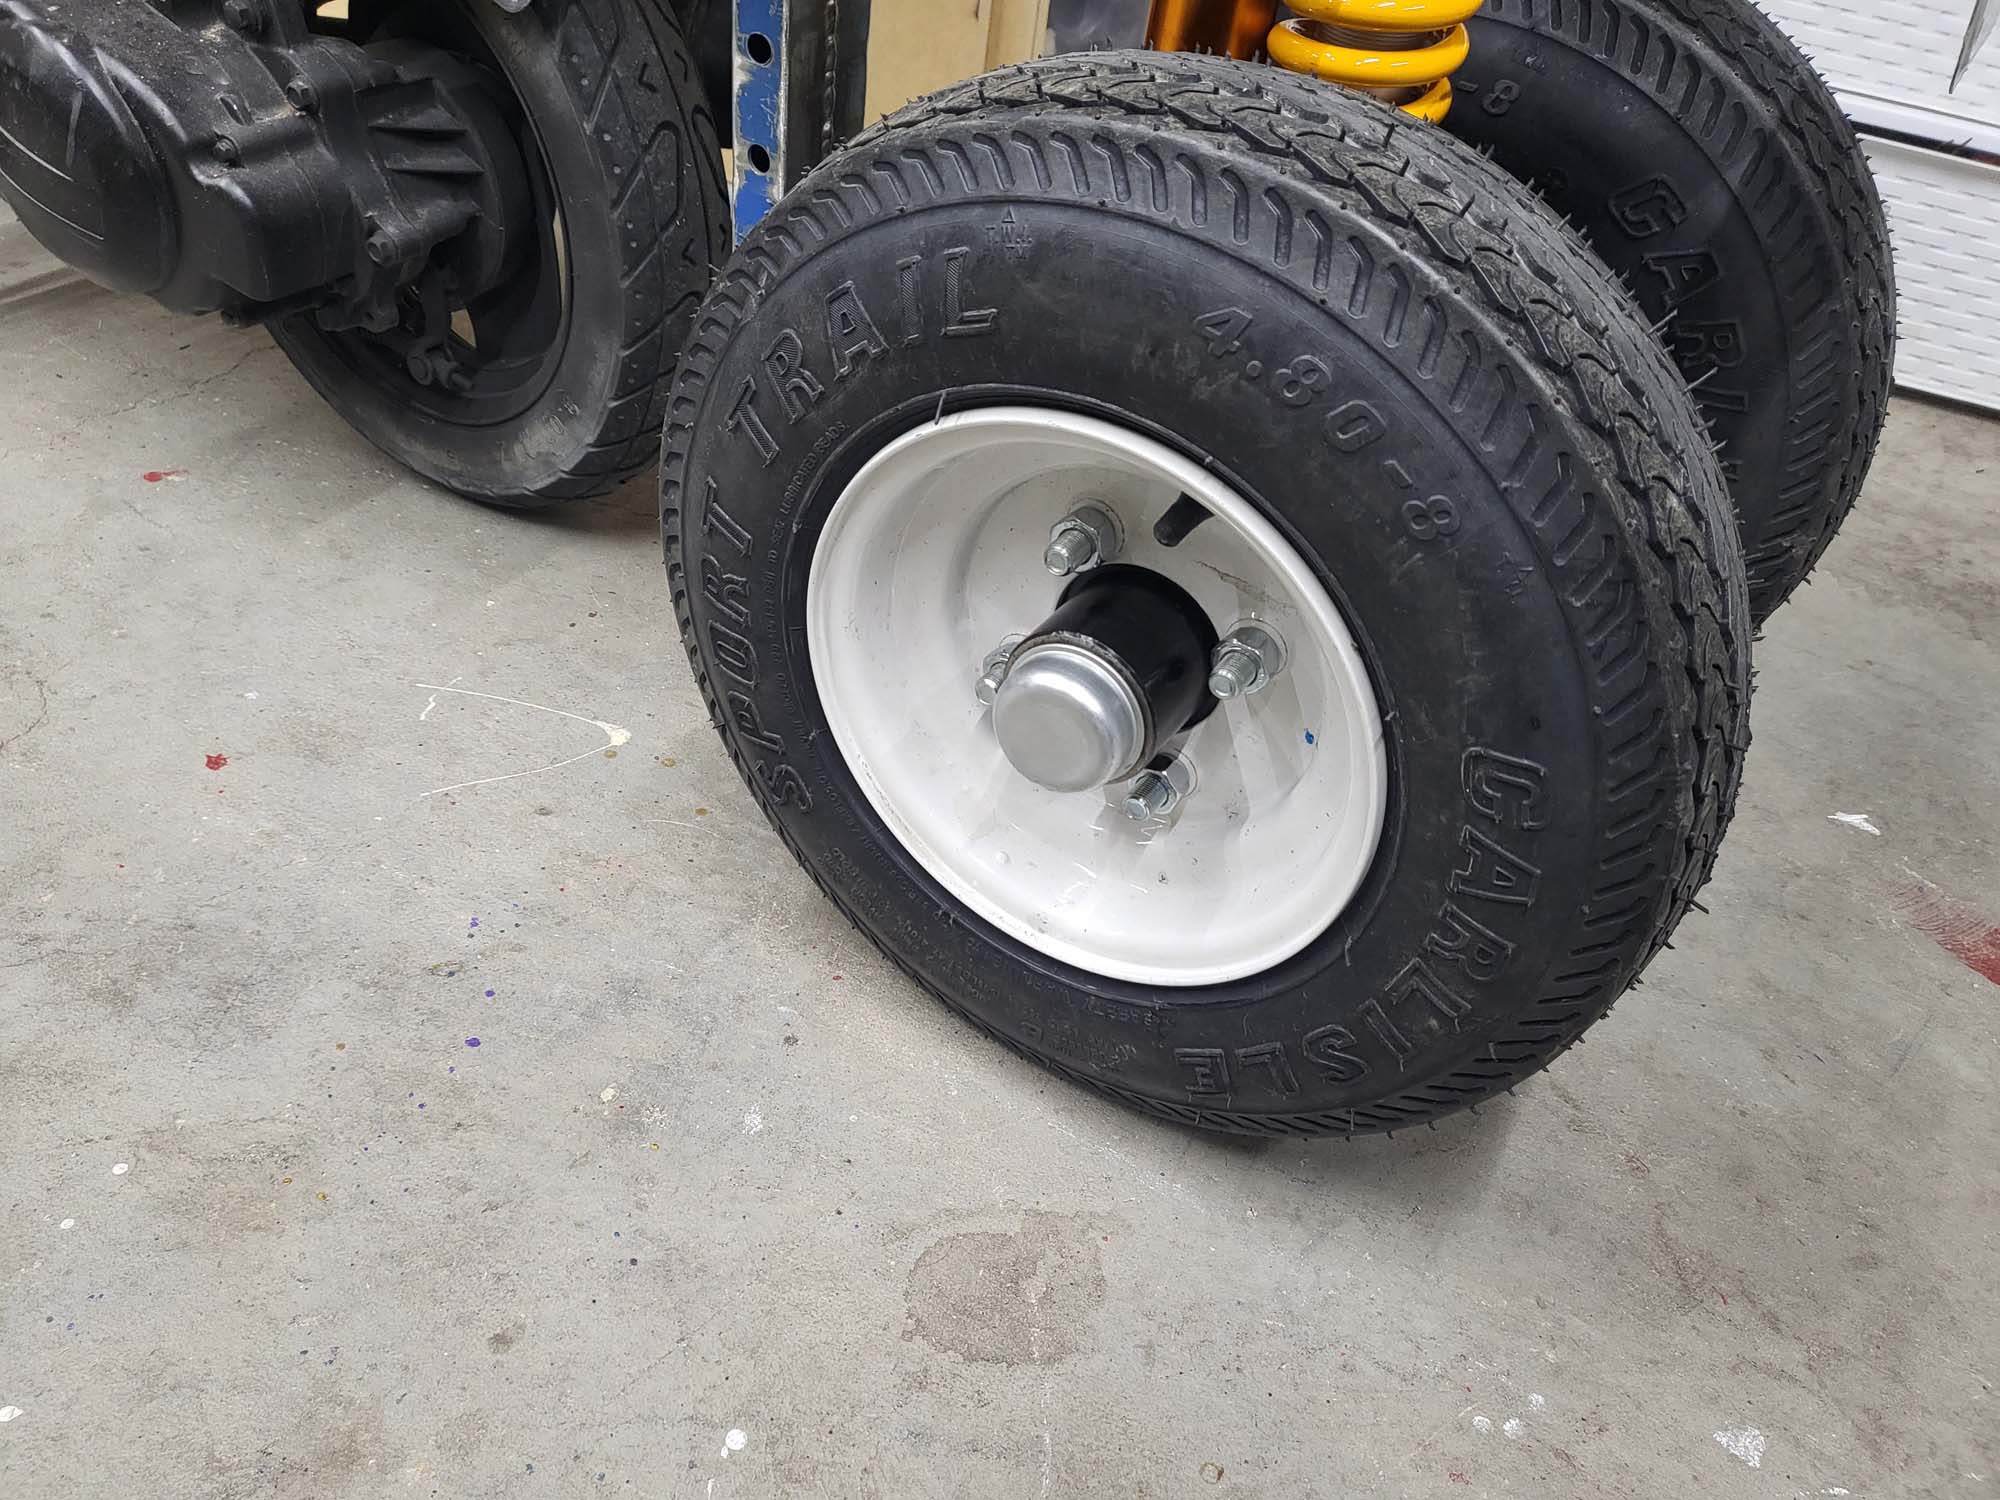
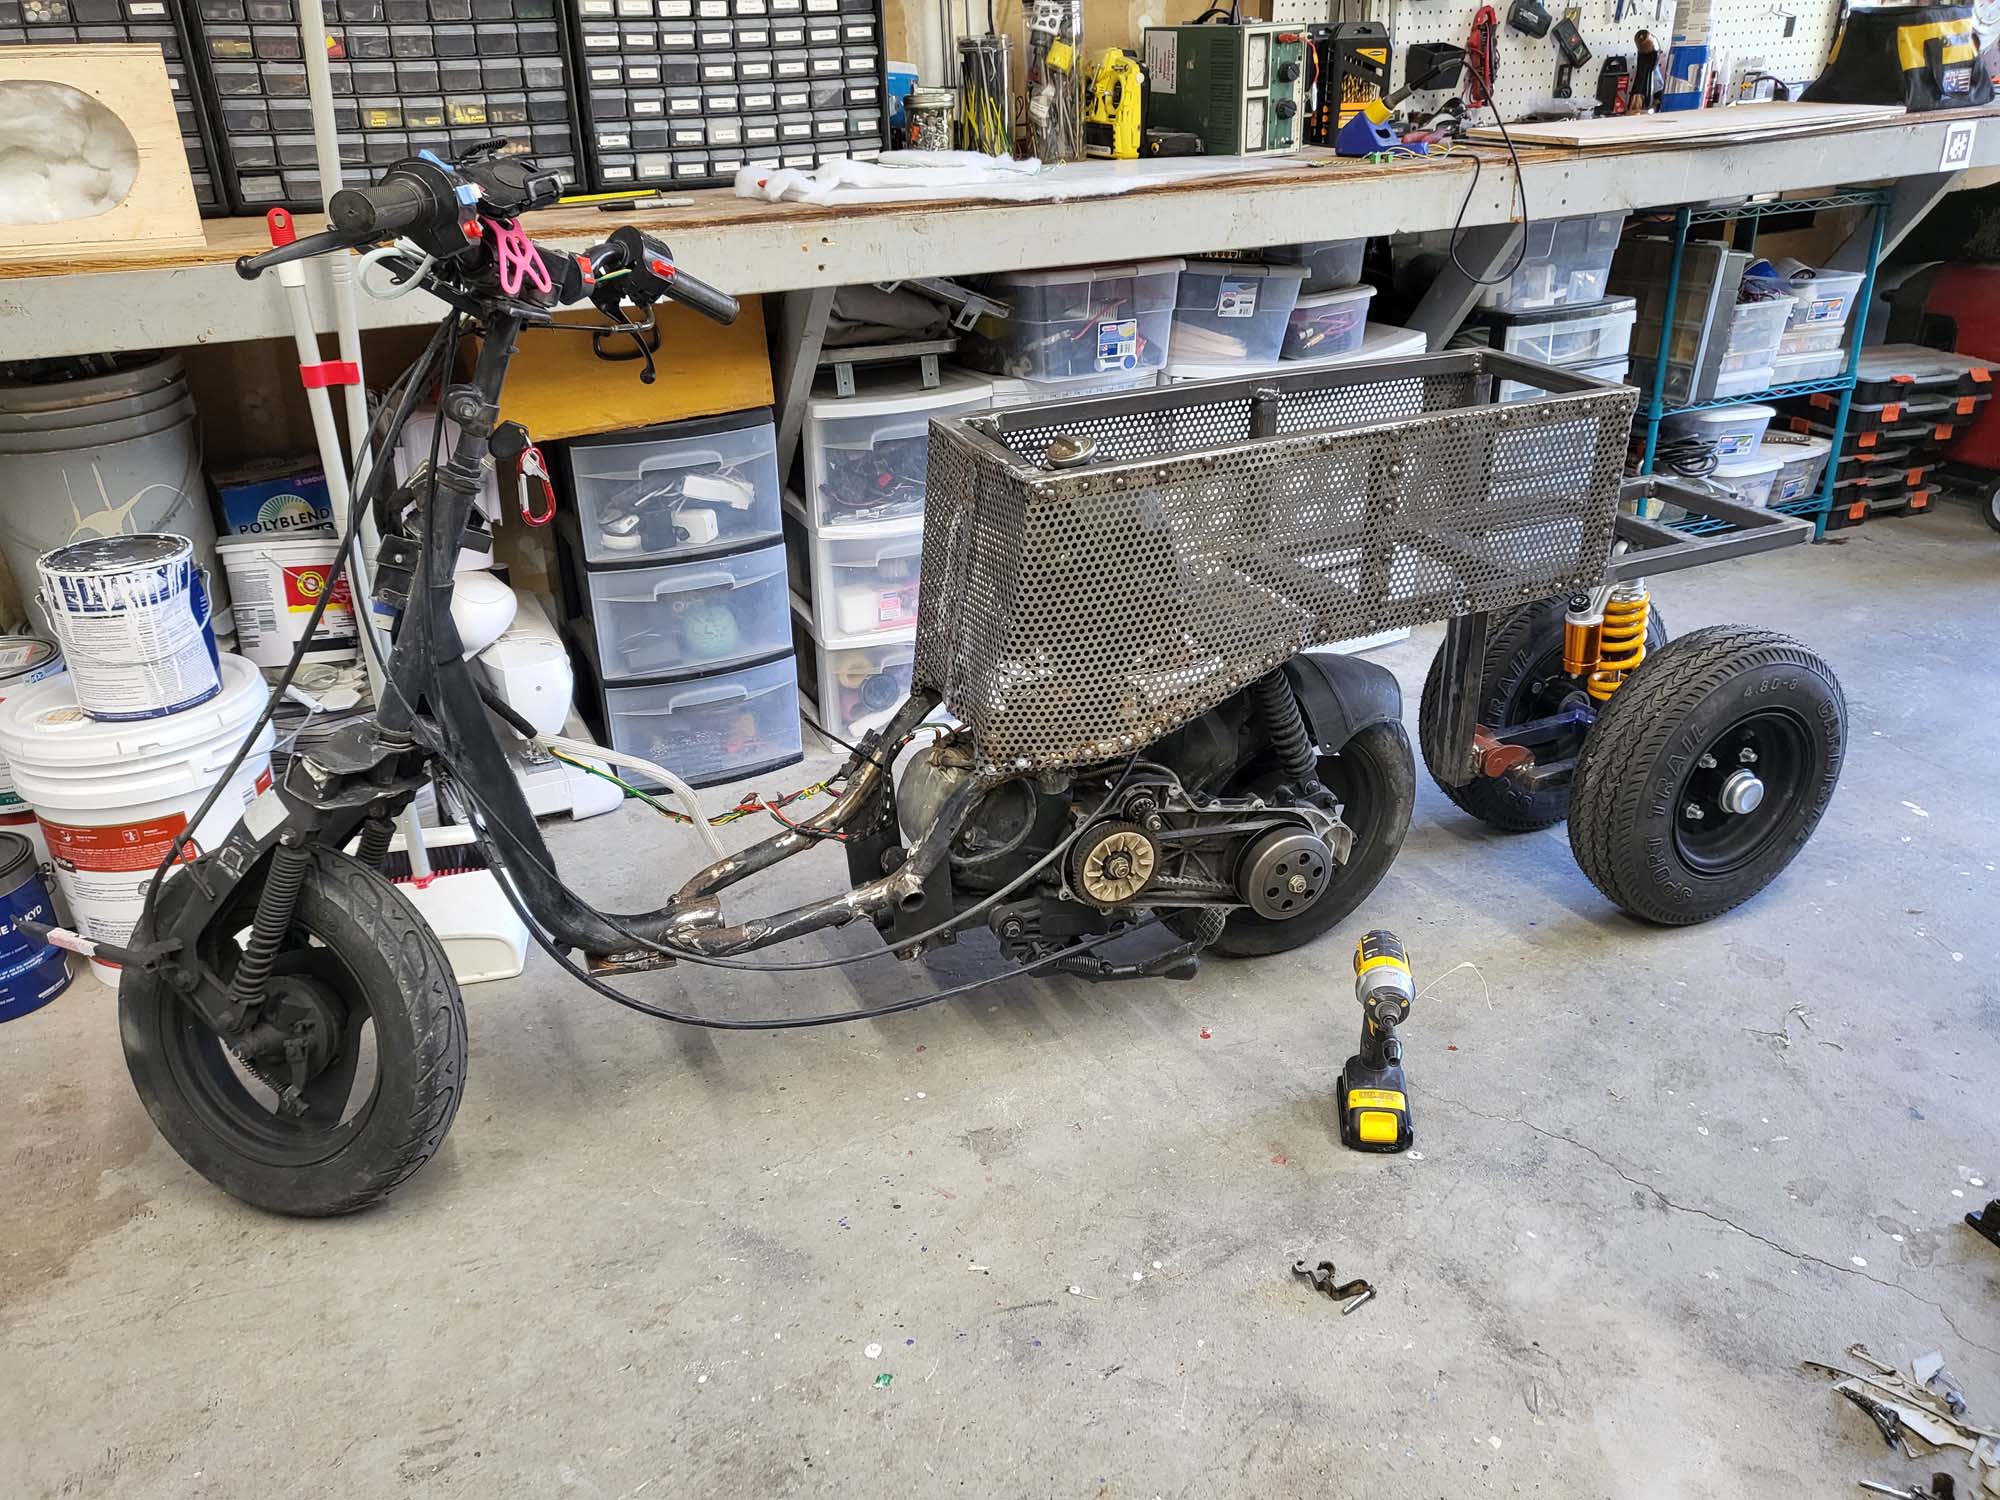
The plan is to extend the back and seat so that more people can fit comfortably. Under the back will be two 12 inch trailer wheels roughly a foot apart that keep the vehicle upright. I will have to build some type of suspension for it. I also need to build a panel for either side of the front forks. This is to hide the base vehicle more while looking at it from the side. I also want to build a better platform for the driver’s feet.
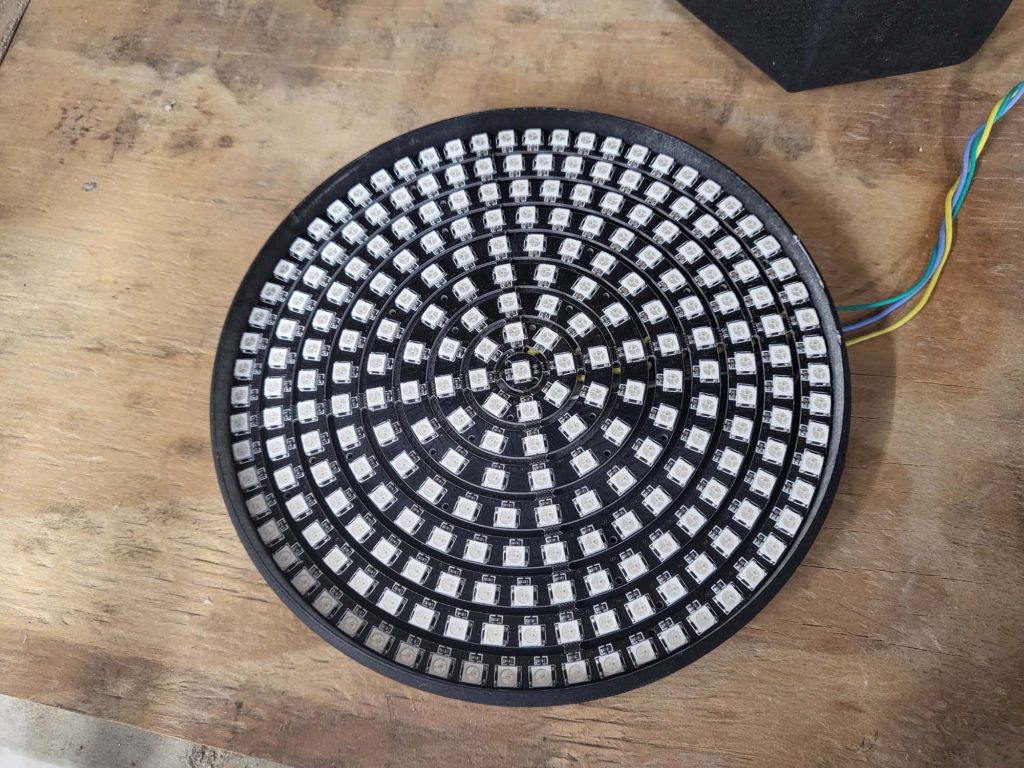
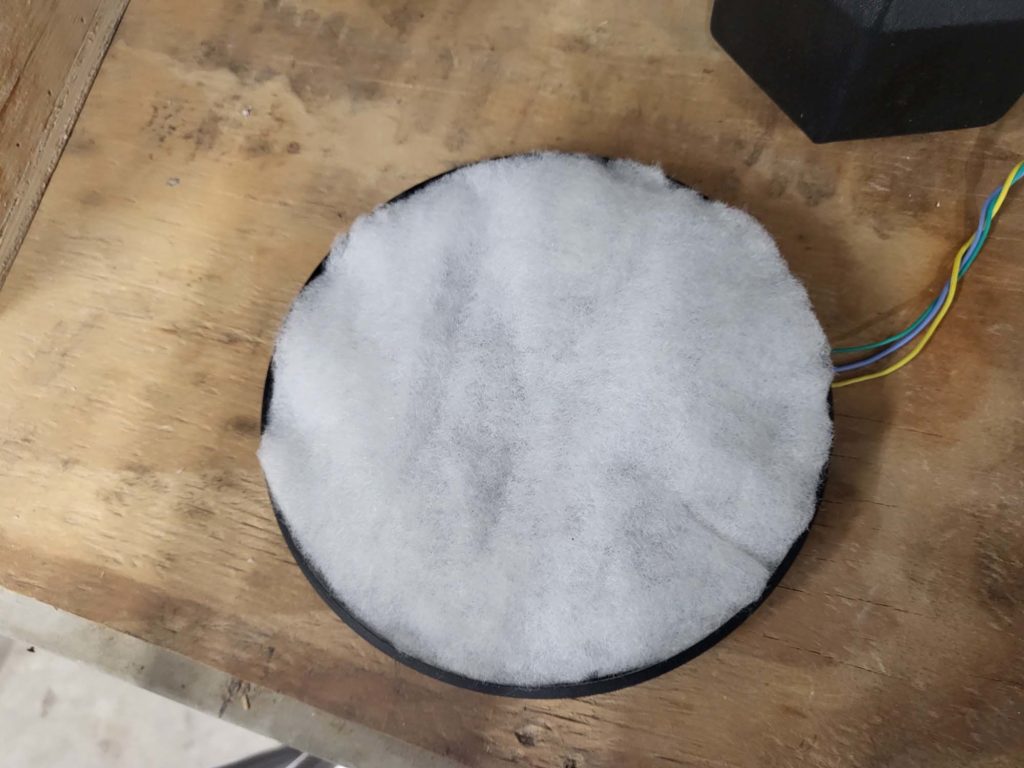
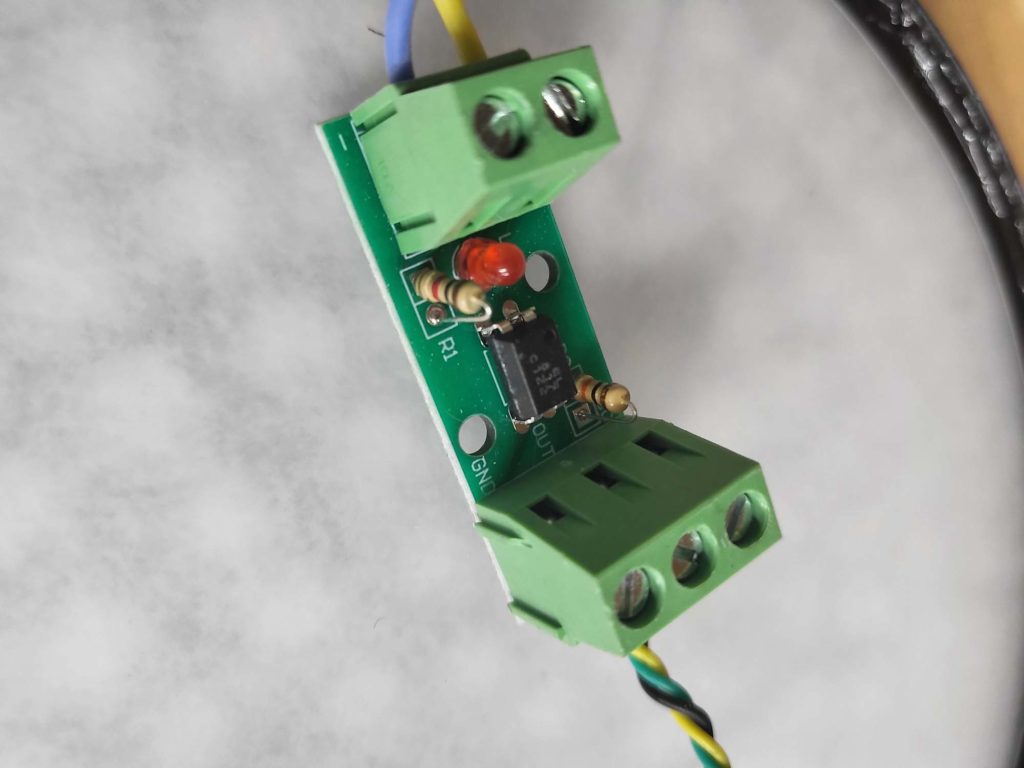
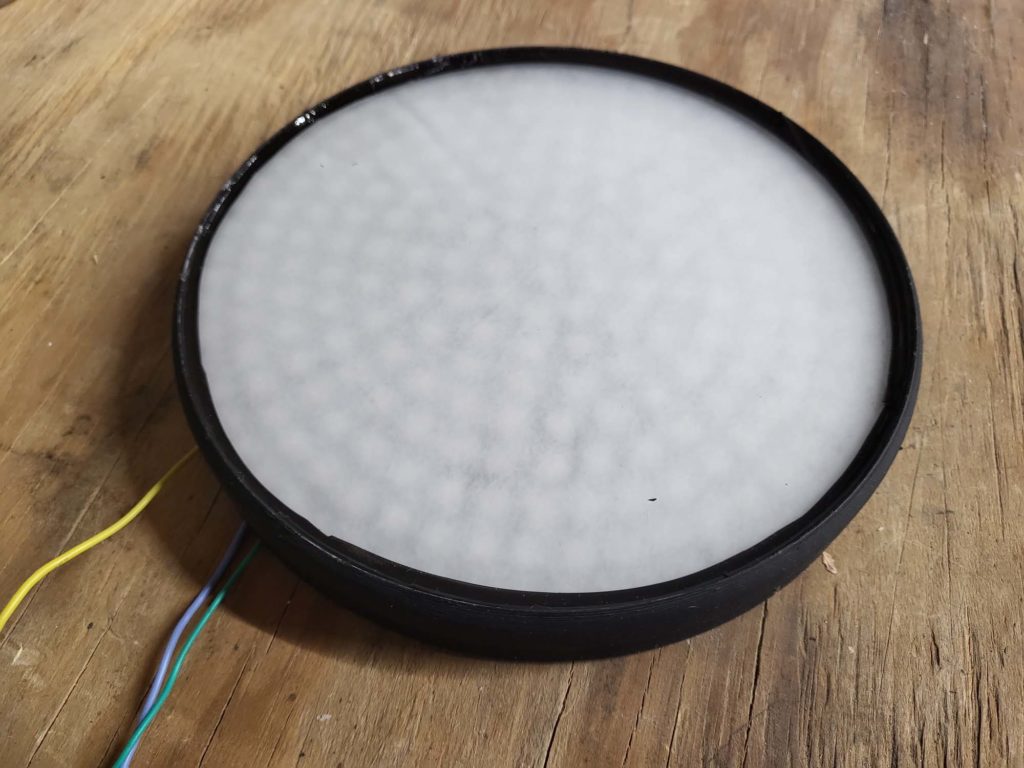
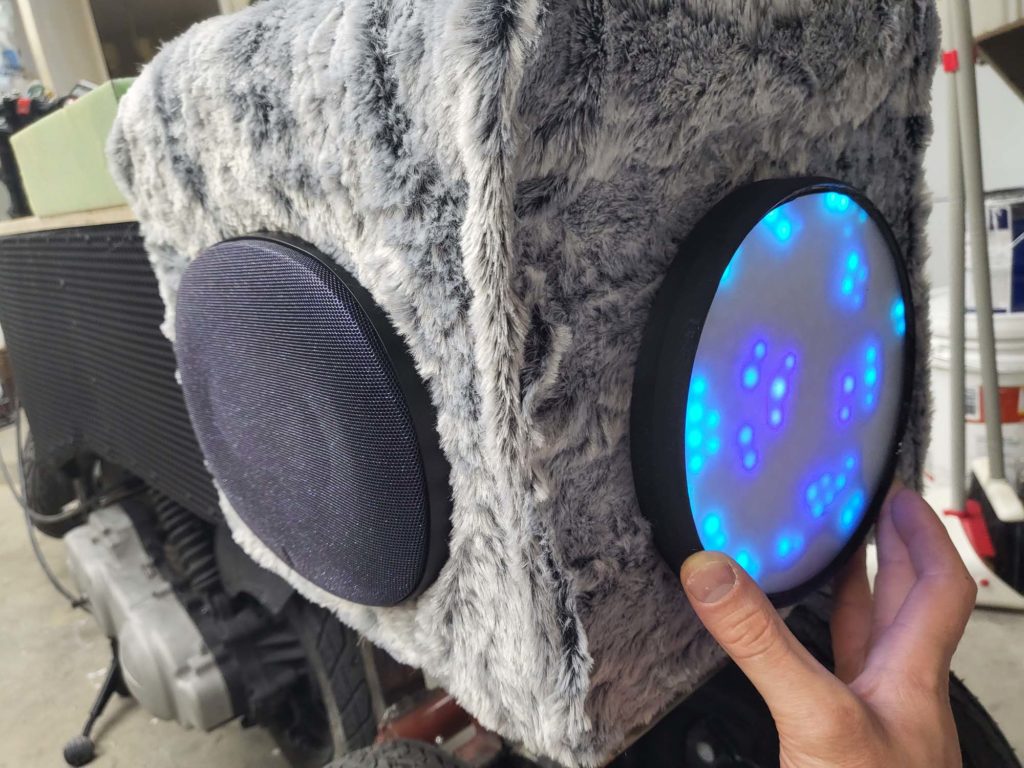
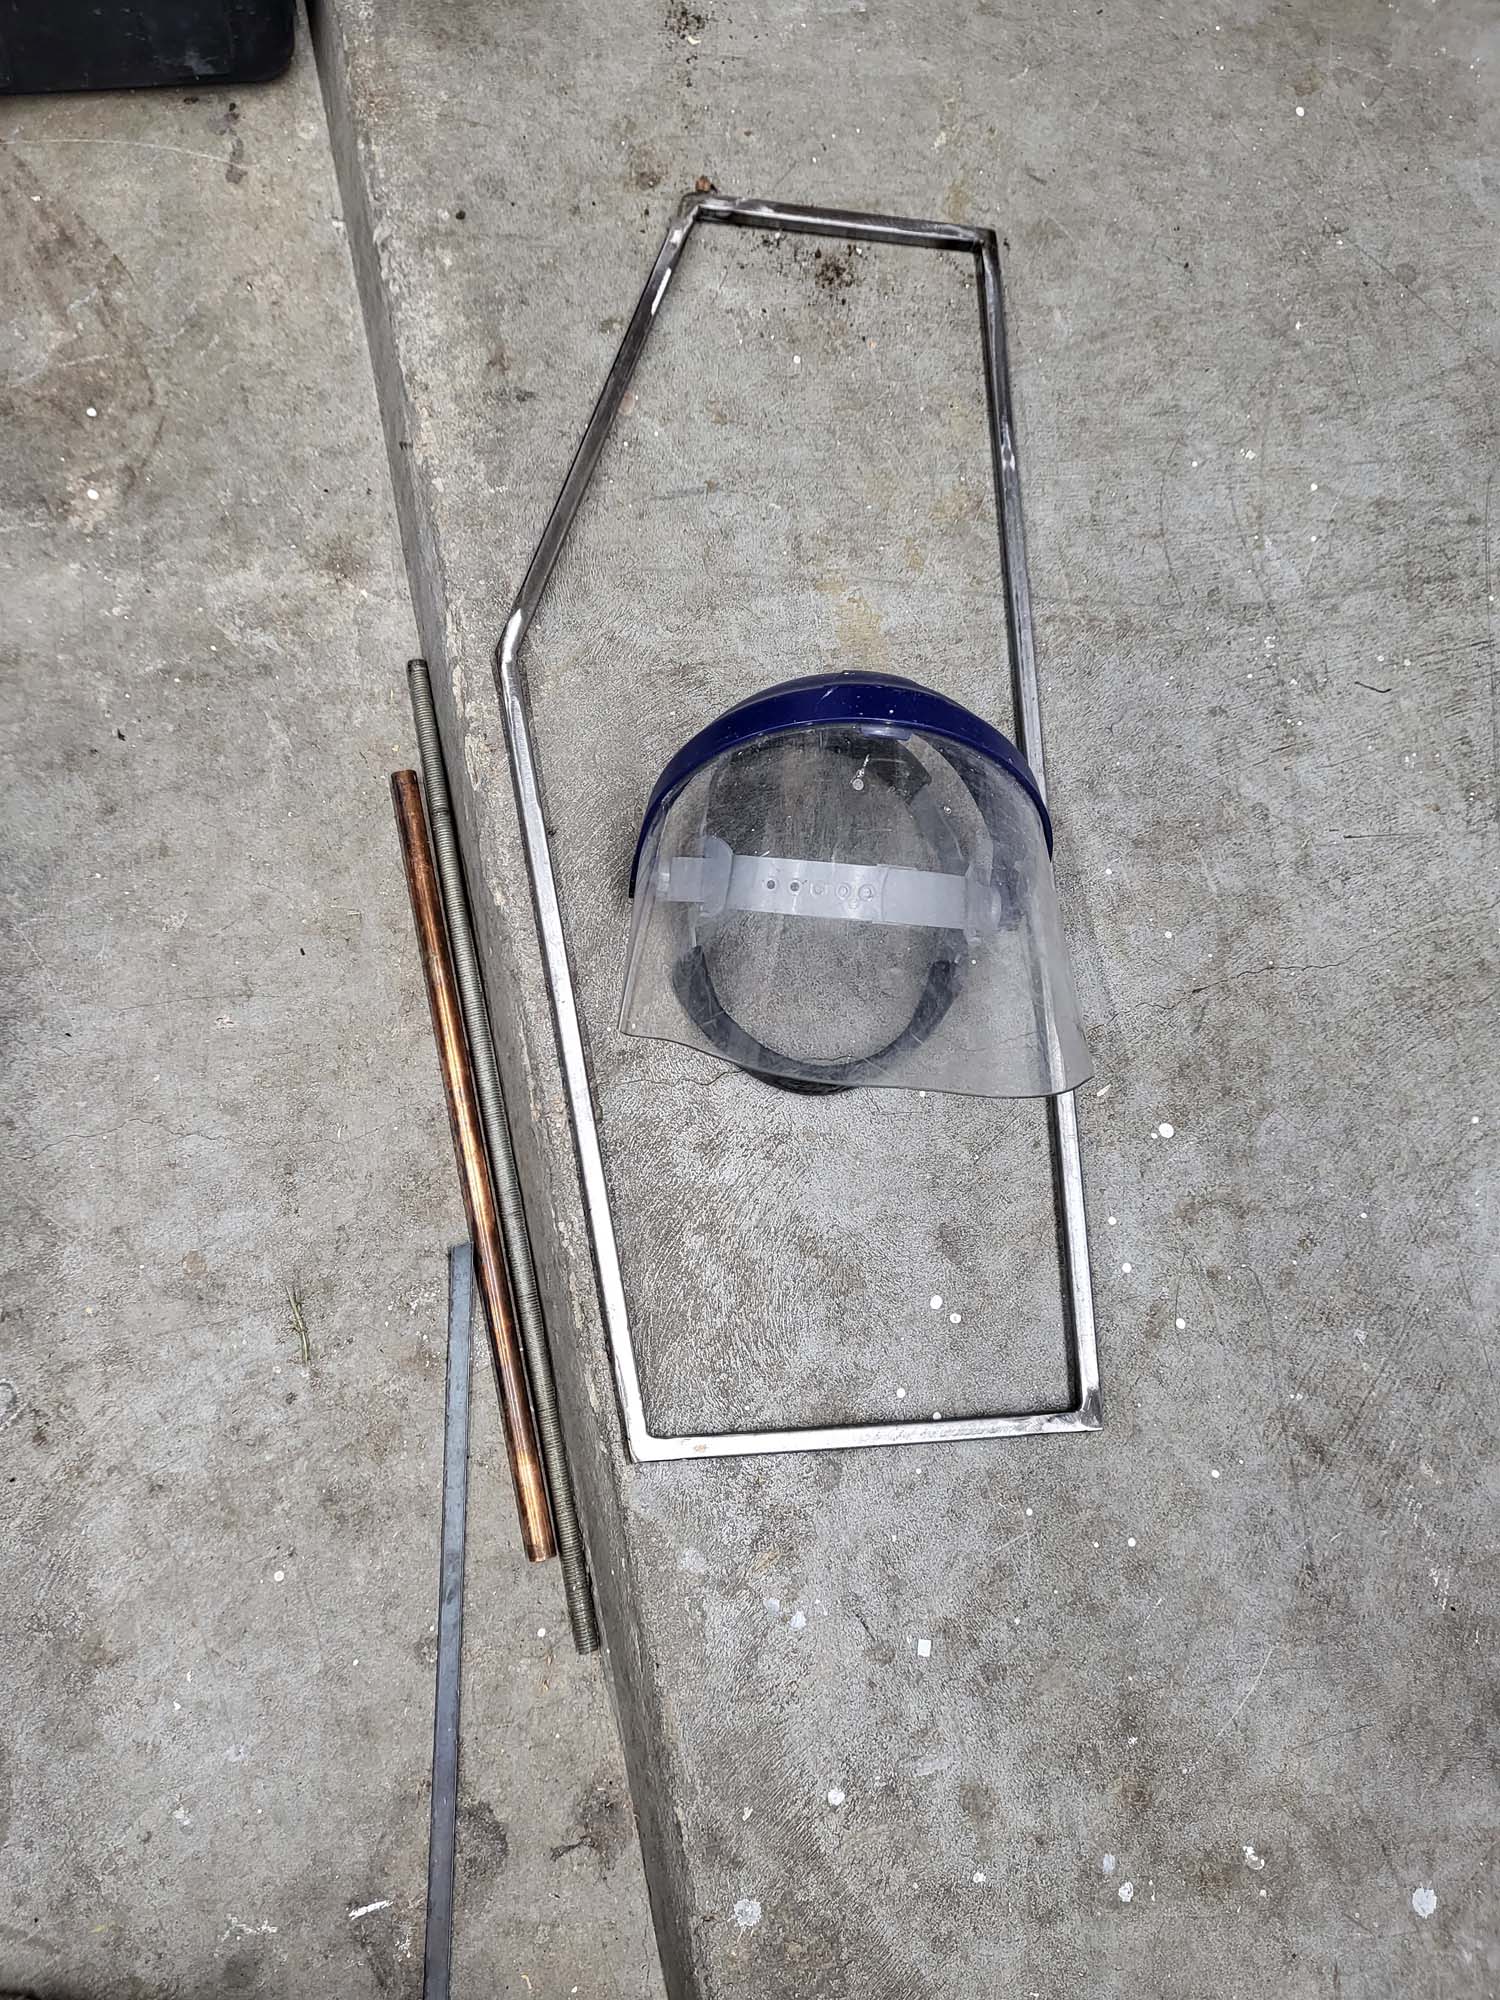
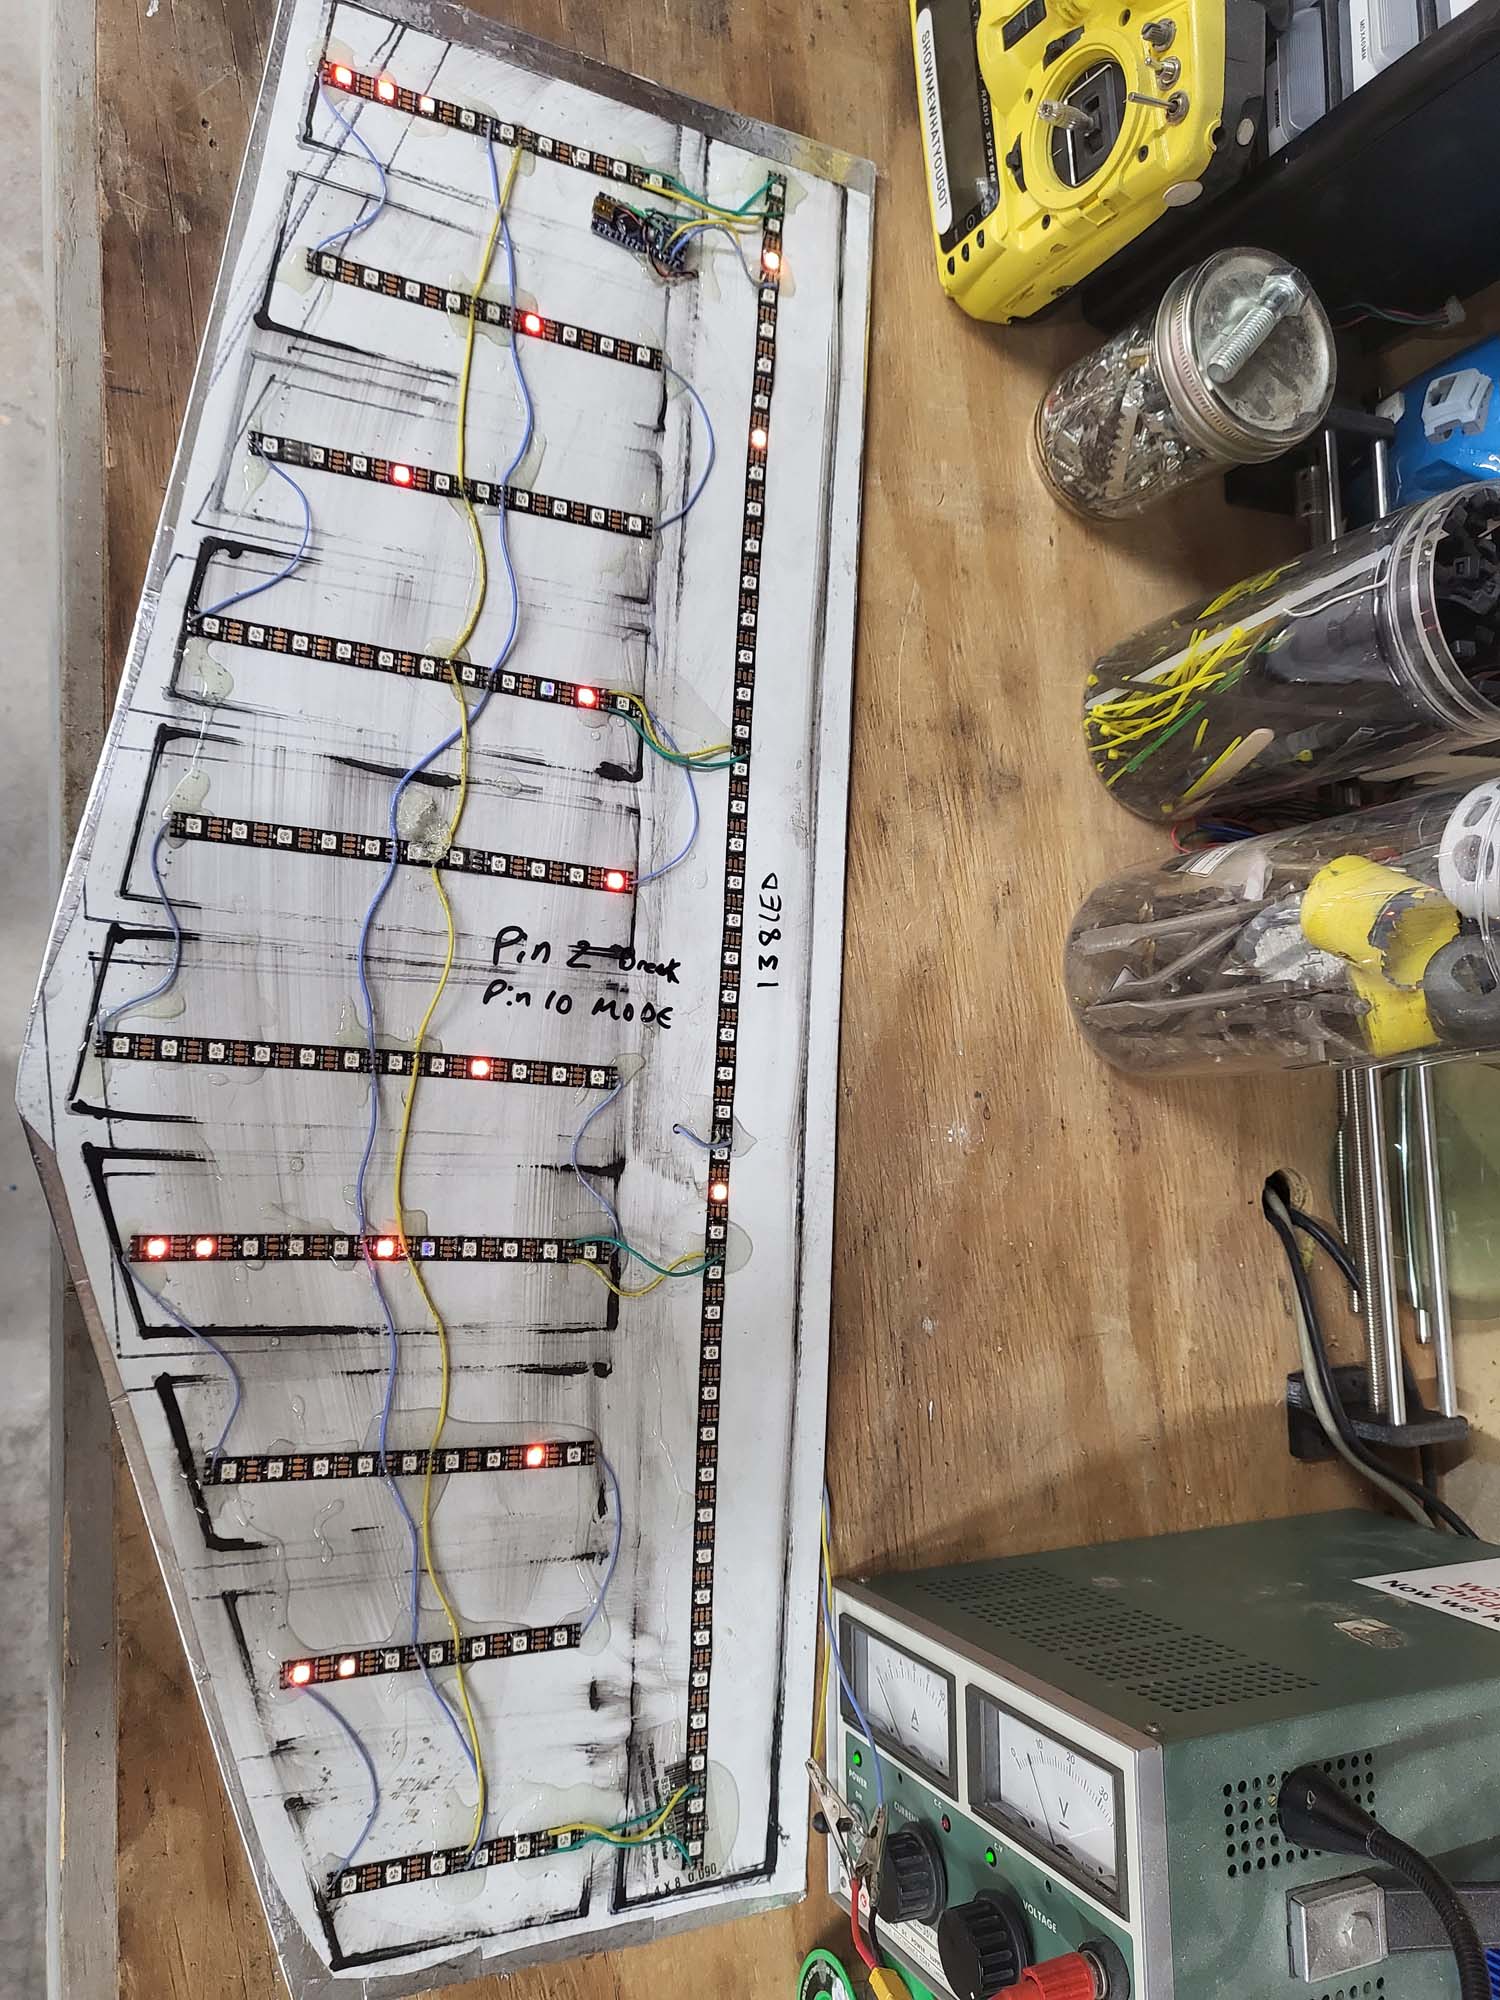
After cleaning up the wires, the next step was to build two more LED panels, one for either side of the front forks. I am starting to be able to knock these out fairly fast now.

The color shift paint I was initially using was something I had on my shelf. After we decided to use it, I had a hard time finding it because the company discontinued it. When I did find a store that had it in stock, it was ridiculously expensive. I was experimenting with mica pigments for a separate epoxy project, and realized I could make it myself. I am using Eye Candy mica powders–a 5:1 mixture of their Geisha Doll and Sapporo.
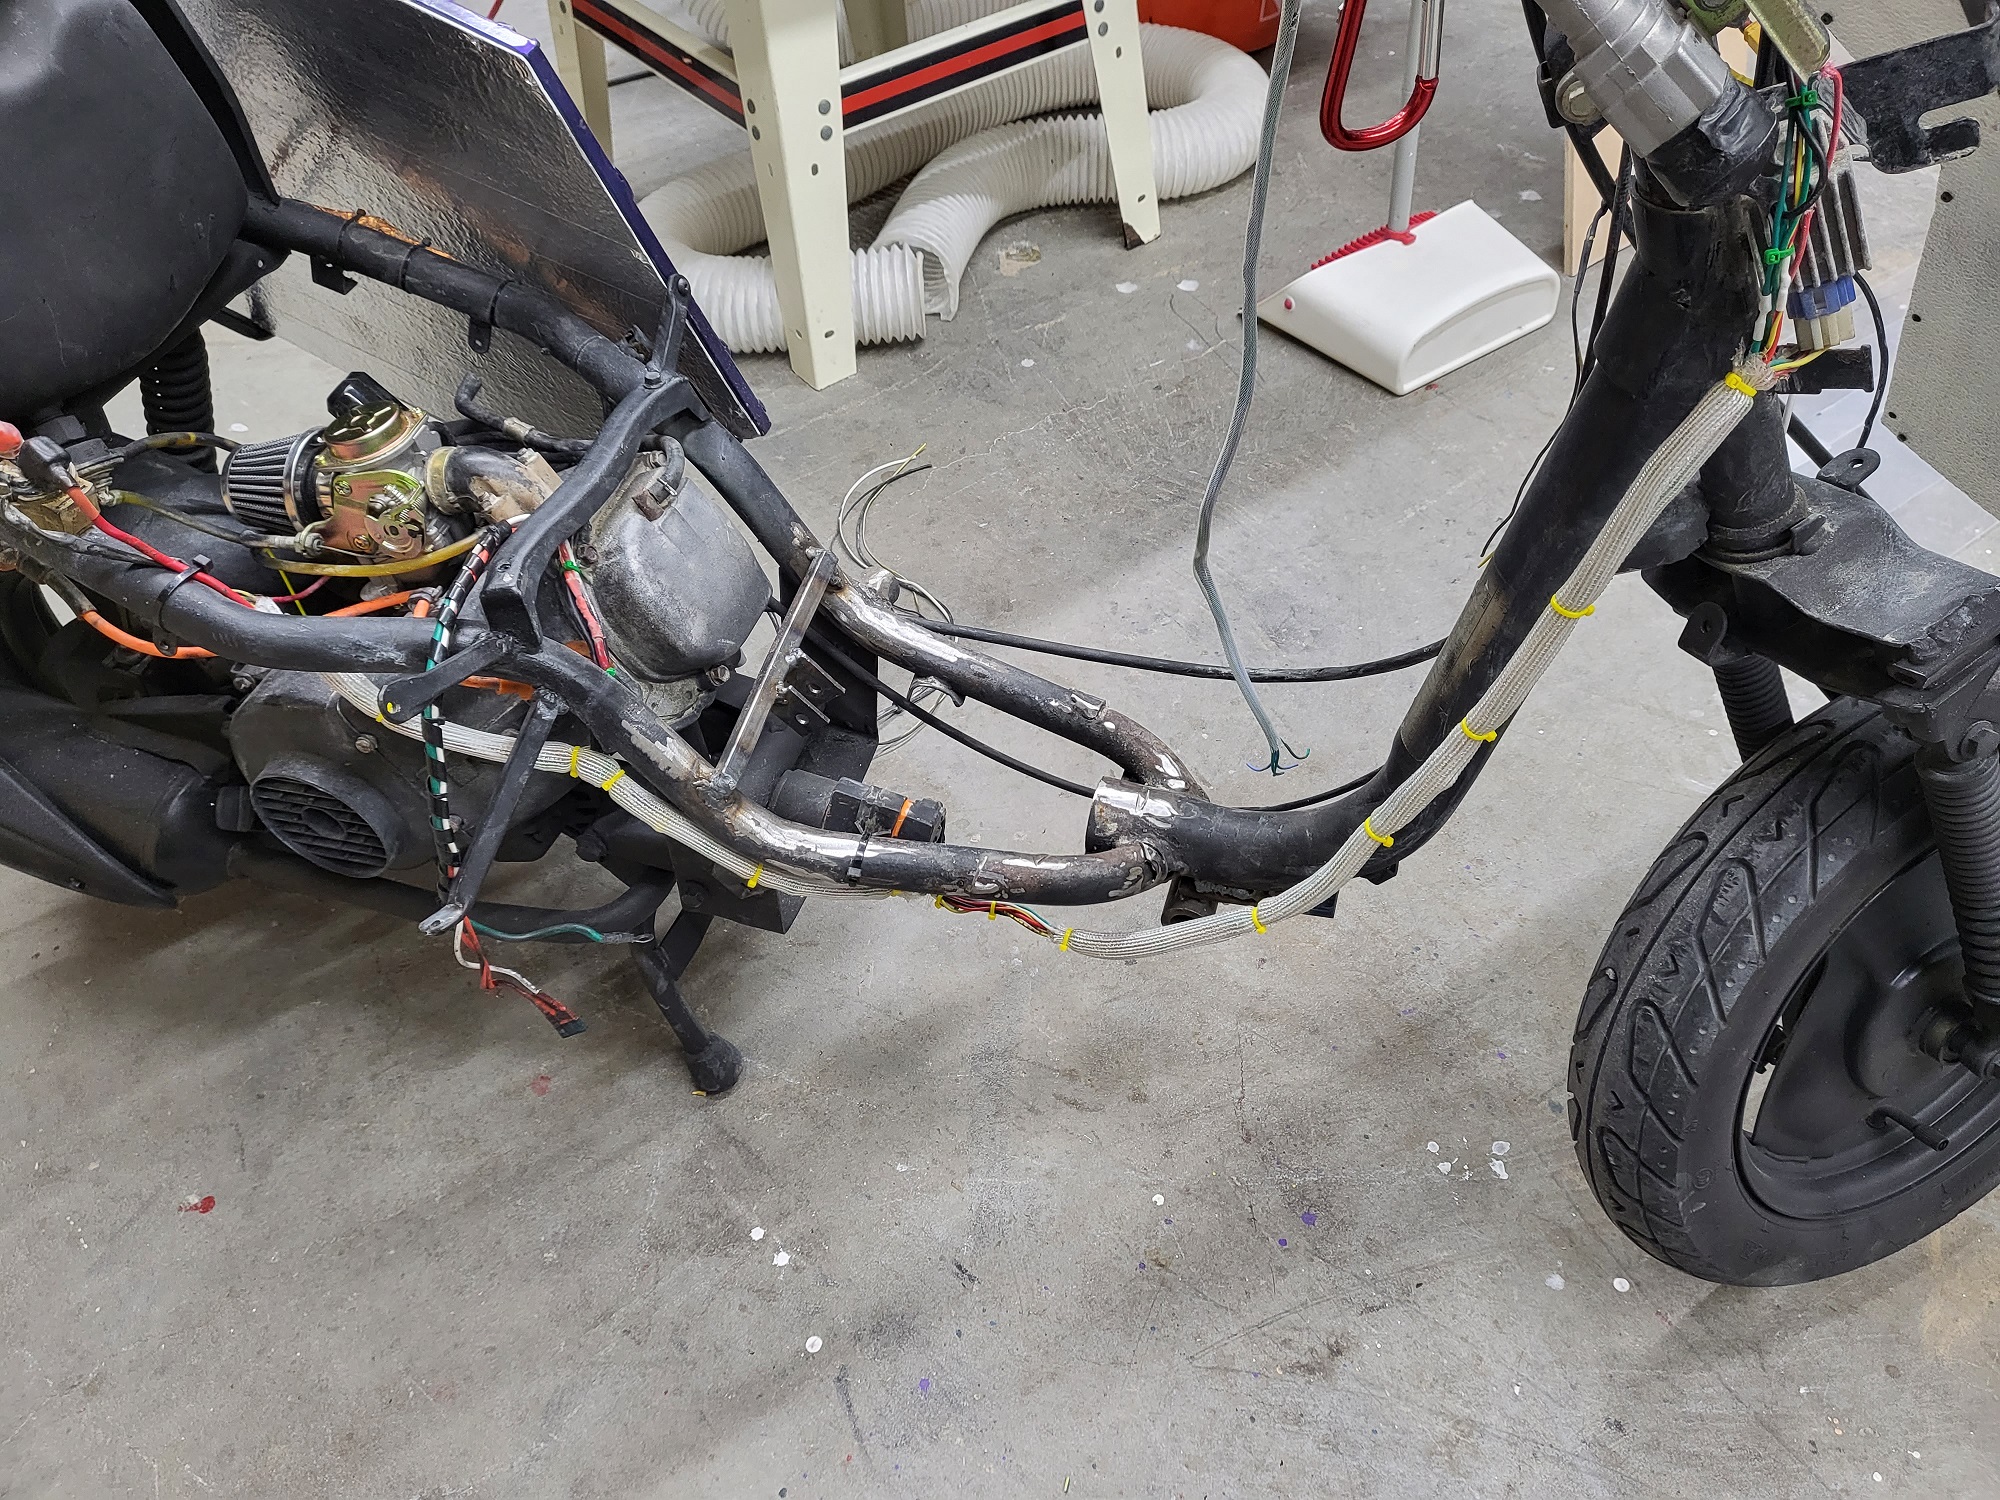
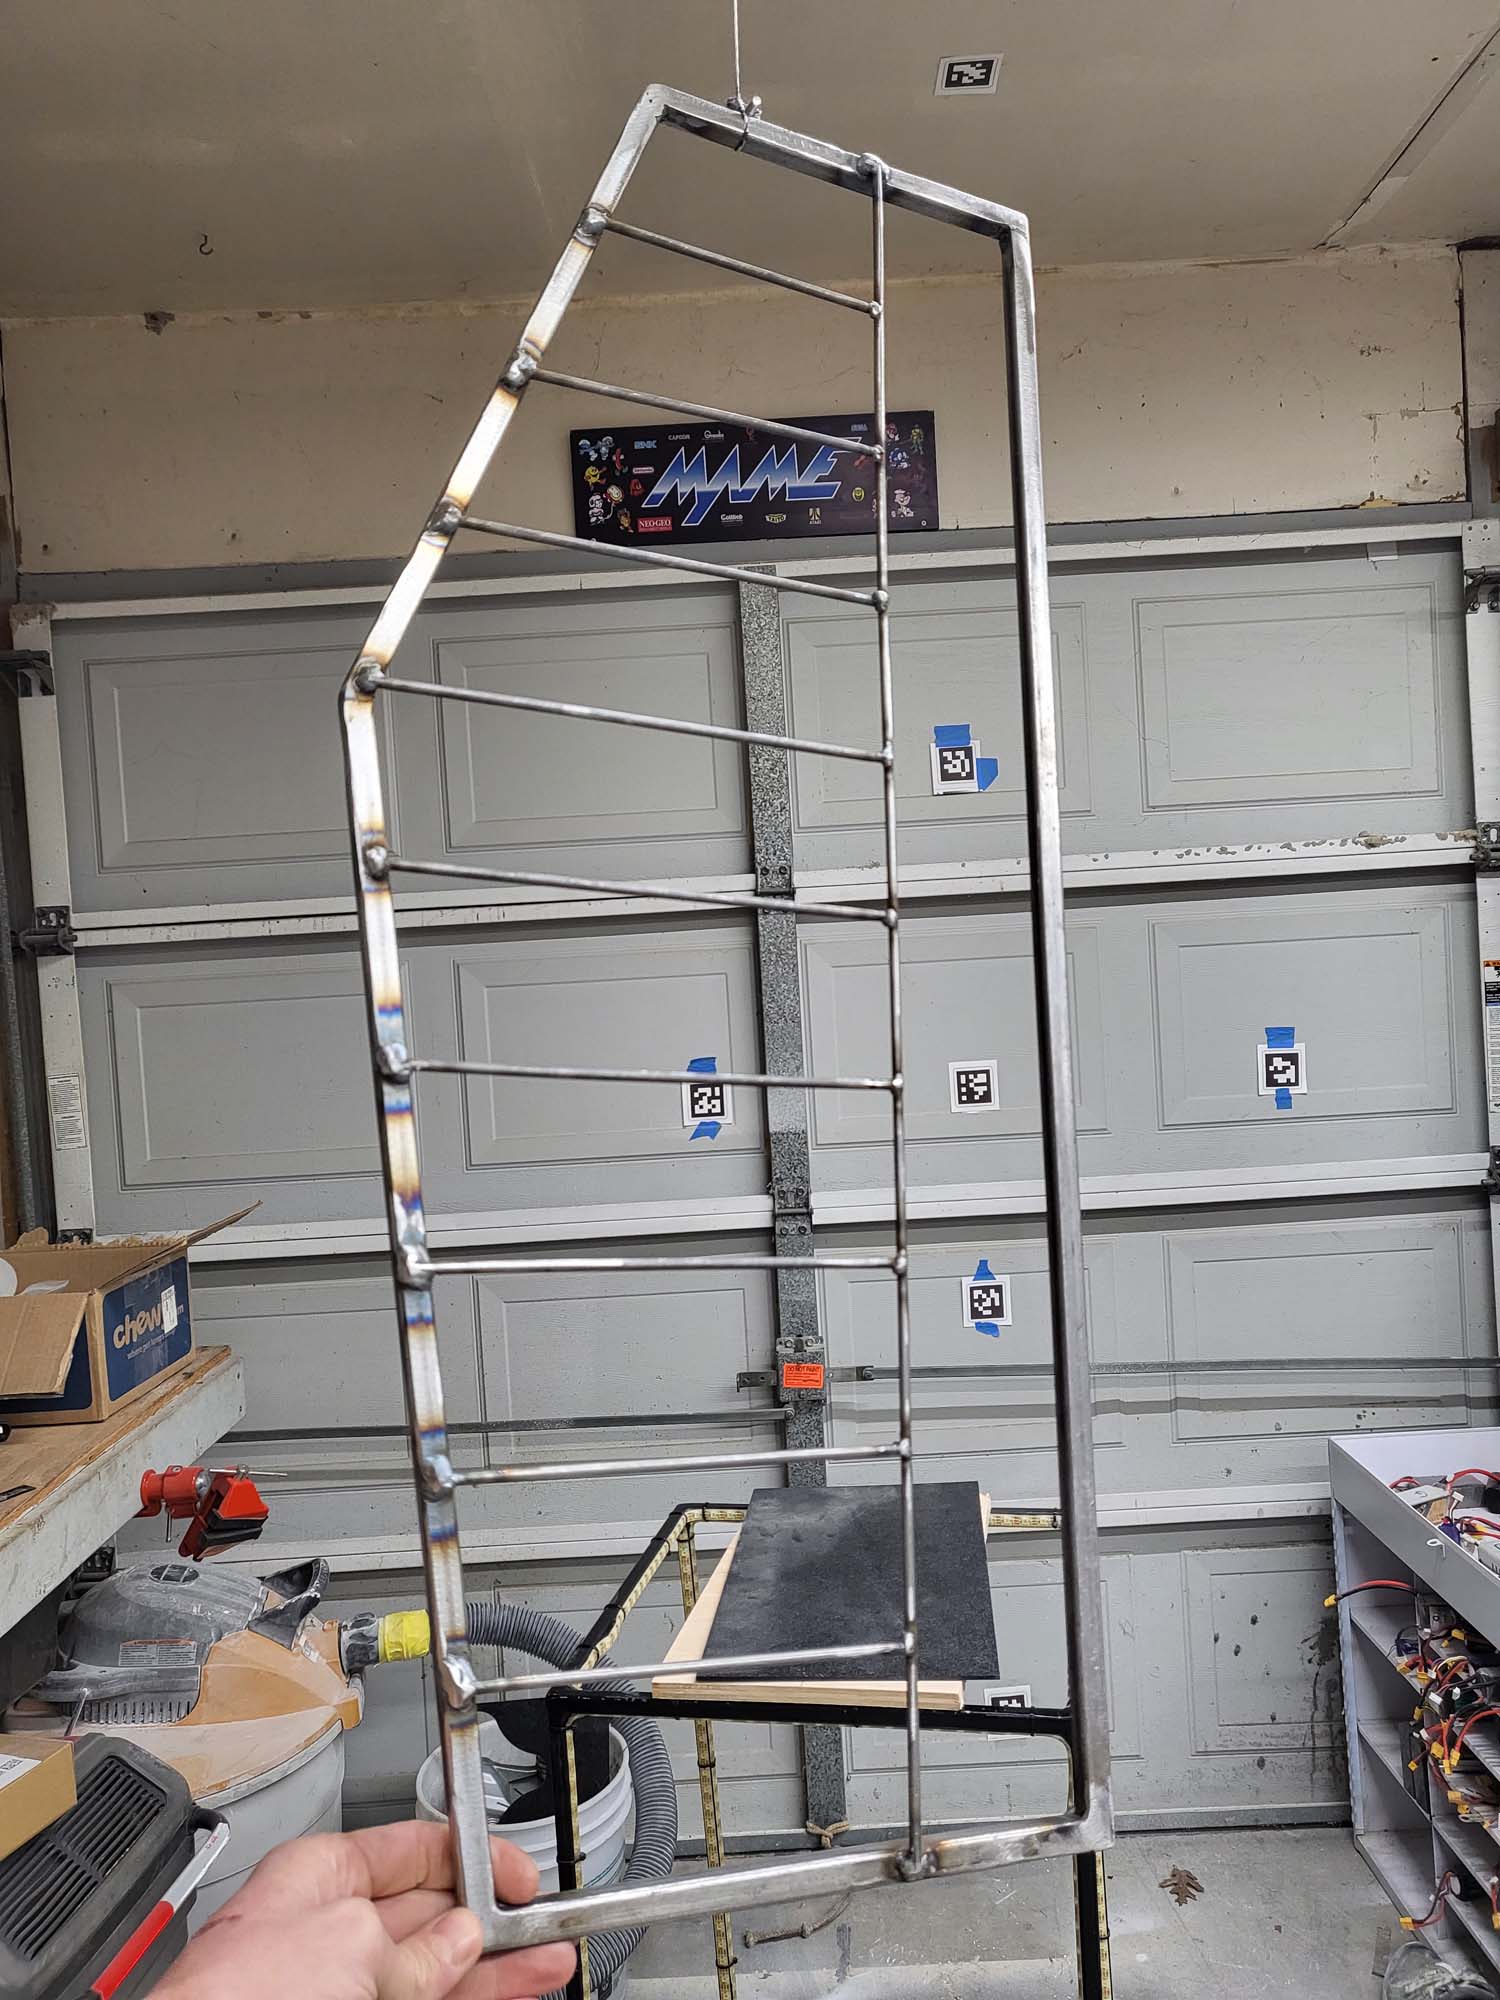
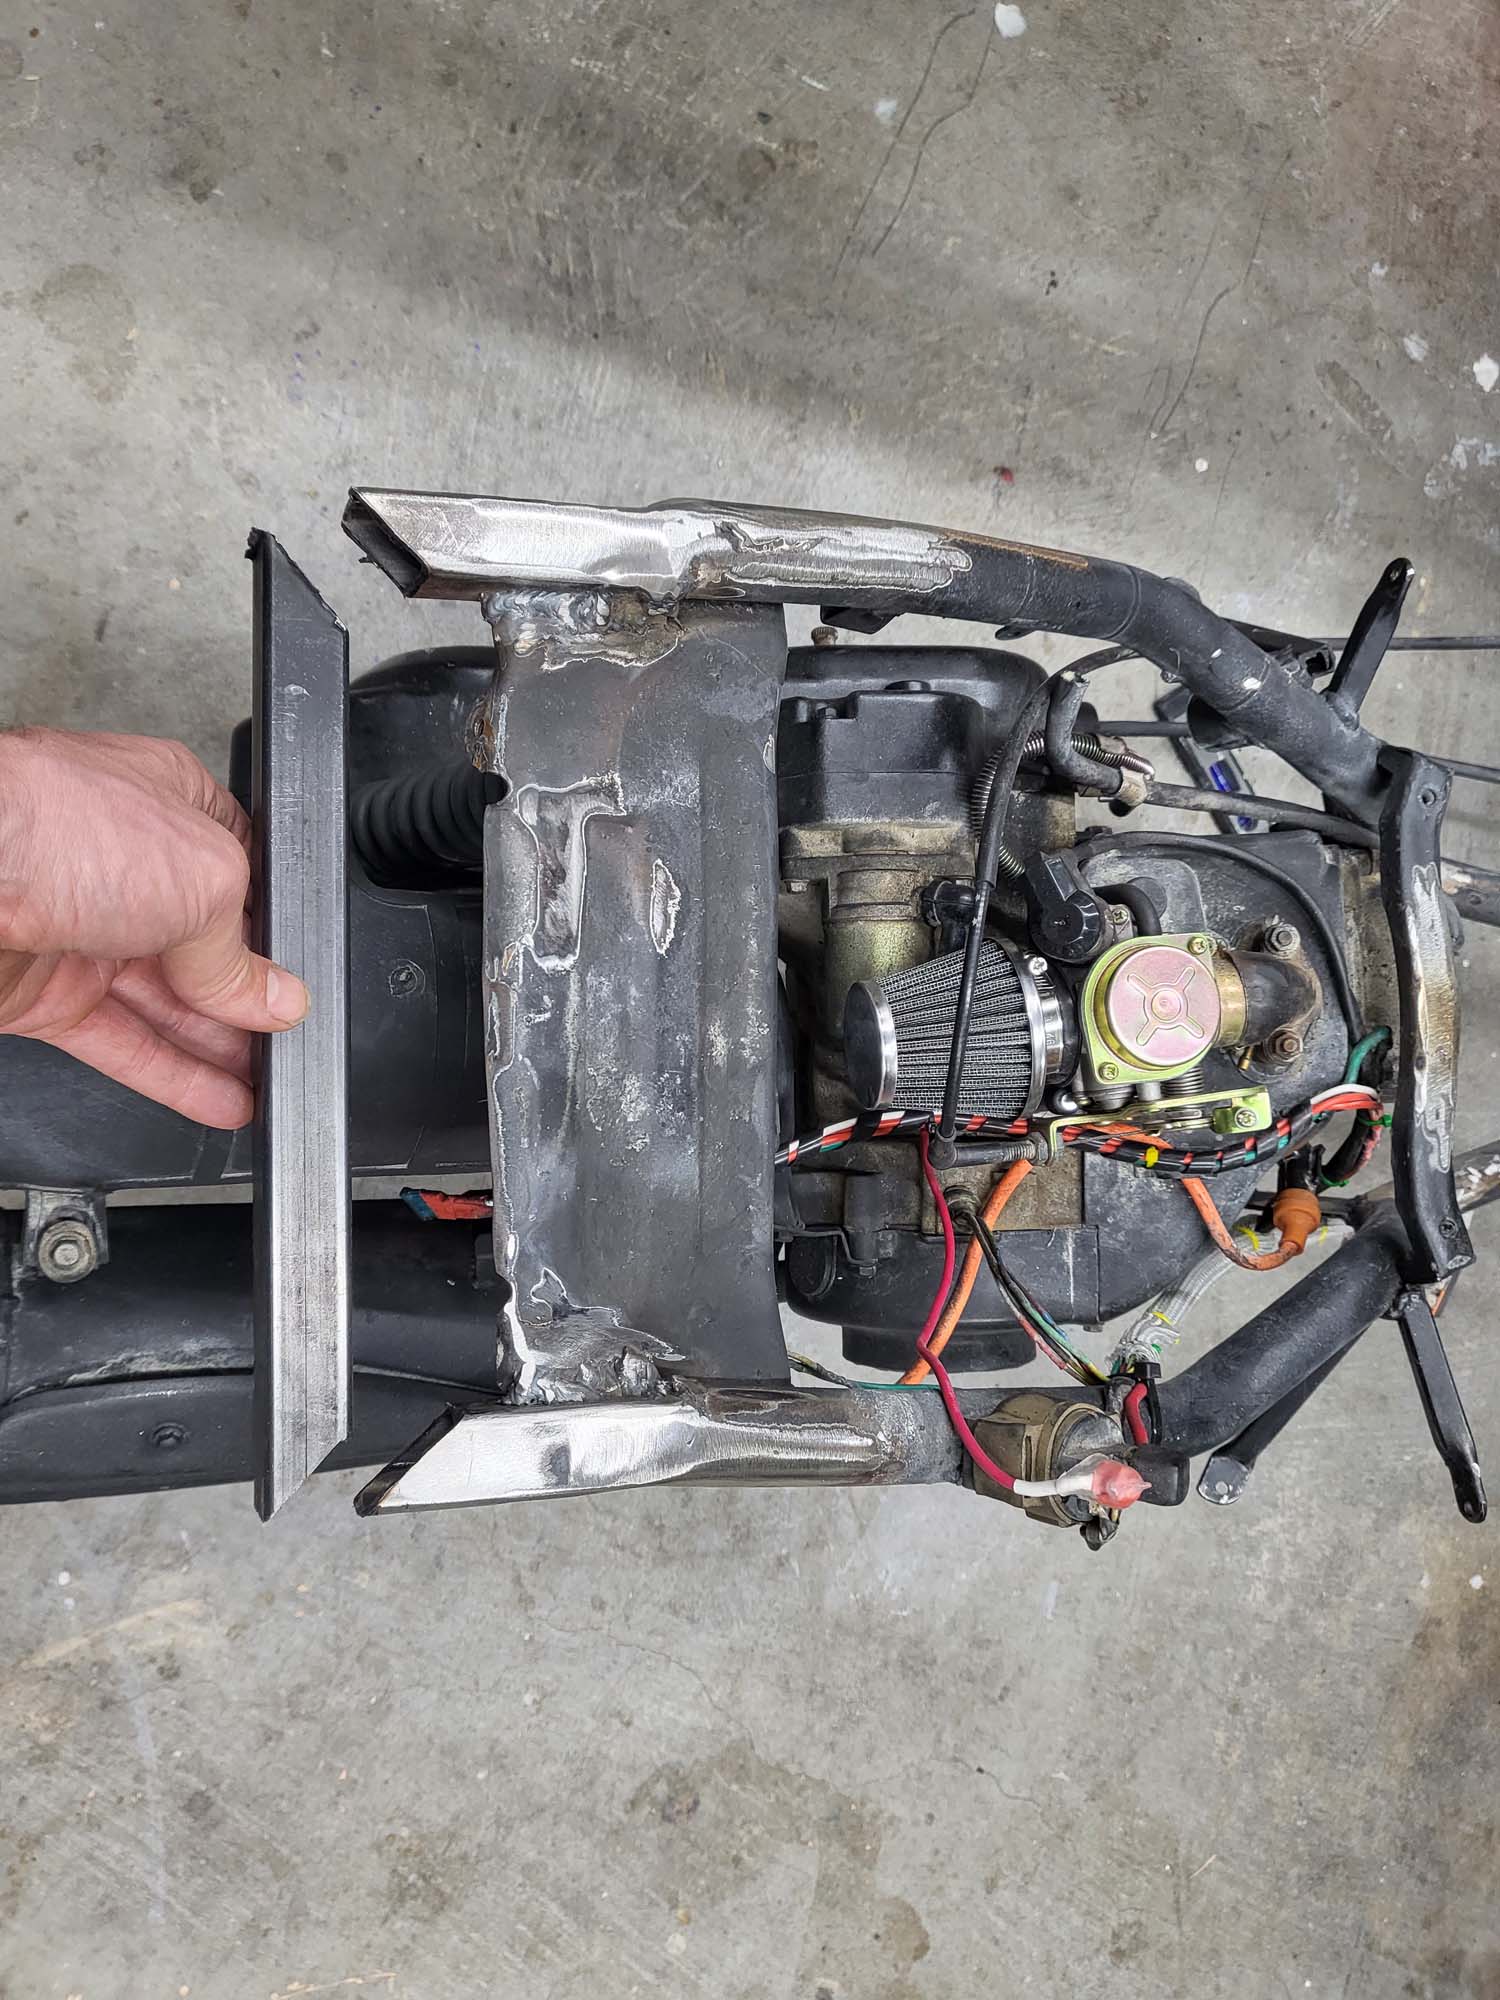
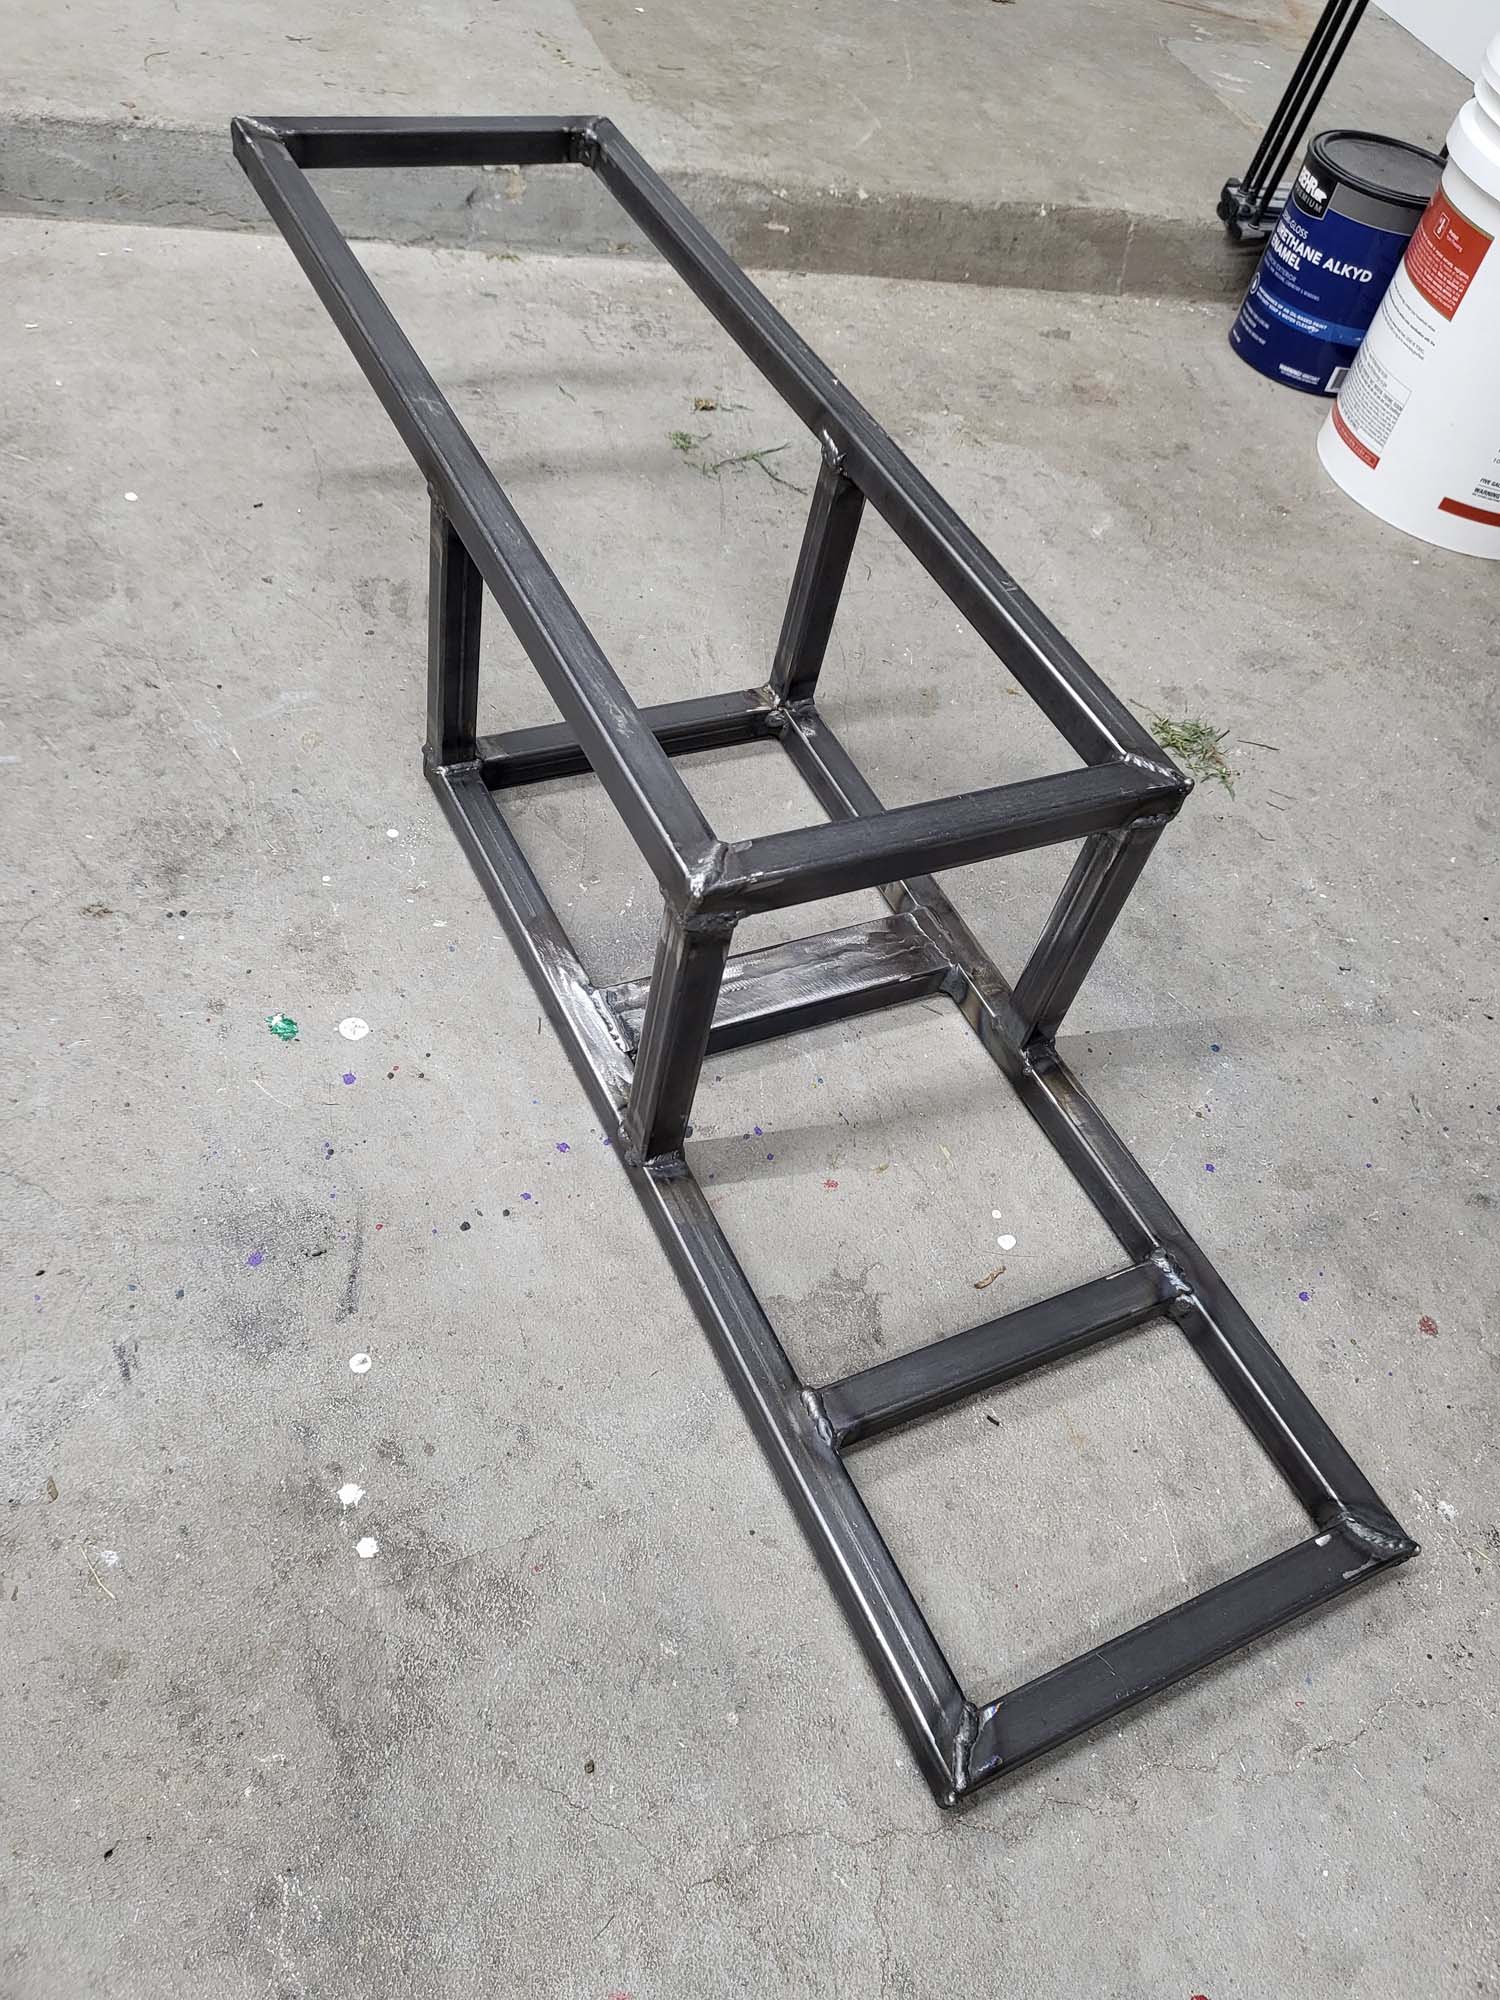
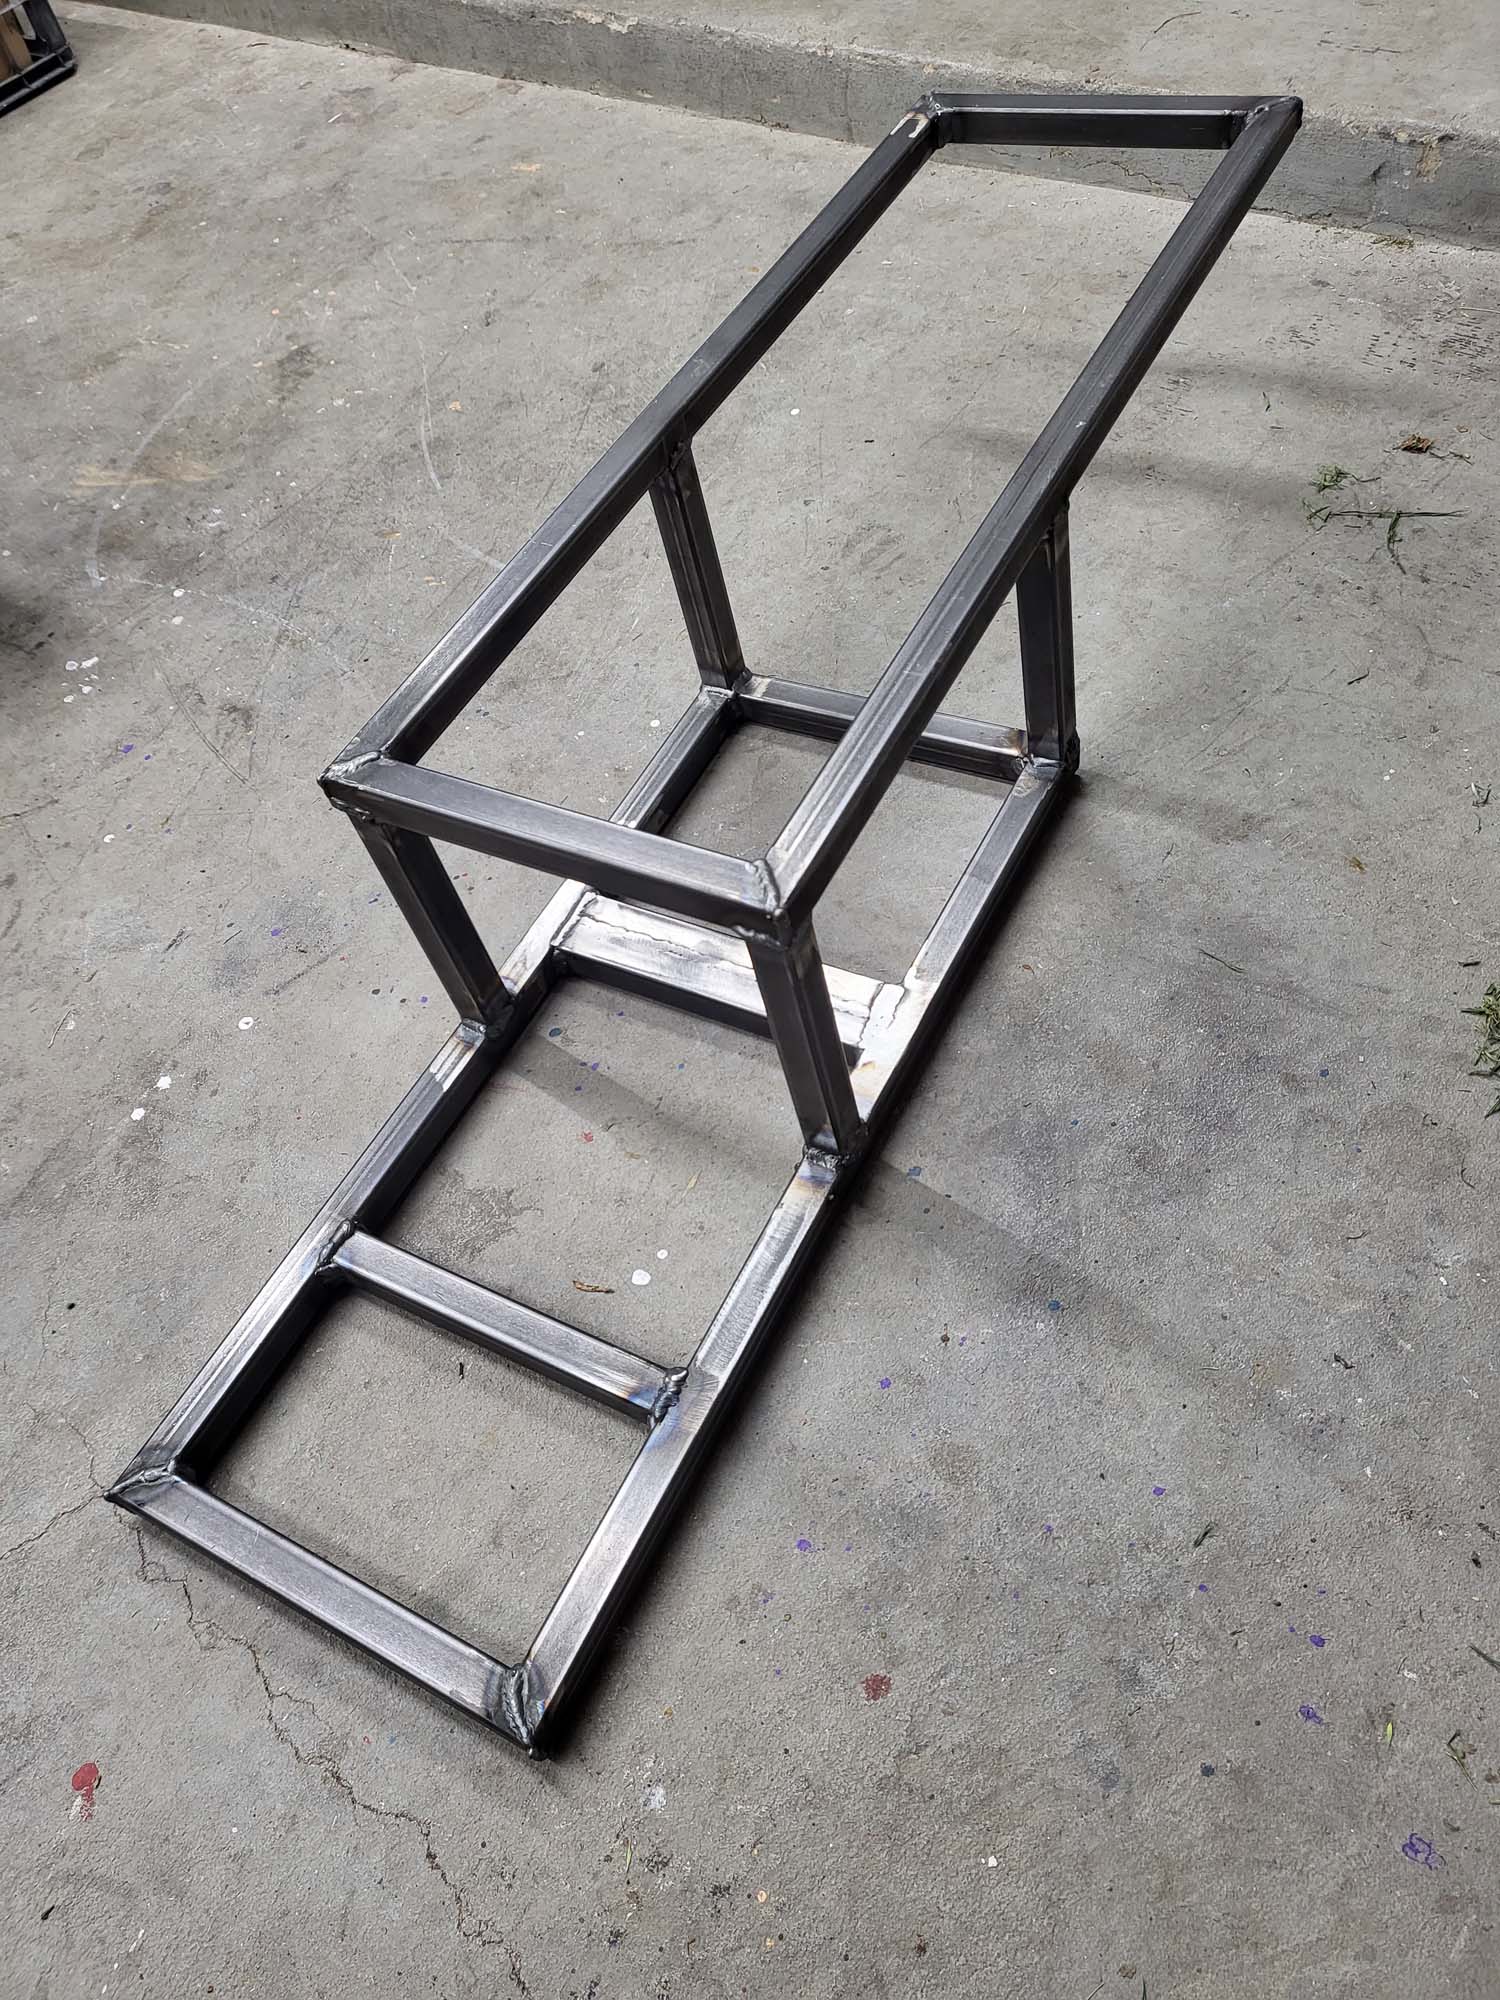
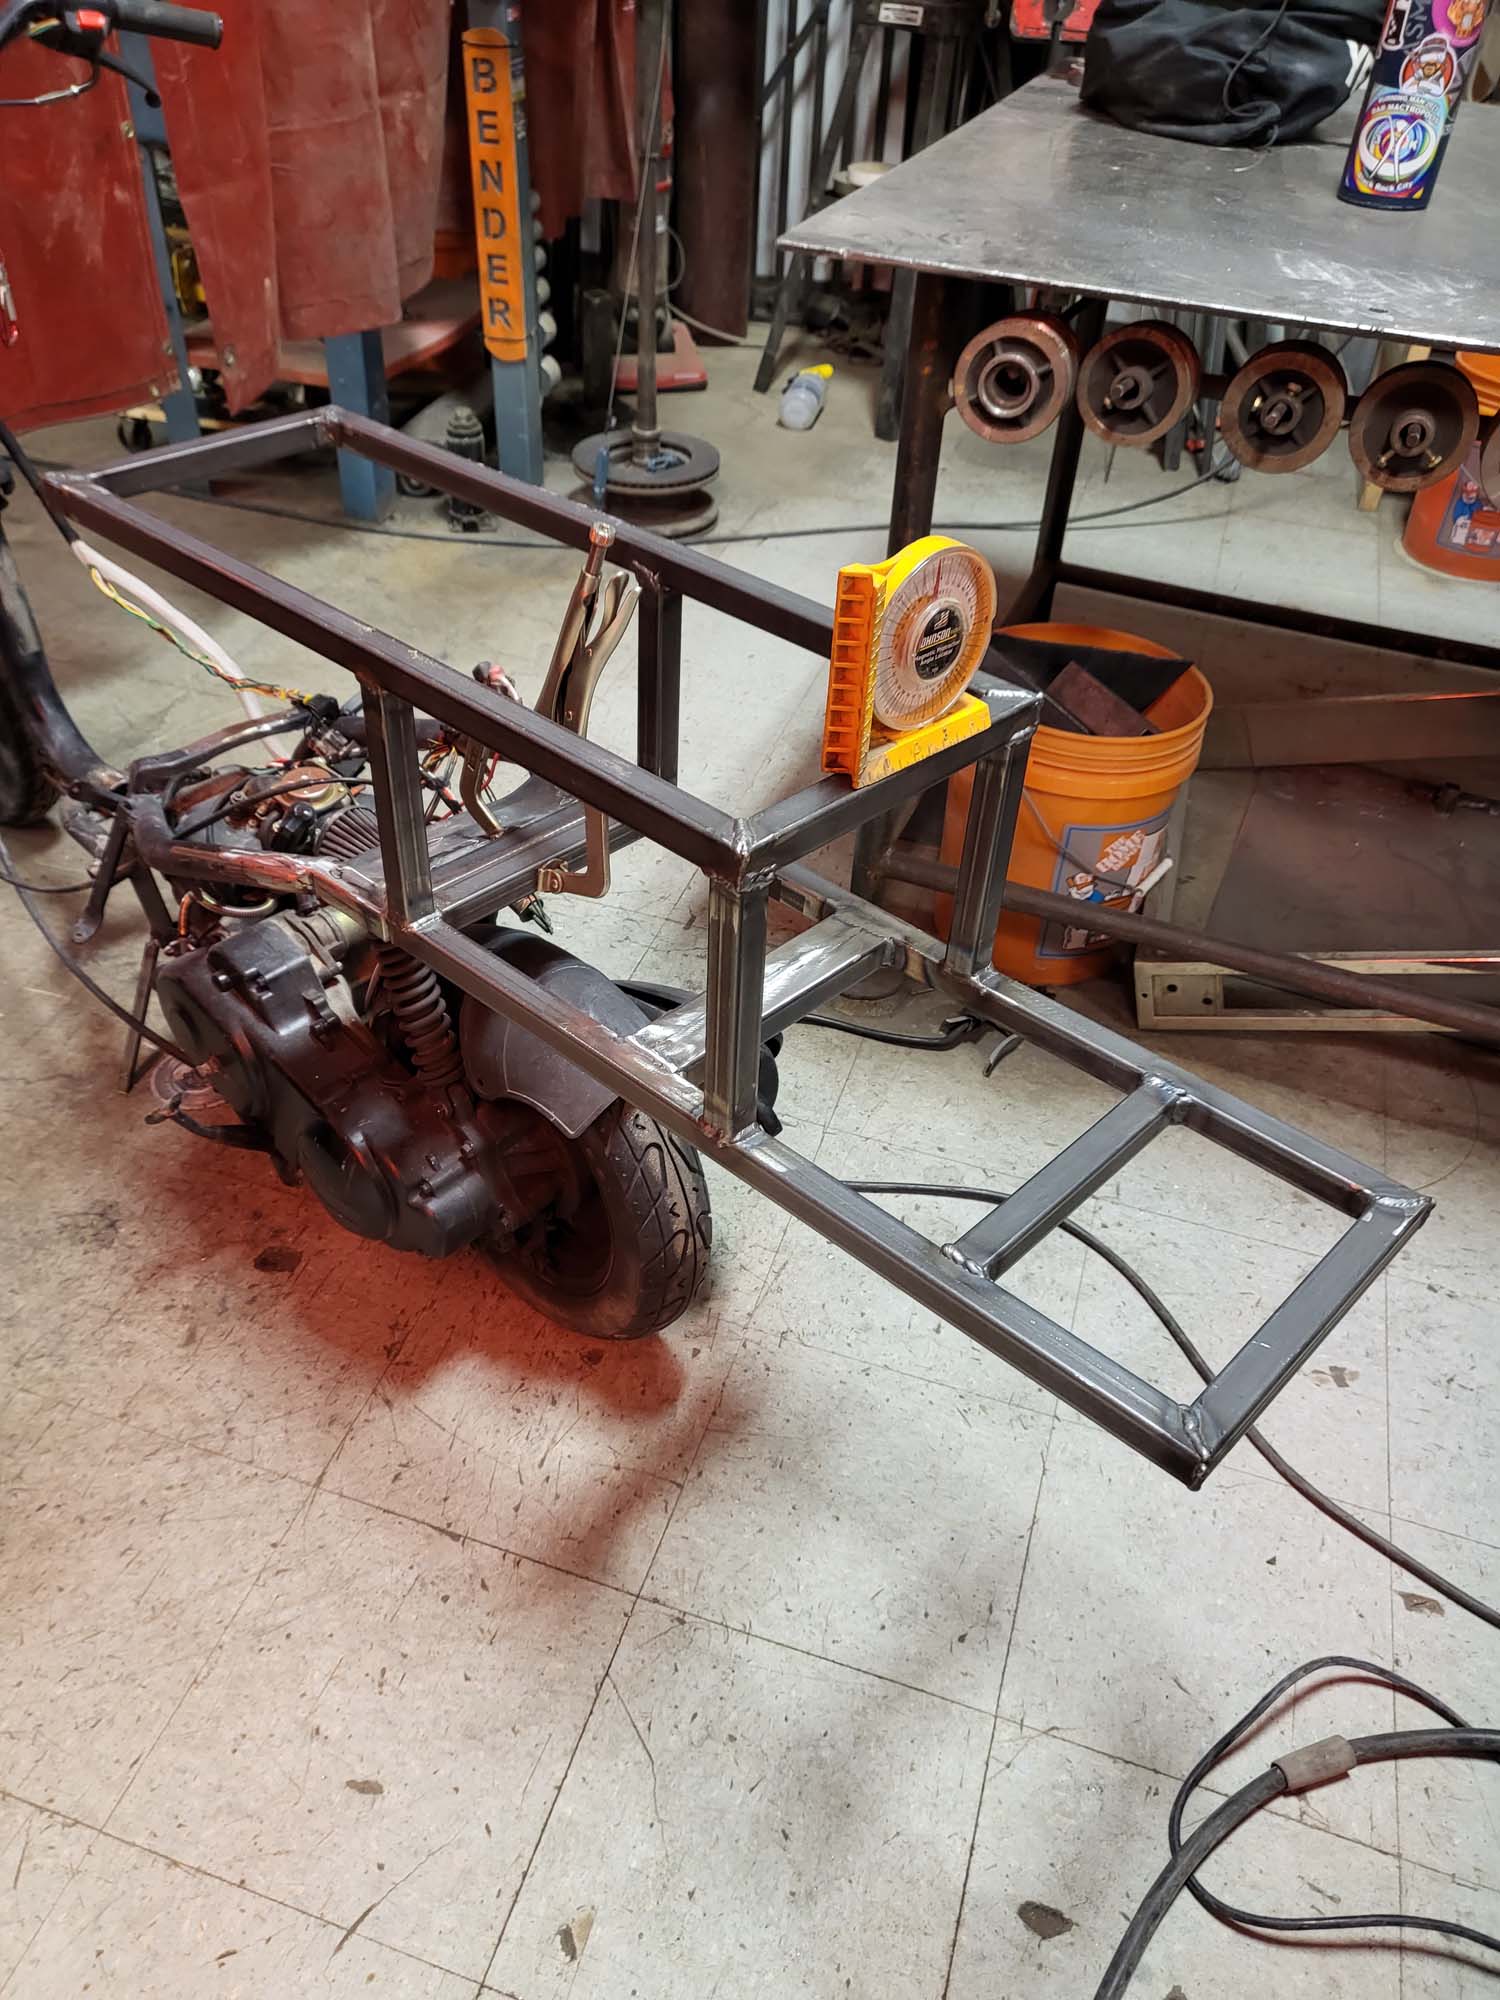
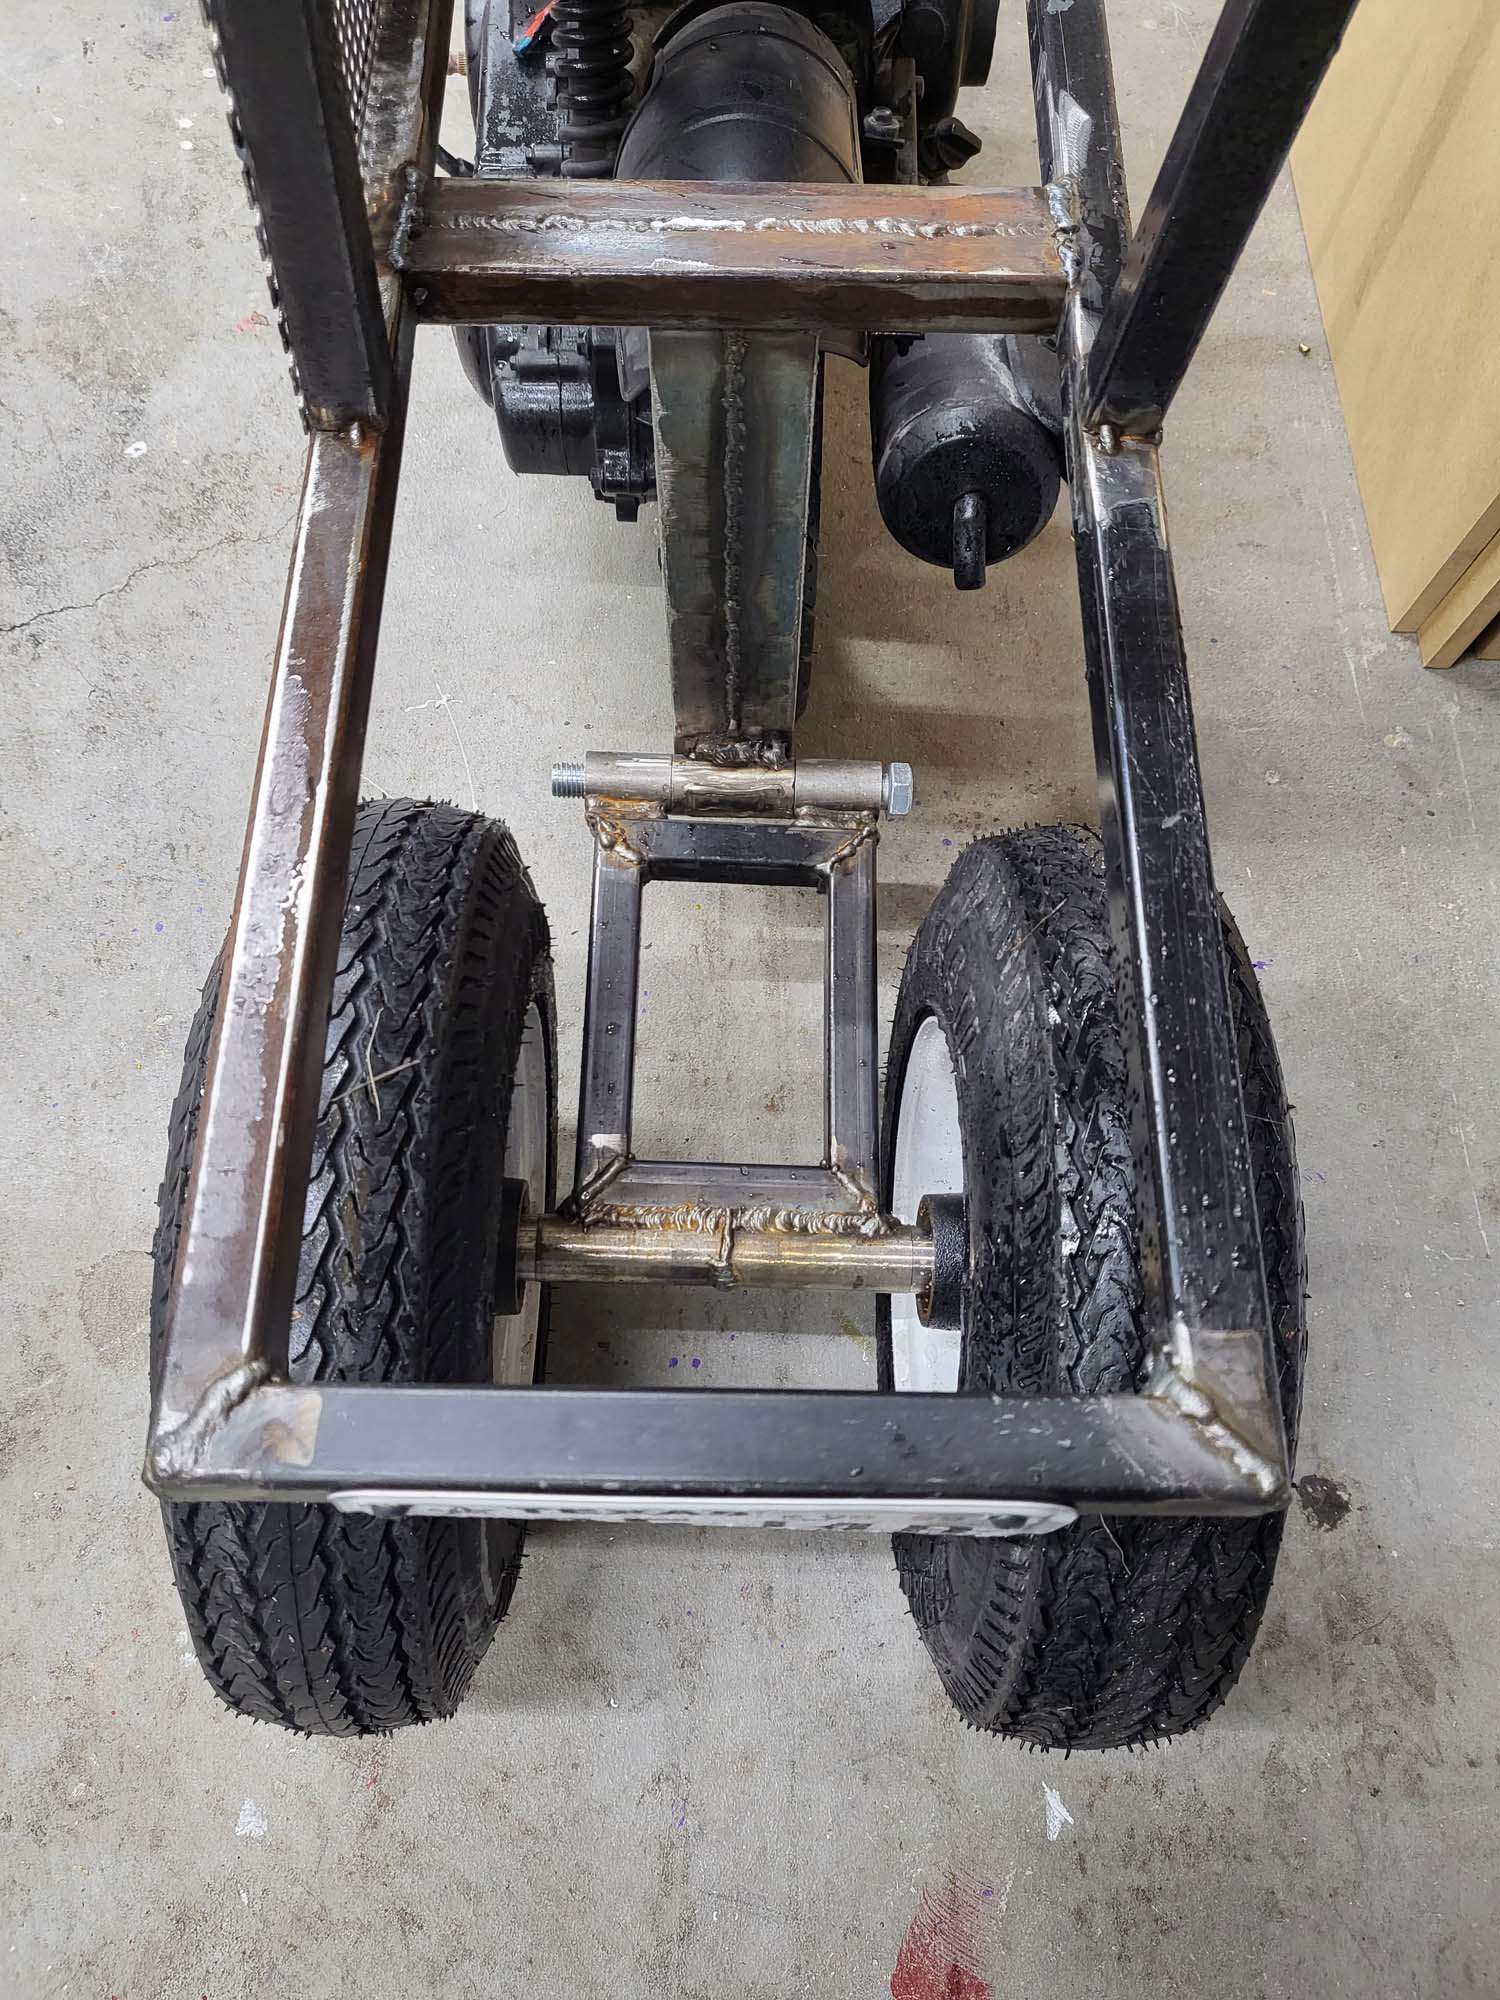
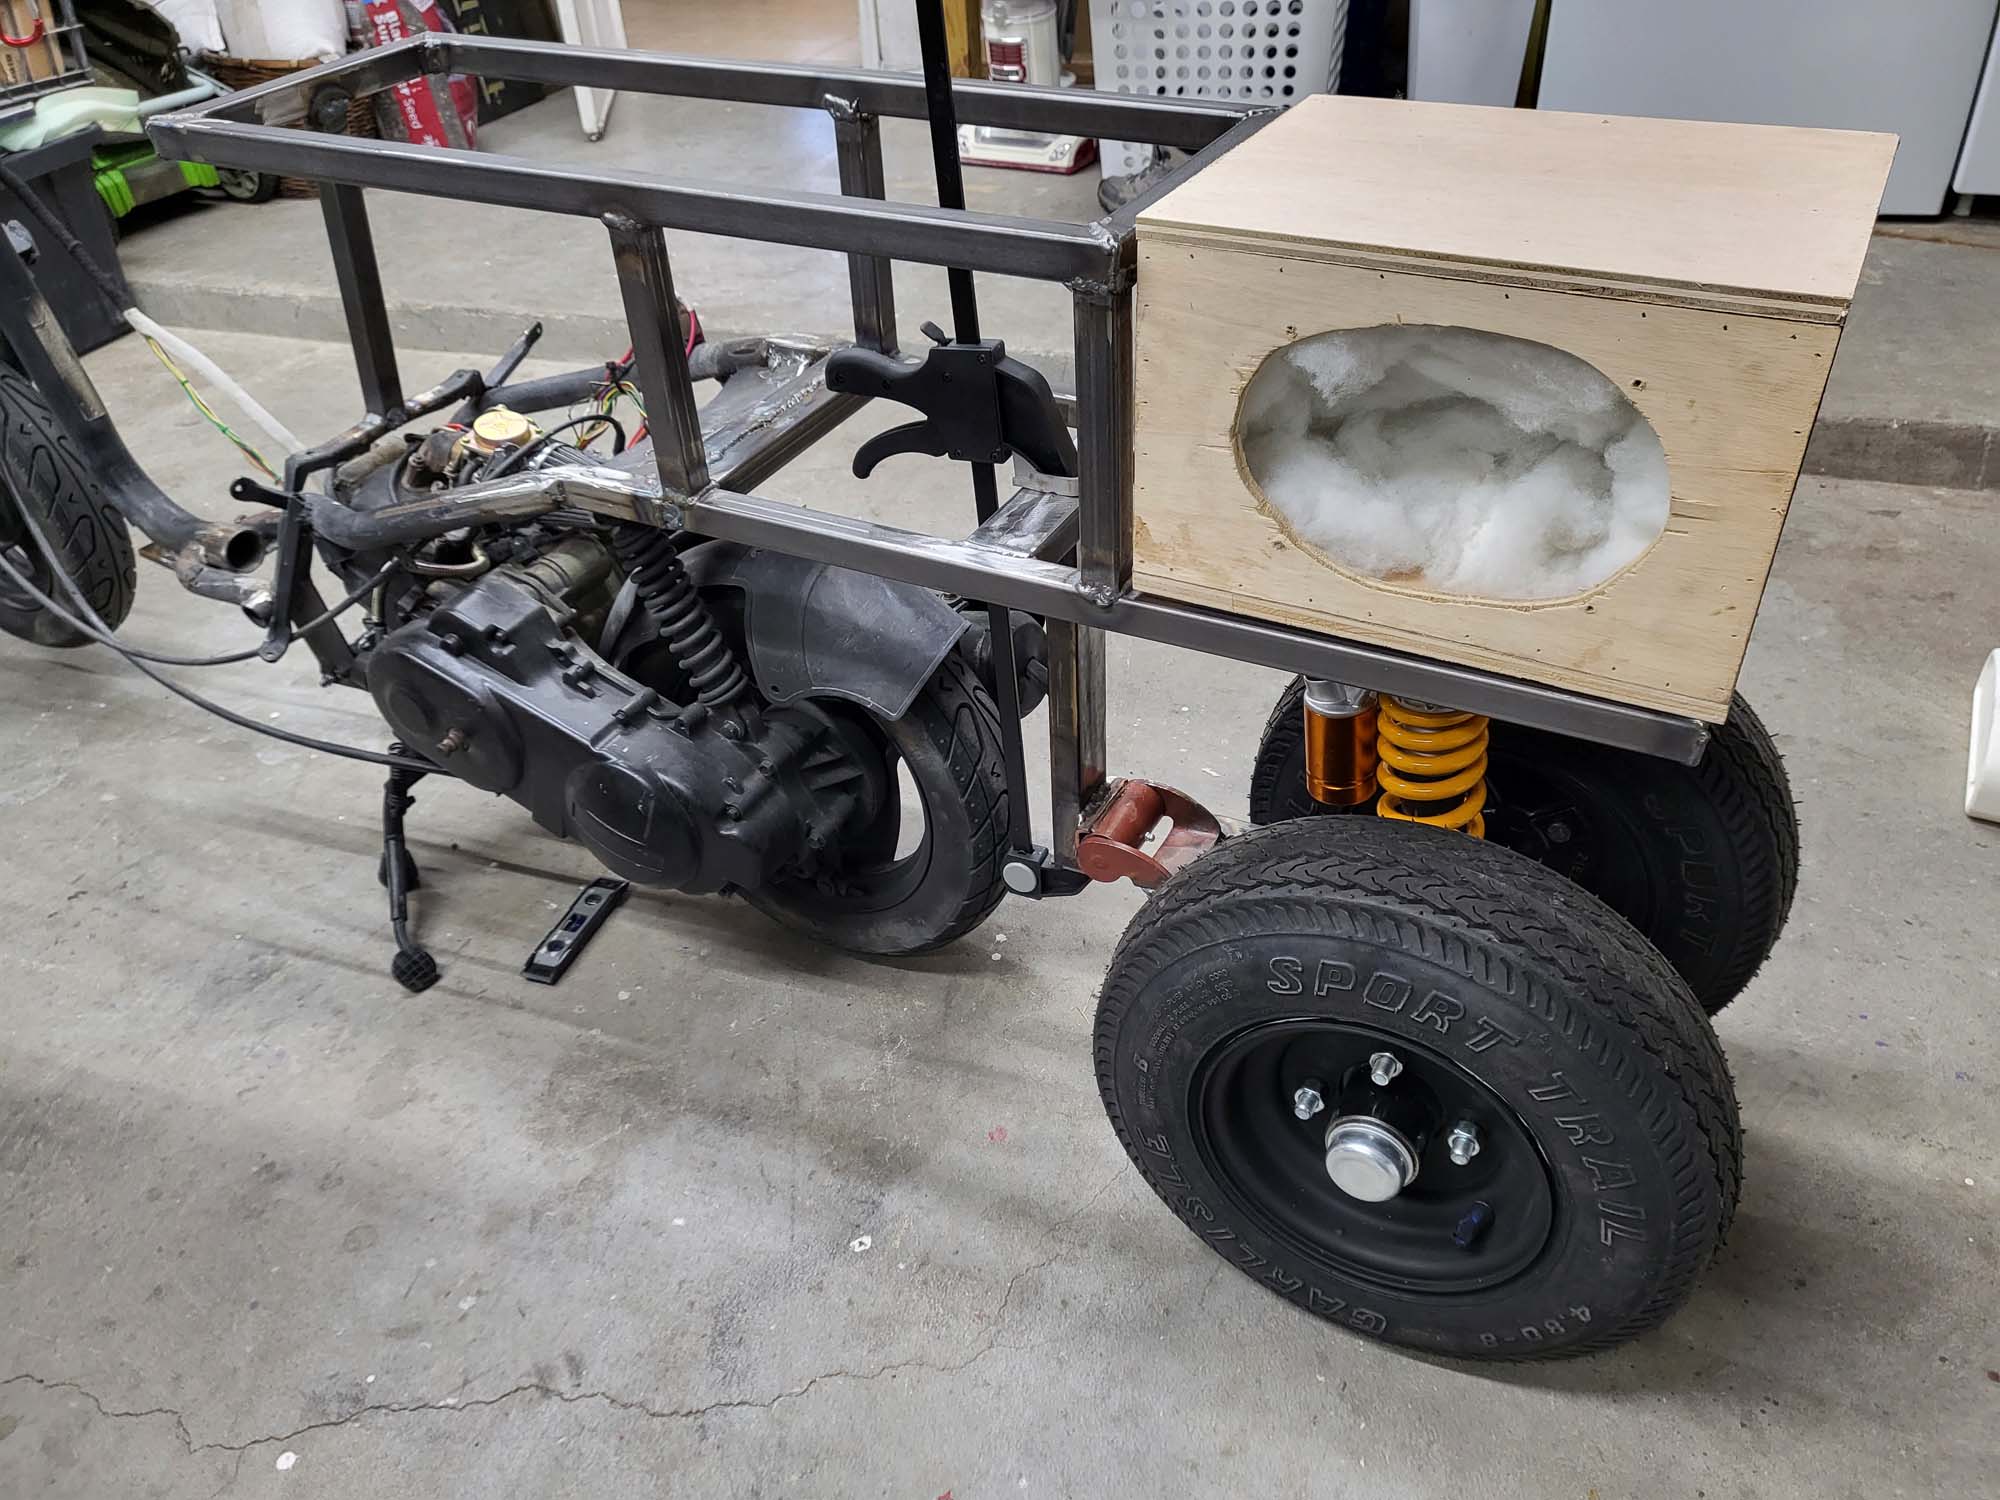
After the panels were done, I started to rebuild the frame. I used one-inch square tubing for the new sections of the frame. The first step was to remove as much of the frame as possible and weld a piece of one-inch square tubing to the frame to give myself a good mounting point.
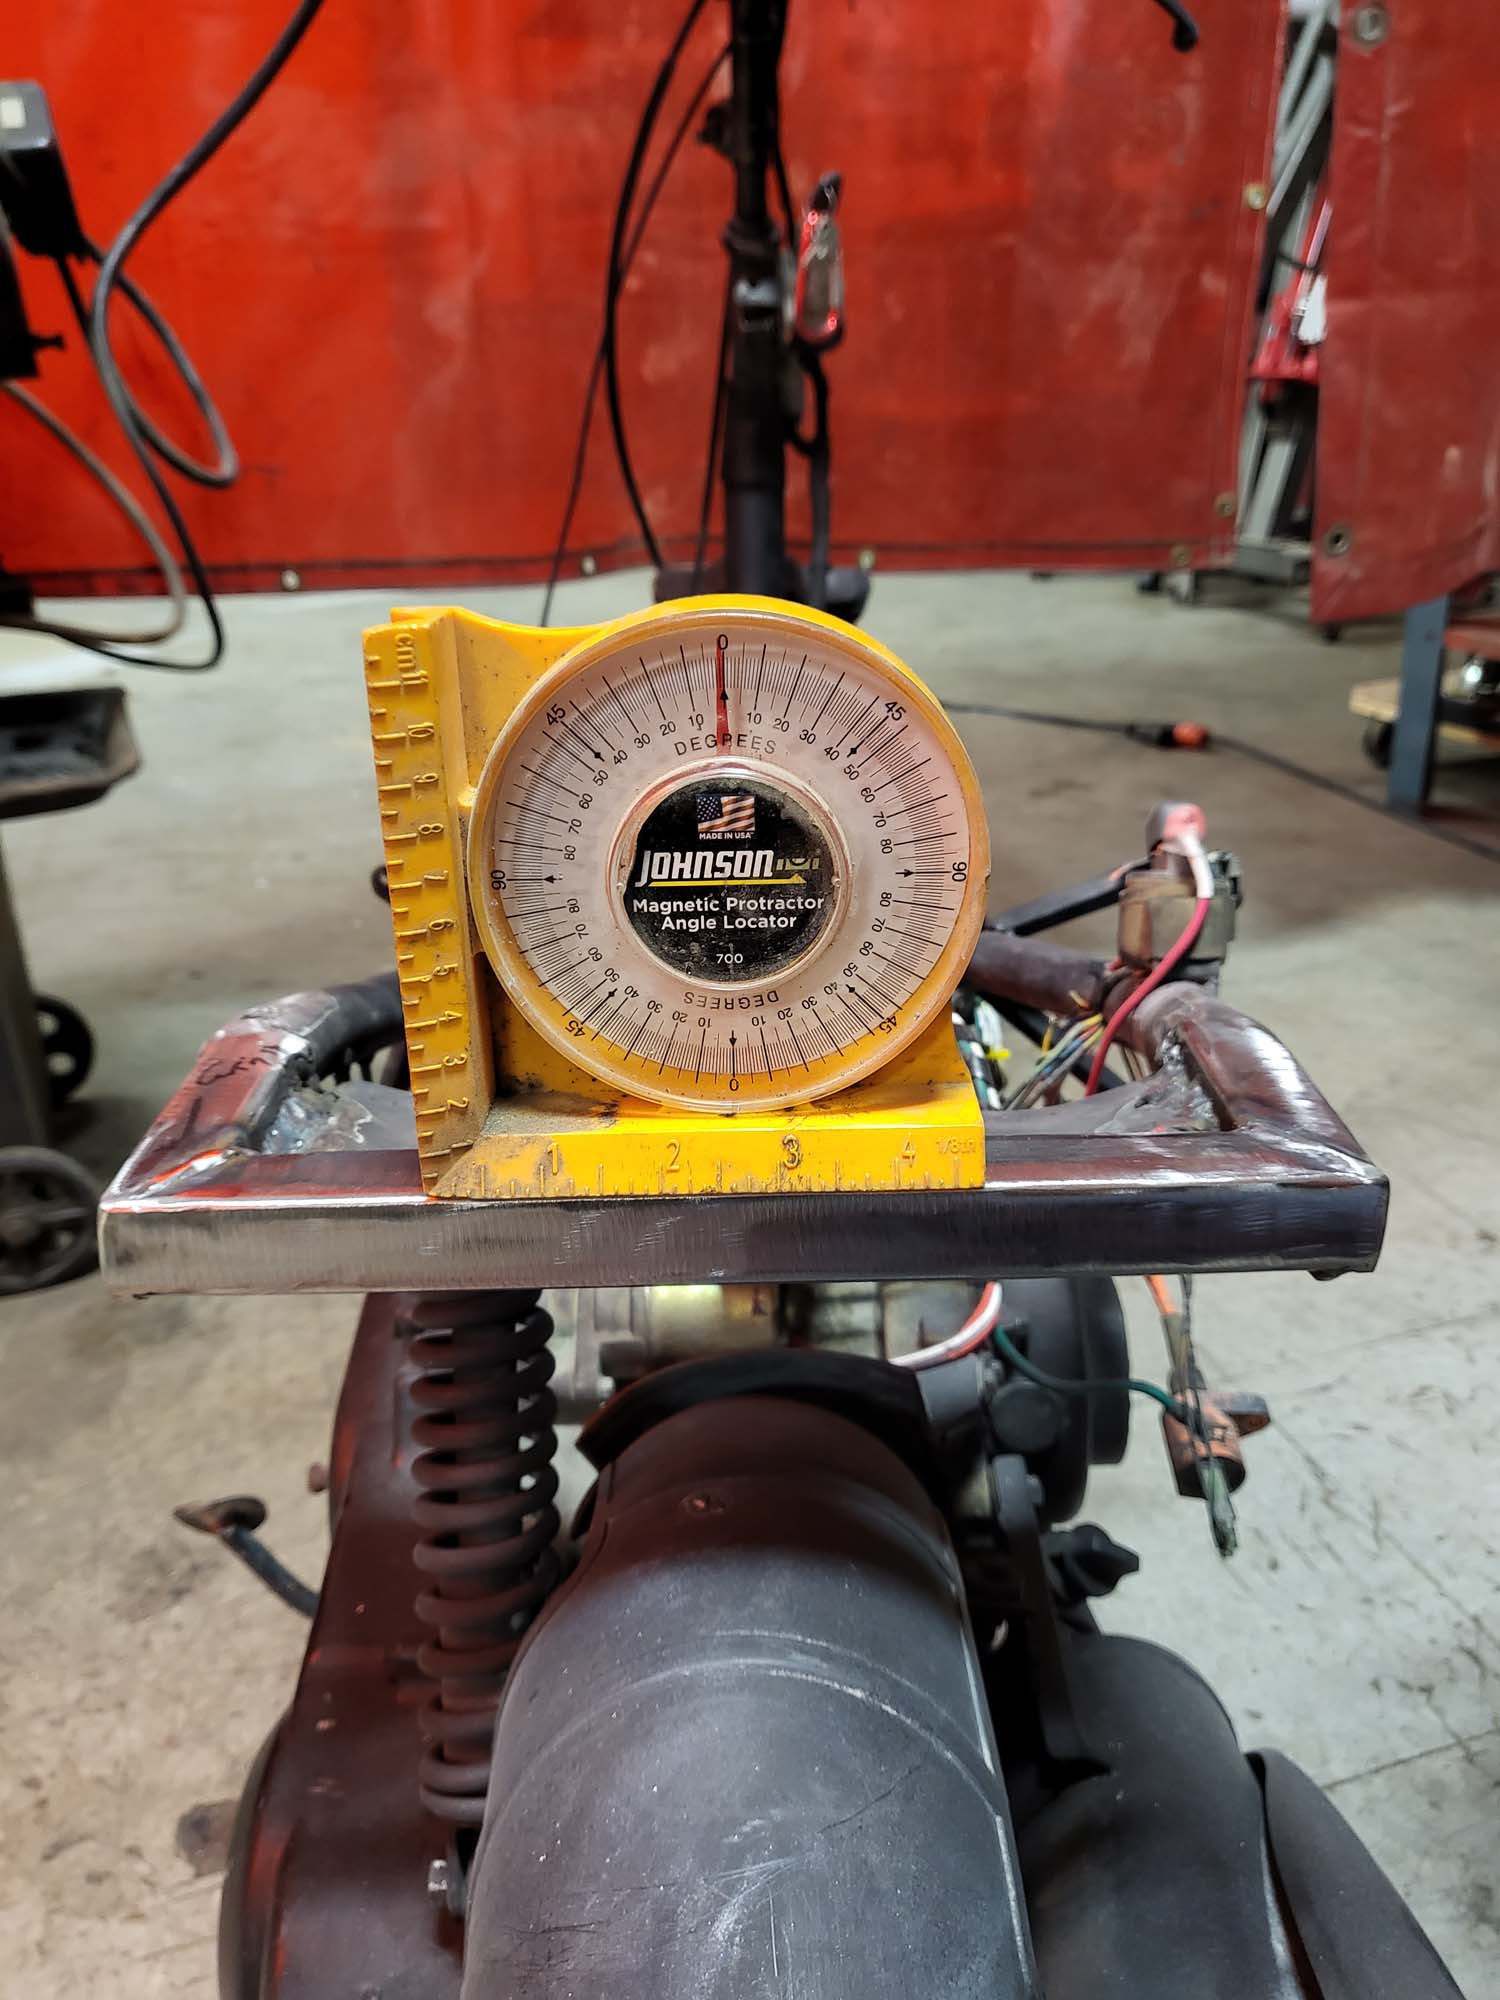
I built the new section of the frame off the bike so I could make everything as square and parallel as possible. Doubled up the tubing where the new section mounts to the old frame and for the rear suspension.
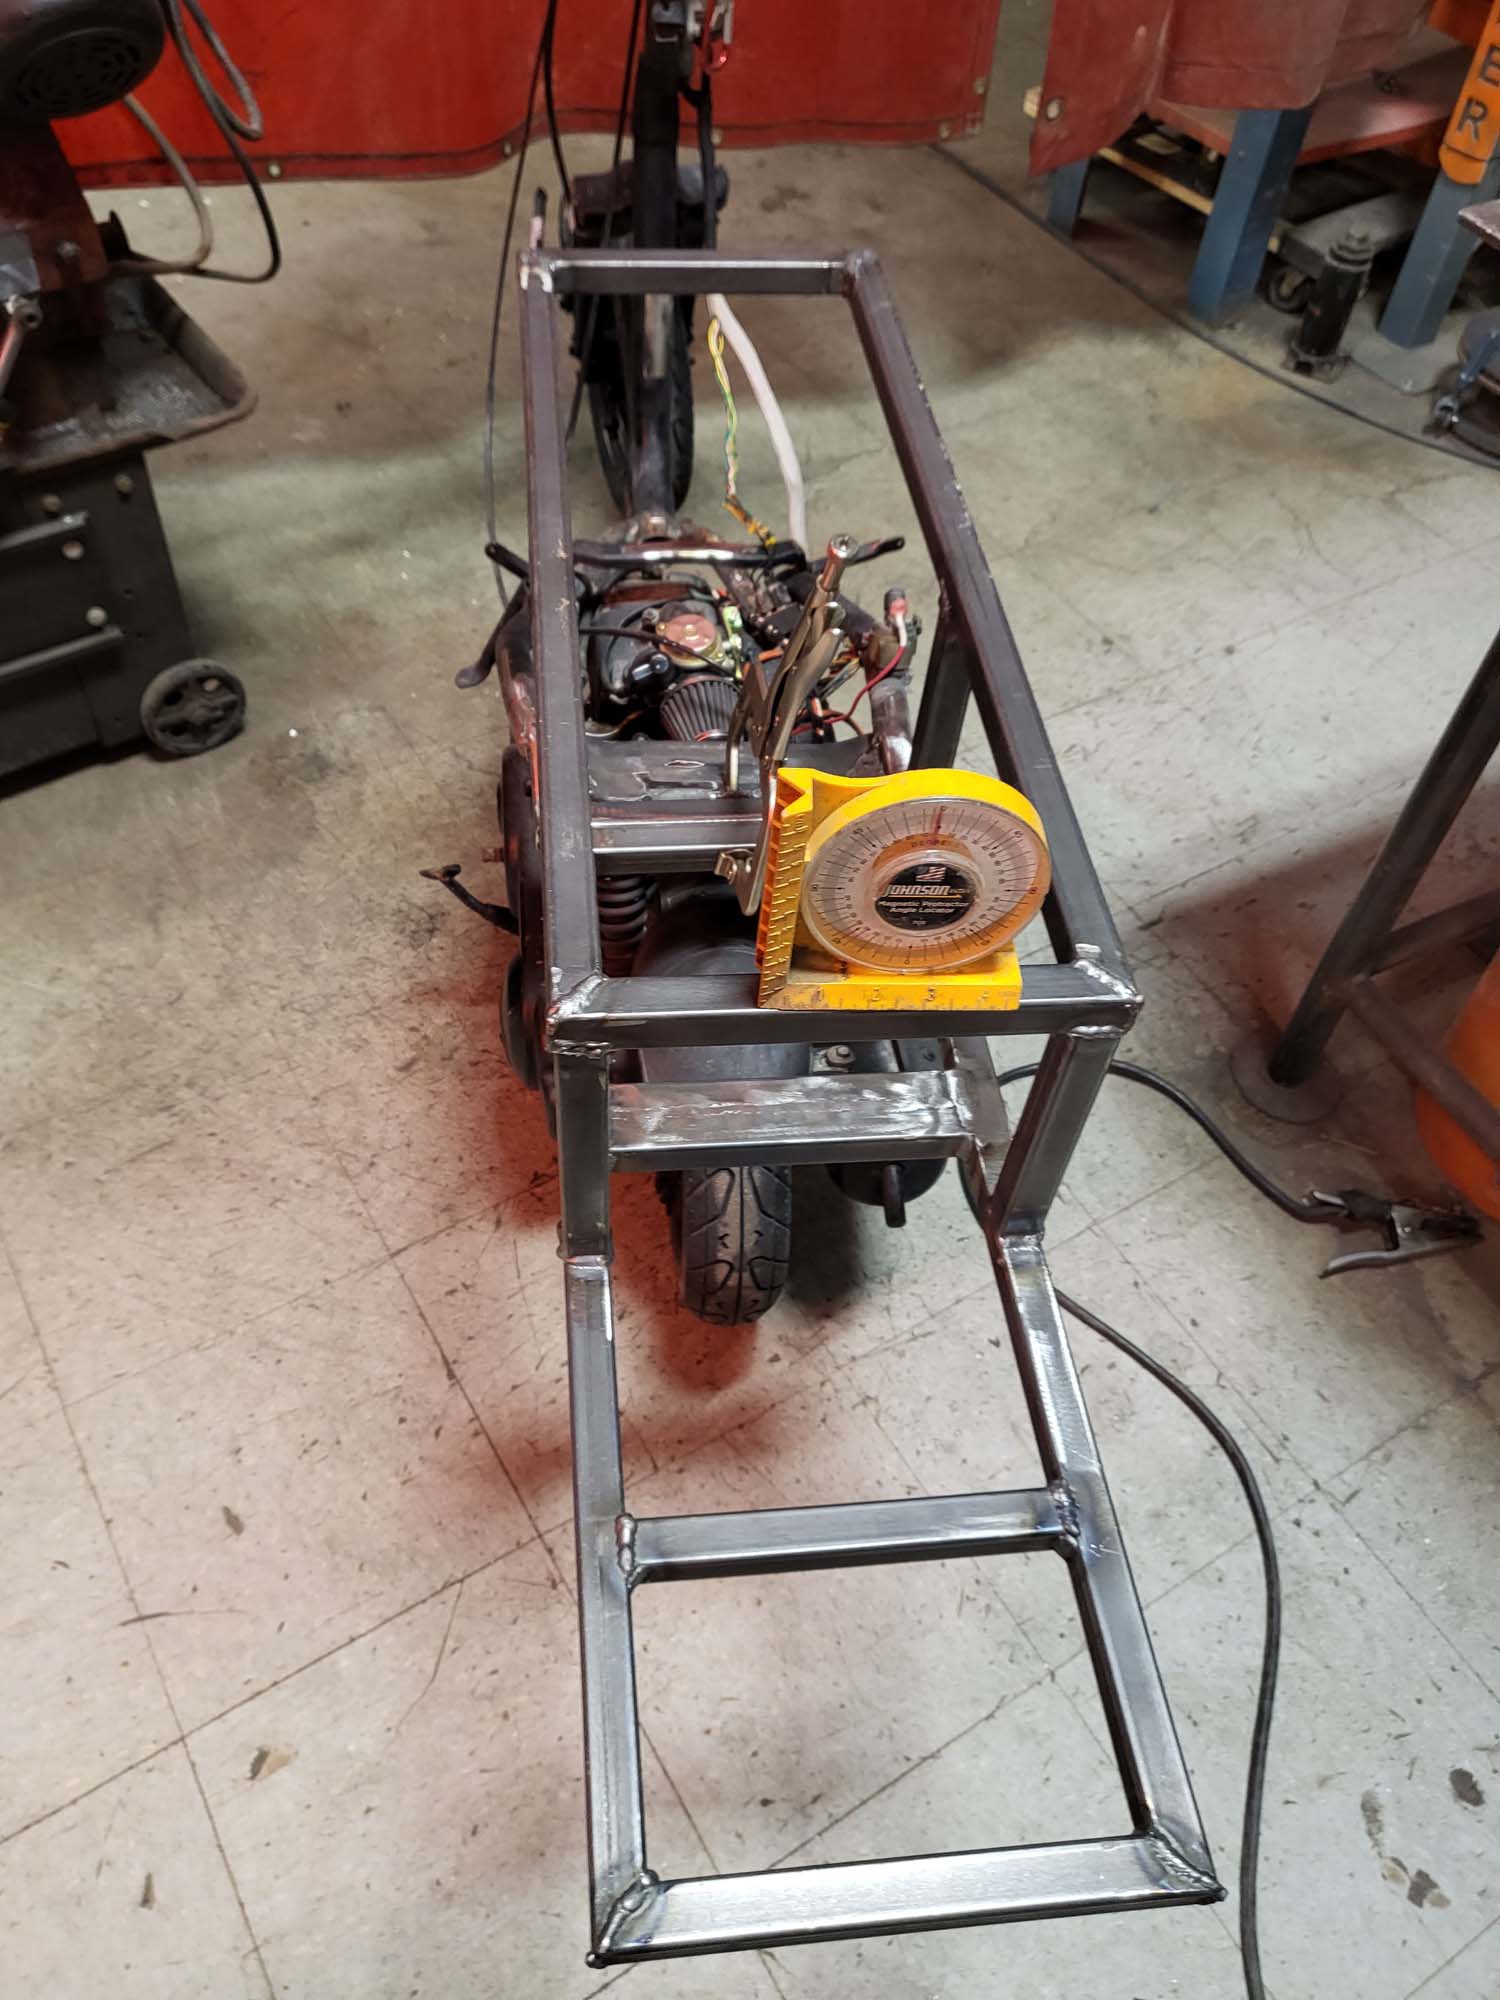
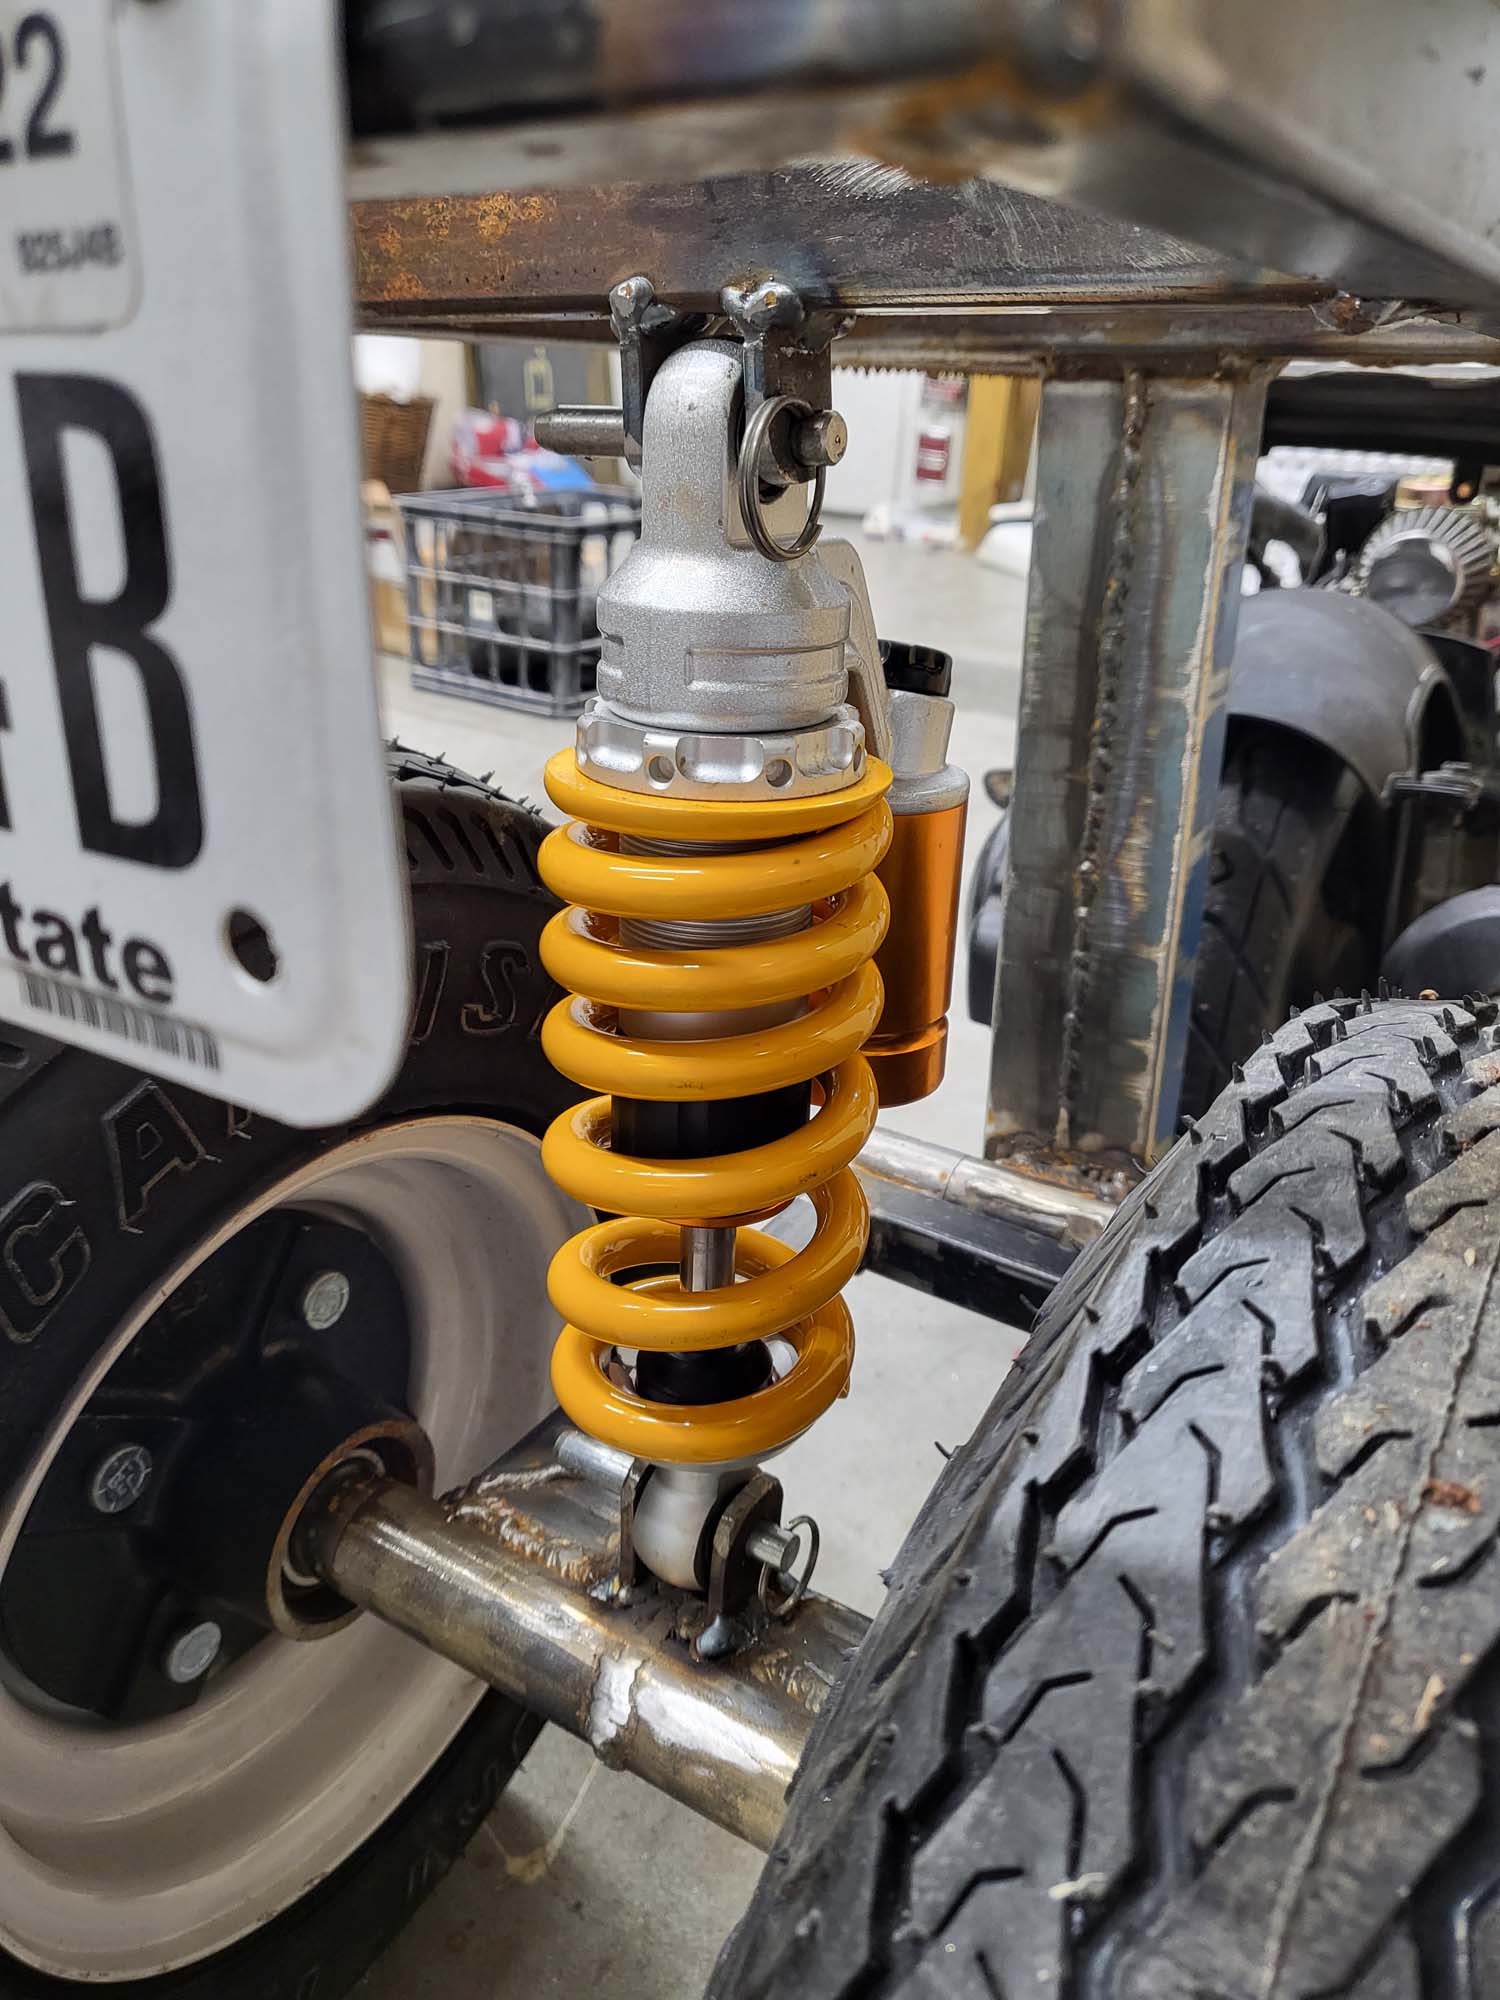
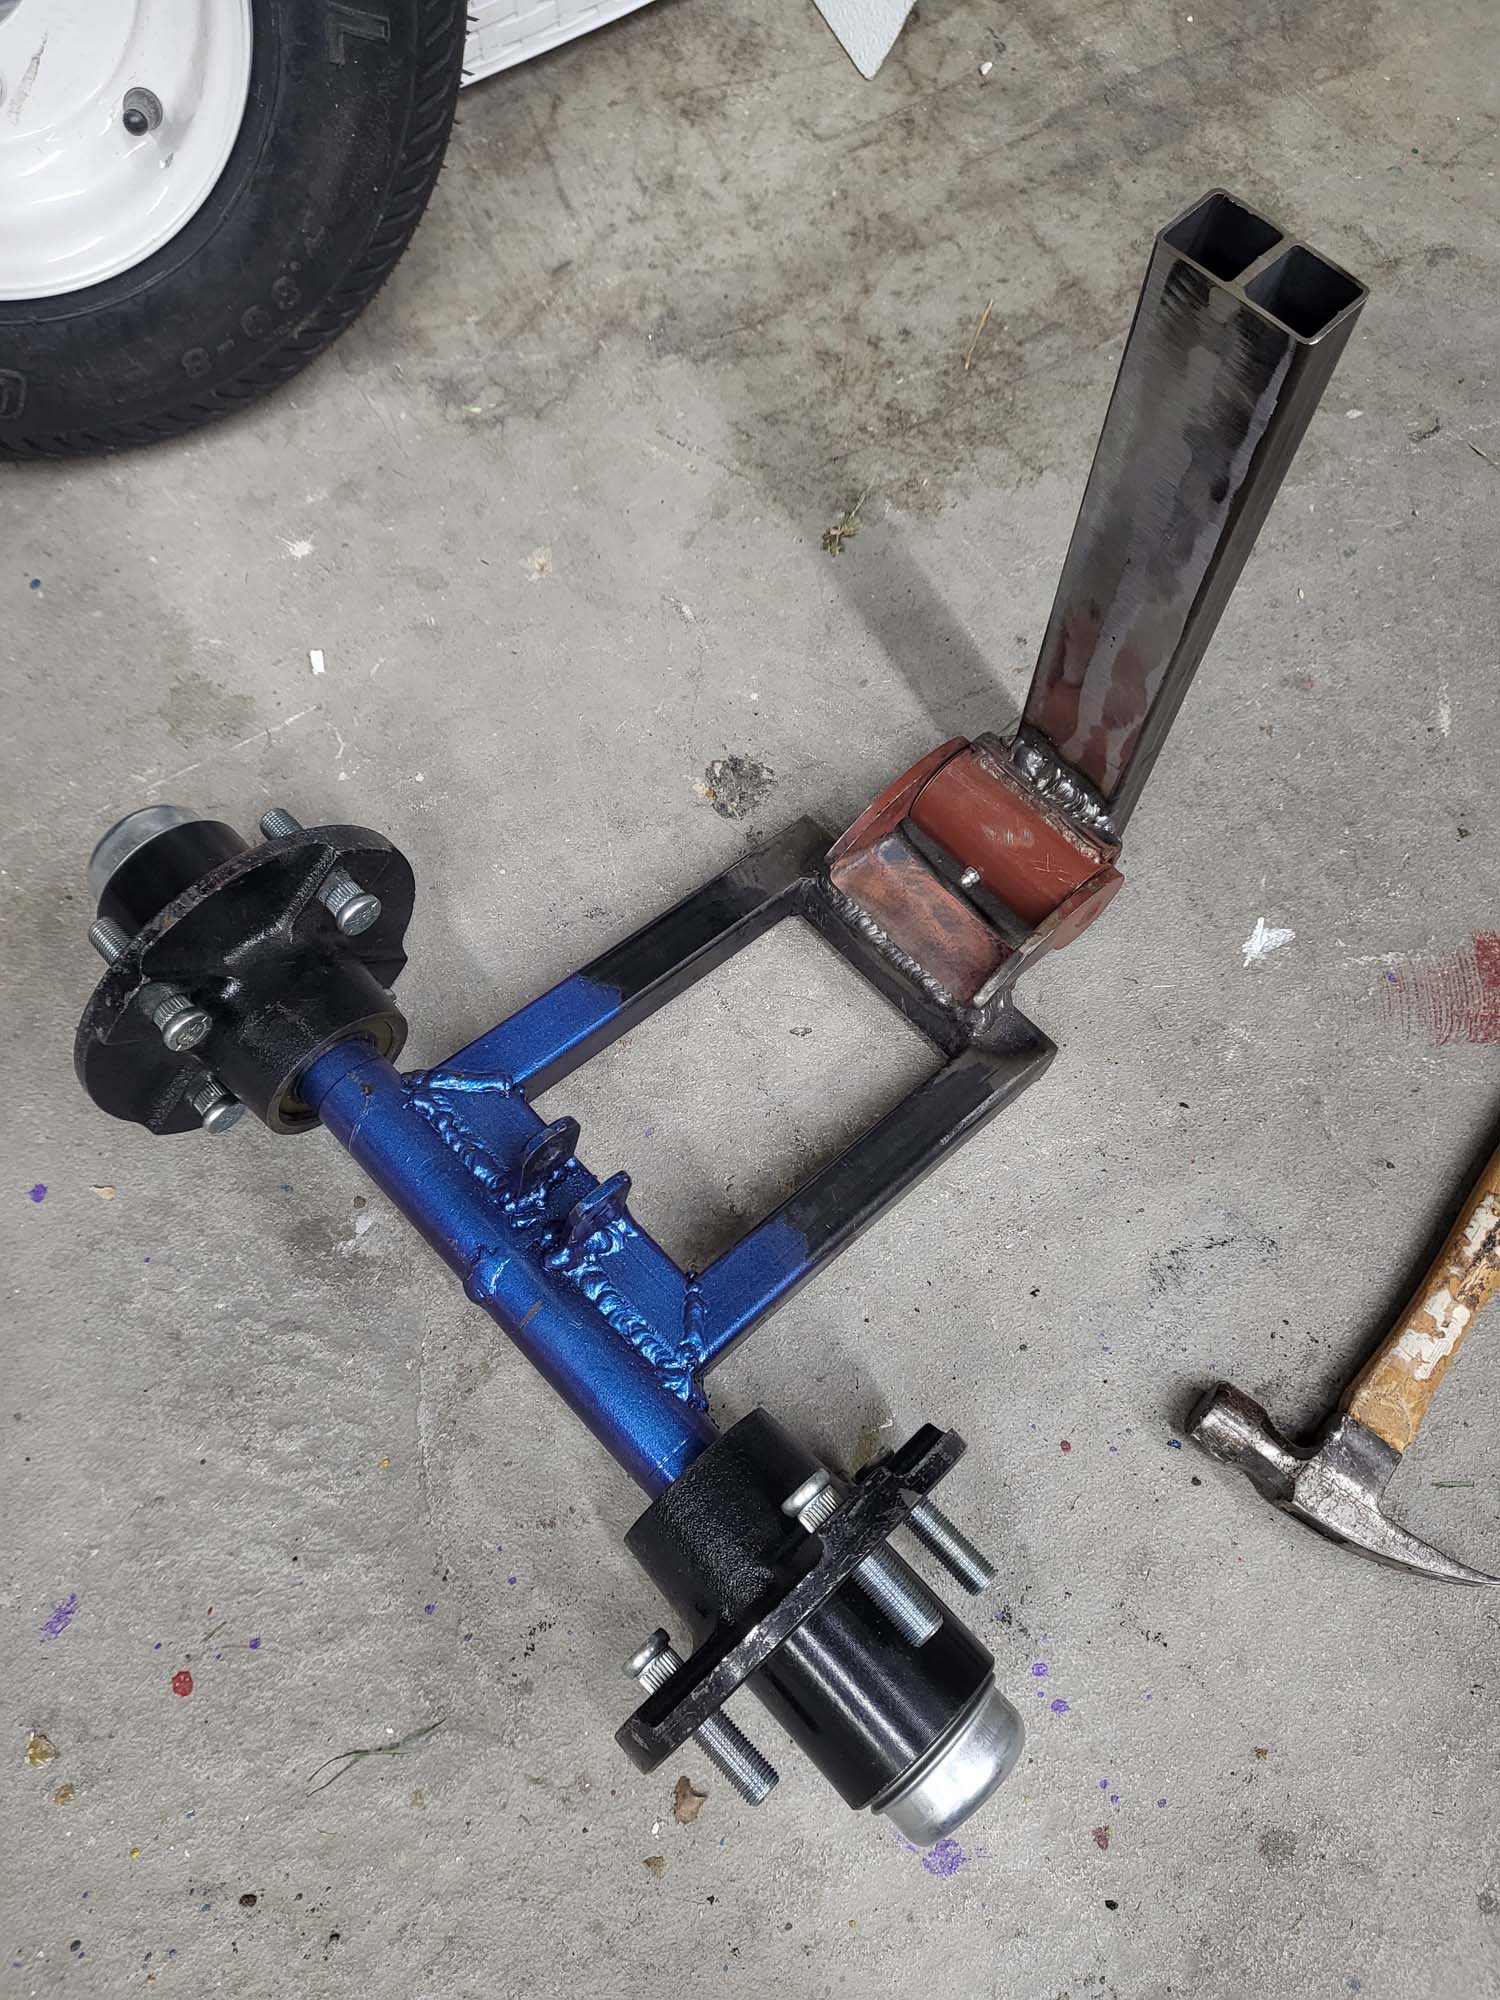
I had to design suspension for the two trailer wheels on the back. This was something new to me and I went through a few iterations. I asked a some experts what they thought… Some suggested a swing arm and others said to mount it rigid but slightly off the ground. I went with the swing arm idea.
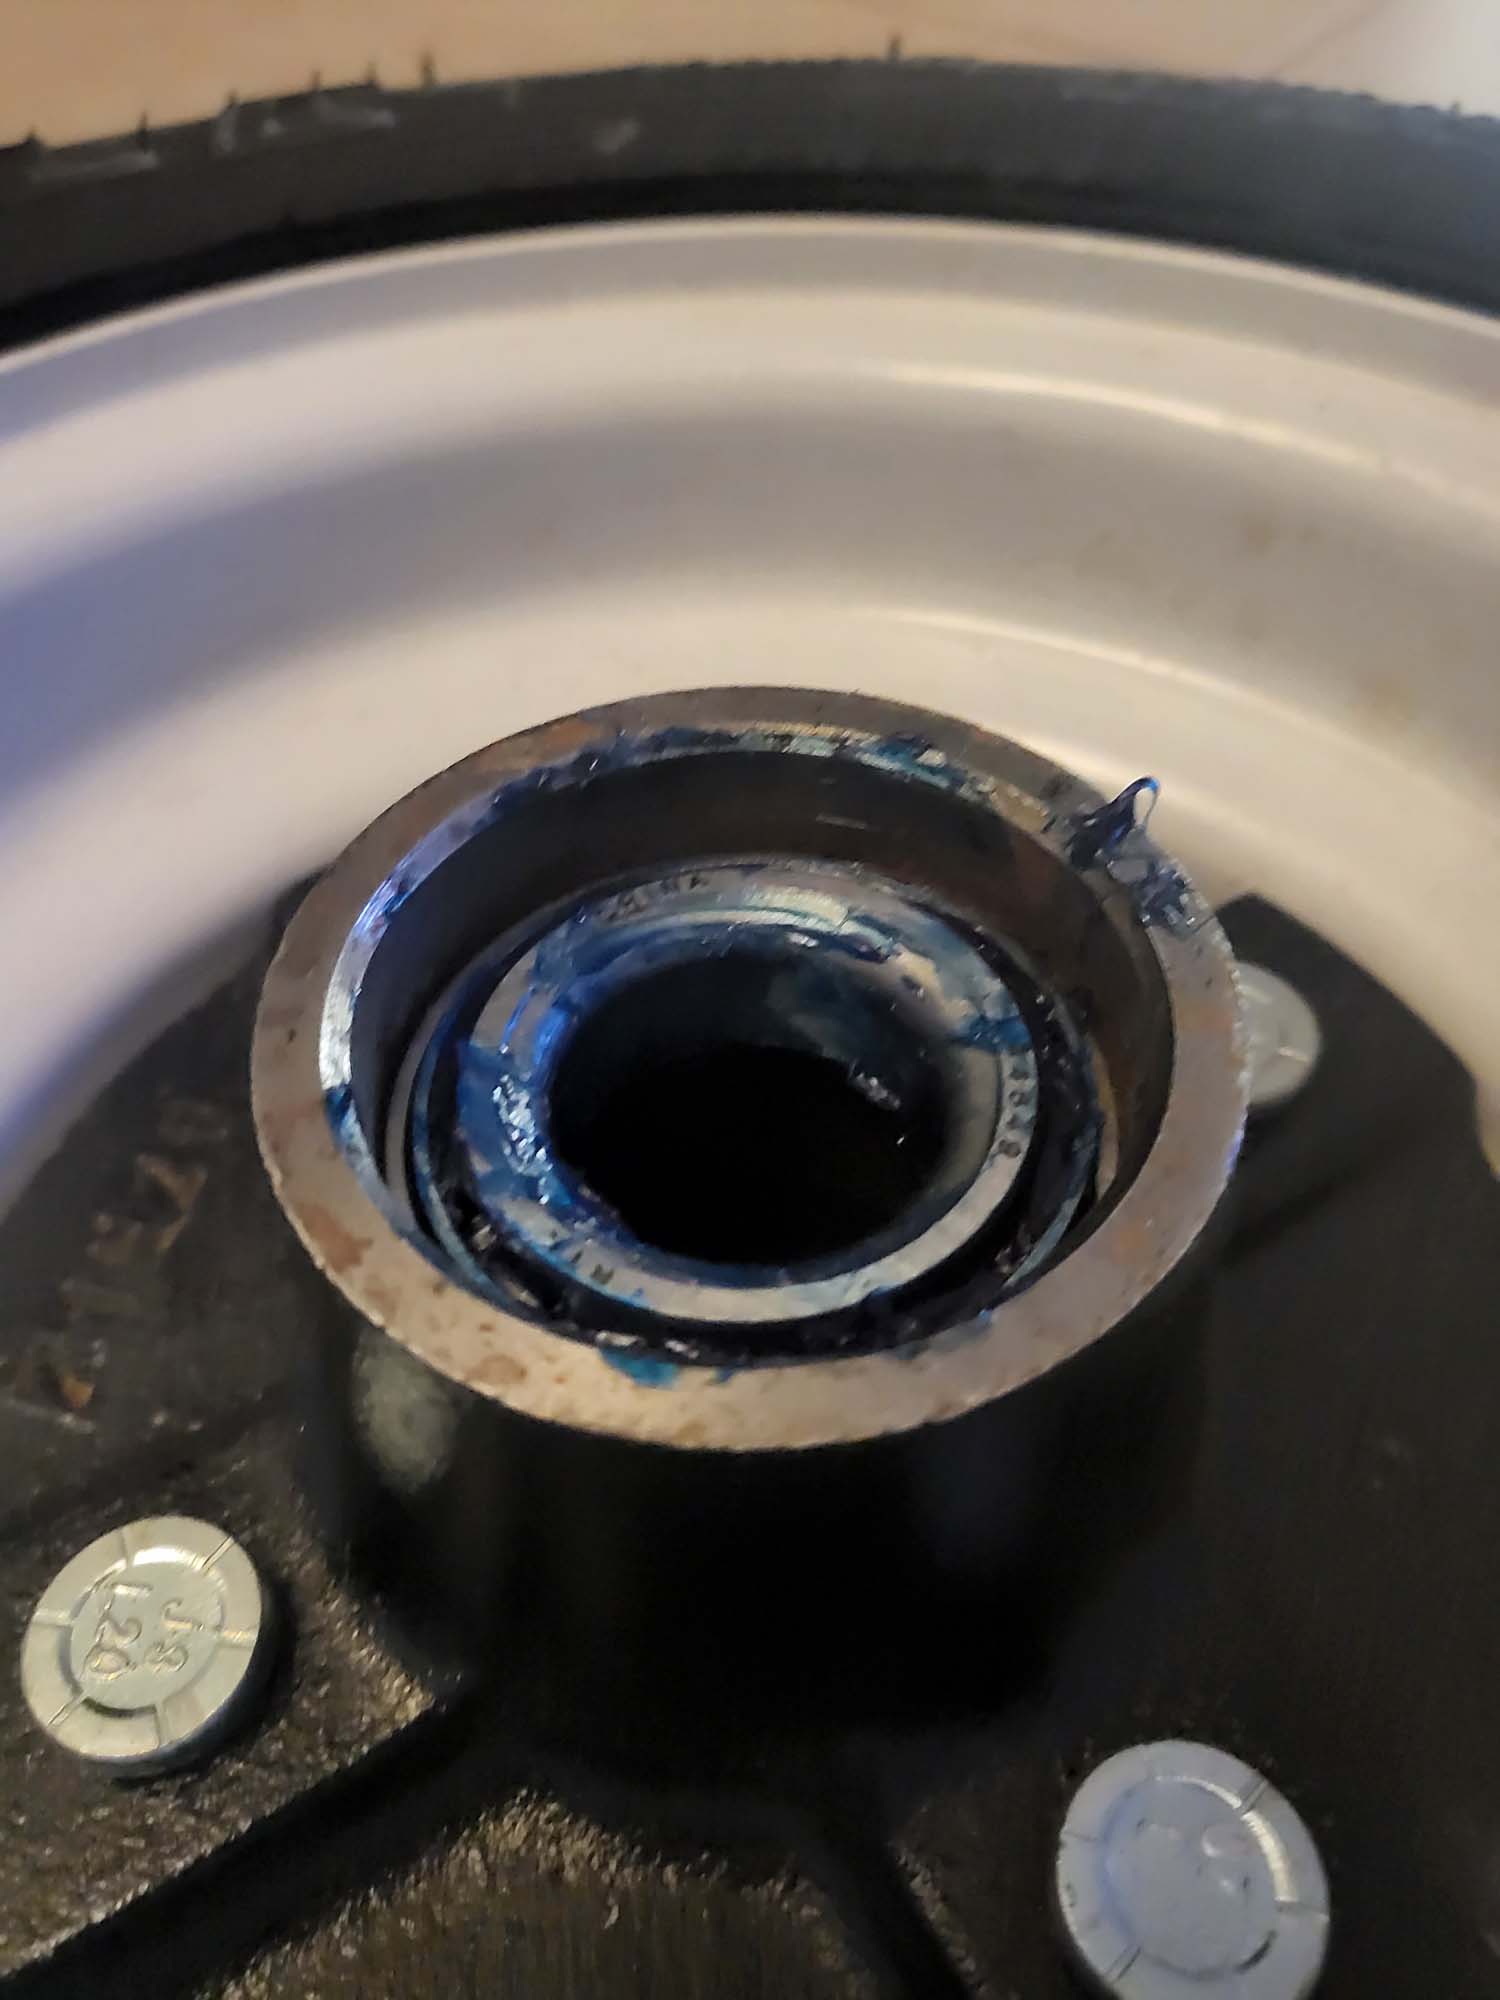
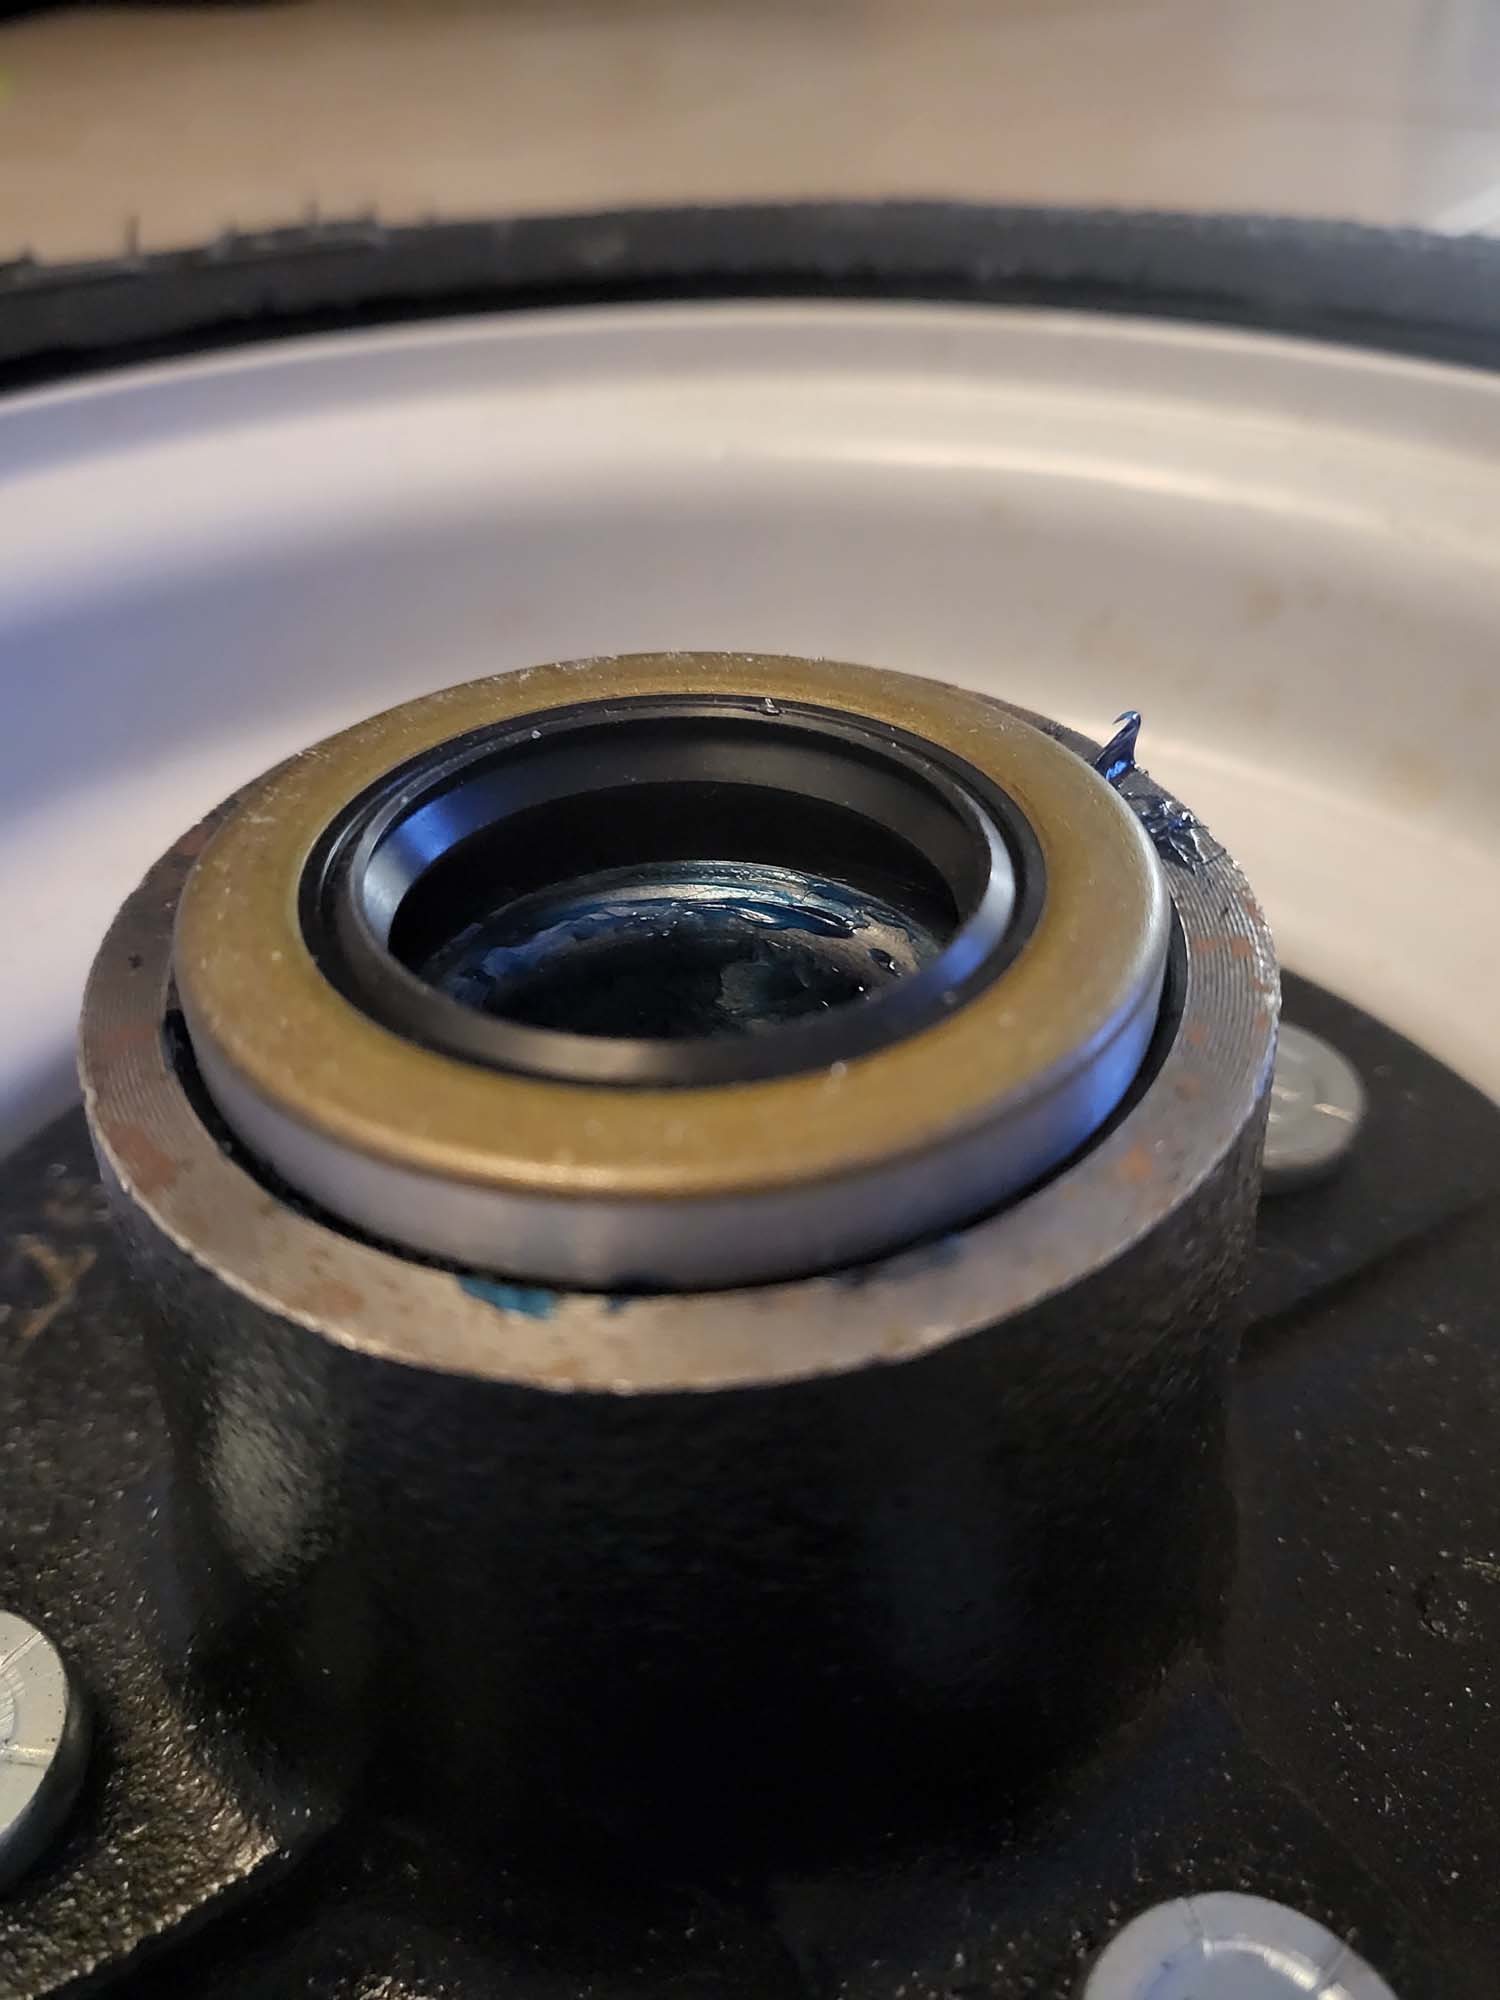
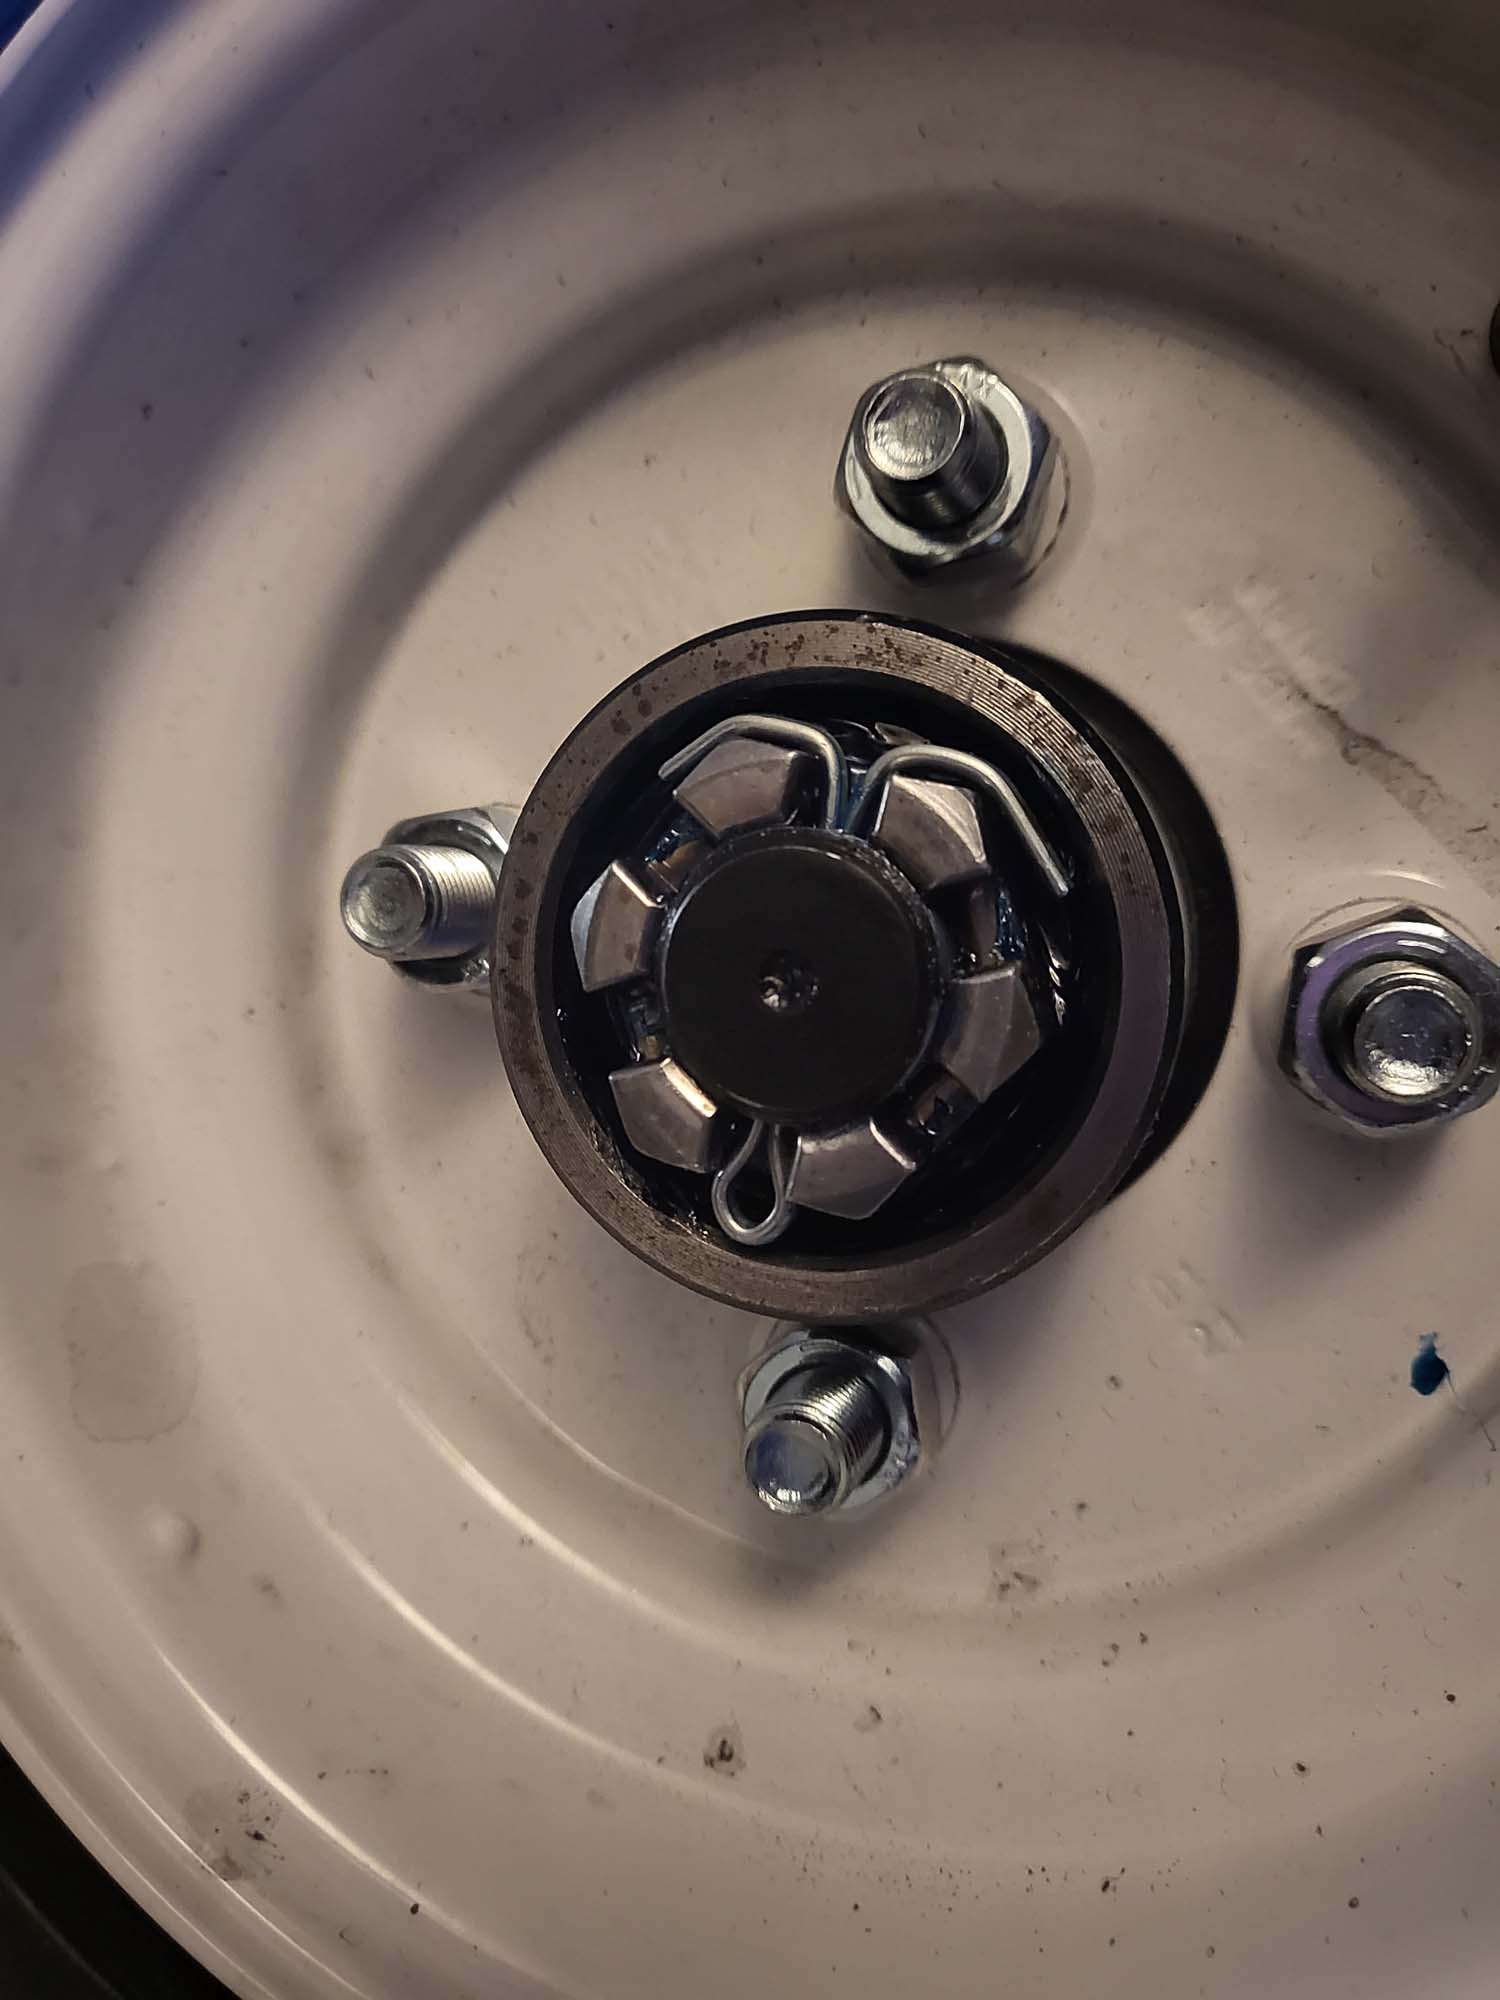
I ordered trailer hubs kits from Trail Parts USA. They were worth every penny and saved me so much time on the lathe. I tried a couple of different hedges. Honestly, I may come back to this because the current hinge has too much slop but I want to finish up the rest of the current tasks.


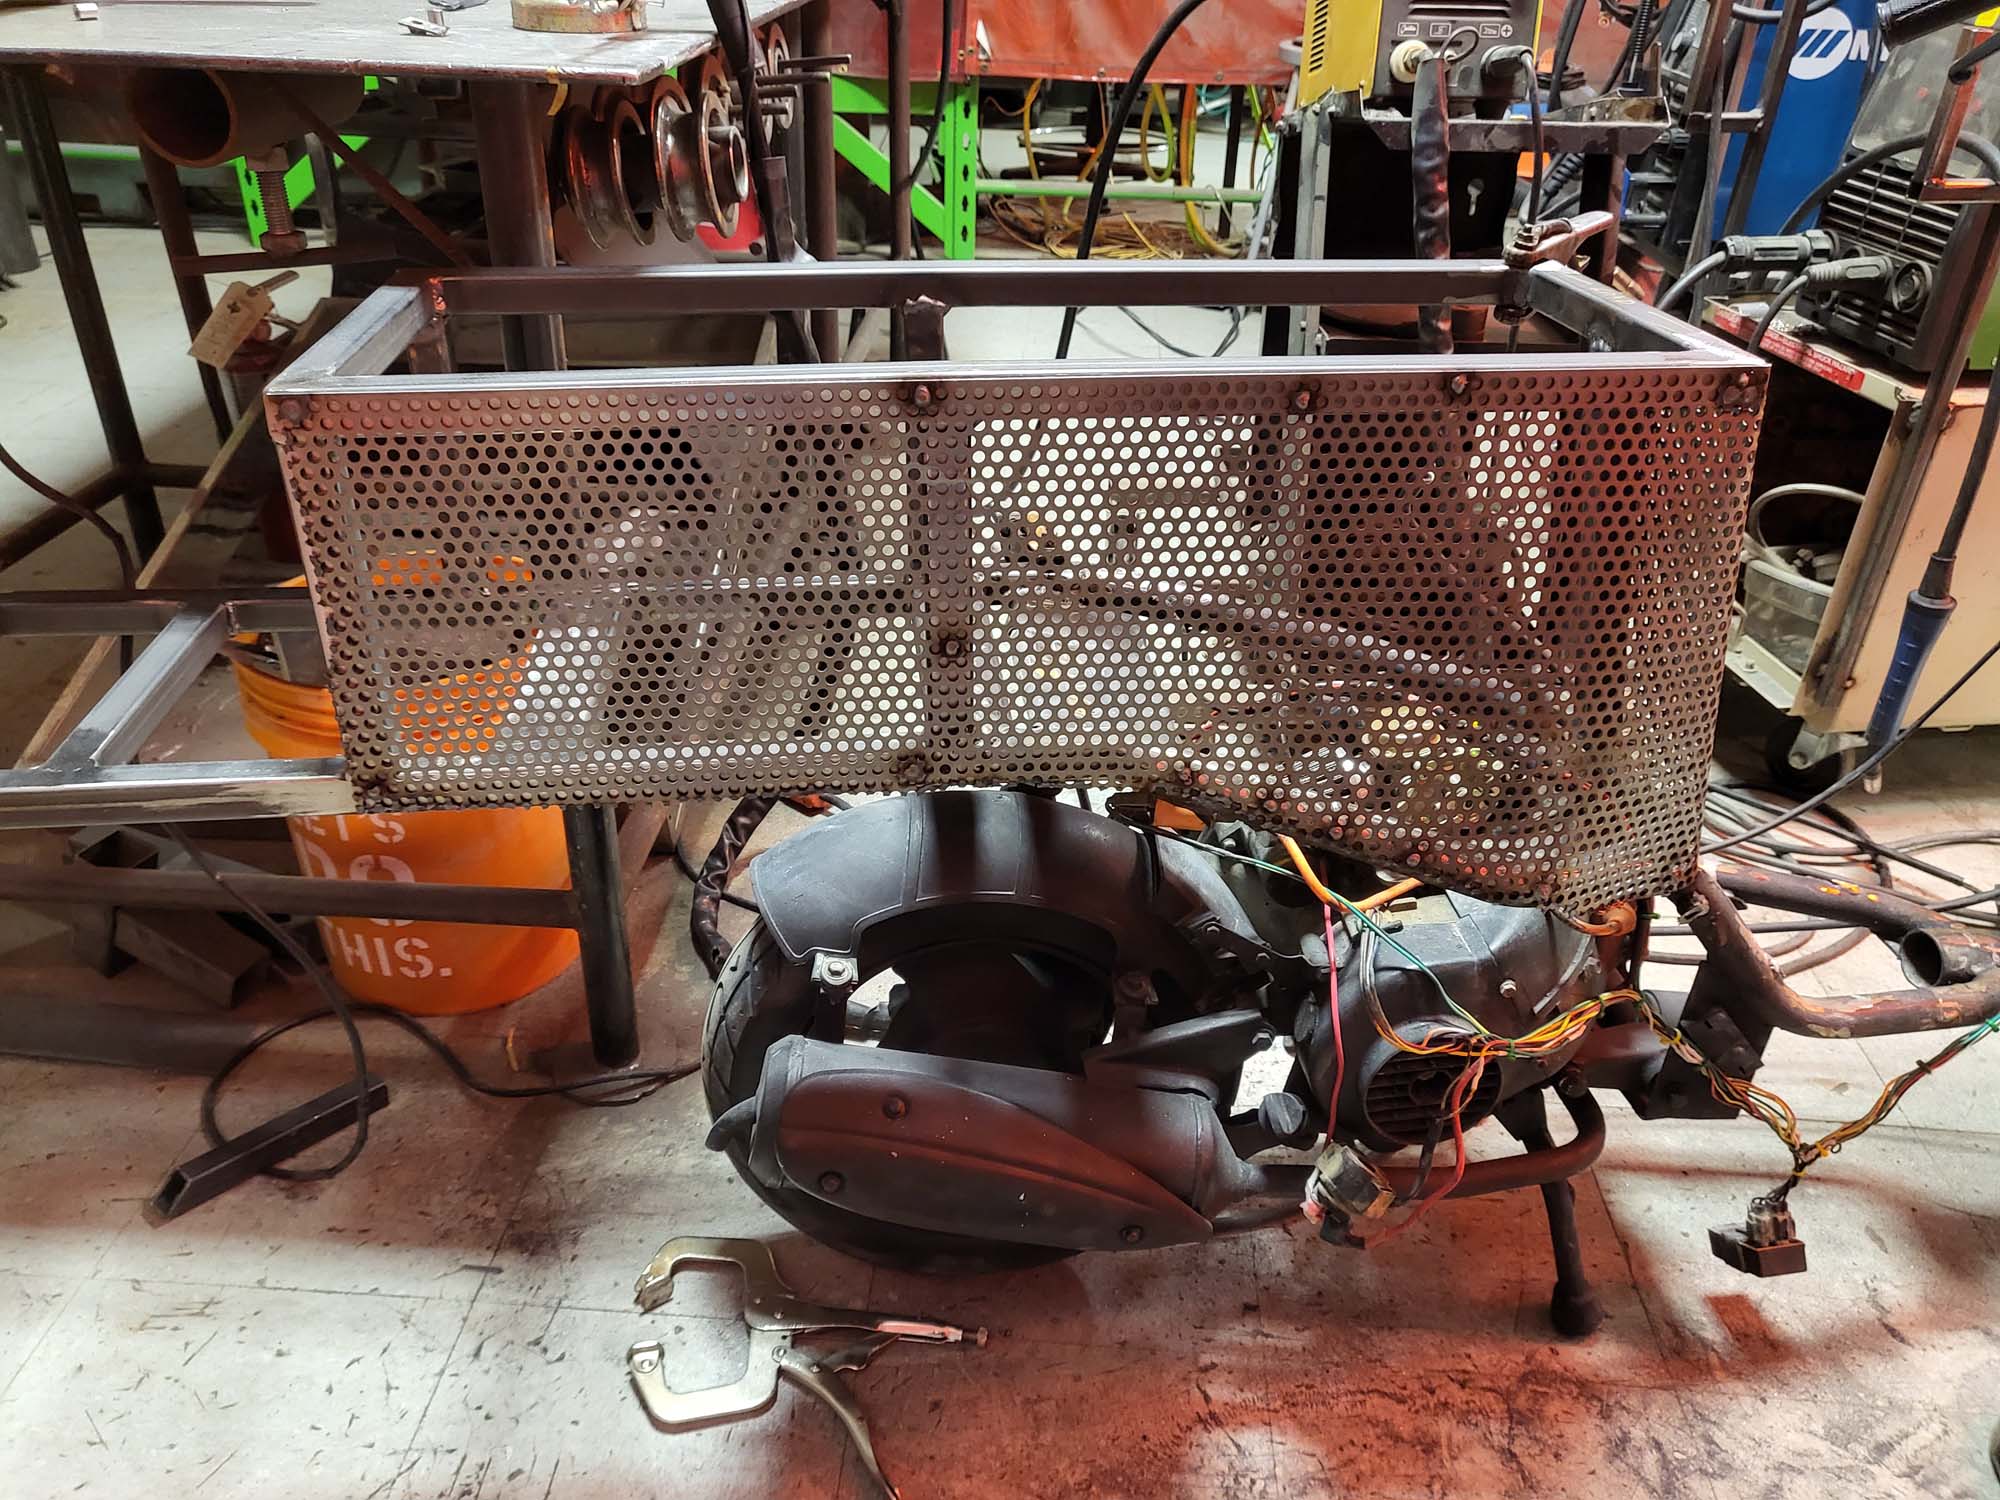
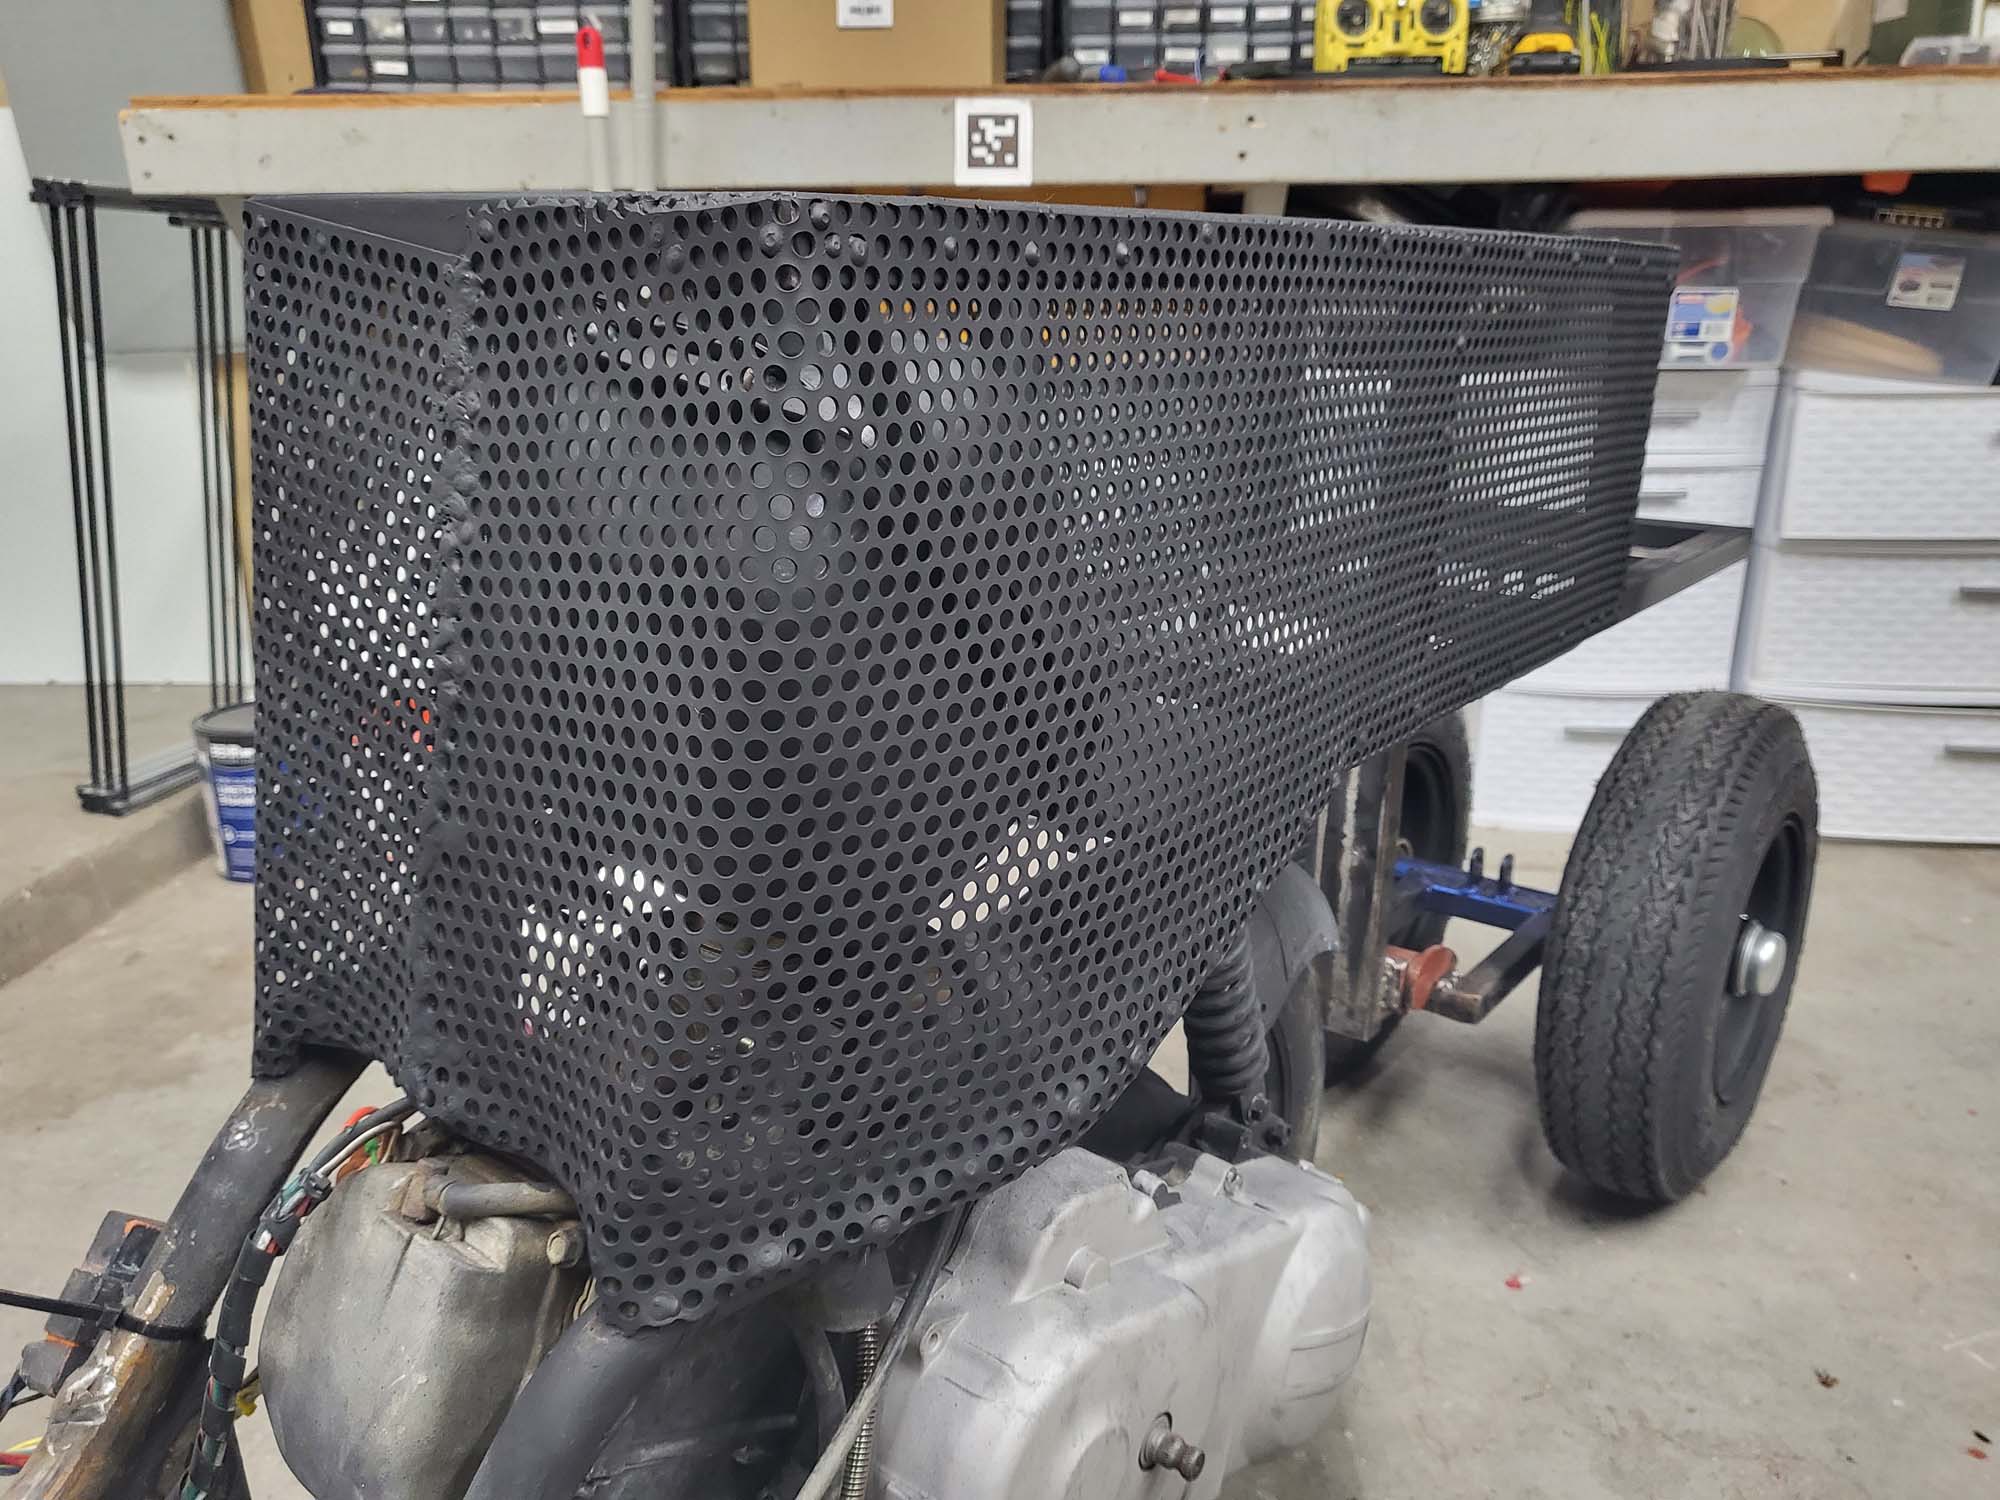
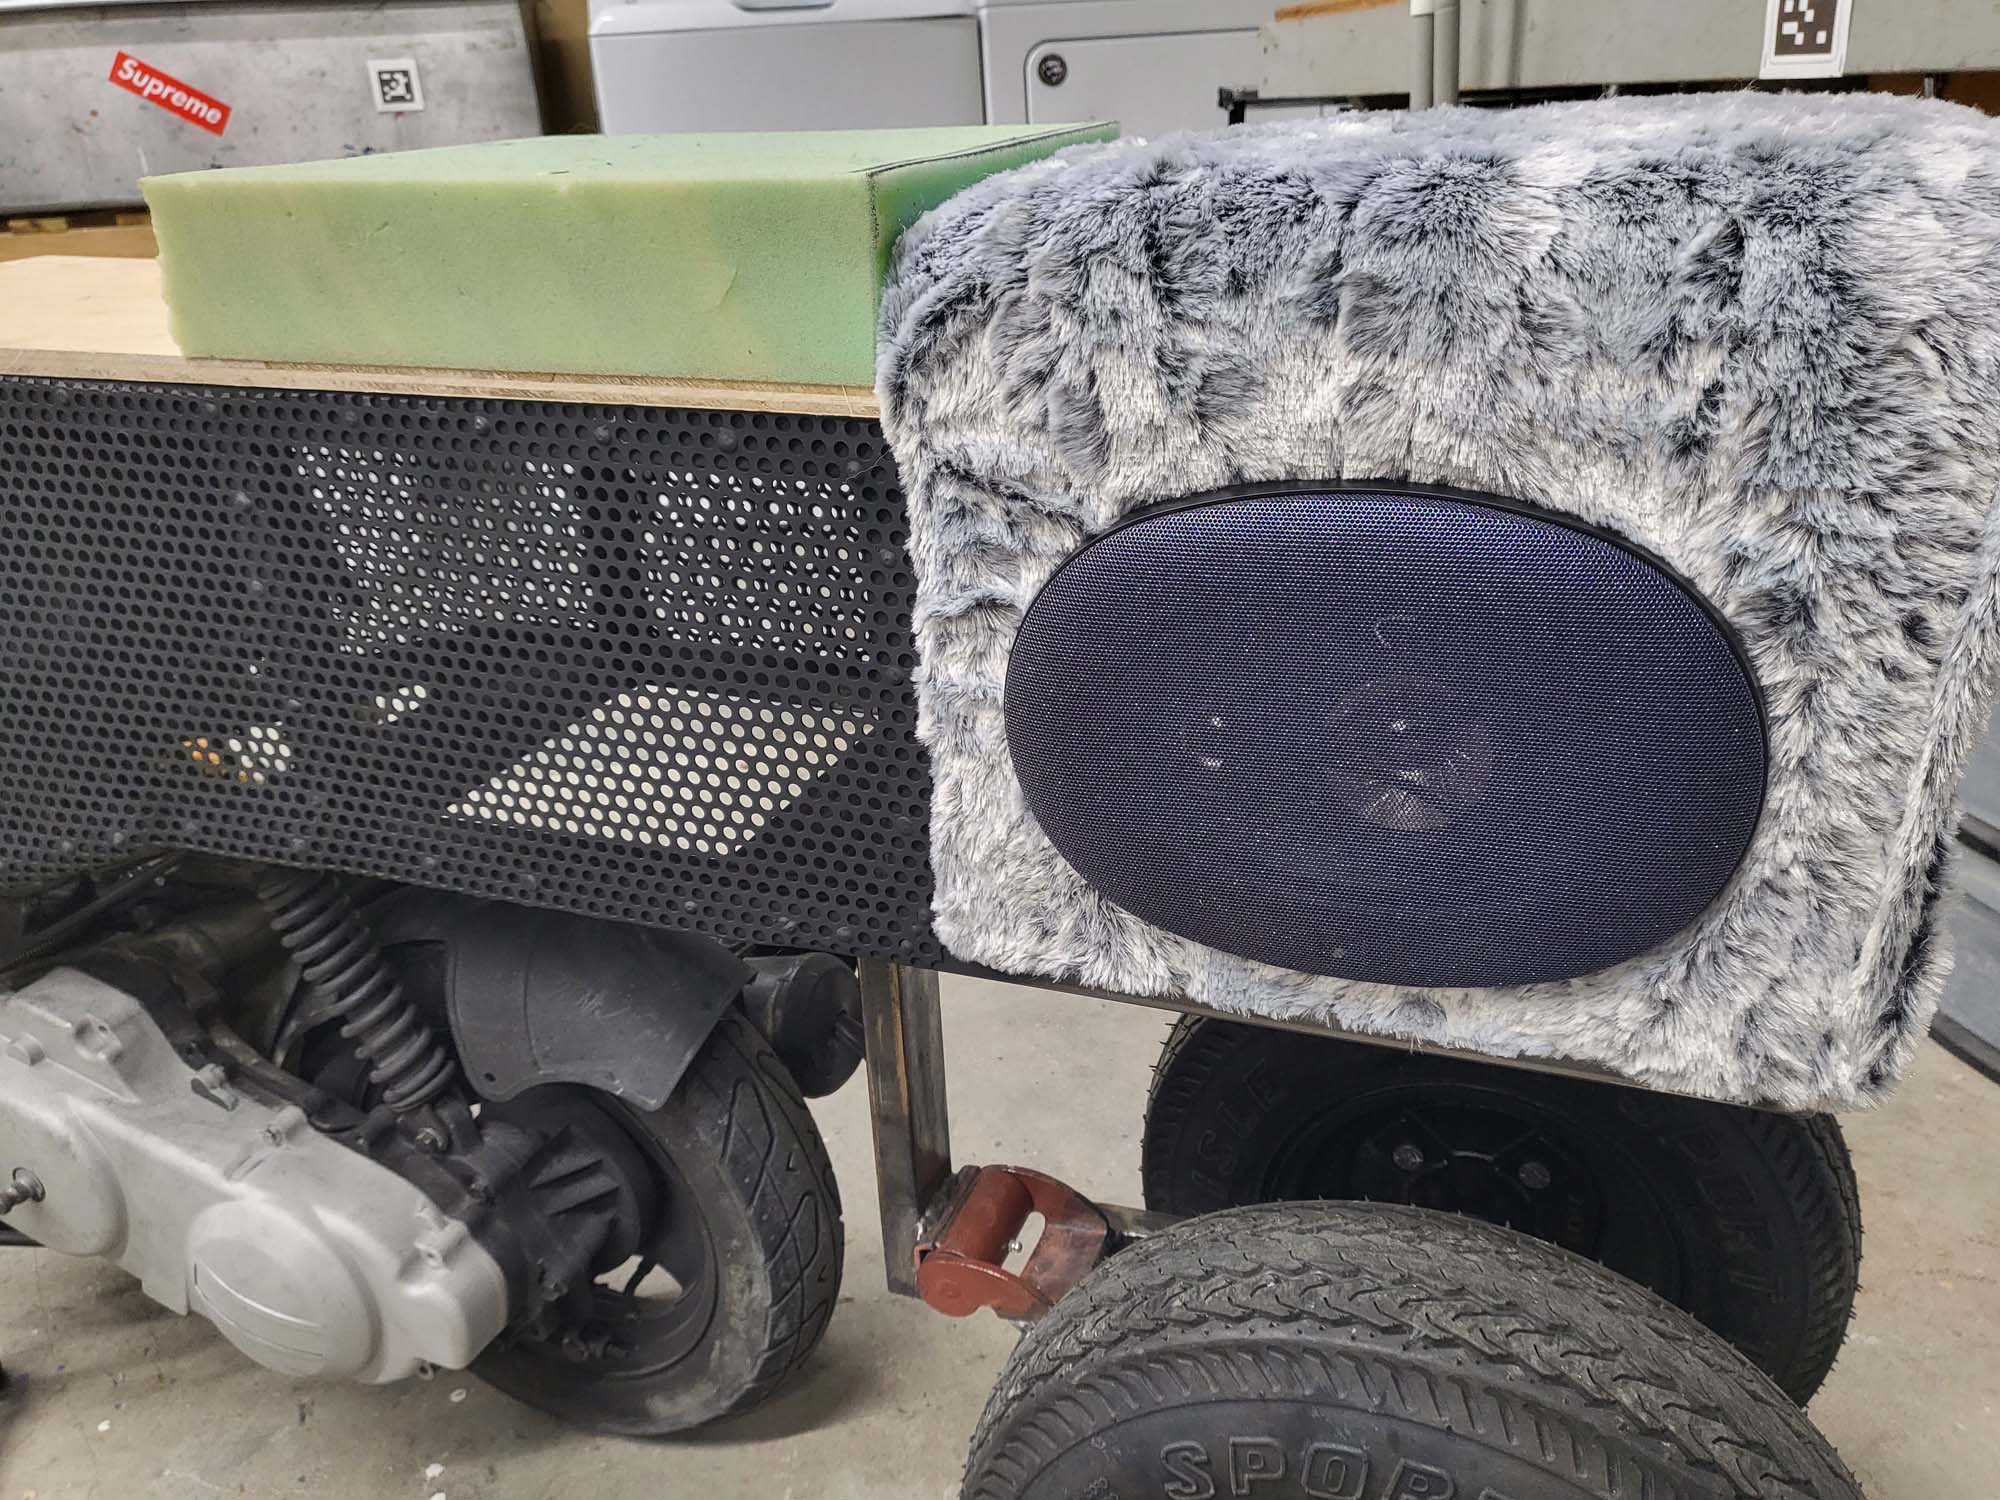
Now that everything is framed I wanted to enclose it to create storage in the seat. My work gave me a few sheets of this steel with holes in them. I still have to add the bottom pieces… that is in my to-do list below.
The sound system in version 1 consisted of a bunch of cheap junk I picked up from Goodwill. They did not sound that bad but I wanted something that fit ascetically with the design. I am using marine grade equipment due to the corrosive nature of the Playa dust. There is a 3-way 6×9 on either side of Hootie. These are powered by a 300-watt Velex Powersport Class D Amplifier.

Hootie V2 has just over 1,200 individually addressable LEDs. Each side of the vehicle has a minimum of 240 LEDs. The back LED panel doubles as a brake light. When the vehicle’s brake engages, all 241 LEDs instantly turn red. The front of the vehicle has headlights with high and low beams.