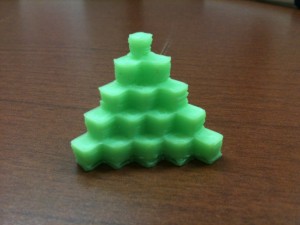
I have been 3D printing test objects for the past few weeks and my progress is getting better after each object I print. The main variable in successfully printing a quality object is making sure the heated bed is level to the print head. The first object I tried printing was the 5mm Calibration Cube Steps:
These were the 1st, 2nd & 3rd Print: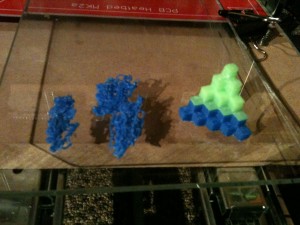
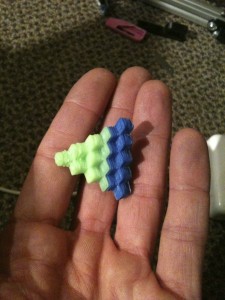
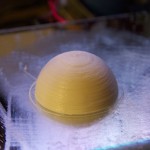
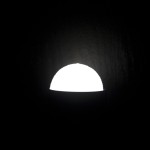
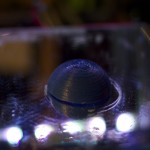
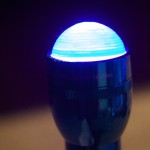
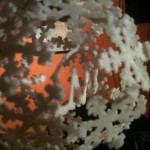
The qbert design is one of the first 3d printing test objects most people print because it is extremely helpful in calibrating each axis. Each cube in the design should be 5MM3. Once the object is printed, I used a digital caliper to validate that each axis is moving (printing) the correct distances. After I correctly calibrated the axes; I printed my second calibration object: the dome.

After calibrating using the 3D printing test objects, I started printing and designing more practical objects. The 1st was a gift to my wife, Knap’s Mario Flower:
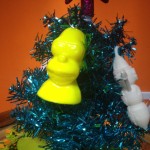
 Thingiverse had an ornament contest and I wanted to get involved, so I designed a 3D model of MR.Hanky the Christmas Poo. This was my first design that I printed and I tell you, it is a weird feeling designing something in software then printing it off a few hours later. We are absolutely living in the future. I uploaded the model to my Thingiverse profile so you can download and print it yourself.


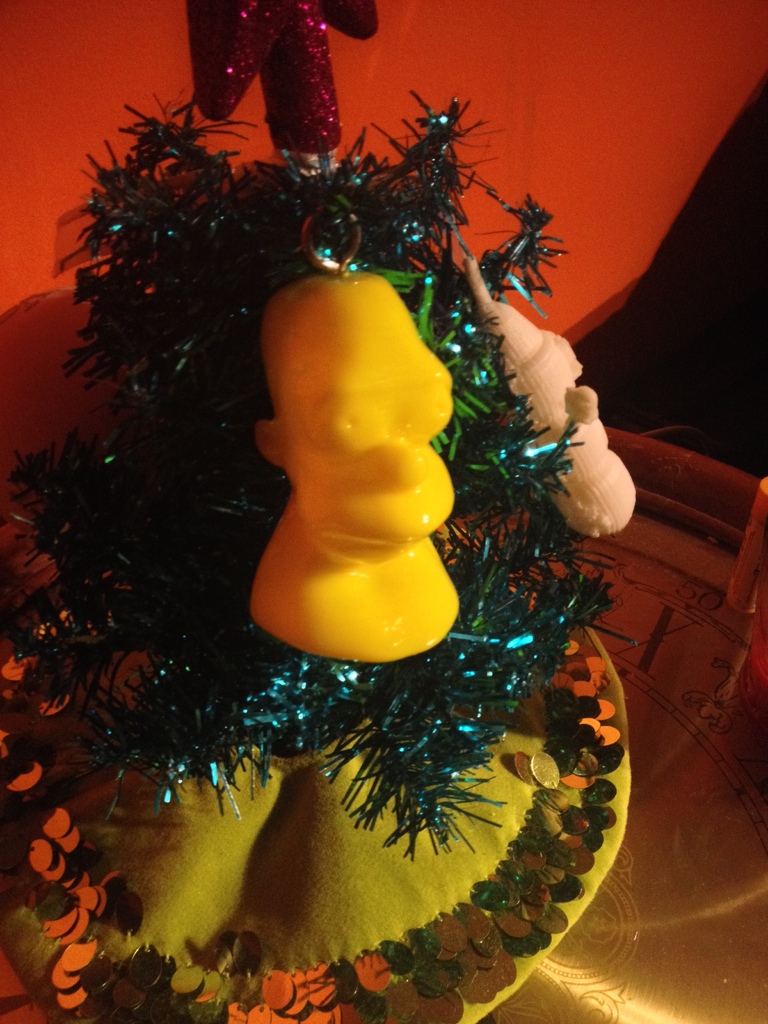
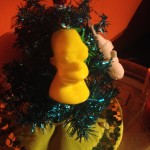
For Christmas, I printed off a Homer bust for my bother:

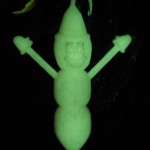
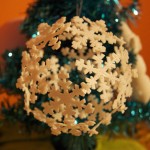
Then I printed off a snowflake ordainment for a close friend.
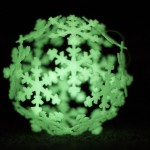


My first attempt was with yellow, but I quickly thought, “It’s not a good idea to make yellow snow.”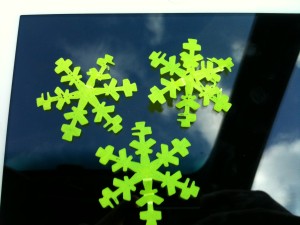
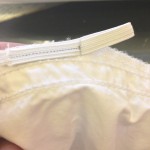
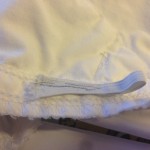
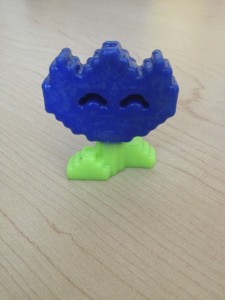
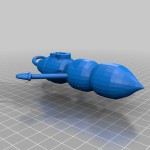
I also printed a gift for my wife’s Reddit Secret Santa:
I hope you enjoyed viewing all my 3D Printing test objects. My next post should be primarily about my printer design.