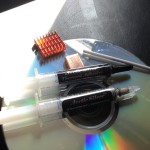
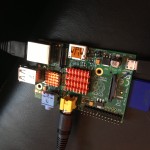
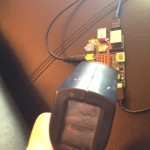
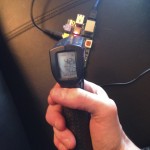
I wanted to add heat sinks to keep the core Raspberry Pi temperature down while running cpu intensive processes. I have made some huge strides on the PiRobot project, I just need get may act together and make all the posts. Here is one of the last things I have done but it is going to be an easy blog post so I decided to publish this 1st.
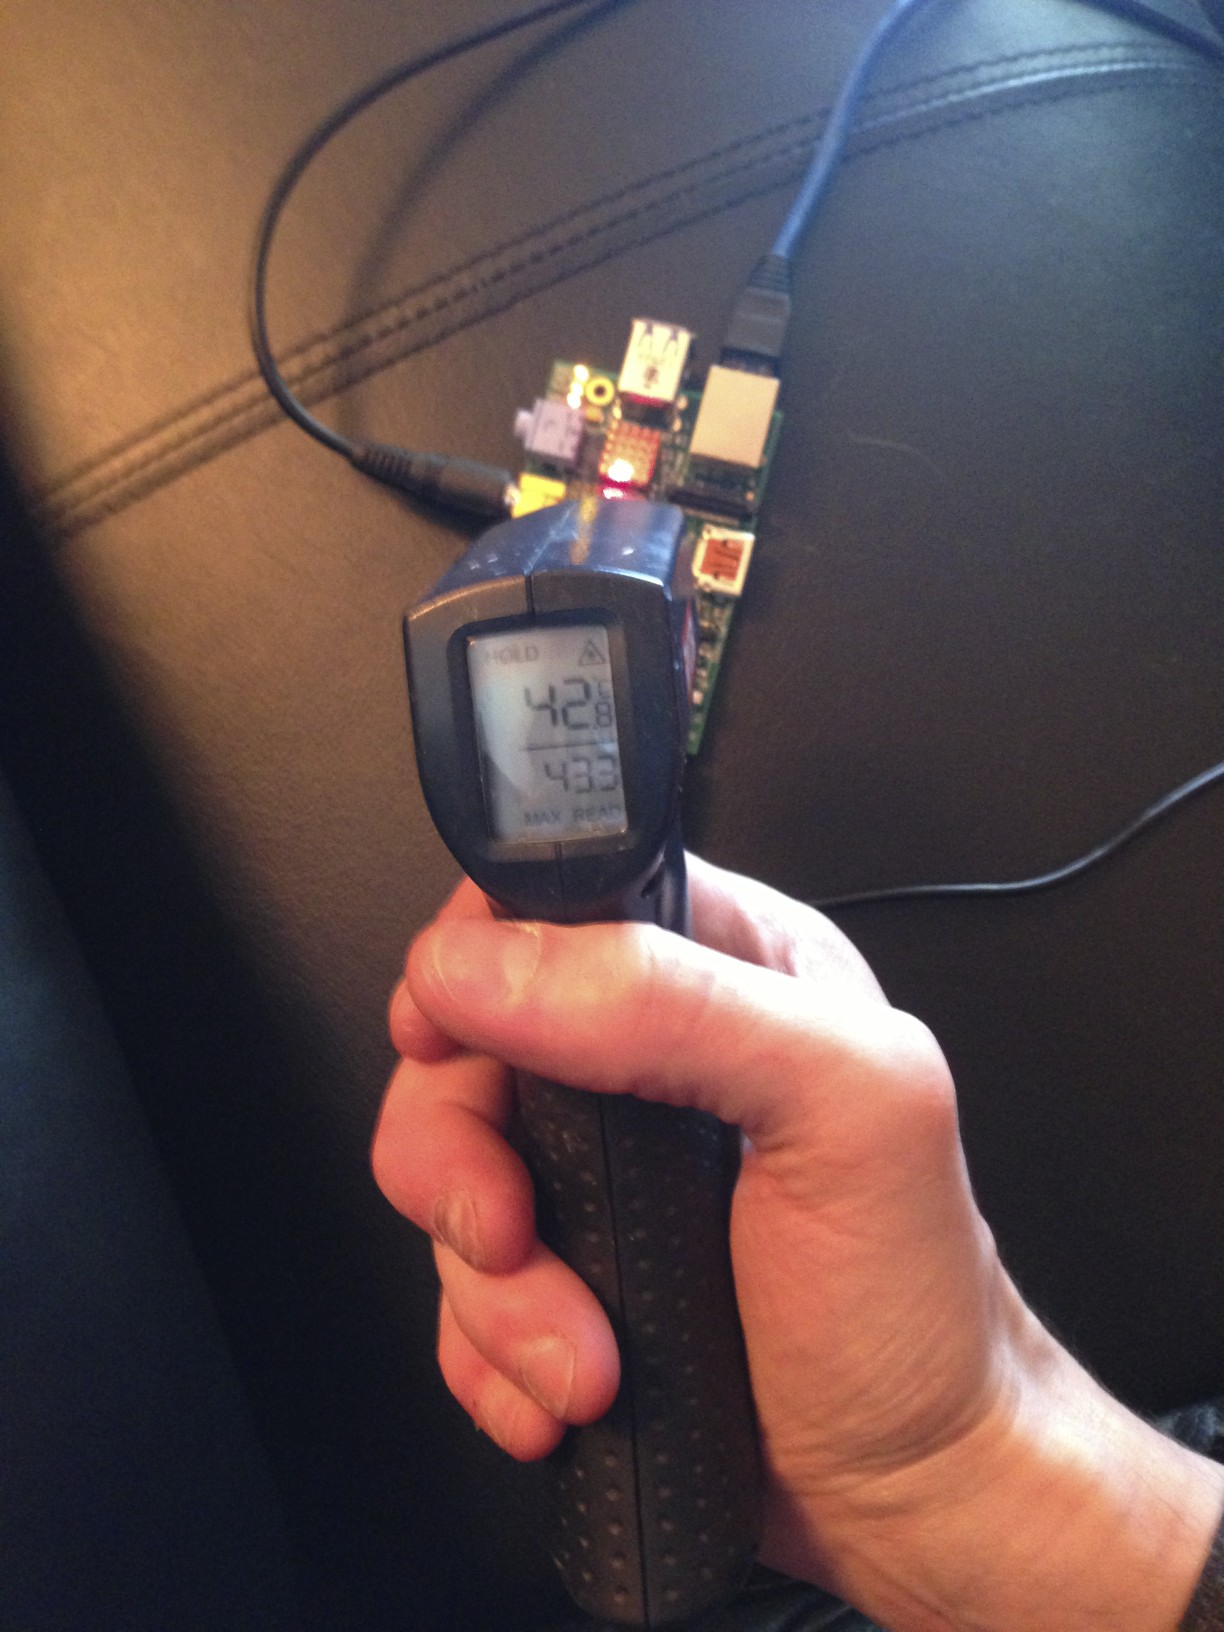
I checked the Raspberry Pi core and external temperatures during 3 stages for both OEM and after the heat sinks were installed. As a control the device had an external temperature reading of 24.7°c off and unplugged. While Idling the OEM average core temperature was 43.29°c with a max of 44.4°c and a min of 42.2°c. The external temperature was just about 40°c.
The 1st load test I did was using Python finding prime numbers. It found 78497 primes in 5:42.61 but the CPU usage never went above 25% so I needed to find another test. After reading how I can use the basic calculator as the CPU benchmark I modified the original equation so that the CPU would be maxed out for at least 20 minutes:
$time echo "scale=10000; a(3)*8" | bc -l
You may need to install the bc package:
$sudo apt-get install bc
After 20 minuets of 100% CPU usage the average core temperature was 45.38°c on the OEM Raspberry Pi, it maxed out at 47.1°c.
After installing the heat sinks on the Raspberry Pi the core and external temperatures definitely dropped. After idling for 24 hours the external temperature was 38.5°c and the core temperature was 39.5°c. After ruining the same bc equation for over 20 minutes (100% CPU usage) the average core temperature was 42.67°c with a miximum temerature of 44.4°c. For more details of temperatures download this: HeatSinkTests.xls.
Raspberry Pi Heat Sink:
