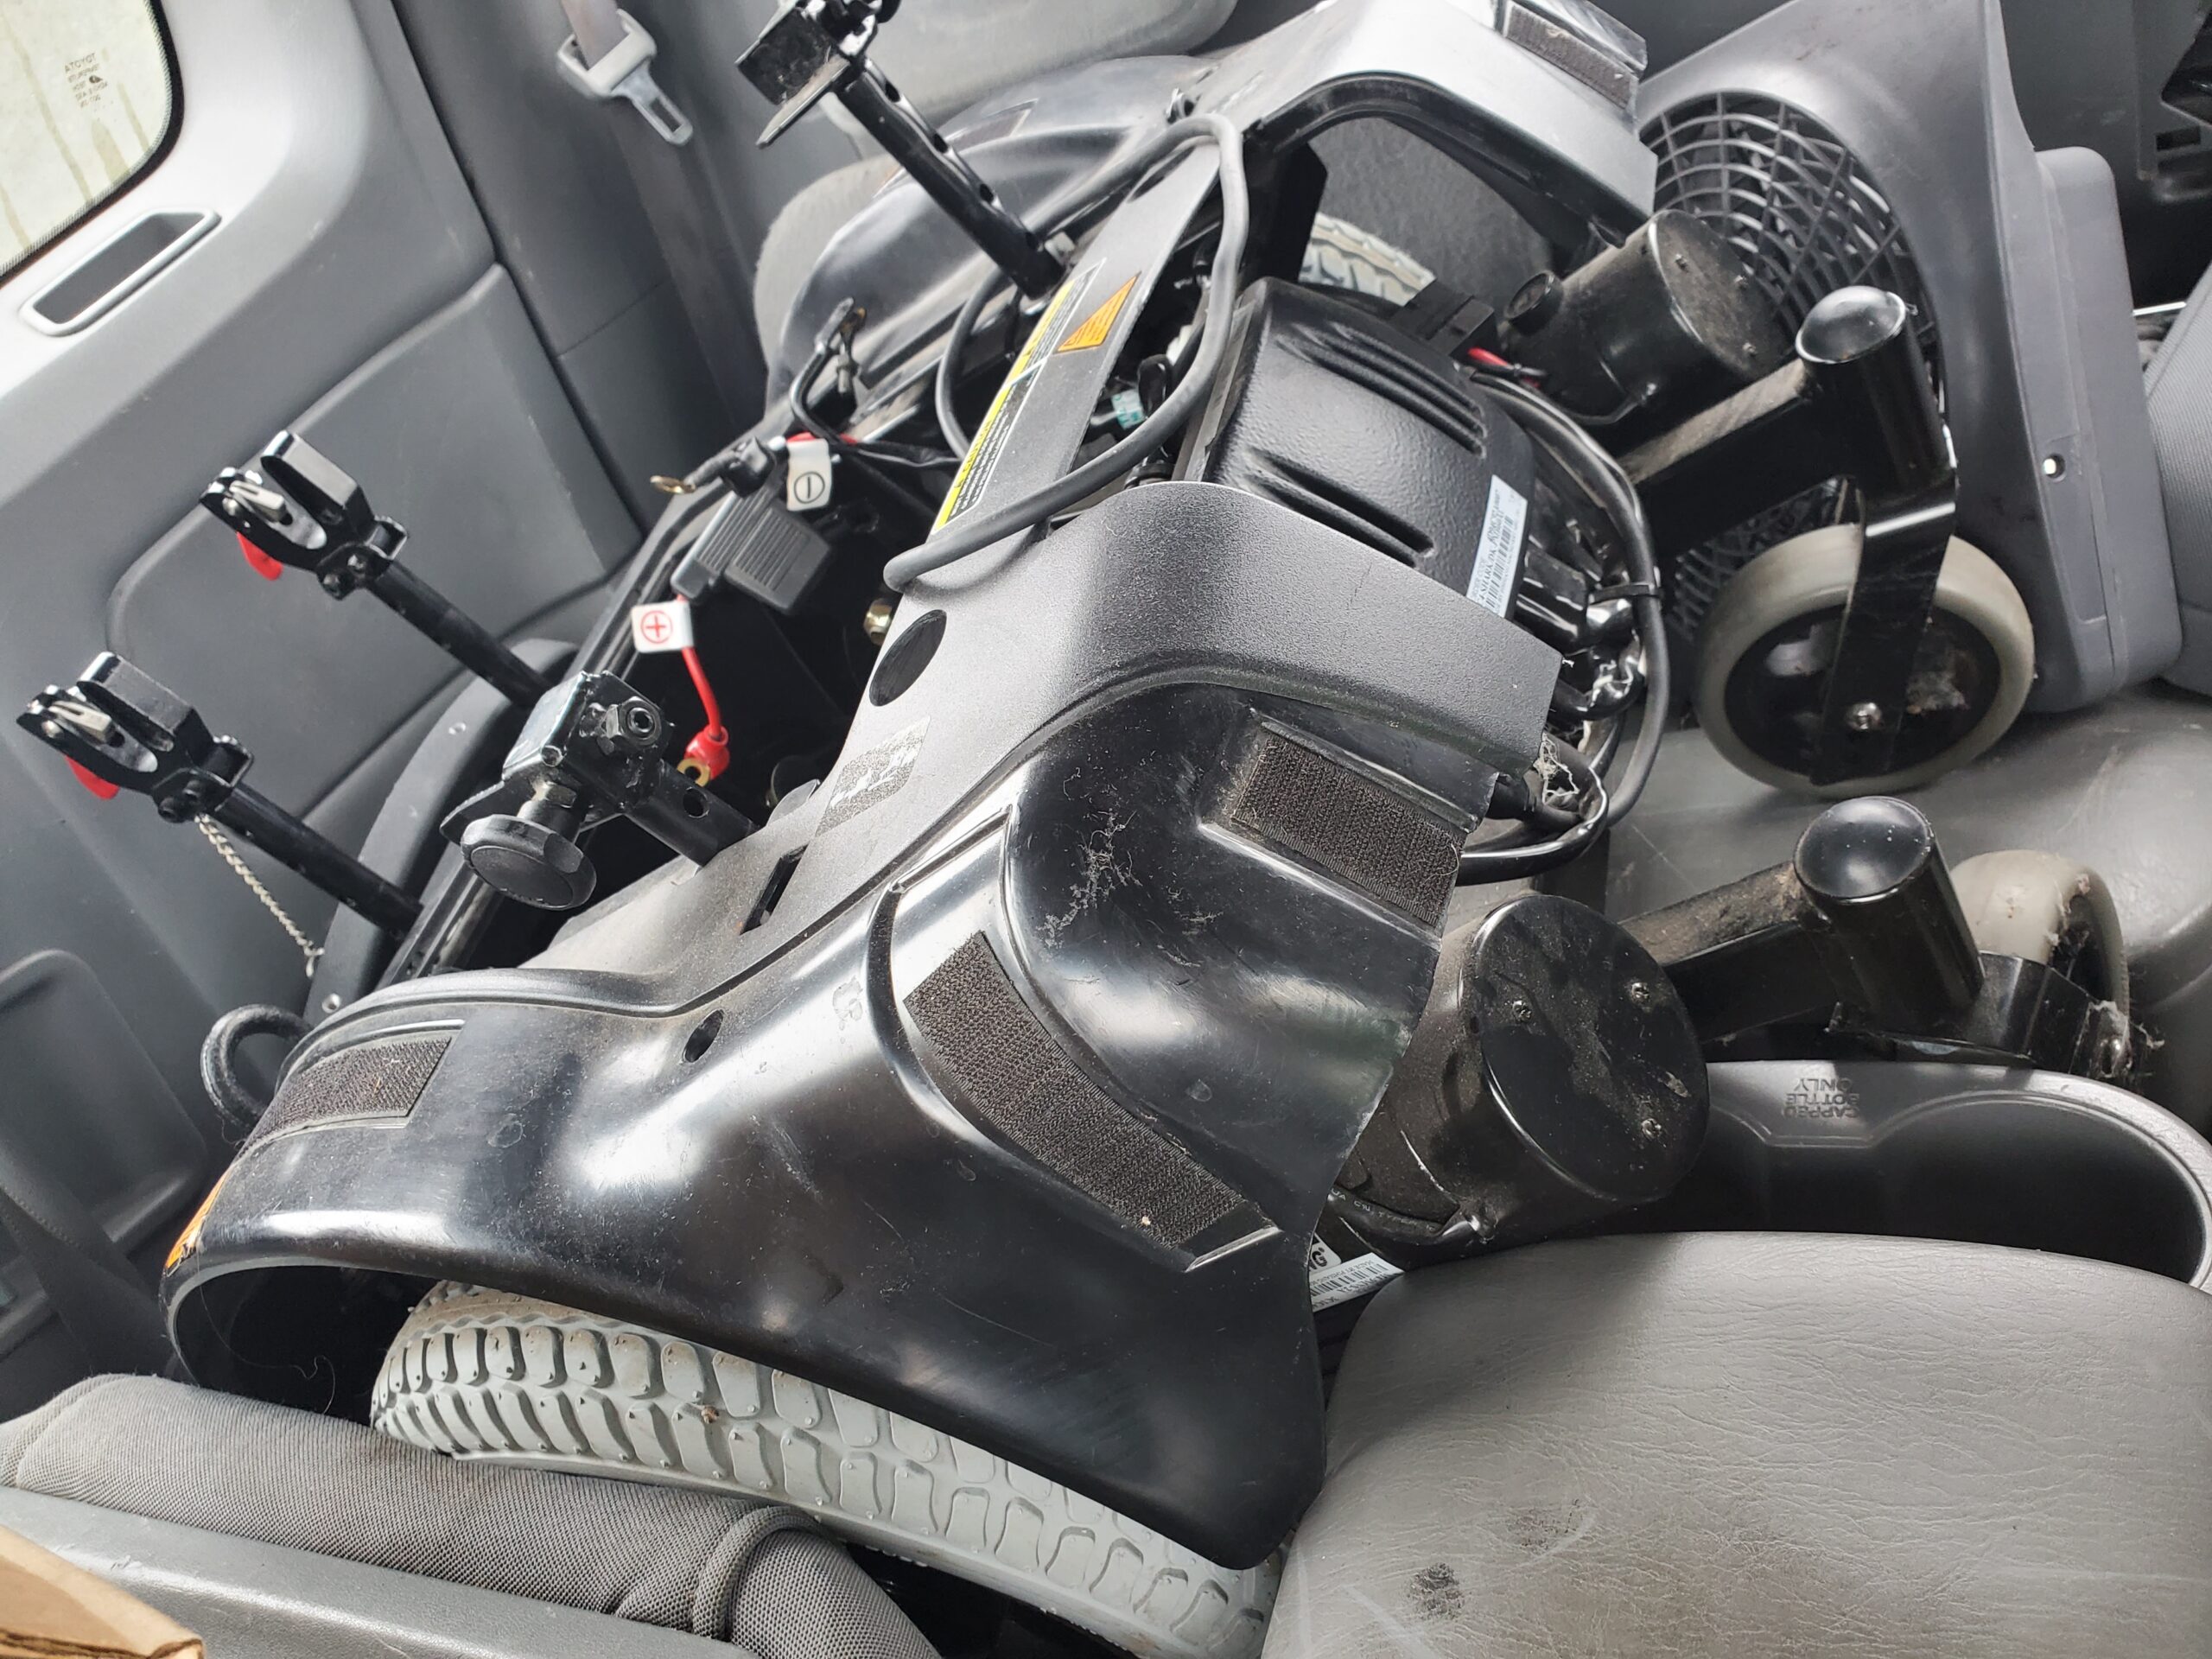
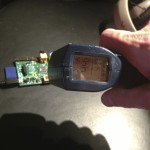
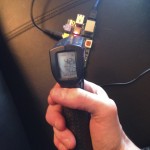
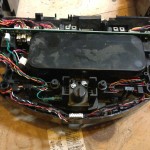
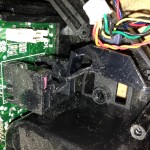
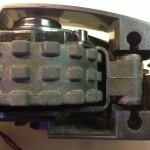
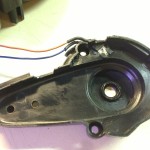
It all started with a Craigslist ad for an electric wheelchair base with dead batteries. I had no idea what I wanted to do with it but after seeing the cupcake art cars at burning man in 2019 I knew I needed to build something similar.
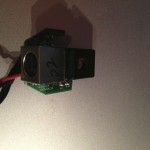
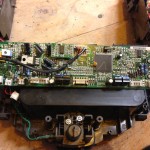
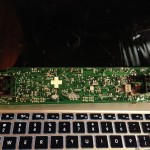
The machine is manufactured by Pihsiang Machinery MFG Co LTD. The posting came with all the electrics for the scoother by a company called Dynamic Controls. I tried interfacing with the Shark Controller with little luck and decided to simplify and replace all the electronics with standard robotics devices. But first we need to test out the OEM systems.
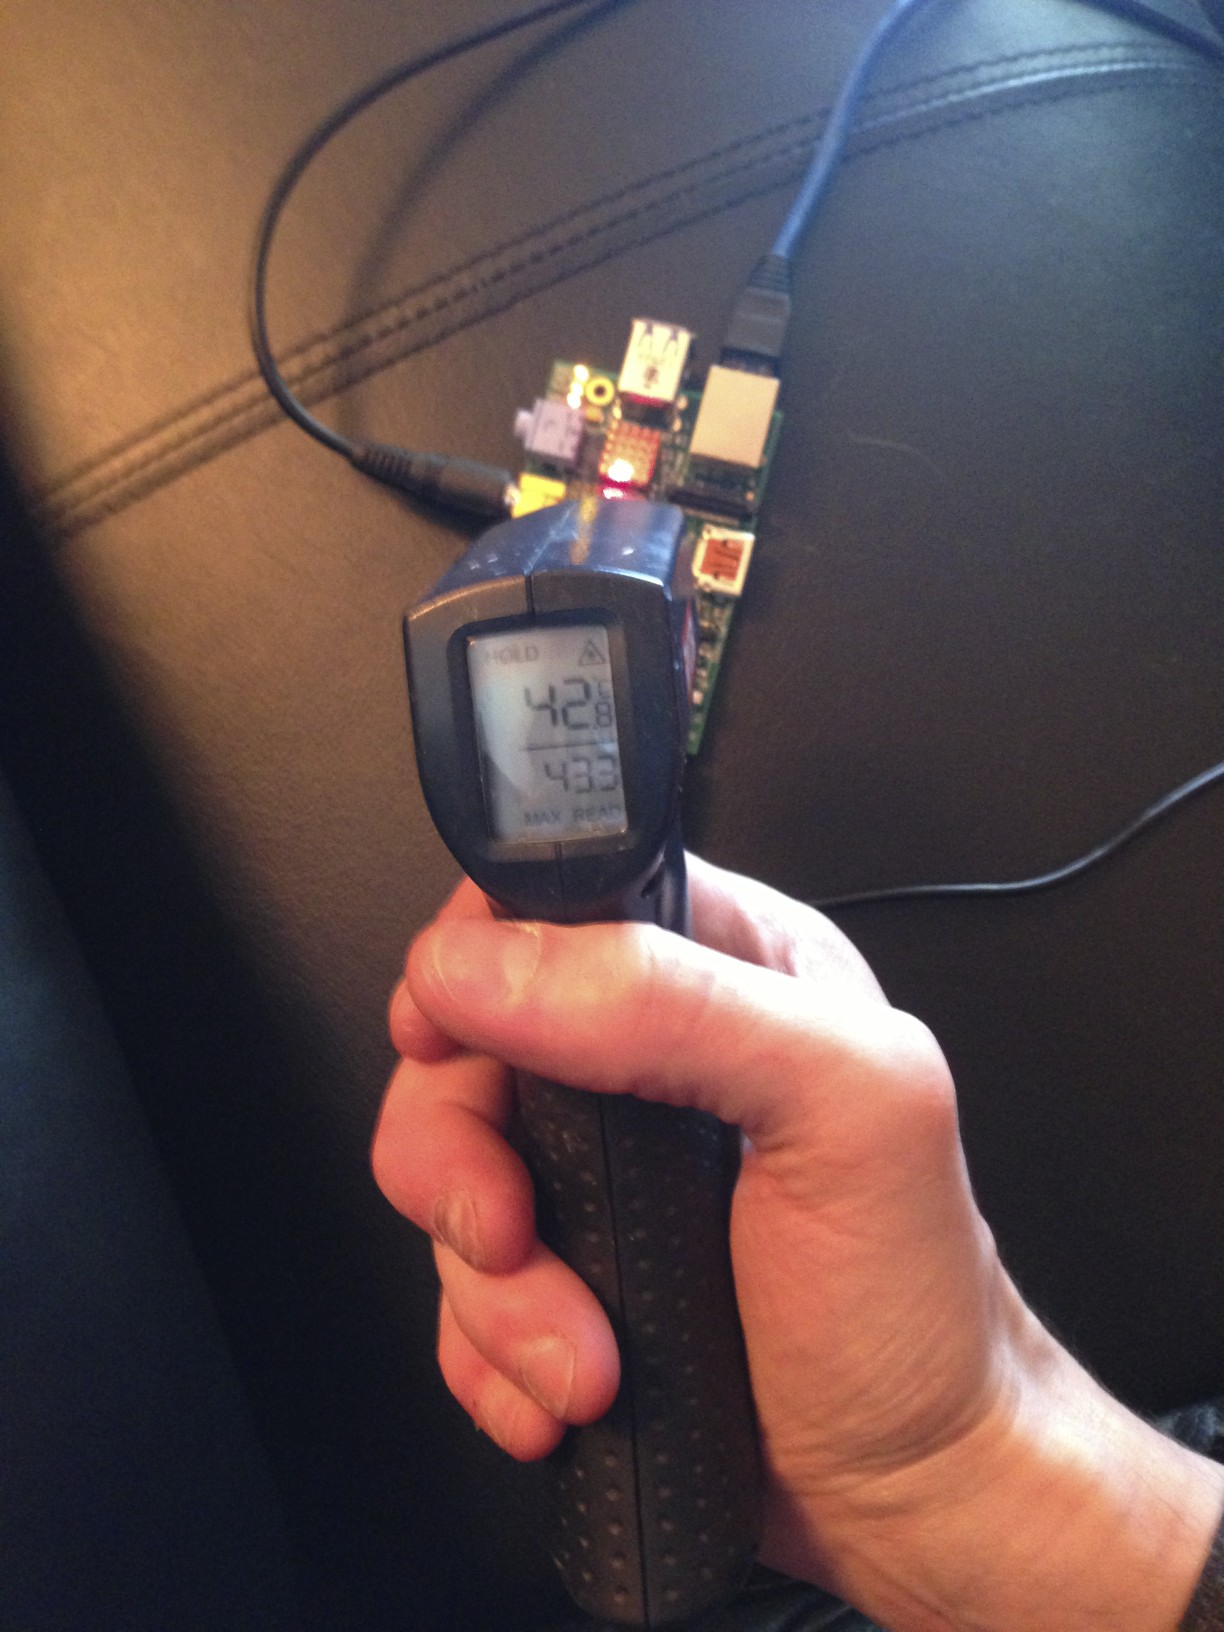
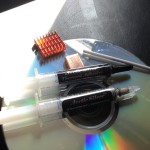
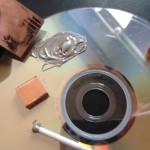
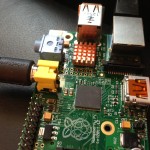
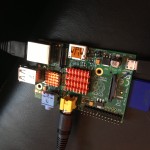
I wanted to add heat sinks to keep the core Raspberry Pi temperature down while running cpu intensive processes. I have made some huge strides on the PiRobot project, I just need get may act together and make all the posts. Here is one of the last things I have done but it is going to be an easy blog post so I decided to publish this 1st.
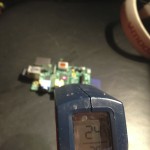
I checked the Raspberry Pi core and external temperatures during 3 stages for both OEM and after the heat sinks were installed. As a control the device had an external temperature reading of 24.7°c off and unplugged. While Idling the OEM average core temperature was 43.29°c with a max of 44.4°c and a min of 42.2°c. The external temperature was just about 40°c.
The 1st load test I did was usingPython finding prime numbers. It found 78497 primes in 5:42.61 but the CPU usage never went above 25% so I needed to find another test. After reading how I can use thebasic calculator as the CPU benchmark I modified the original equation so that the CPU would be maxed out for at least 20 minutes:
$time echo "scale=10000; a(3)*8" | bc -l
You may need to install the bc package:
$sudo apt-get install bc
After 20 minuets of 100% CPU usage the average core temperature was 45.38°c on the OEM Raspberry Pi, it maxed out at 47.1°c.
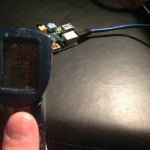
After installing the heat sinks on the Raspberry Pi the core and external temperatures definitely dropped. After idling for 24 hours the external temperature was 38.5°c and the core temperature was 39.5°c. After ruining the same bc equation for over 20 minutes (100% CPU usage) the average core temperature was 42.67°c with a miximum temerature of 44.4°c. For more details of temperatures download this: HeatSinkTests.xls.
The RaspberryPi is a credit-card-sized single-board computer developed in the UK by the RaspberryPi Foundation with the intention of …
this week I wanted to get a head start one of my next projects, PiRobot. PiRobot is going to be a web site controlled robot powered by a Raspberry Pi. The website will utilize webiopi to control the Raspberry Pi’s general purpose in/output ins (GPIO). For network connectivity I will be using a high gain USB WIFI network card. I will add a location to place and iPhone with tethering If I need to control the PiRobot outside of a local WIFI.
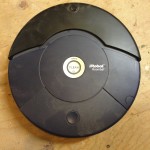
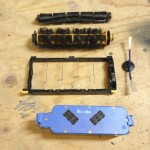
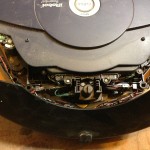
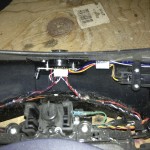
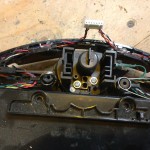
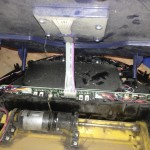
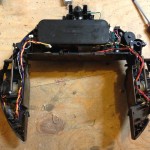
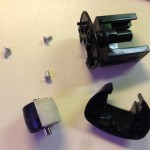
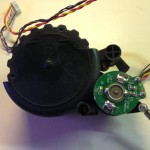
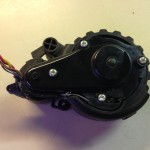
I am going to recycle an old iRobot Roomba to uses as the main driving unit. This post shows my teardown of the iRobot Roomba in preparation for this project. To save on weight I wanted to remove all the components that I would not be utilizing. To start I only need the frame, wheels, motor, suspension and the logic board.
I will be interfacing the Raspberry Pi with the iRobot Roombi’s built in logic board via serial using pyrobot. This will allow me control each driving motor as well as interface with all built in sensors and the other motors (that I just removed). If I can’t get the serial connection to work I will take some tips from Ben J. I will more then likely be using the Raspberry Pi’s GPIO but I can also utilize the additional ports on the Roomba’s logic board to control the accessories I plan to add once I get the PiRobot up and moving.
I first want add a tilt and pan high definition webcam to have the ability to drive it with out seeing the unit. The next accessory will be a powered speaker and use the webcam’s microphone for two way audio communication. Then I will be adding an ultrasonic proximity sensors on each side of the robot to detect obstacles while controlling the unit remotely. These sensors have a sensing range from about 5 inches to about 15 feet with a resolution of about .1 of an inch.
The website will stream the video from the webcam as well as have controls to operate the PiRobot. It will display two virtual joystick, one to move the PiRobot and one to control the tilting and panning of the webcam. I will also be including the ability to use the keyboards standard ←↕→ keys and a mouse or possibly even a joystick. I am thinking of having the site display a 3d top view of the Raspberry Pi Robot with graphical feedback from all the sensors and to display the position of the webcam’s tilt and pan. Once all that is done I will be adding an arm and hand to it extend the functionality.
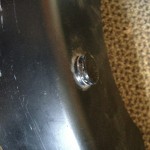
Dusty but still works!
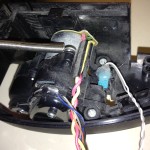
Everything that didn’t need a screw driver.
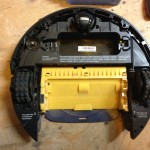
Removed all the external screws.
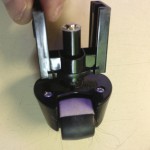
Started to remove the cover bumper.
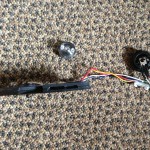
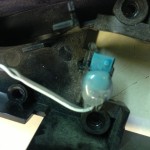
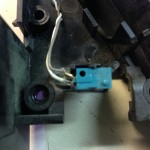
There is a wire a 7 wire PicoBlade molex connector.
There is a wire a 7 wire PicoBlade molex connector.
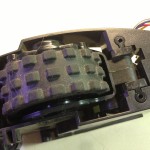
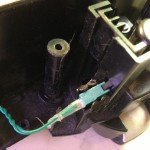
There is another on connecting the lid to the frame.