ESPHome Mini-Split Climate Control

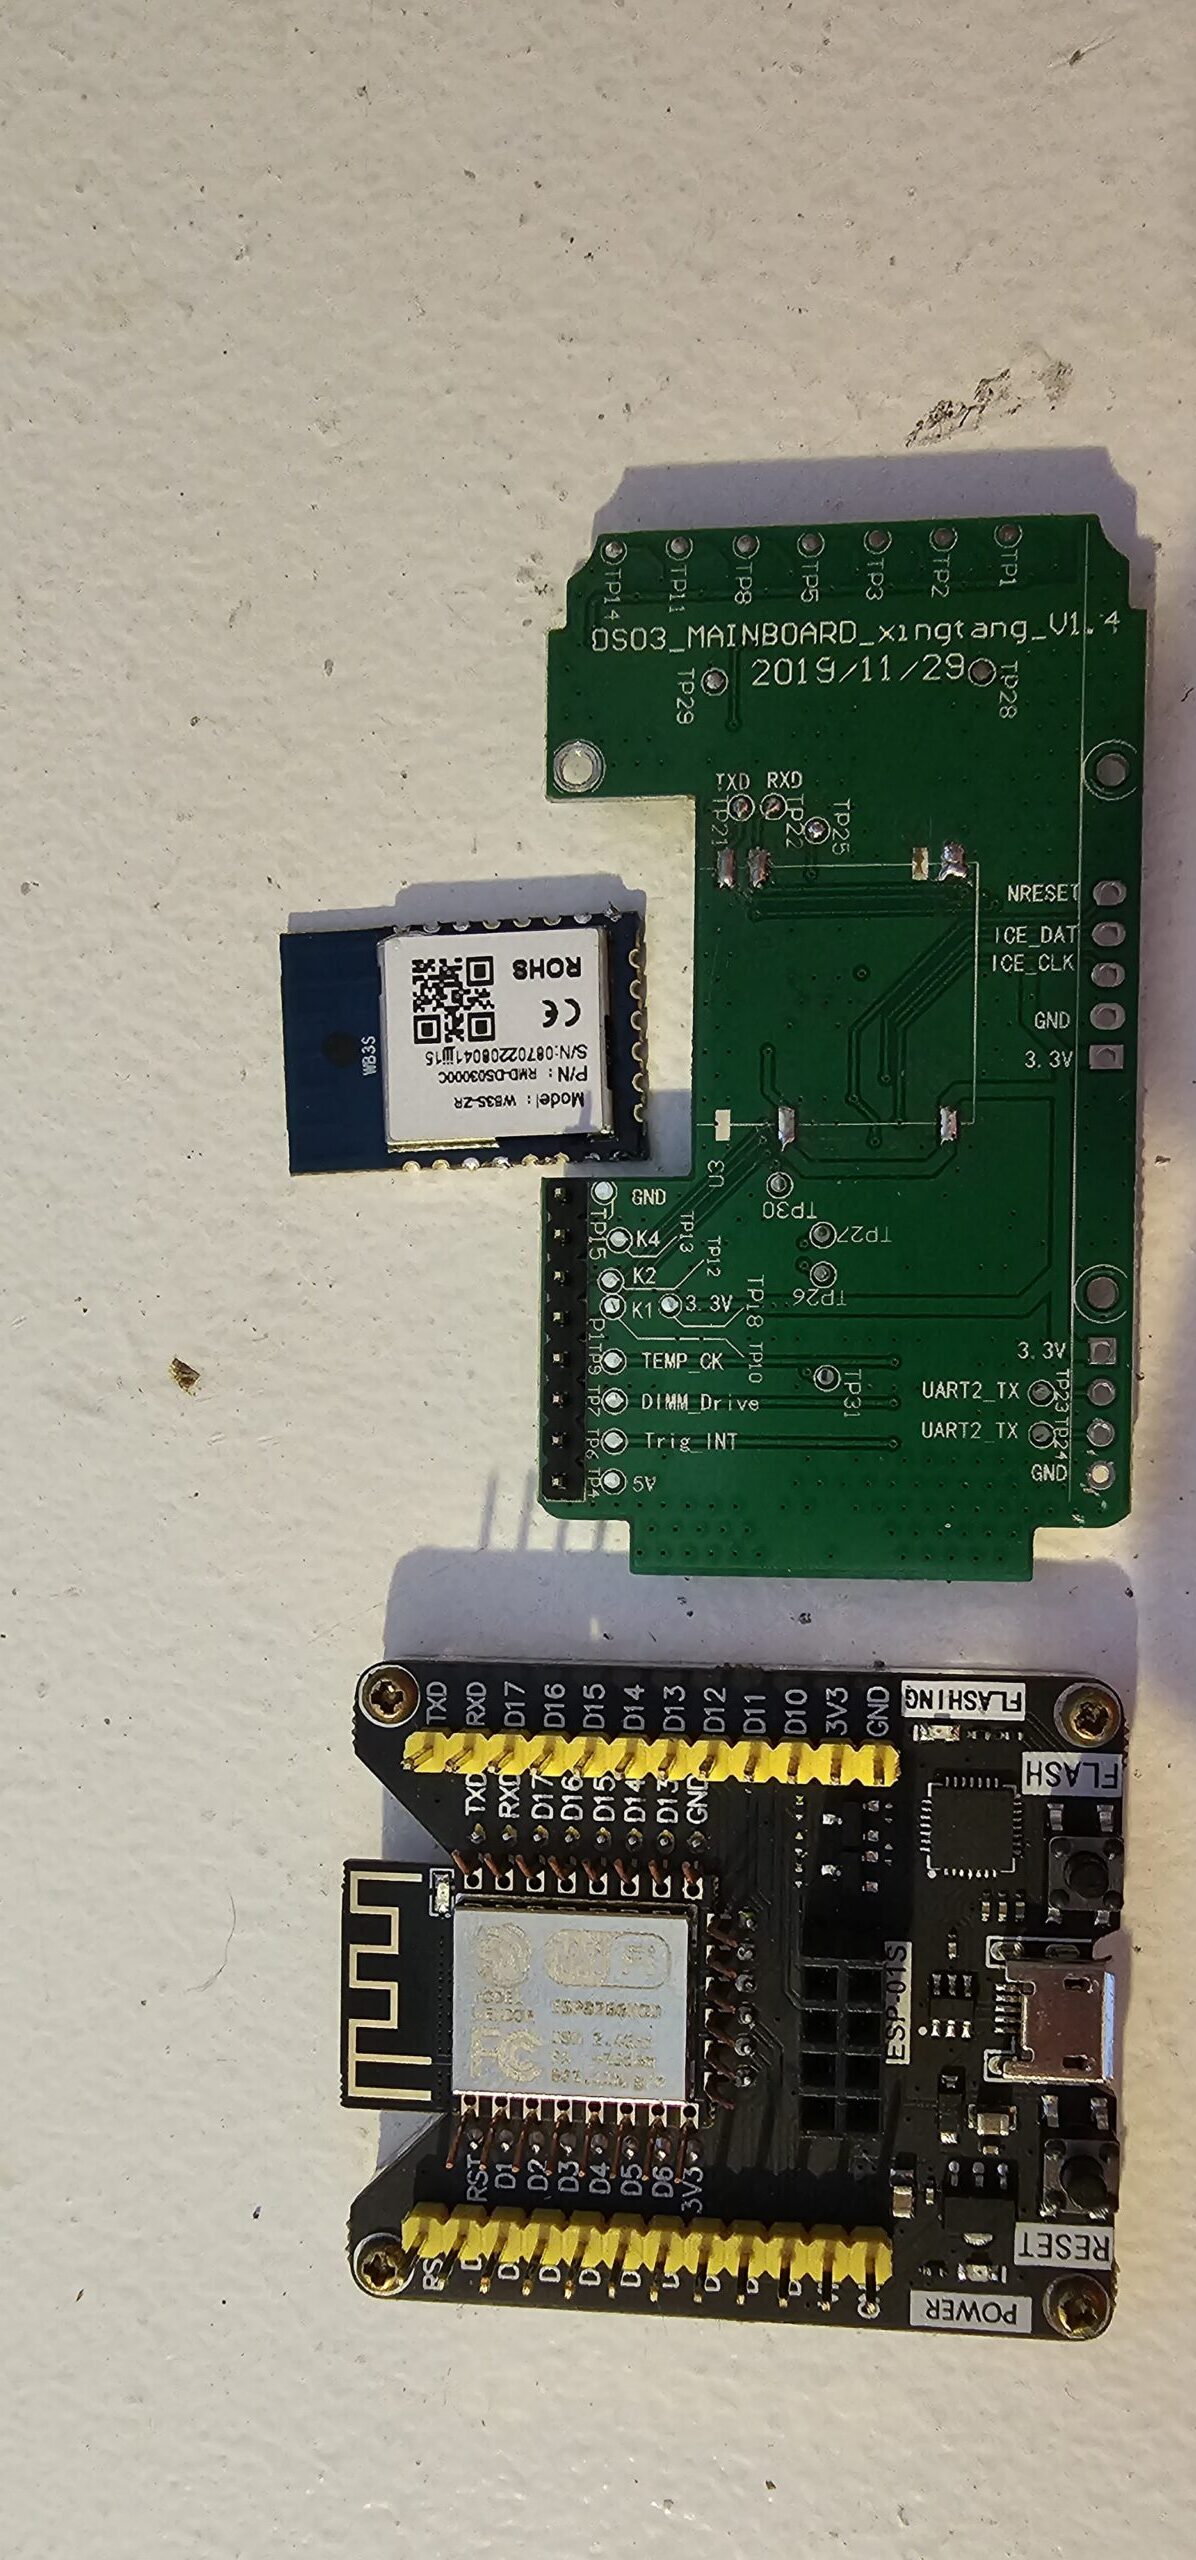
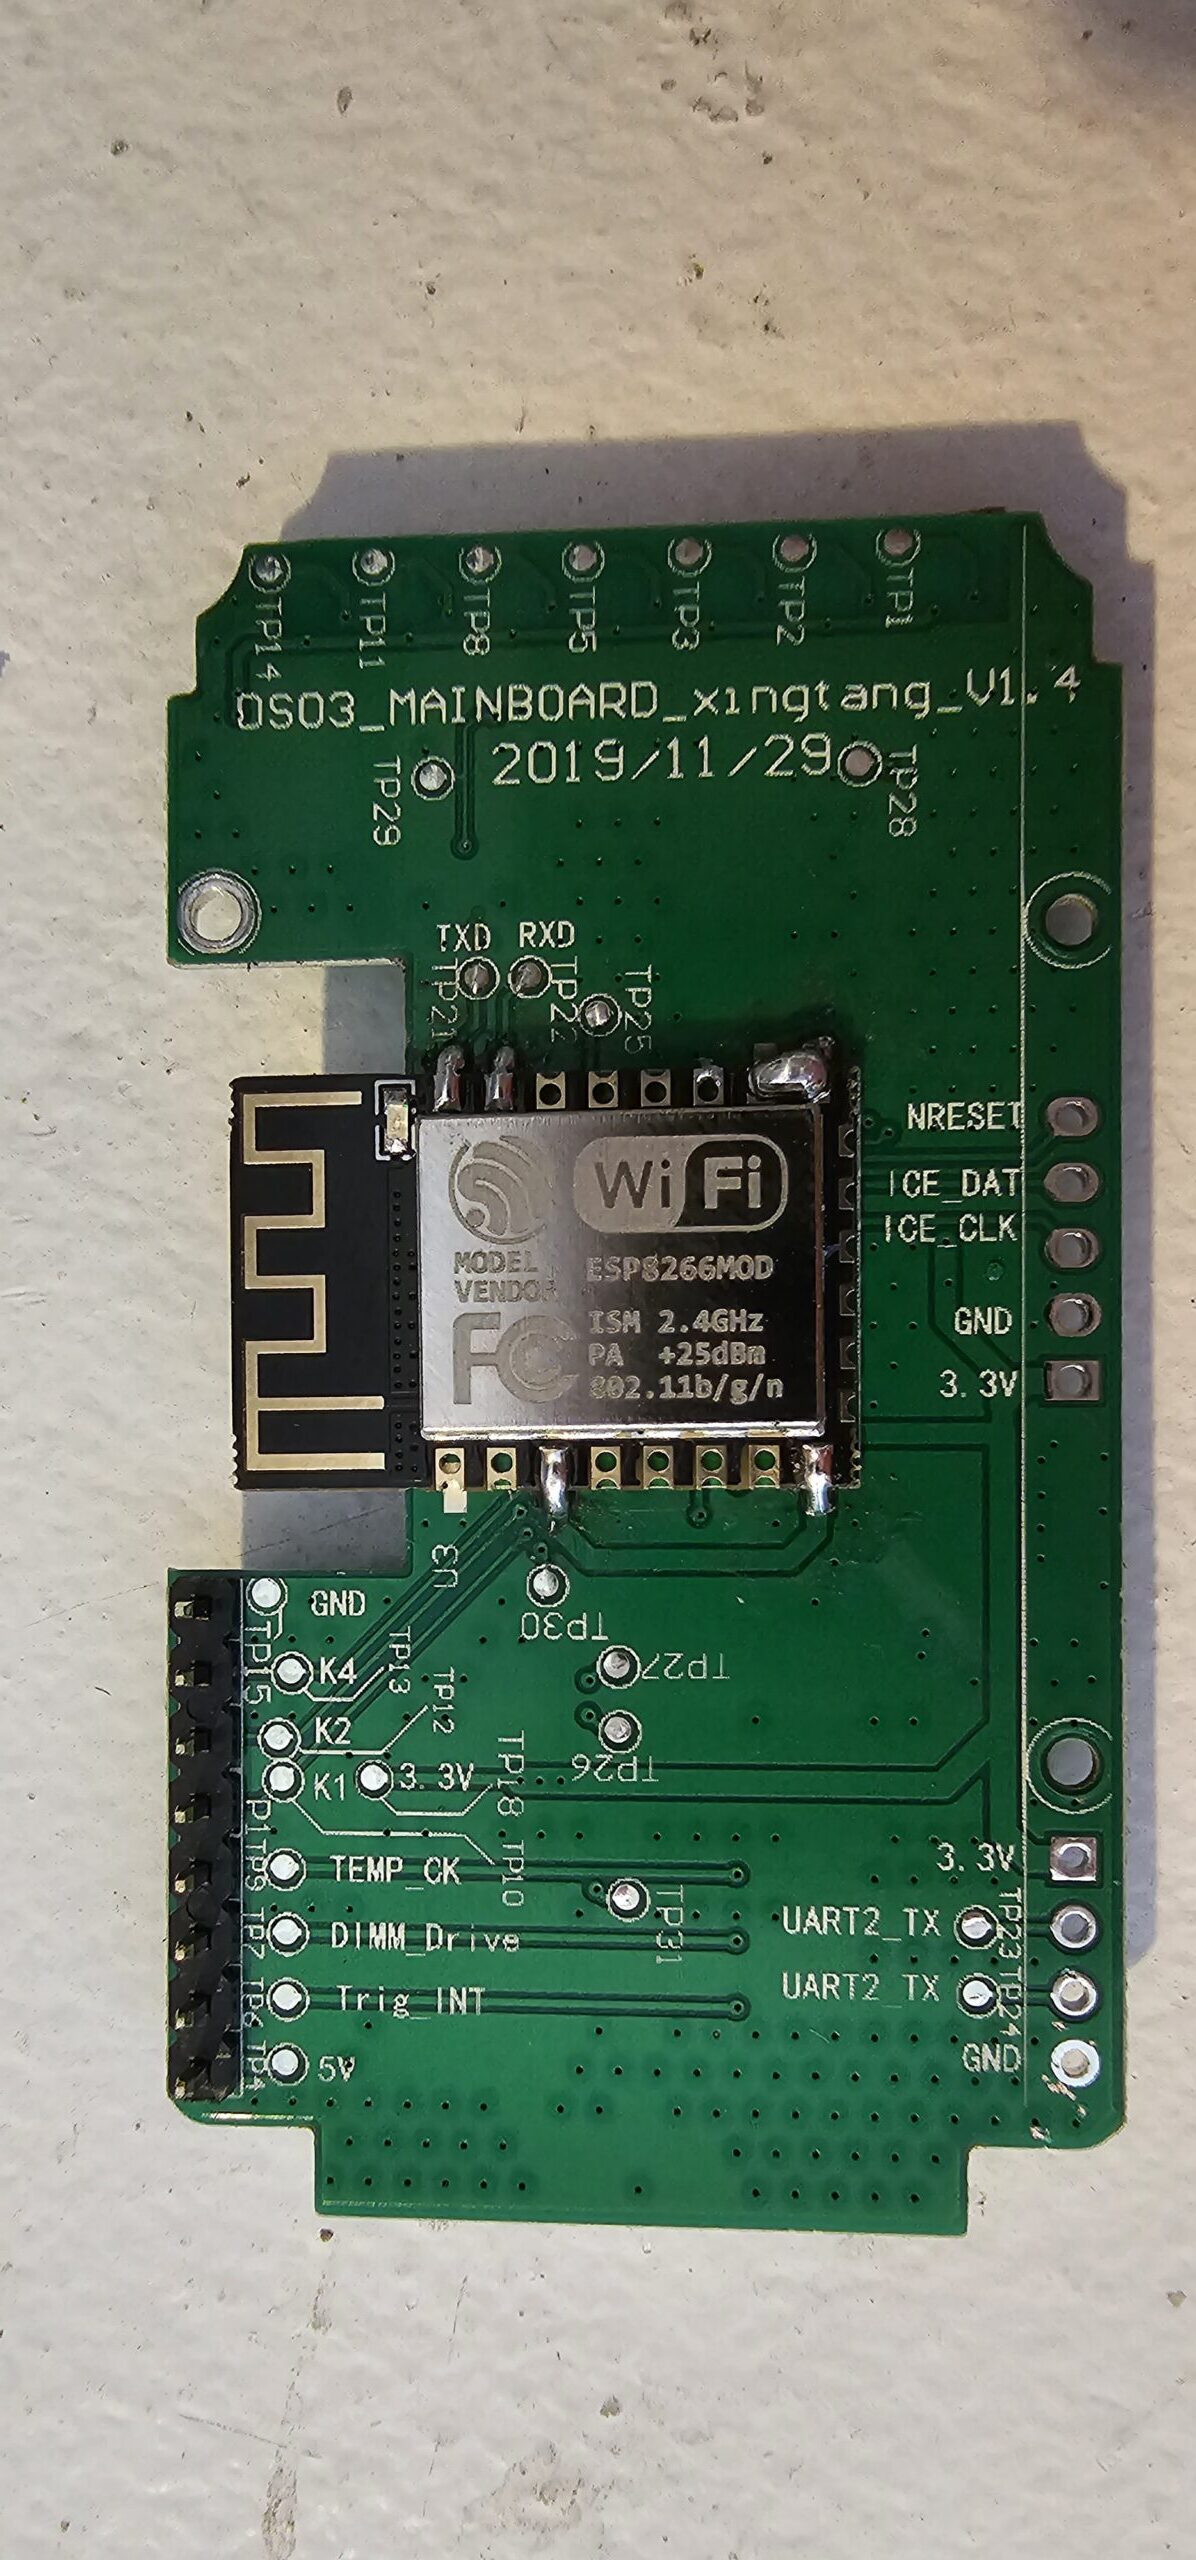
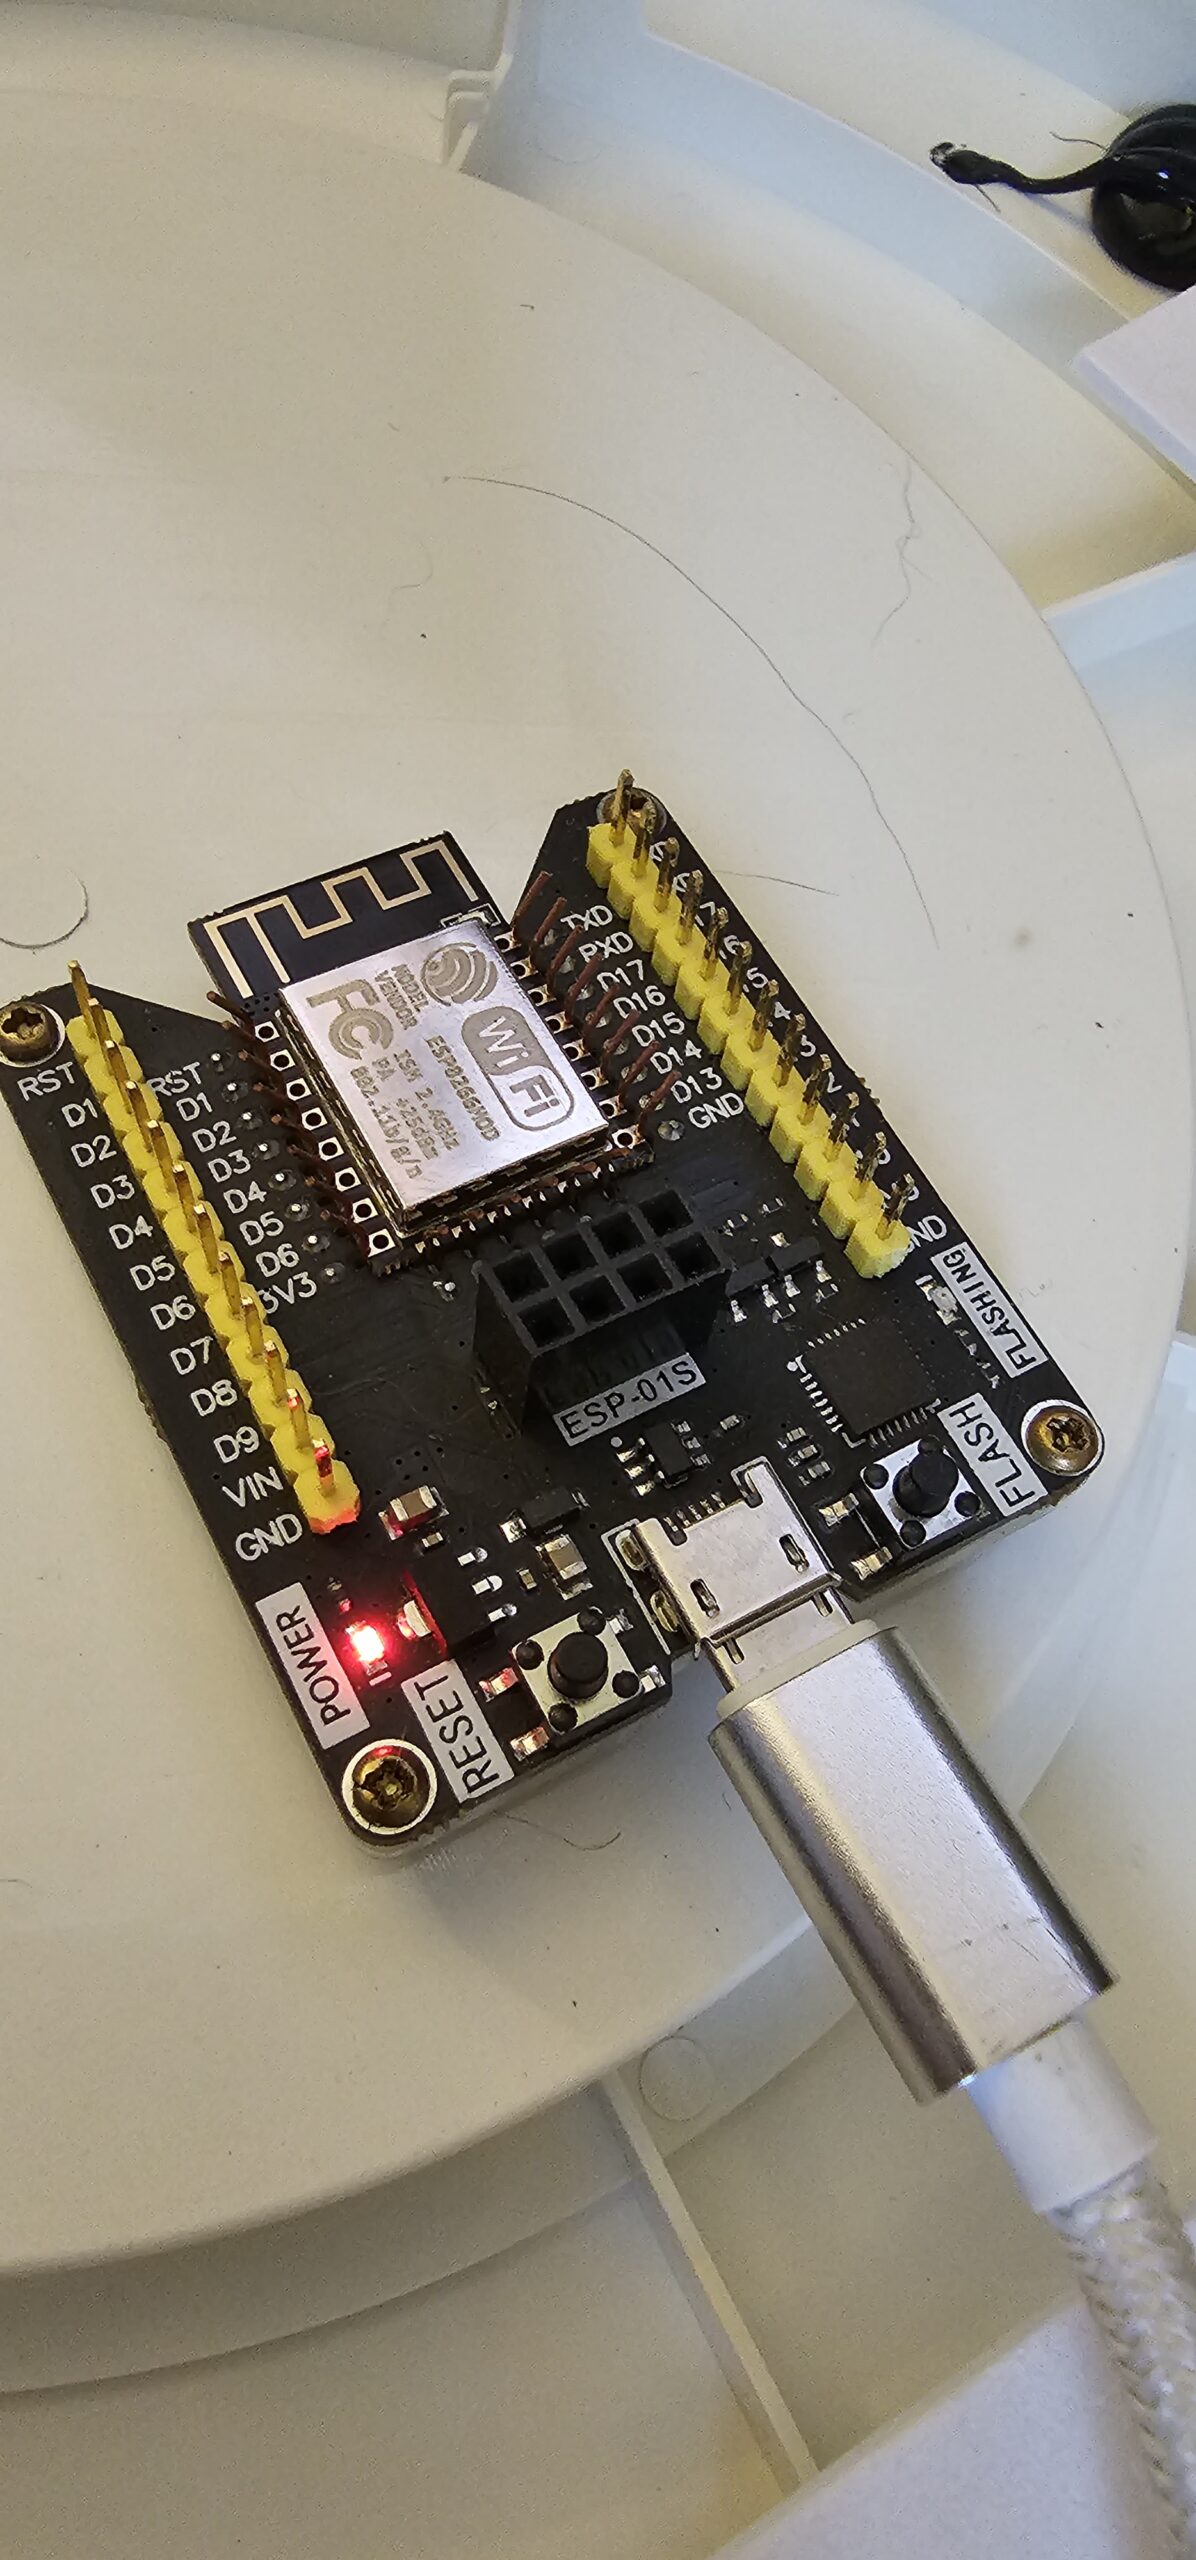
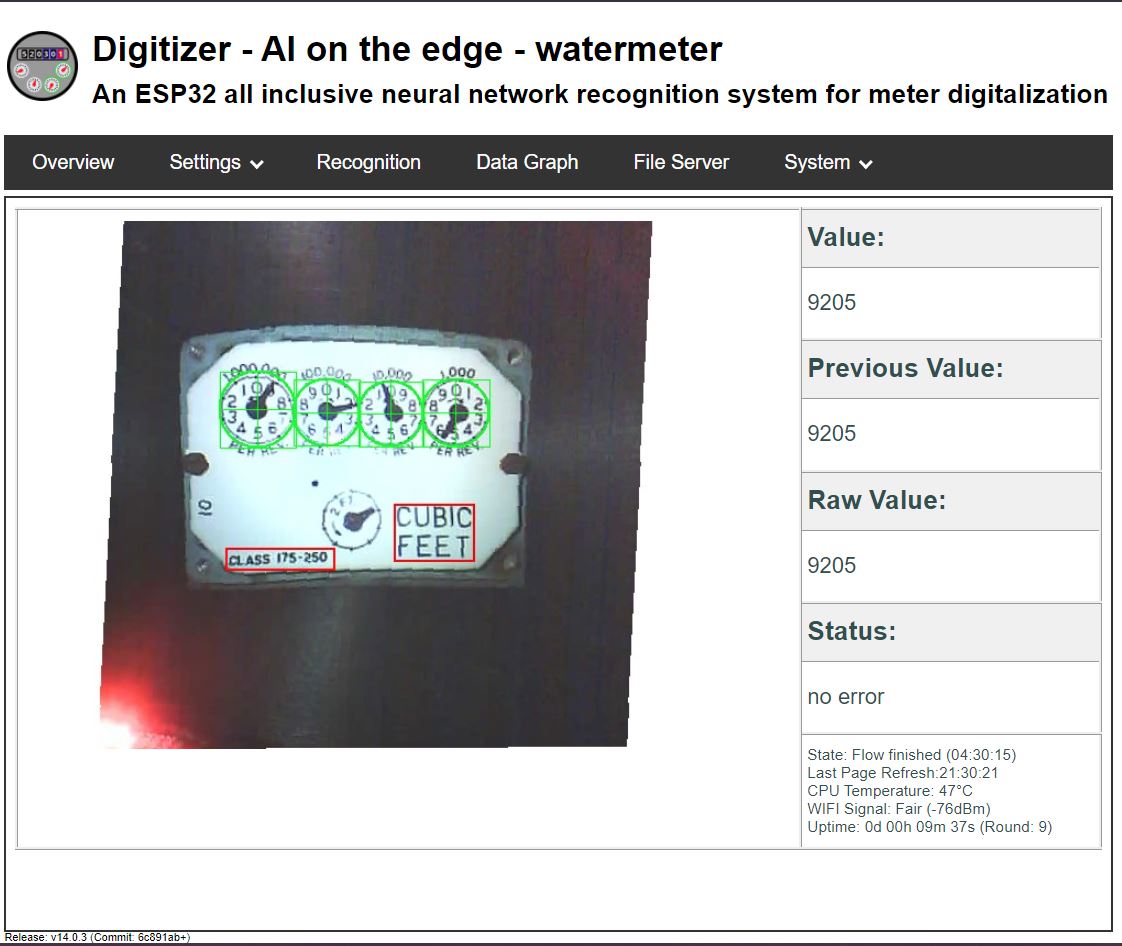
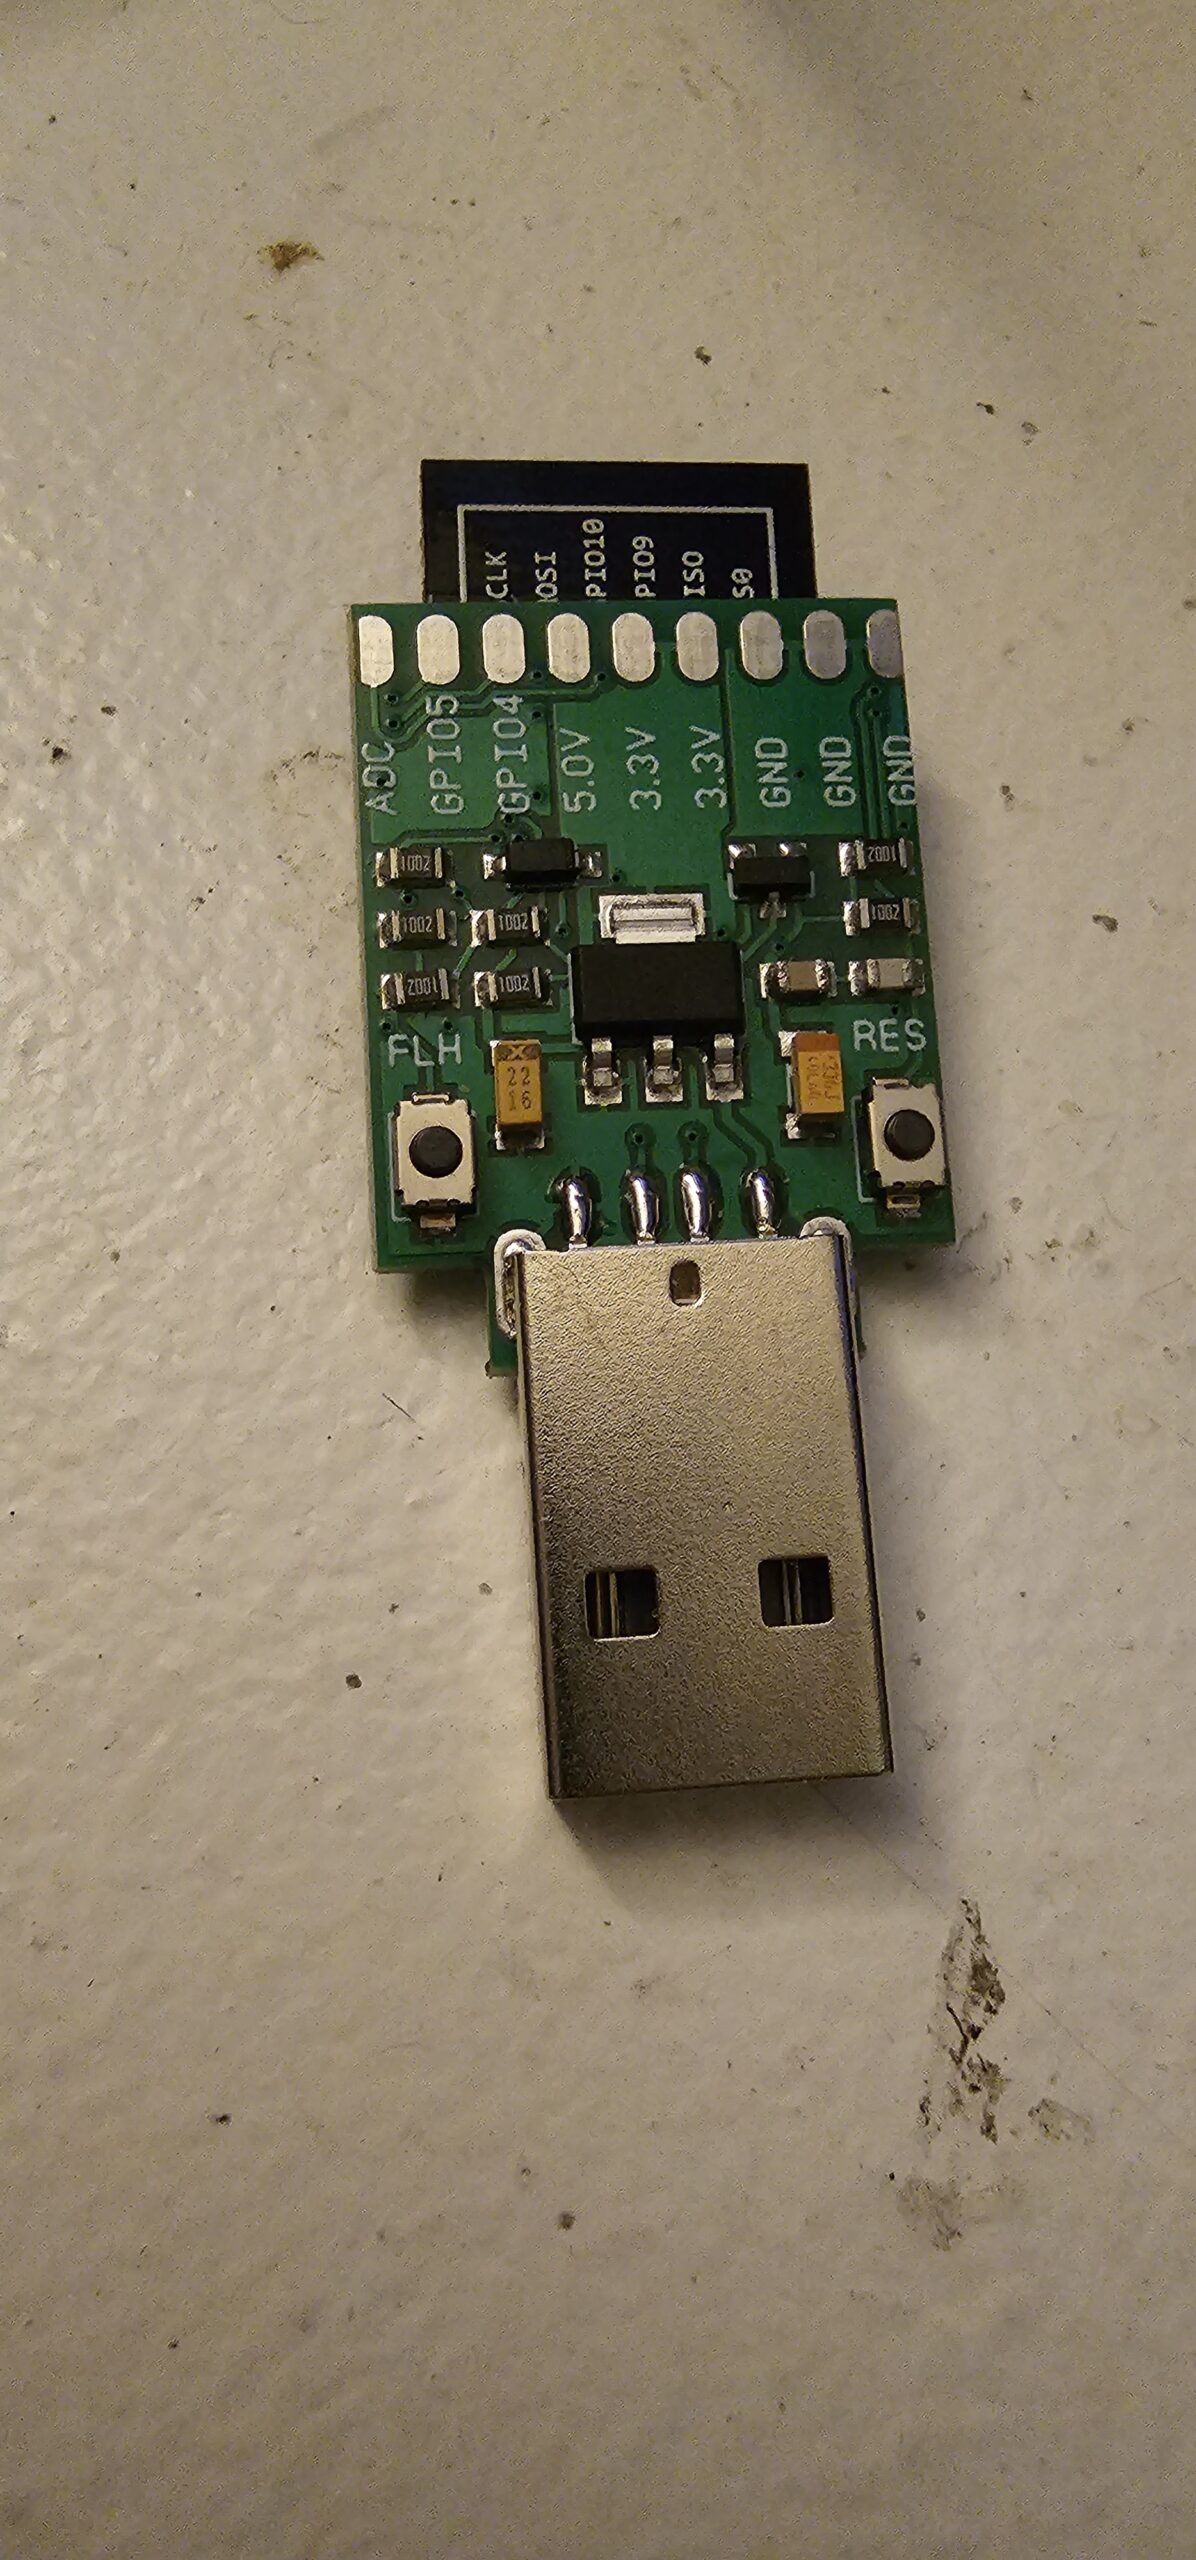
All I needed to do was buy the device for this one. It was super cheap ~$15 and simplest cloud free IOT hack I have had to do.

ESPHome Config:

esphome:
  name: workshop-mini-split
  friendly_name: Workshop Mini Split

esp8266:
  board: esp01_1m
  
# Enable Home Assistant API
api:
  encryption:
    key: ""

ota:
  platform: esphome
  password: ""

wifi:
  ssid: !secret wifi_ssid
  password: !secret wifi_password

  # Enable fallback hotspot (captive portal) in case wifi connection fails
  ap:
    ssid: "Workshop-Mini-Split"
    password: ""

captive_portal:
# Example configuration entry

# Disable logging over UART (required)
logger:
  baud_rate: 0

# UART settings for Midea dongle (required)
uart:
  tx_pin: 1         # hardware dependant
  rx_pin: 3         # hardware dependant
  baud_rate: 9600

# Main settings
climate:
  - platform: midea
    name: Workshop Mini Split   # Use a unique name.
    period: 1s                  # Optional
    timeout: 2s                 # Optional
    num_attempts: 3             # Optional
    autoconf: true              # Autoconfigure most options.
    beeper: true                # Beep on commands.
    visual:                     # Optional. Example of visual settings override.
      min_temperature: 17 °C    # min: 17
      max_temperature: 30 °C    # max: 30
      temperature_step: 0.5 °C  # min: 0.5
    supported_modes:            # Optional. All capabilities in this section may be detected by autoconf.
      - FAN_ONLY
      - HEAT_COOL
      - COOL
      - HEAT
      - DRY
    custom_fan_modes:           # Optional
      - SILENT
      - TURBO
    supported_presets:          # Optional. All capabilities in this section may be detected by autoconf.
      - ECO
      - BOOST
      - SLEEP
    supported_swing_modes:      # Optional
      - VERTICAL
    outdoor_temperature:        # Optional. Outdoor temperature sensor (may display incorrect values after long inactivity).
      name: OutdoorTemp
    power_usage:                # Optional. Power usage sensor (only for devices that support this feature).
      name: Power
    humidity_setpoint:          # Optional. Indoor humidity sensor (only for devices that support this feature).
      name: IndoorHumidity    

Cloud Free All The Things!

This is one of my favorite IOT switches because it has a light and fan dimmer all in one gang slot. I swap out there Tuya SOC with an ESPHome flashed ESP8266. They have since changes their design, so I have been having issues finding more.

esphome:
  name: our-bedroom-ceiling-fan
  friendly_name: "Our Bedroom Ceiling Fan"

esp8266:
  board: esp01_1m

# Enable Home Assistant API
api:
  encryption:
    key: ""
ota:
  platform: esphome
  password: ""

wifi:
  ssid: !secret wifi_ssid
  password: !secret wifi_password

  # Enable fallback hotspot (captive portal) in case wifi connection fails
  ap:
    ssid: !secret AP_ssid
    password: !secret AP_password

captive_portal:

# Enable logging
logger:
  baud_rate: 0

uart:
  rx_pin: GPIO3
  tx_pin: GPIO1
  baud_rate: 115200

tuya:

sensor:
  - platform: wifi_signal
    name: $friendly_name Wifi Signal
    update_interval: 60s

  - platform: uptime
    name: $friendly_name uptime

light:
  - platform: "tuya"
    name: $friendly_name Light
    dimmer_datapoint: 10
    switch_datapoint: 9
    min_value: 1000
    max_value: 1000

fan:
  - platform: "tuya"
    name: $friendly_name Speed
    switch_datapoint: 1
    speed_datapoint: 3
    speed_count: 4

Hacking A Light Fixture To Free It… Cloud Free

I purchased the light and took a little bit to reverse engineer what pins did what but in the end it was one of the easier devices to hack. The main reason is all the IO is controlled by the main ESP. They do not have a secondary microcontroller that needs to be interfaced with. The main center light and the RGB ring are controlled independently.

ESPHome Config

esphome:
  name: hallway-rgbcct-light
  friendly_name: Hallway RGBCCT Light
  on_boot:
    priority: 600
    # ...
    then:
    - light.turn_on:
        id: hallway_rgb_light
        brightness: 50%
        red: 25%
        green: 0%
        blue: 100%
    - light.turn_on:
        id: hallway_cwww_light
        brightness: 70%
        cold_white: 0%
        warm_white: 100%

esp8266:
  board: esp01_1m

# Enable logging
logger:

# Enable Home Assistant API
api:
  encryption:
    key: ""
ota:
  platform: esphome
  password: ""

wifi:
  ssid: !secret wifi_ssid
  password: !secret wifi_password

  # Enable fallback hotspot (captive portal) in case wifi connection fails
  ap:
    ssid: !secret AP_ssid
    password:  !secret AP_password

captive_portal:

sensor:
  - platform: uptime
    name: ${friendly_name} Uptime

  - platform: wifi_signal
    name: ${friendly_name} Signal Strength

output:
  - platform: esp8266_pwm
    id: output_cw
    pin: GPIO5
  - platform: esp8266_pwm
    id: output_ww
    pin: GPIO4
  - platform: esp8266_pwm
    pin: GPIO1
    id: output_r
  - platform: esp8266_pwm
    pin: GPIO12
    id: output_b
  - platform: esp8266_pwm
    pin: GPIO13
    id: output_g

light:
  - platform: cwww
    name: "Hallway CWWW Light"
    id: hallway_cwww_light
    cold_white: output_cw
    warm_white: output_ww
    cold_white_color_temperature: 5700 K
    warm_white_color_temperature: 3000 K
  - platform: rgb
    name: "Hallway RGB Light"
    id: hallway_rgb_light
    red: output_r
    green: output_g
    blue: output_b

AI Gas Meter

I wanted a way to add our natural gas consumption into Home Assistant, so I built a thing. It uses a ESP32 camera board, 2000mAh LiPO cell, BMS, and 4 solar cells. I found an AI On The Edge package that did all the heavy lifting. All I need to do was flash the ESP, configure the gauge layout, and setup the MQTT messages. The hardest part was polishing the gas meter window so that it could actually be read.

I stopped using this because I did not feel comfortable having a LiPo in direct sun, charging using a cheap BMS, on top of my gas meter. I plan to run 3/5V out to it and delete the solar/BMS/Lipos.

Hootie V2 Frame Updates and iterations

As the deadline to leave for the Black Rock Desert grew shorter, I kept making little refinements to the vehicle. One of those was to replace the footpegs with a long deck. This not only more comfortable but also allowed more riders could fit on.

Then I decided to move the audio controller from the handlebars to the frame just below the seat. It was easier to press, saved on running longer wires, and freed up the handlebars for another new feature. An i2c status screen.

It became eveident that a screen was needed to at a minimum display the Lipo pack’s voltage. The mode that the panels were displaying saved me from having to look down at one of the side panels. The screens is 128×64 slides in custom 3D printed housing that mounts on the handlebars.

Revamping the Hootie V2: A Vibrant Motor Paint Job Experience

The iconic Hootie V2’s motor was looking rather worse for wear after the thrilling escapade at the 2021 Burning Man. The harsh desert conditions had taken their toll, leaving the motor needing more than just a little TLC.

It was high time for a paint job!

But first, we needed to strip it back to its original state. The journey began with an intensive media blasting session, meticulously clearing away every hint of old paint and grime to reveal the bare, raw metal underneath. This critical step ensured a clean slate – an ideal base for the exciting transformation that lay ahead.

With a pristine surface to work on, out came the painter’s tape, meticulously outlining the areas to protect. This was followed by the first layer of paint – a coat of VHT Flame Proof black spray paint. This served as a robust and visually appealing base for what was to come next.

Then came the most exciting part of the project – the inclusion of mica powders. And not just any mica powders, but color-shifting ones from Eye Candy! Fortuitously, I had a stash left over from a previous epoxy project. I was thrilled at the prospect of putting them to good use. So, I stirred up a custom blend using the leftovers and mixed it with KBS Coating’s XTC clear coat. But before committing it to the motor, I conducted several tests to ensure the final appearance would meet my vision.

The outcome was simply extraordinary – surpassing even my wildest expectations! The dazzling play of colors was like nothing I had ever seen. What’s more, the mica admirably withstood the extreme heat of the motor and even the exhaust without showing a single blemish – a testament to its durability.

Stay tuned to see the Hootie V2 with its fabulous new look, ready to take on more adventures!

Hootie V2 Update

I made a bunch of progress but I also added to my to-do list; 🤦 I tend to do that.

First off, I finished the audio system. The rear led panel and amp were mounted. The wiring has been completed and it is ready to be mounted once the frame is painted. I have been testing it out in the Texas sun and heat to make sure we don’t have any issues on the playa.

I am considering cutting an ABS plastic sheet to make a panel to cover the gap between the LED panels and the handlebars. This image is a POC of how the audio control remote will mount in said ABS panel.

Next, I fabricated mounts for the new front panels and welded them to the forks. The mounts were made the same as the original panels, half-inch square steel tubes with one side flattened and a hole drilled into the flat side.

The same day I welded on the piano hinge that will allow the seat to flip up revealing the petrol tank, Li-ion packs, and storage. I used all my dado blades to make a wide dado in the bottom of the seat that the hinge will be recessed into. There is just enough space to let the seat open while bypassing the side LED panel.

Speaking of the side panels… the mounts for these were mostly removed with the new frame so they needed to be re-welded. The side panels were originally mounted at an angle. I felt this gave the design more motion but this time I mounted them parallel with the seat to make it more comfortable for passengers.

TODOs:

Weld driver footrest to frame
Weld Passenger Foot Pegs
Weld bottom to seat storage
Remount Headlights
Rework Rear Suspension
Paint the whole frame
Paint the motor
Finish painting the wheels
Finish cleaning up the wiring
3D Print Foot Rest Pad
Build more Li-ion battery packs (recycled cells)
Re-paint the original three pannels (maybe)

Burning Man 2022

We have an address! Dali & 3:45

Click to see the Unofficial BRC Map

This year we wanted to change things up and have a variety of events and interactivity throughout the week. We really focused on our teacher/school/education theme.

See our full schedule below or view the events on Playa Events.

Touch me and I get bigger.