Revamping the Hootie V2: A Vibrant Motor Paint Job Experience

The iconic Hootie V2’s motor was looking rather worse for wear after the thrilling escapade at the 2021 Burning Man. The harsh desert conditions had taken their toll, leaving the motor needing more than just a little TLC.

It was high time for a paint job!

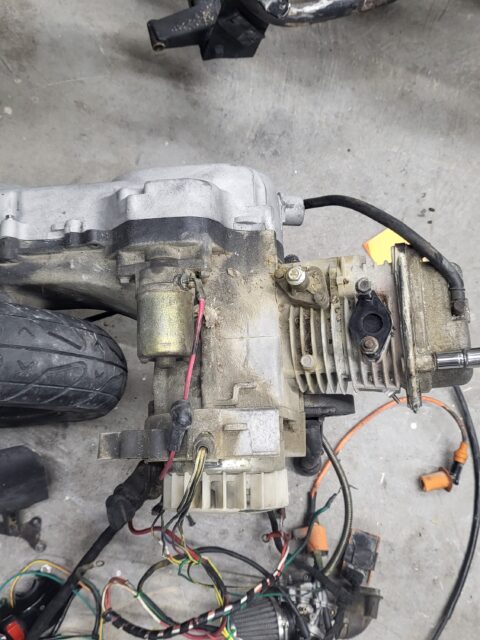
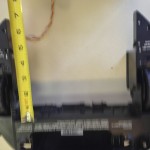
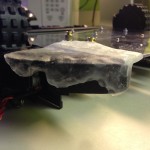
But first, we needed to strip it back to its original state. The journey began with an intensive media blasting session, meticulously clearing away every hint of old paint and grime to reveal the bare, raw metal underneath. This critical step ensured a clean slate – an ideal base for the exciting transformation that lay ahead.

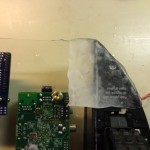
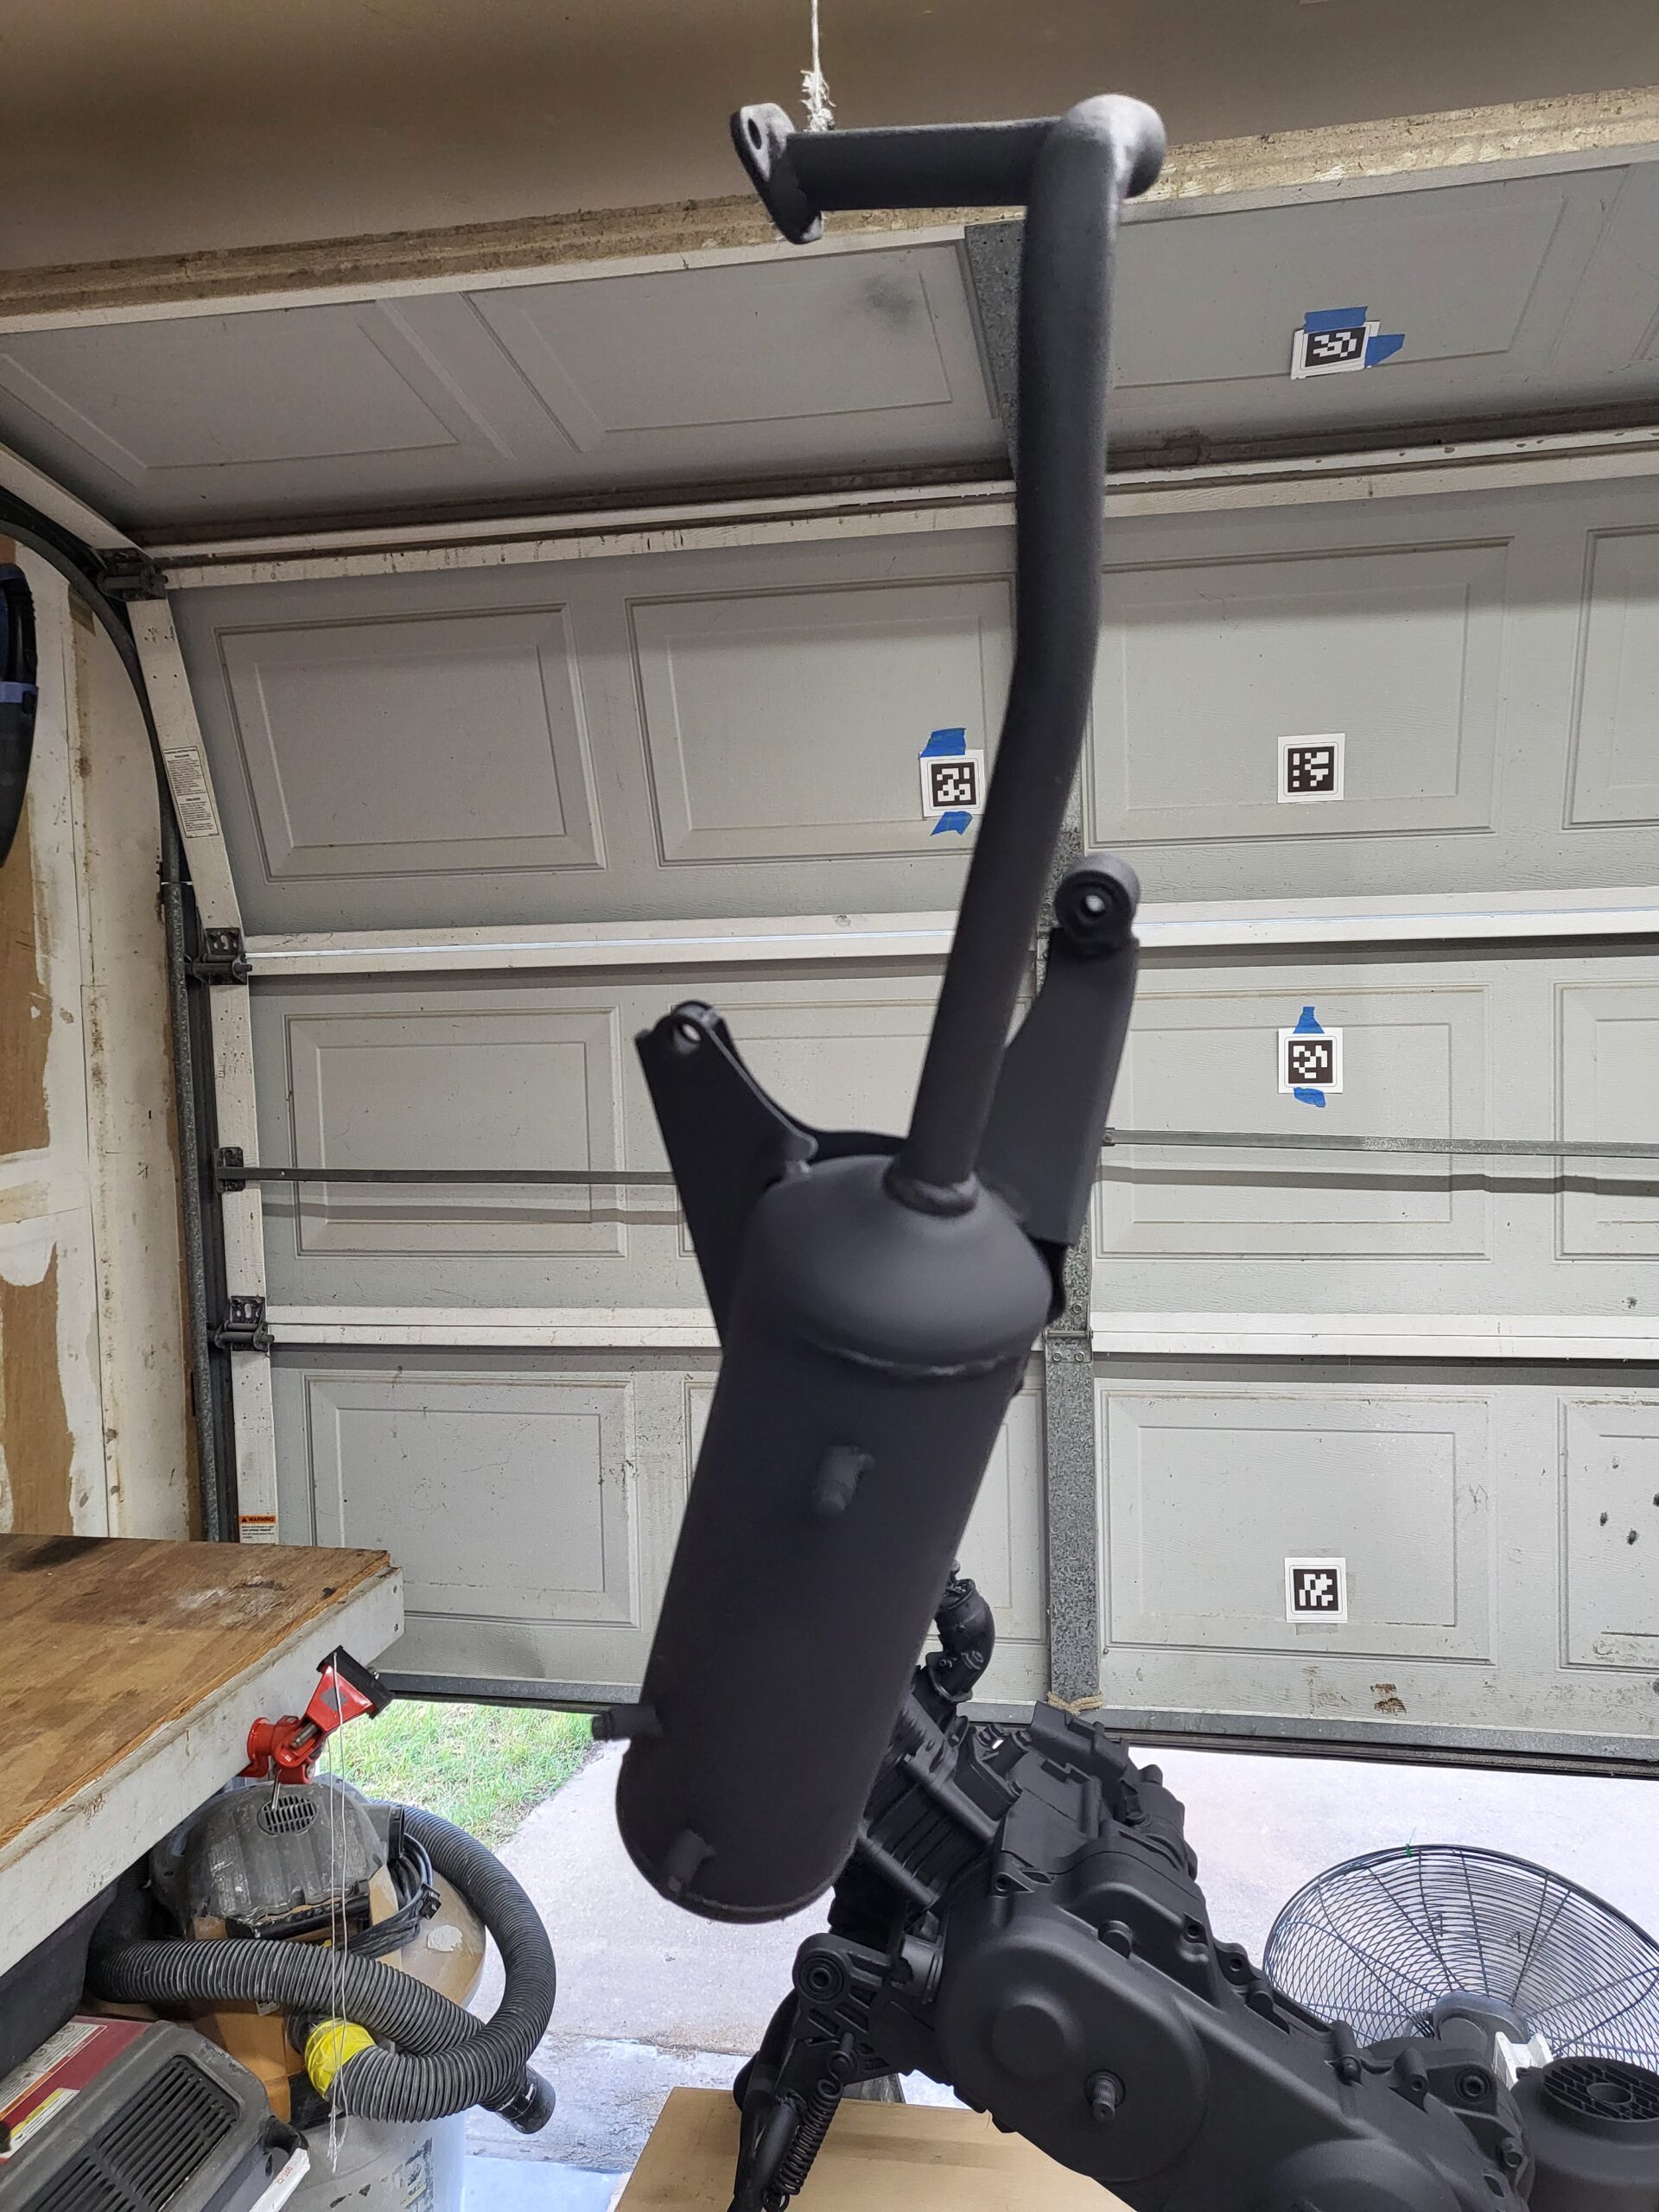
With a pristine surface to work on, out came the painter’s tape, meticulously outlining the areas to protect. This was followed by the first layer of paint – a coat of VHT Flame Proof black spray paint. This served as a robust and visually appealing base for what was to come next.

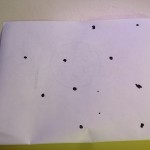
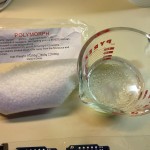
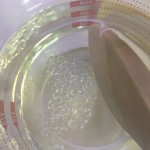
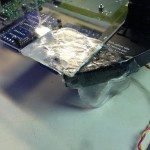
Then came the most exciting part of the project – the inclusion of mica powders. And not just any mica powders, but color-shifting ones from Eye Candy! Fortuitously, I had a stash left over from a previous epoxy project. I was thrilled at the prospect of putting them to good use. So, I stirred up a custom blend using the leftovers and mixed it with KBS Coating’s XTC clear coat. But before committing it to the motor, I conducted several tests to ensure the final appearance would meet my vision.

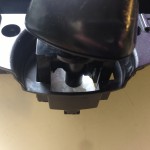
The outcome was simply extraordinary – surpassing even my wildest expectations! The dazzling play of colors was like nothing I had ever seen. What’s more, the mica admirably withstood the extreme heat of the motor and even the exhaust without showing a single blemish – a testament to its durability.

Stay tuned to see the Hootie V2 with its fabulous new look, ready to take on more adventures!

Raspberry Pi Robot Build 4: Suspension Upgrade & Electronics Mounting Board

In this post, you will see my progress on the physical construction of my raspberry pi robot starting from a used Roomba 435. After hours of testing, I discovered my Roomba 435‘s logic board had an old firmware and would not allow me to communicate with it via it’s serial command interface without paying to flash it with version 2.1. I figured for the price to flash the logic board (ship both ways plus the service charge) and considering I already had an Arduino Mega to use as the micro-controller, it would be cheaper not to use the OEM logic board (for right now).

I first purchased a seeed studio motor shield at Radio Shack to test out my concept. After a successful proof of concept:

POC Motor Shield

Review & POC Video: 
[youtube http://youtu.be/F4f7SolCGBg]

I ordered two motor shields to control each of the OEM DC motor units. Each shield can power 4 DC motors or 2 stepper motors (or 1 stepper motors & 2 DC motors) as well as 2 servos, so I have plenty of flexibility to expand the project. I will be using the stock DC motors, wheels and gears. I will eventually integrate the OEM wheel encoders. Utilizing the wheel encoders will allow me to accurately sense direction, distance, velocity and acceleration.

After figuring out what components I was going to use, I needed to build an electronics mounting board so that I could keep all the parts organized and safe. I wanted to mount the Raspberry Pi, two motor controllers and the Arduino Mega in the empty space where all the vacuum parts used to be. I used a spare piece of plexiglass as the mounting platform. I placed the components in the best configuration possible and marked all the mounting holes with a marker. I drilled out each hole to mount different size standoffs for the component to mount to.

Once I had all the components securely mounted on the plexiglass, I had to secure the plexiglass to the Roomba’s frame. I used a couple of screws to hold it initially, but then remembered I had some polymorph left over from another project. The  polymorph is what is really holding the two pieces together. If you have never used it before, I would recommend grabbing some and start playing around.

The OEM springs that came in the Roomba 435 were too weak and needed to be much more rigged to hold the weight of the new electronics plus future add-ons. First, I removed the front spring completely and secured it by jamming polymorph into the mounting hole. The wheel still pivots, but no longer moves up and down. After fixing the front wheel, I replaced both rear springs with much larger ones. The rear suspension is still flexible, but it is much more rigid and sturdy now.