
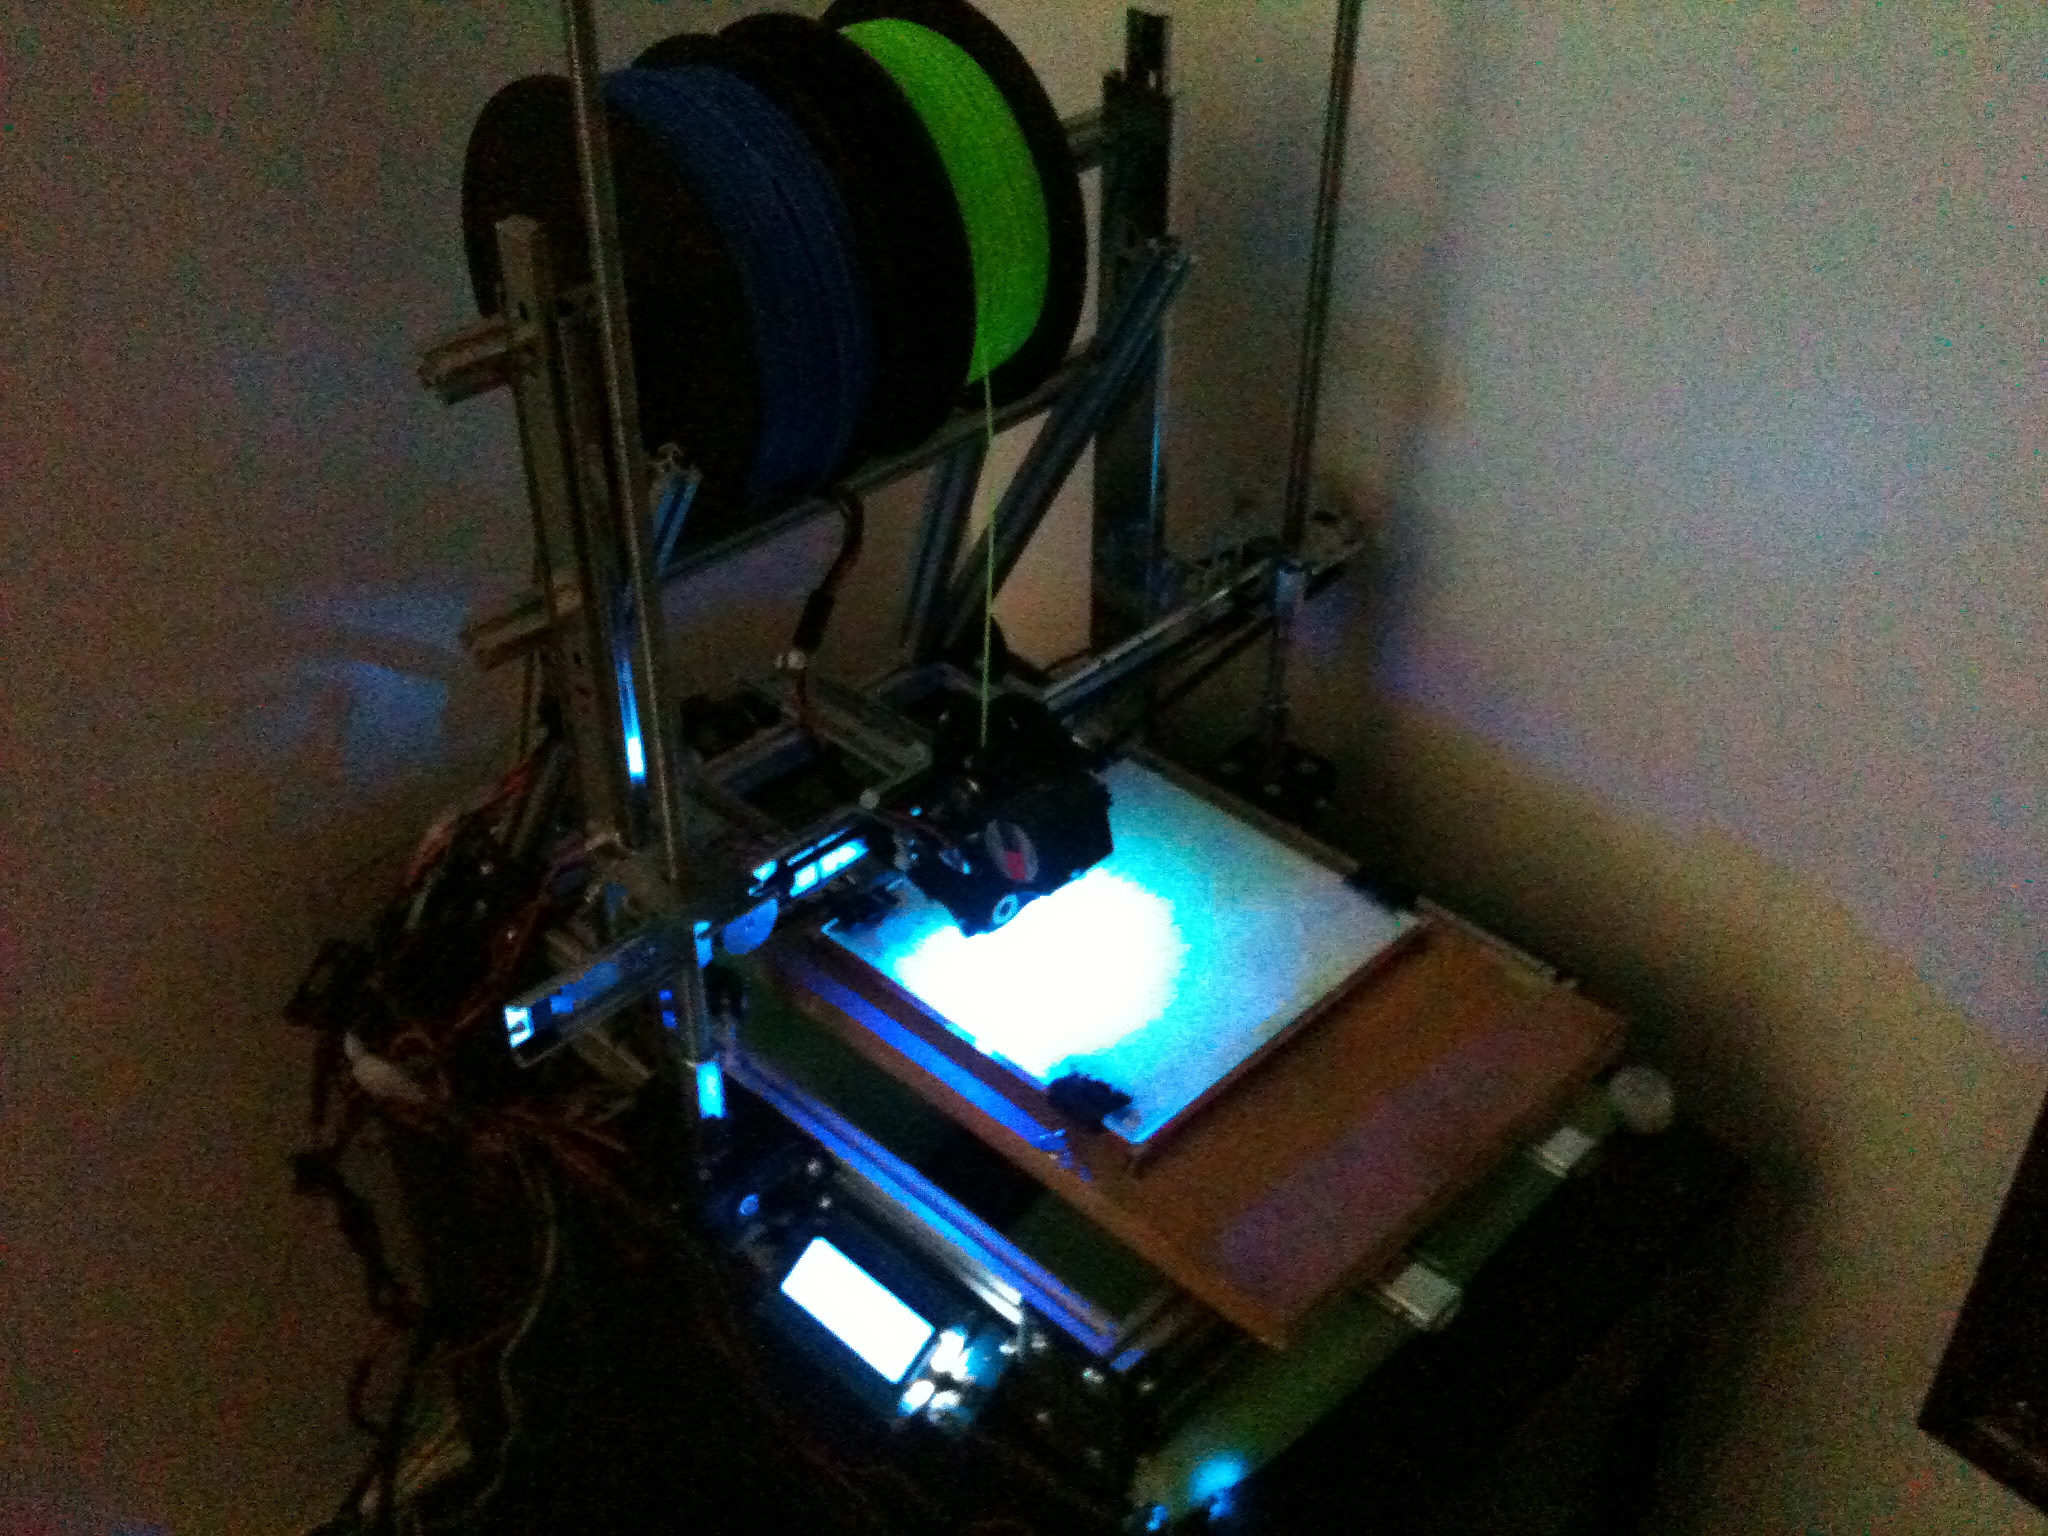
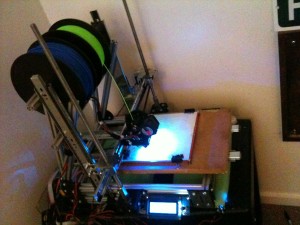
After pricing out the parts needed to finish the MindelMax 1.5 3D printer design and realizing I want to use rail slides instead of linear bearings and rods, I decided to develop a custom design. This post includes photos and descriptions from the alpha stage of the design. I am finalizing the bata design right now and a lot of what you see in this post has been changed. After a few more tests I will be releasing the design with an open source.
All designs are shared under the CC BY-NC-ND 4.0 licensing.

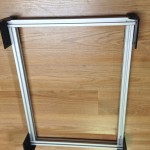
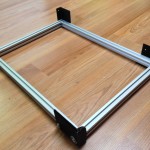
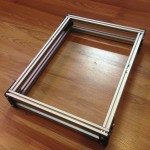
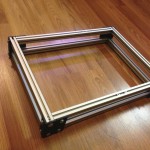
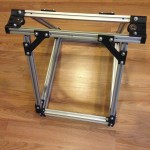
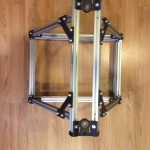
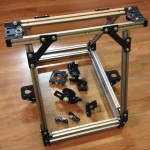
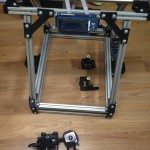
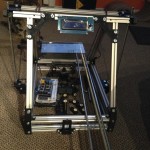
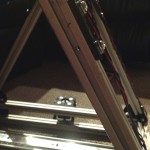
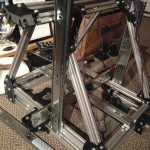
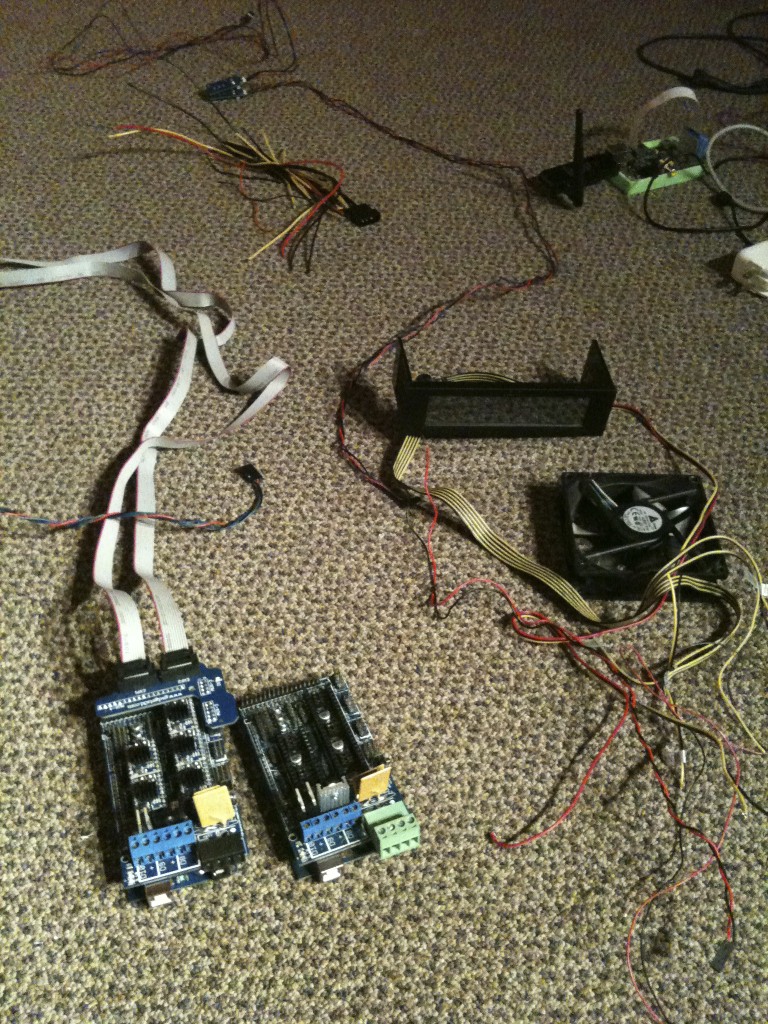
I constructed the frame of the MindelMax 1.5 3D printer design:
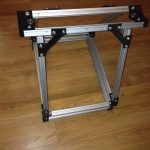
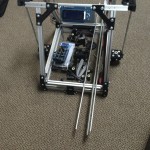
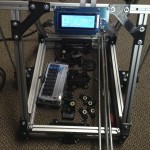
Y & Z Axes:
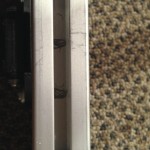
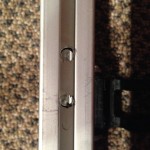
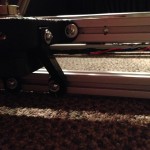
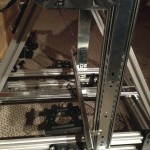
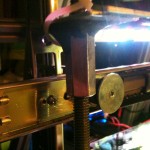
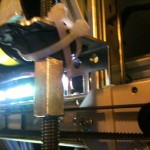
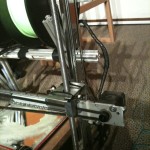
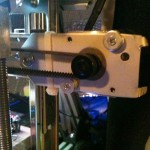
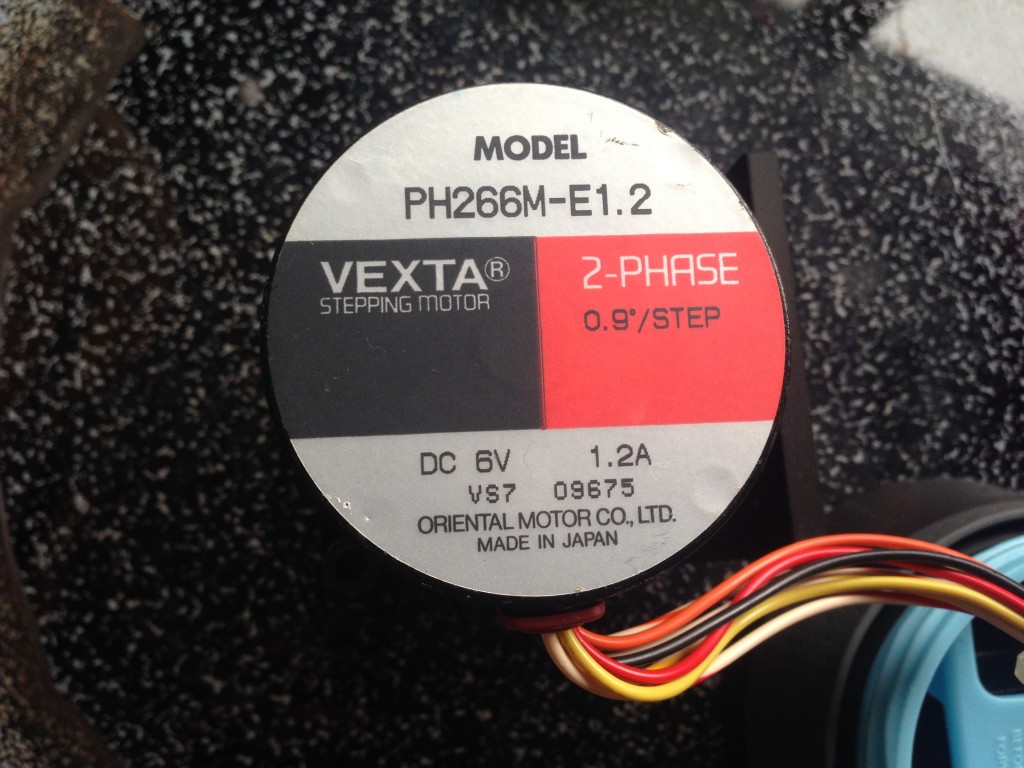
The current 3D printer design is limited to the 200mm by 200mm hotbed, but in the final design the x-axis has 300mm of printing range. The y-axis will be much larger; I am aiming for 600 to 800mm, but the design could theoretically support double or triple that. After deciding on the rails, I started measuring and drilling holes to accommodate them. I started with the y-axis; the y-axis holds the hot bed and the entire bed moves on two rails. I then moved to the z-axis, with a rail on each side (this might change). I used a M10 coupler bolt as a coupler for the threaded rods and stepper motor.
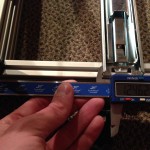

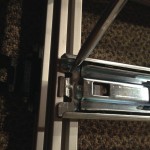
X-Axis:
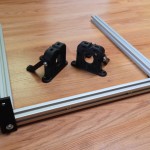
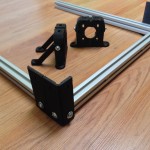
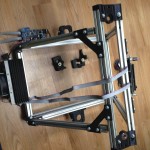
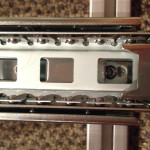
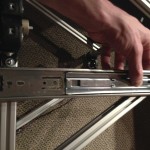
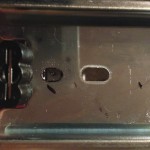
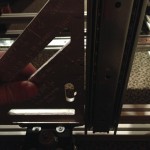
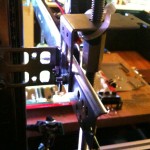
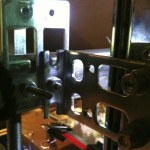
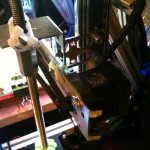
Each bracket has to mount a z-axis coupler bolt, a mount for one side of the x-axis rail, a mount for a z-axis rail, a hole for a bearing on the left bracket and a stepper motor mount on the right. Before I could print the new 3d printer design parts, I had to mock them up with random metal parts I had. I used my drill press to drill out the hole for the threaded rods and holes to mount the separate pieces together. I used SteelStik Epoxy Putty to hold a M10 coupler bolt to the bracket. These pictures were taken right before finalizing the beta version of the brackets. This was a good thing because the brackets were falling apart, hence the zip ties.
