ESPHome Mini-Split Climate Control

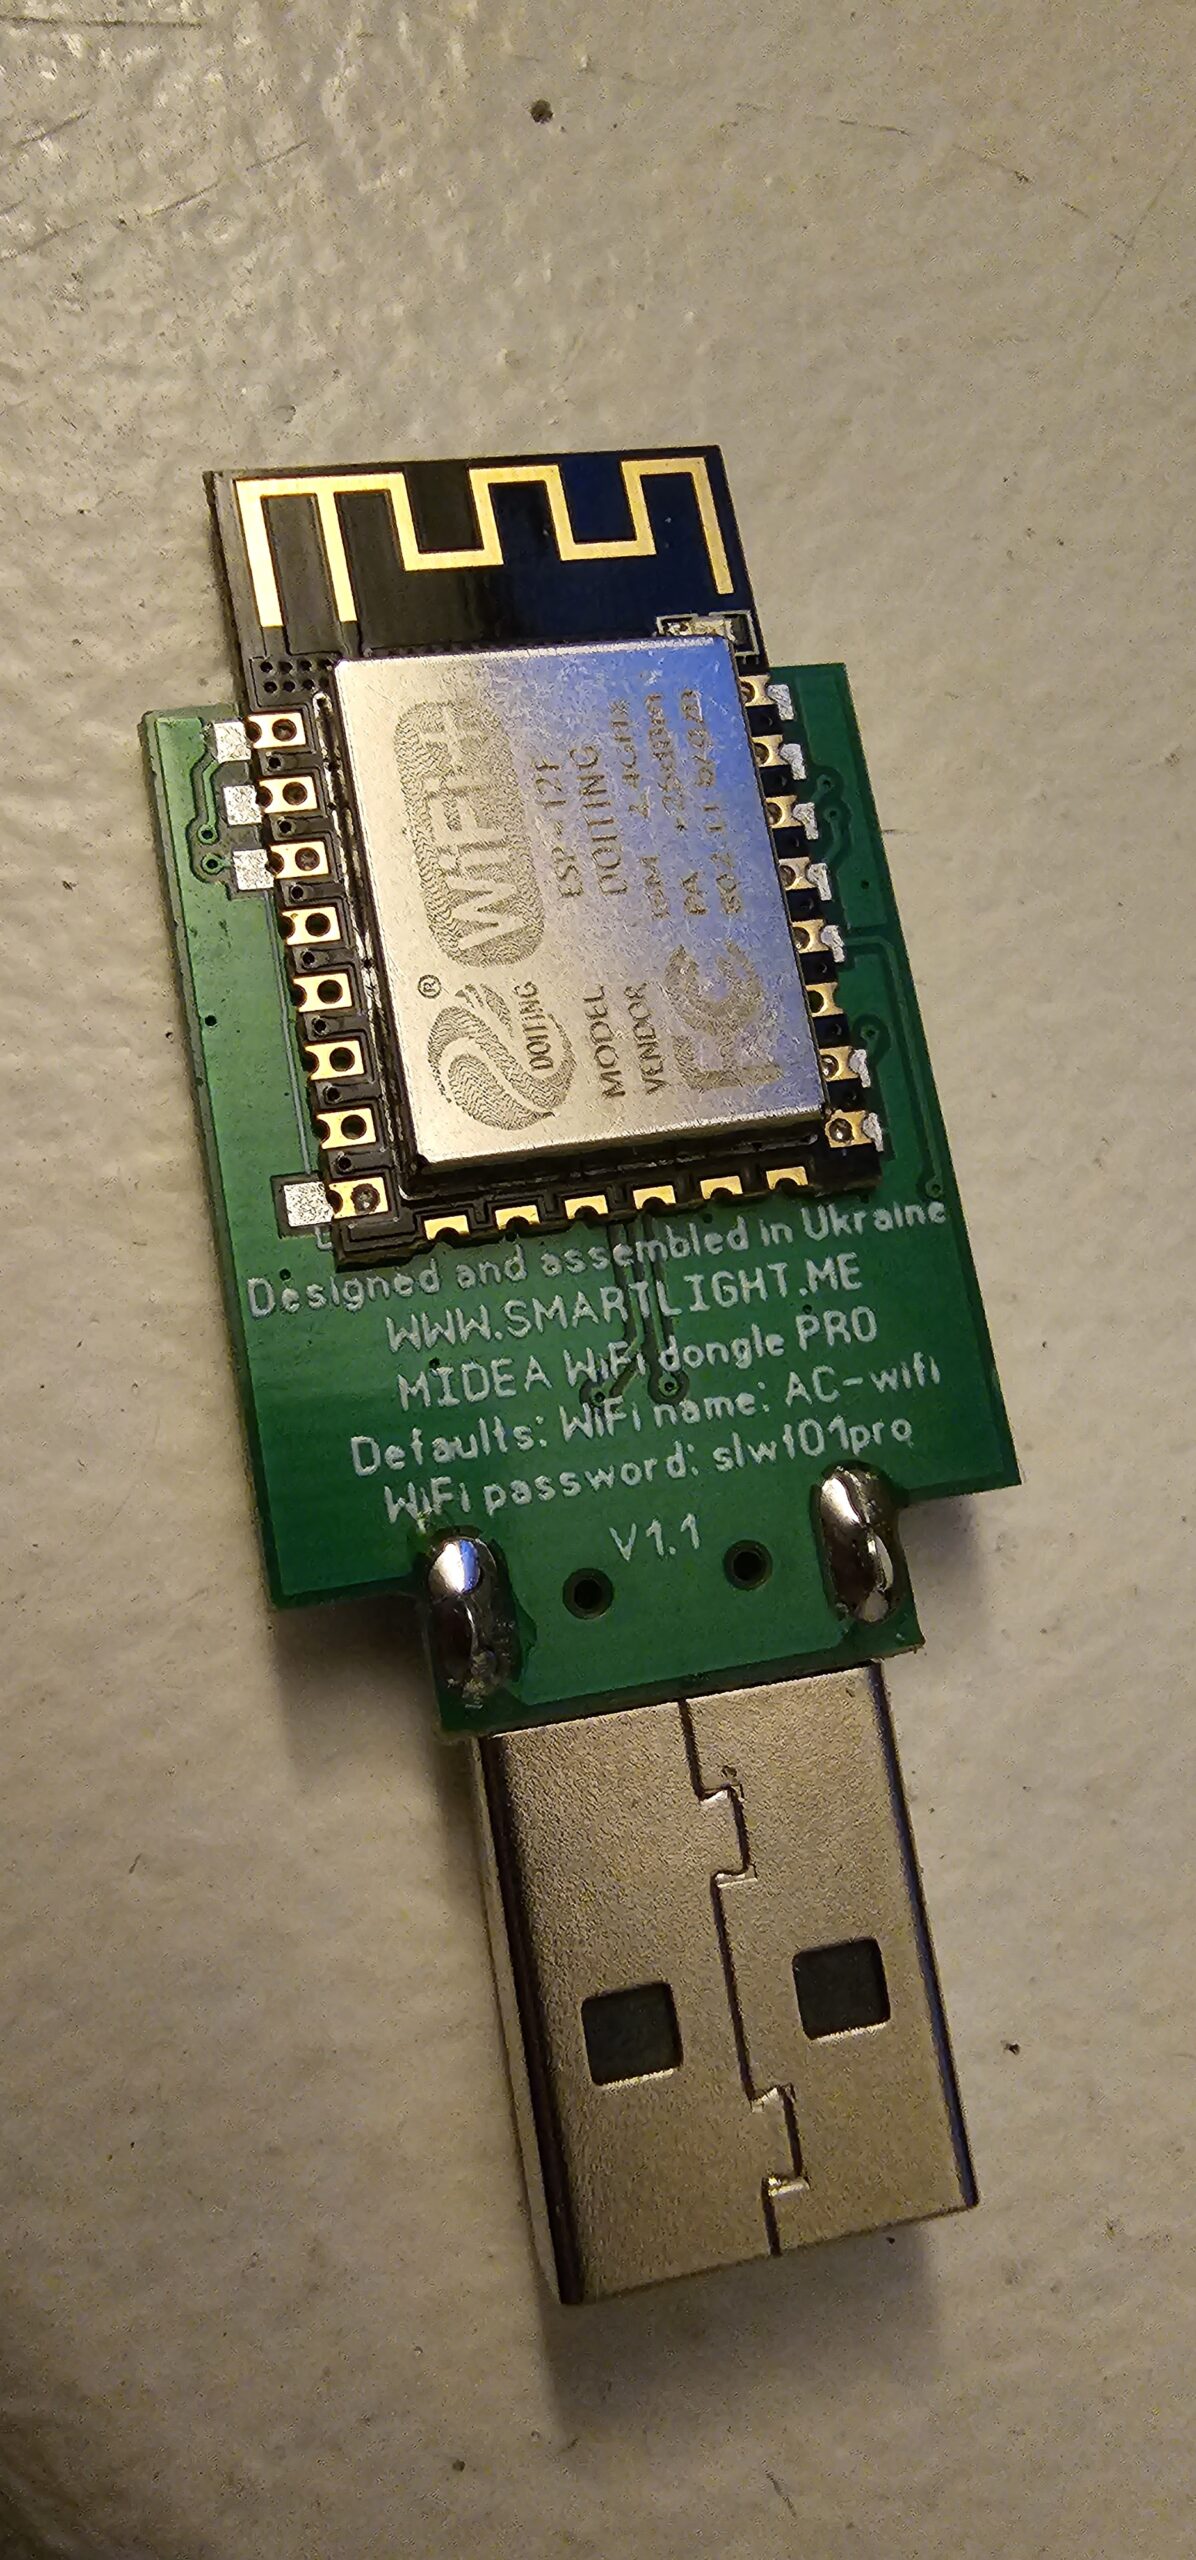
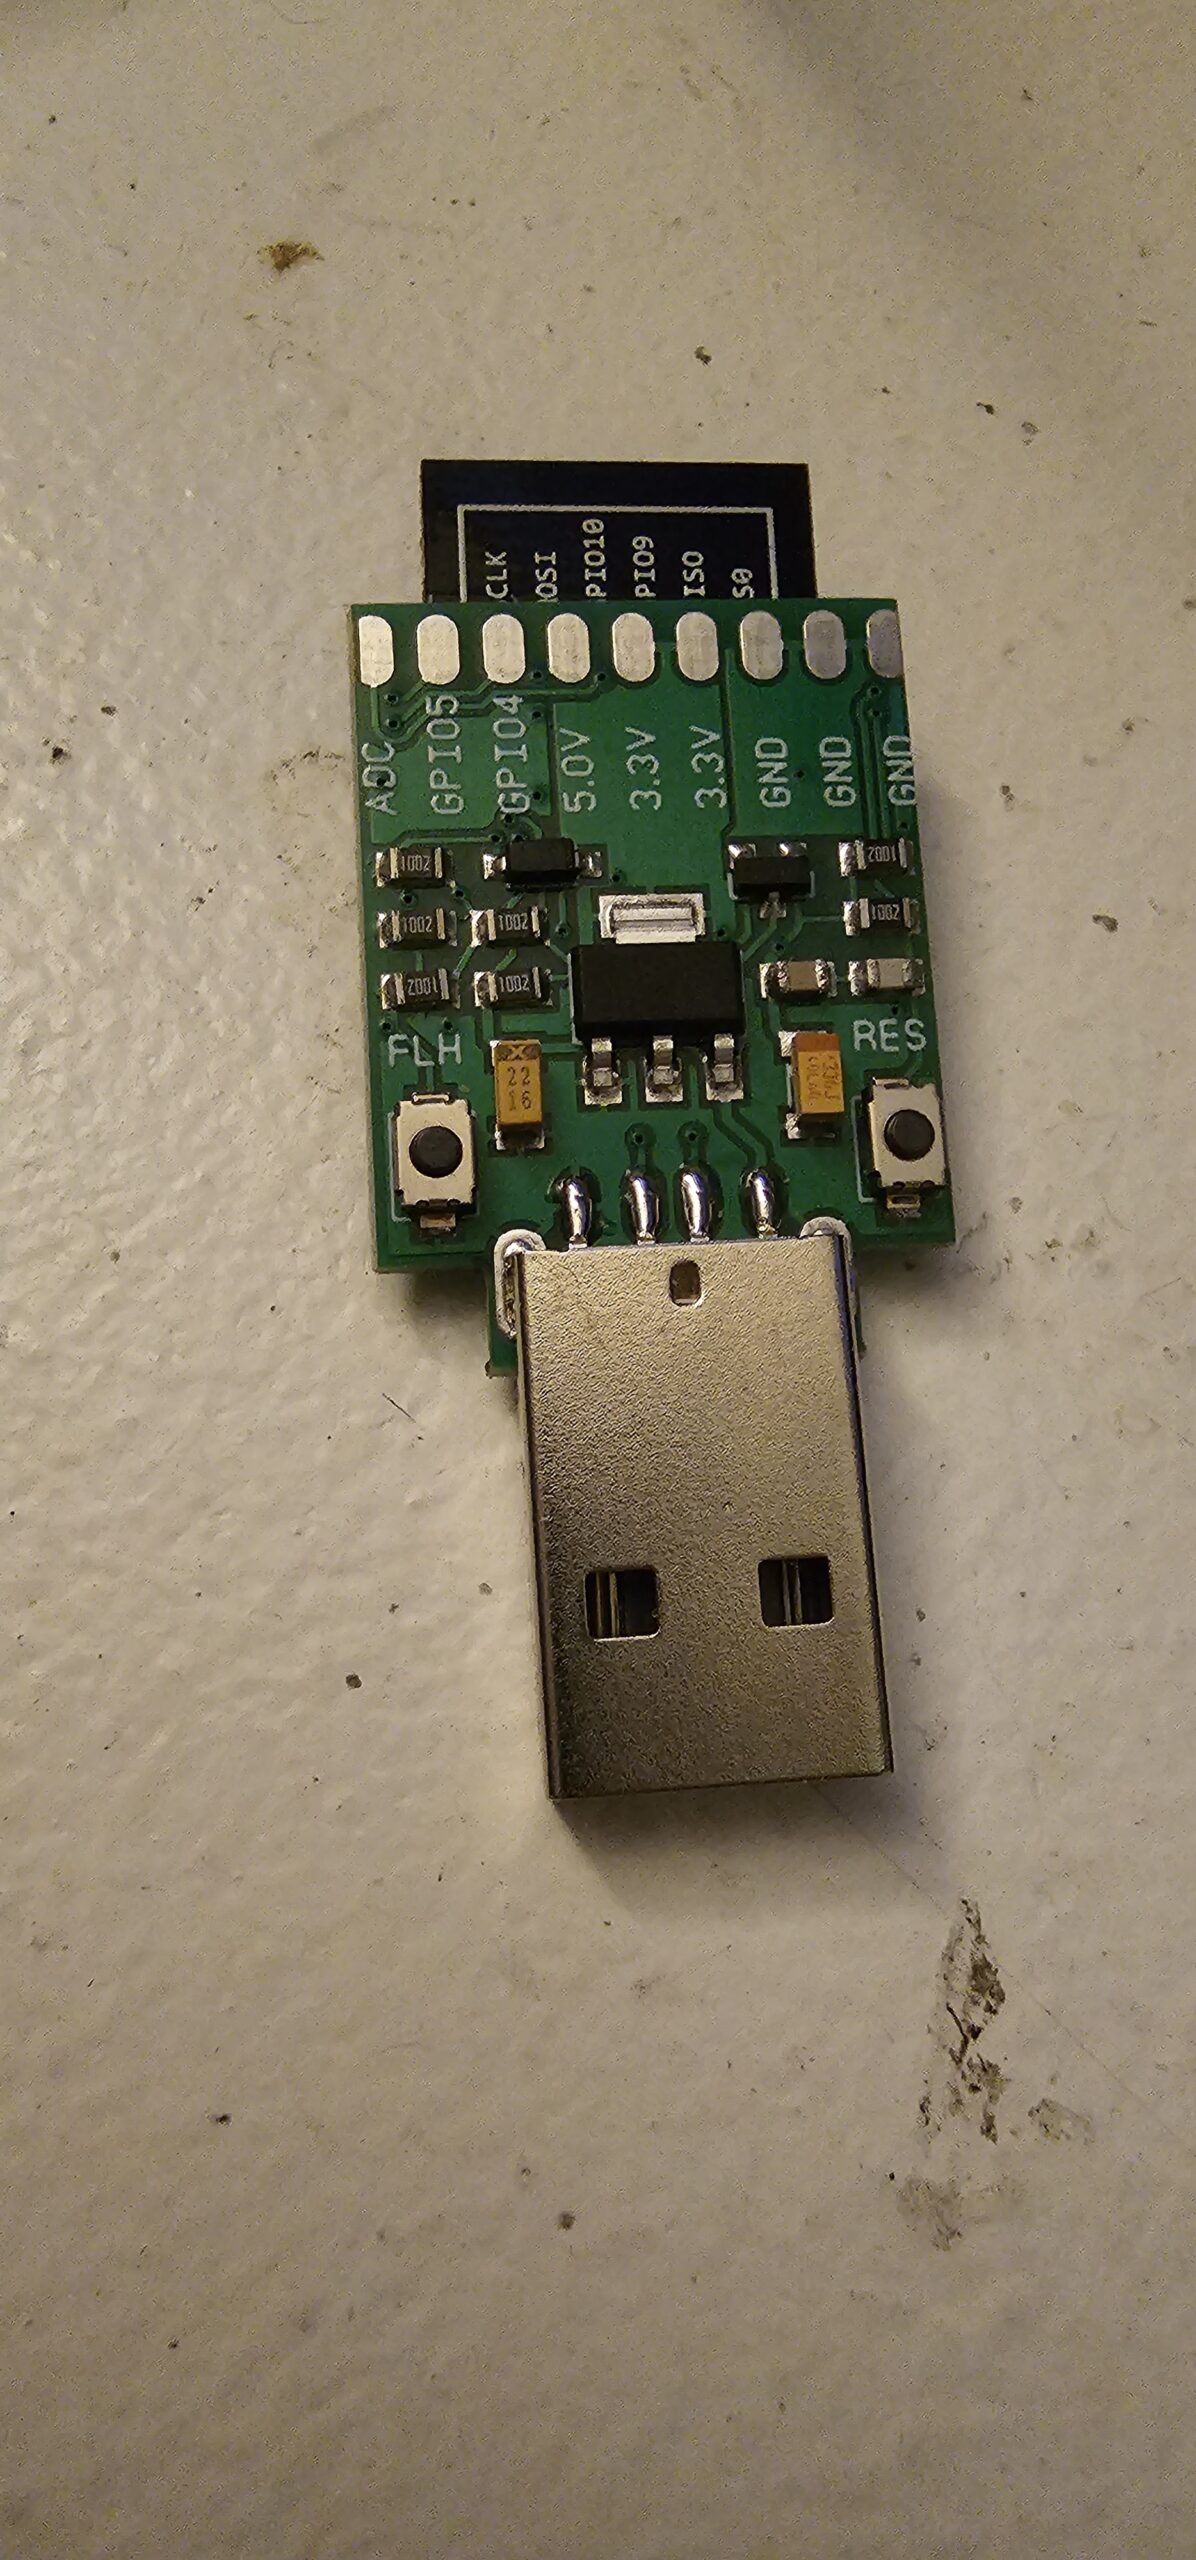
All I needed to do was buy the device for this one. It was super cheap ~$15 and simplest cloud free IOT hack I have had to do.
ESPHome Config:

esphome:
  name: workshop-mini-split
  friendly_name: Workshop Mini Split

esp8266:
  board: esp01_1m
  
# Enable Home Assistant API
api:
  encryption:
    key: ""

ota:
  platform: esphome
  password: ""

wifi:
  ssid: !secret wifi_ssid
  password: !secret wifi_password

  # Enable fallback hotspot (captive portal) in case wifi connection fails
  ap:
    ssid: "Workshop-Mini-Split"
    password: ""

captive_portal:
# Example configuration entry

# Disable logging over UART (required)
logger:
  baud_rate: 0

# UART settings for Midea dongle (required)
uart:
  tx_pin: 1         # hardware dependant
  rx_pin: 3         # hardware dependant
  baud_rate: 9600

# Main settings
climate:
  - platform: midea
    name: Workshop Mini Split   # Use a unique name.
    period: 1s                  # Optional
    timeout: 2s                 # Optional
    num_attempts: 3             # Optional
    autoconf: true              # Autoconfigure most options.
    beeper: true                # Beep on commands.
    visual:                     # Optional. Example of visual settings override.
      min_temperature: 17 °C    # min: 17
      max_temperature: 30 °C    # max: 30
      temperature_step: 0.5 °C  # min: 0.5
    supported_modes:            # Optional. All capabilities in this section may be detected by autoconf.
      - FAN_ONLY
      - HEAT_COOL
      - COOL
      - HEAT
      - DRY
    custom_fan_modes:           # Optional
      - SILENT
      - TURBO
    supported_presets:          # Optional. All capabilities in this section may be detected by autoconf.
      - ECO
      - BOOST
      - SLEEP
    supported_swing_modes:      # Optional
      - VERTICAL
    outdoor_temperature:        # Optional. Outdoor temperature sensor (may display incorrect values after long inactivity).
      name: OutdoorTemp
    power_usage:                # Optional. Power usage sensor (only for devices that support this feature).
      name: Power
    humidity_setpoint:          # Optional. Indoor humidity sensor (only for devices that support this feature).
      name: IndoorHumidity    

Cloud Free All The Things!

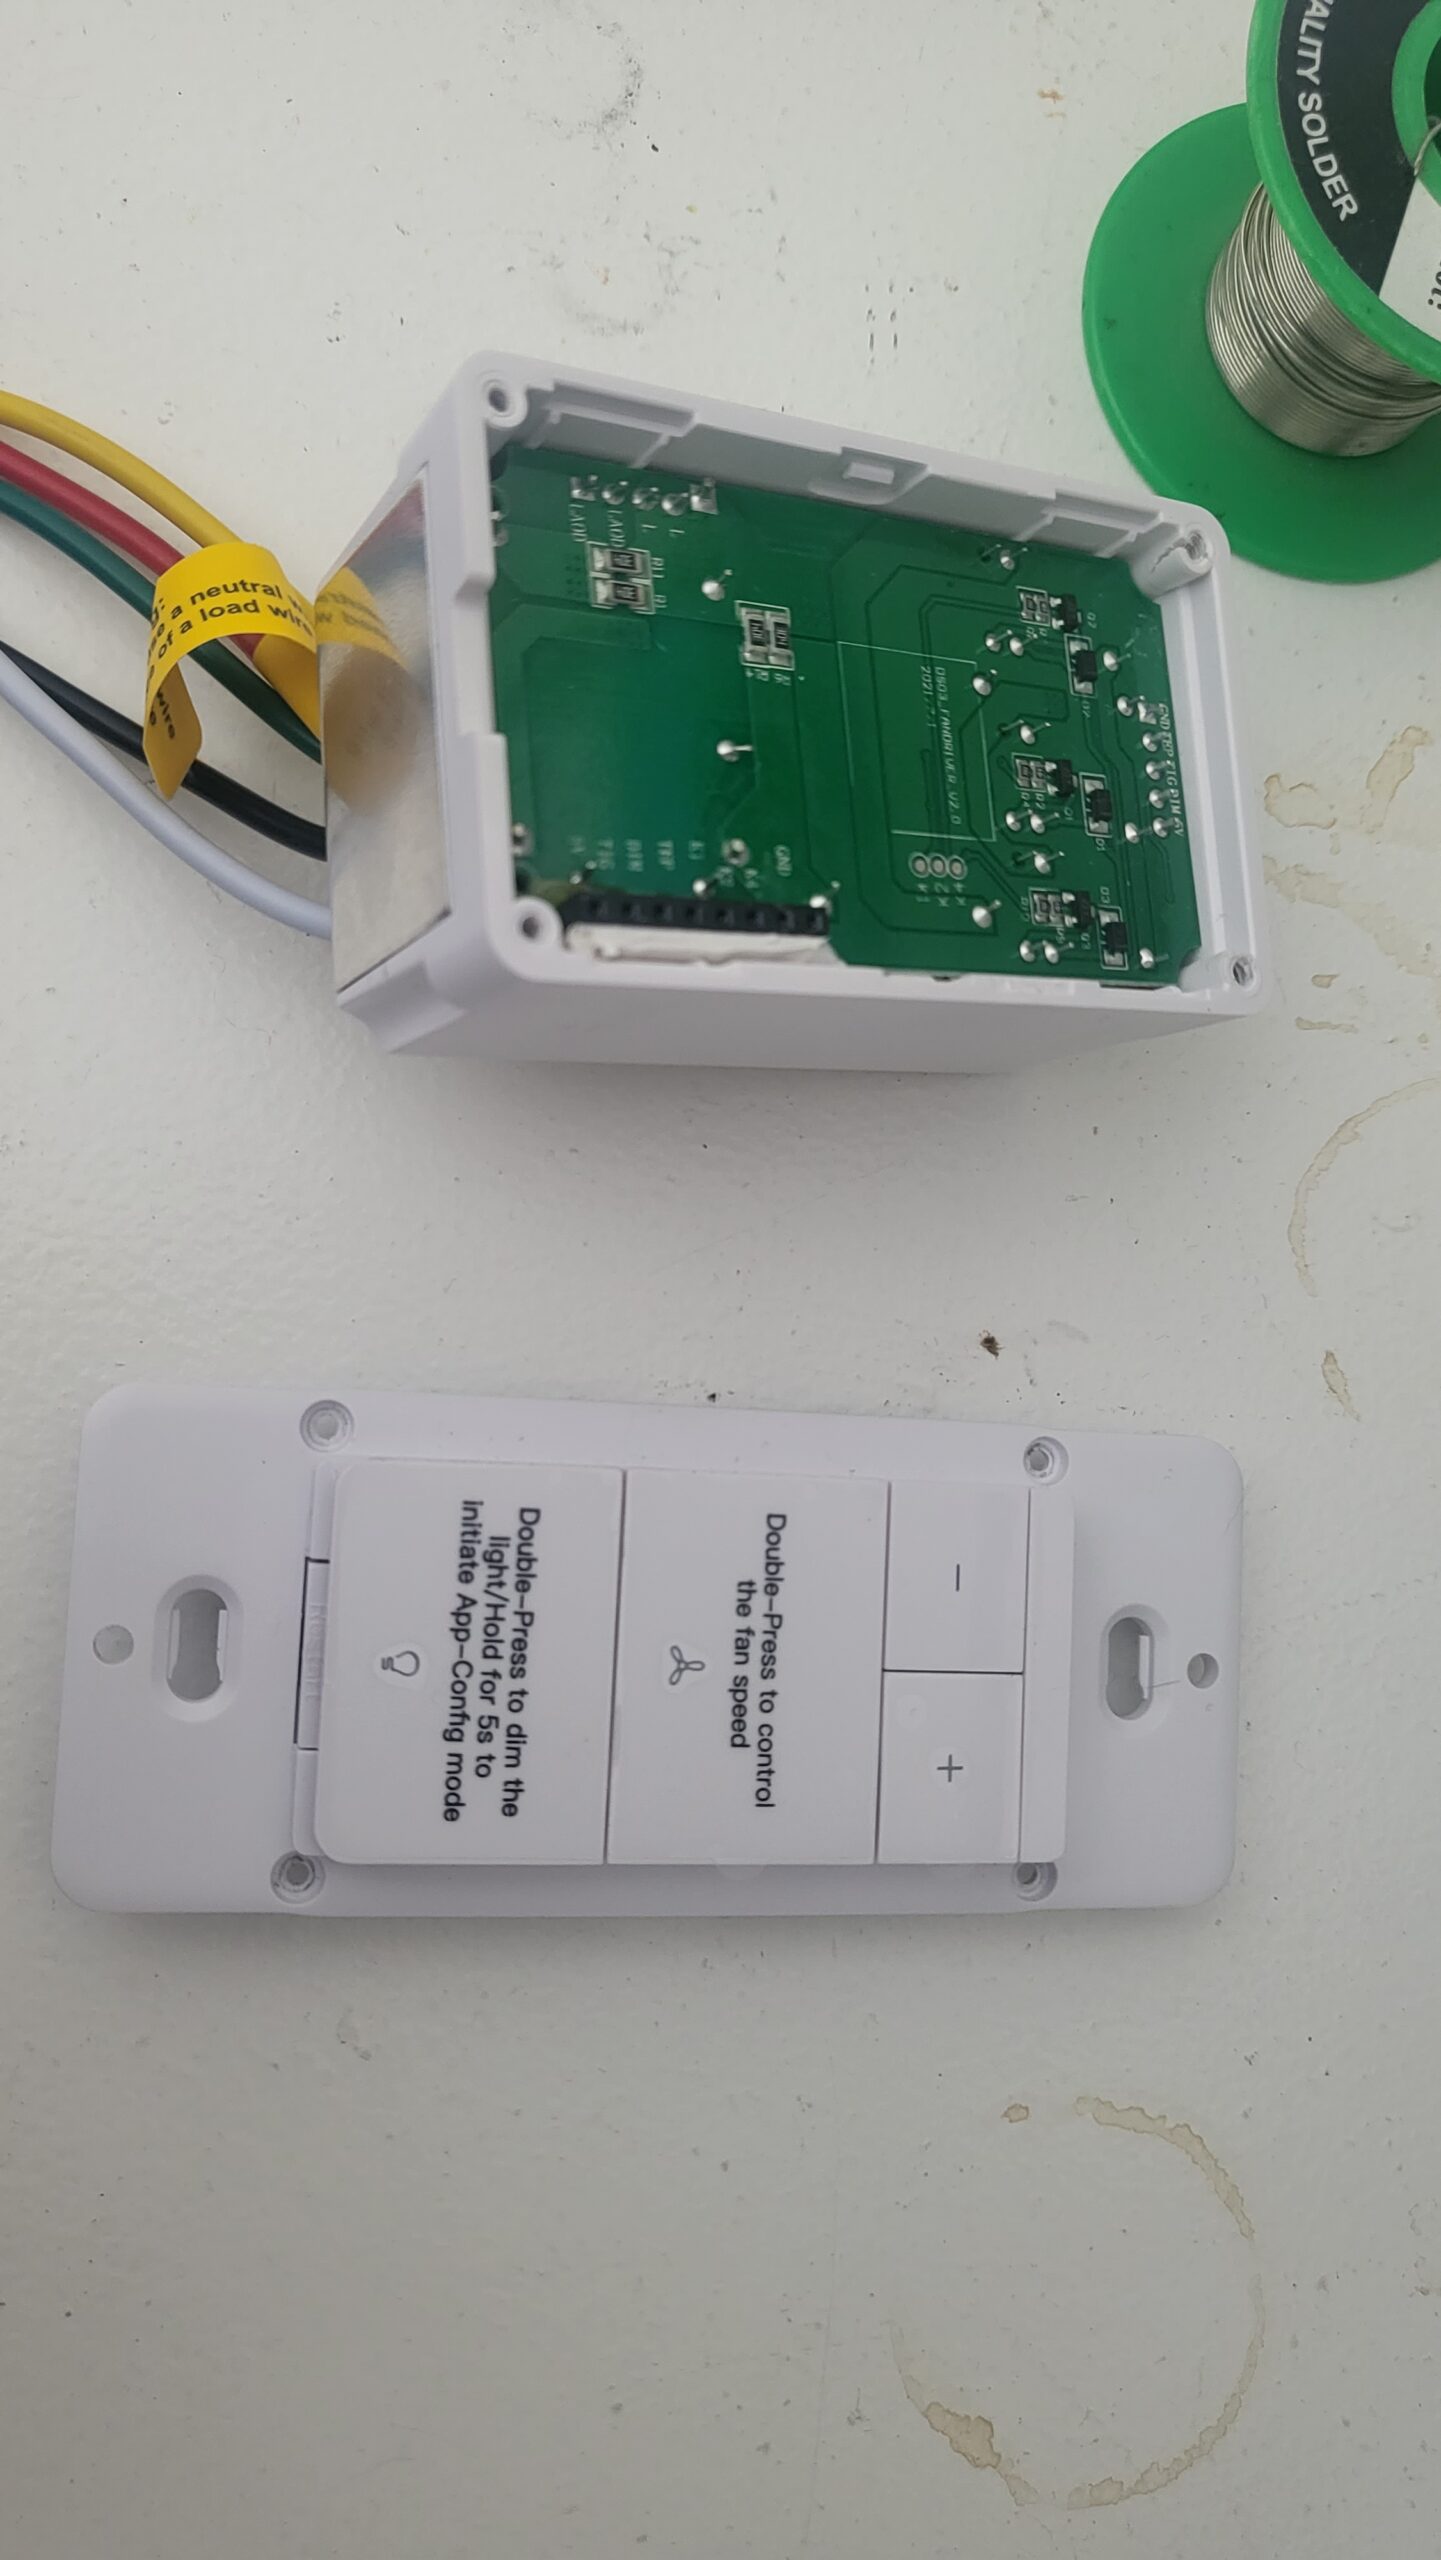
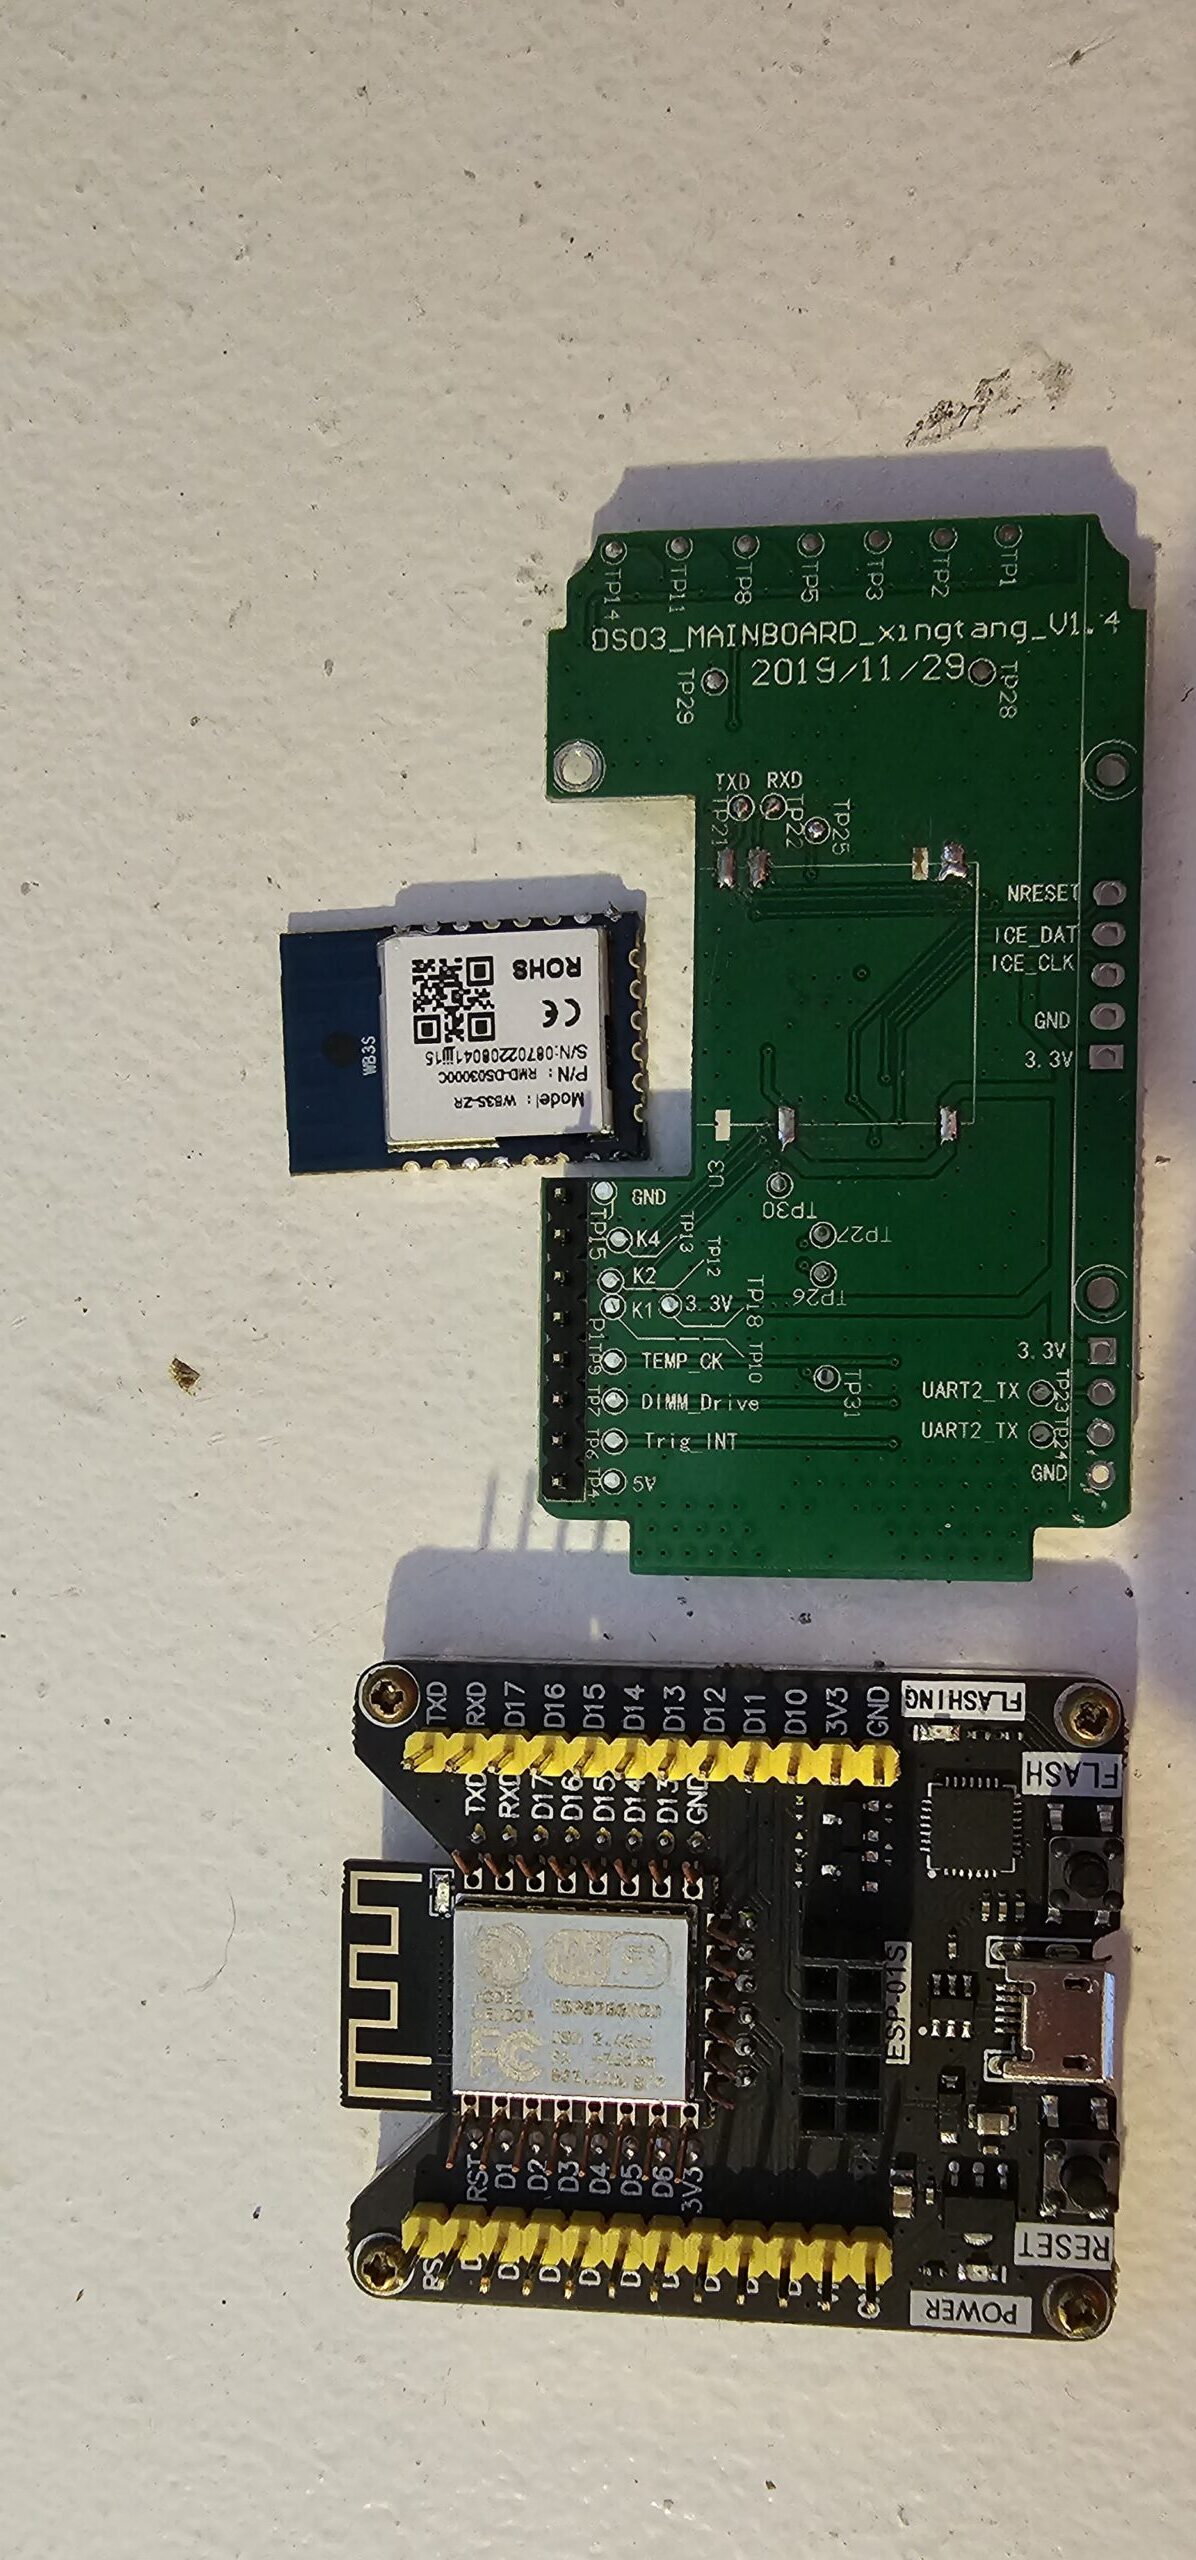
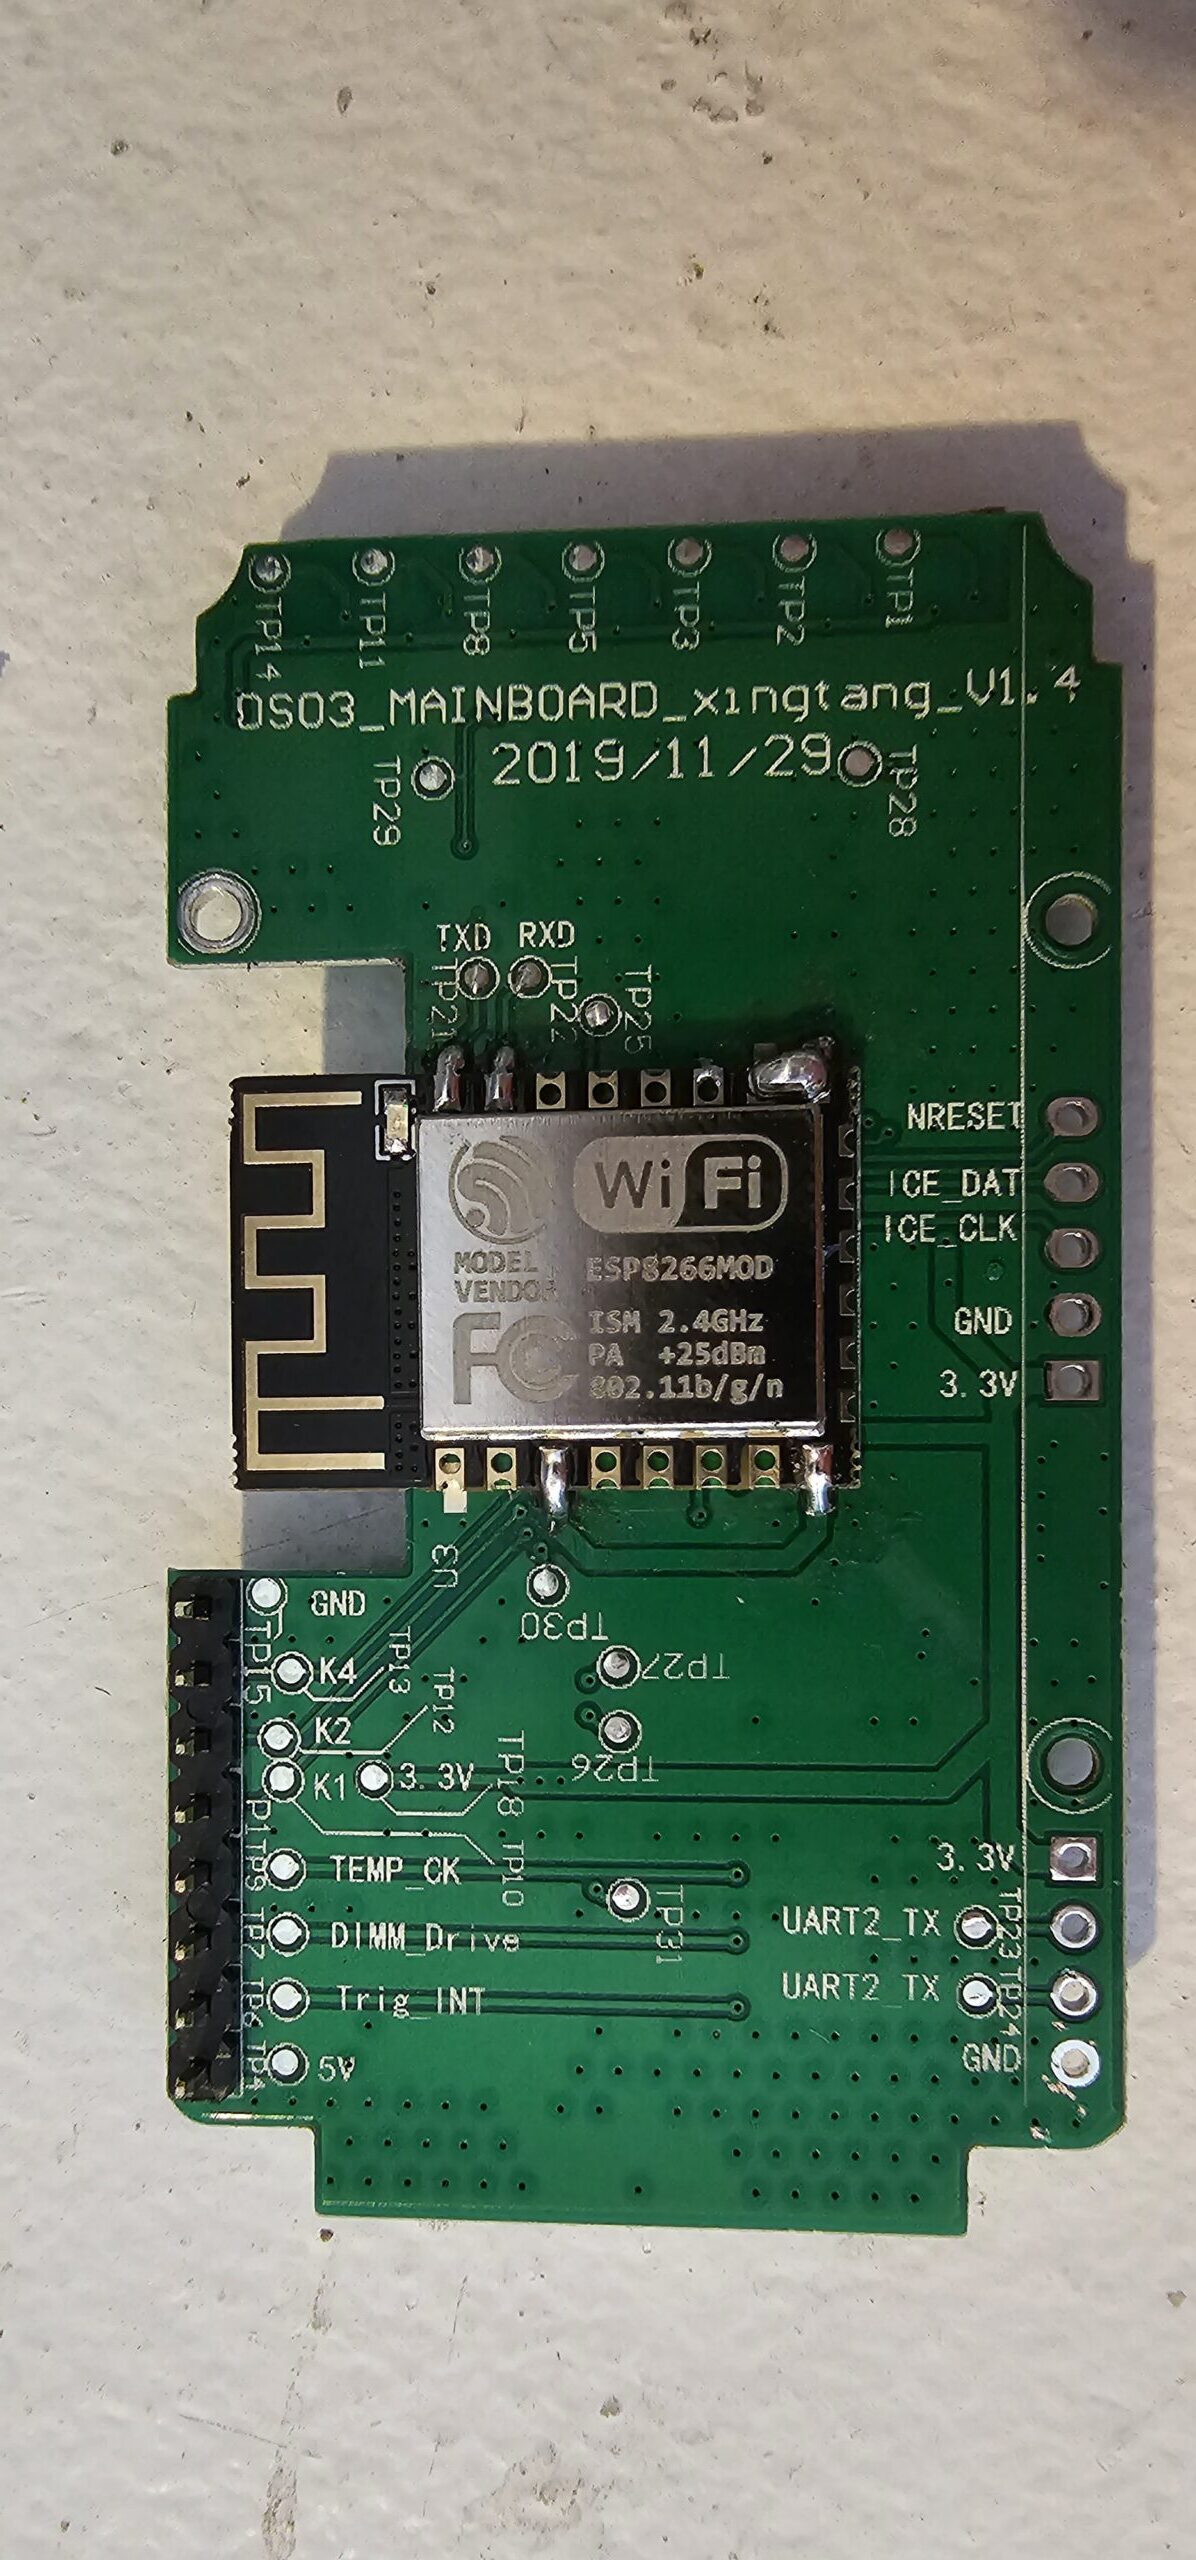
This is one of my favorite IOT switches because it has a light and fan dimmer all in one gang slot. I swap out there Tuya SOC with an ESPHome flashed ESP8266. They have since changes their design, so I have been having issues finding more.

esphome:
  name: our-bedroom-ceiling-fan
  friendly_name: "Our Bedroom Ceiling Fan"

esp8266:
  board: esp01_1m

# Enable Home Assistant API
api:
  encryption:
    key: ""
ota:
  platform: esphome
  password: ""

wifi:
  ssid: !secret wifi_ssid
  password: !secret wifi_password

  # Enable fallback hotspot (captive portal) in case wifi connection fails
  ap:
    ssid: !secret AP_ssid
    password: !secret AP_password

captive_portal:

# Enable logging
logger:
  baud_rate: 0

uart:
  rx_pin: GPIO3
  tx_pin: GPIO1
  baud_rate: 115200

tuya:

sensor:
  - platform: wifi_signal
    name: $friendly_name Wifi Signal
    update_interval: 60s

  - platform: uptime
    name: $friendly_name uptime

light:
  - platform: "tuya"
    name: $friendly_name Light
    dimmer_datapoint: 10
    switch_datapoint: 9
    min_value: 1000
    max_value: 1000

fan:
  - platform: "tuya"
    name: $friendly_name Speed
    switch_datapoint: 1
    speed_datapoint: 3
    speed_count: 4

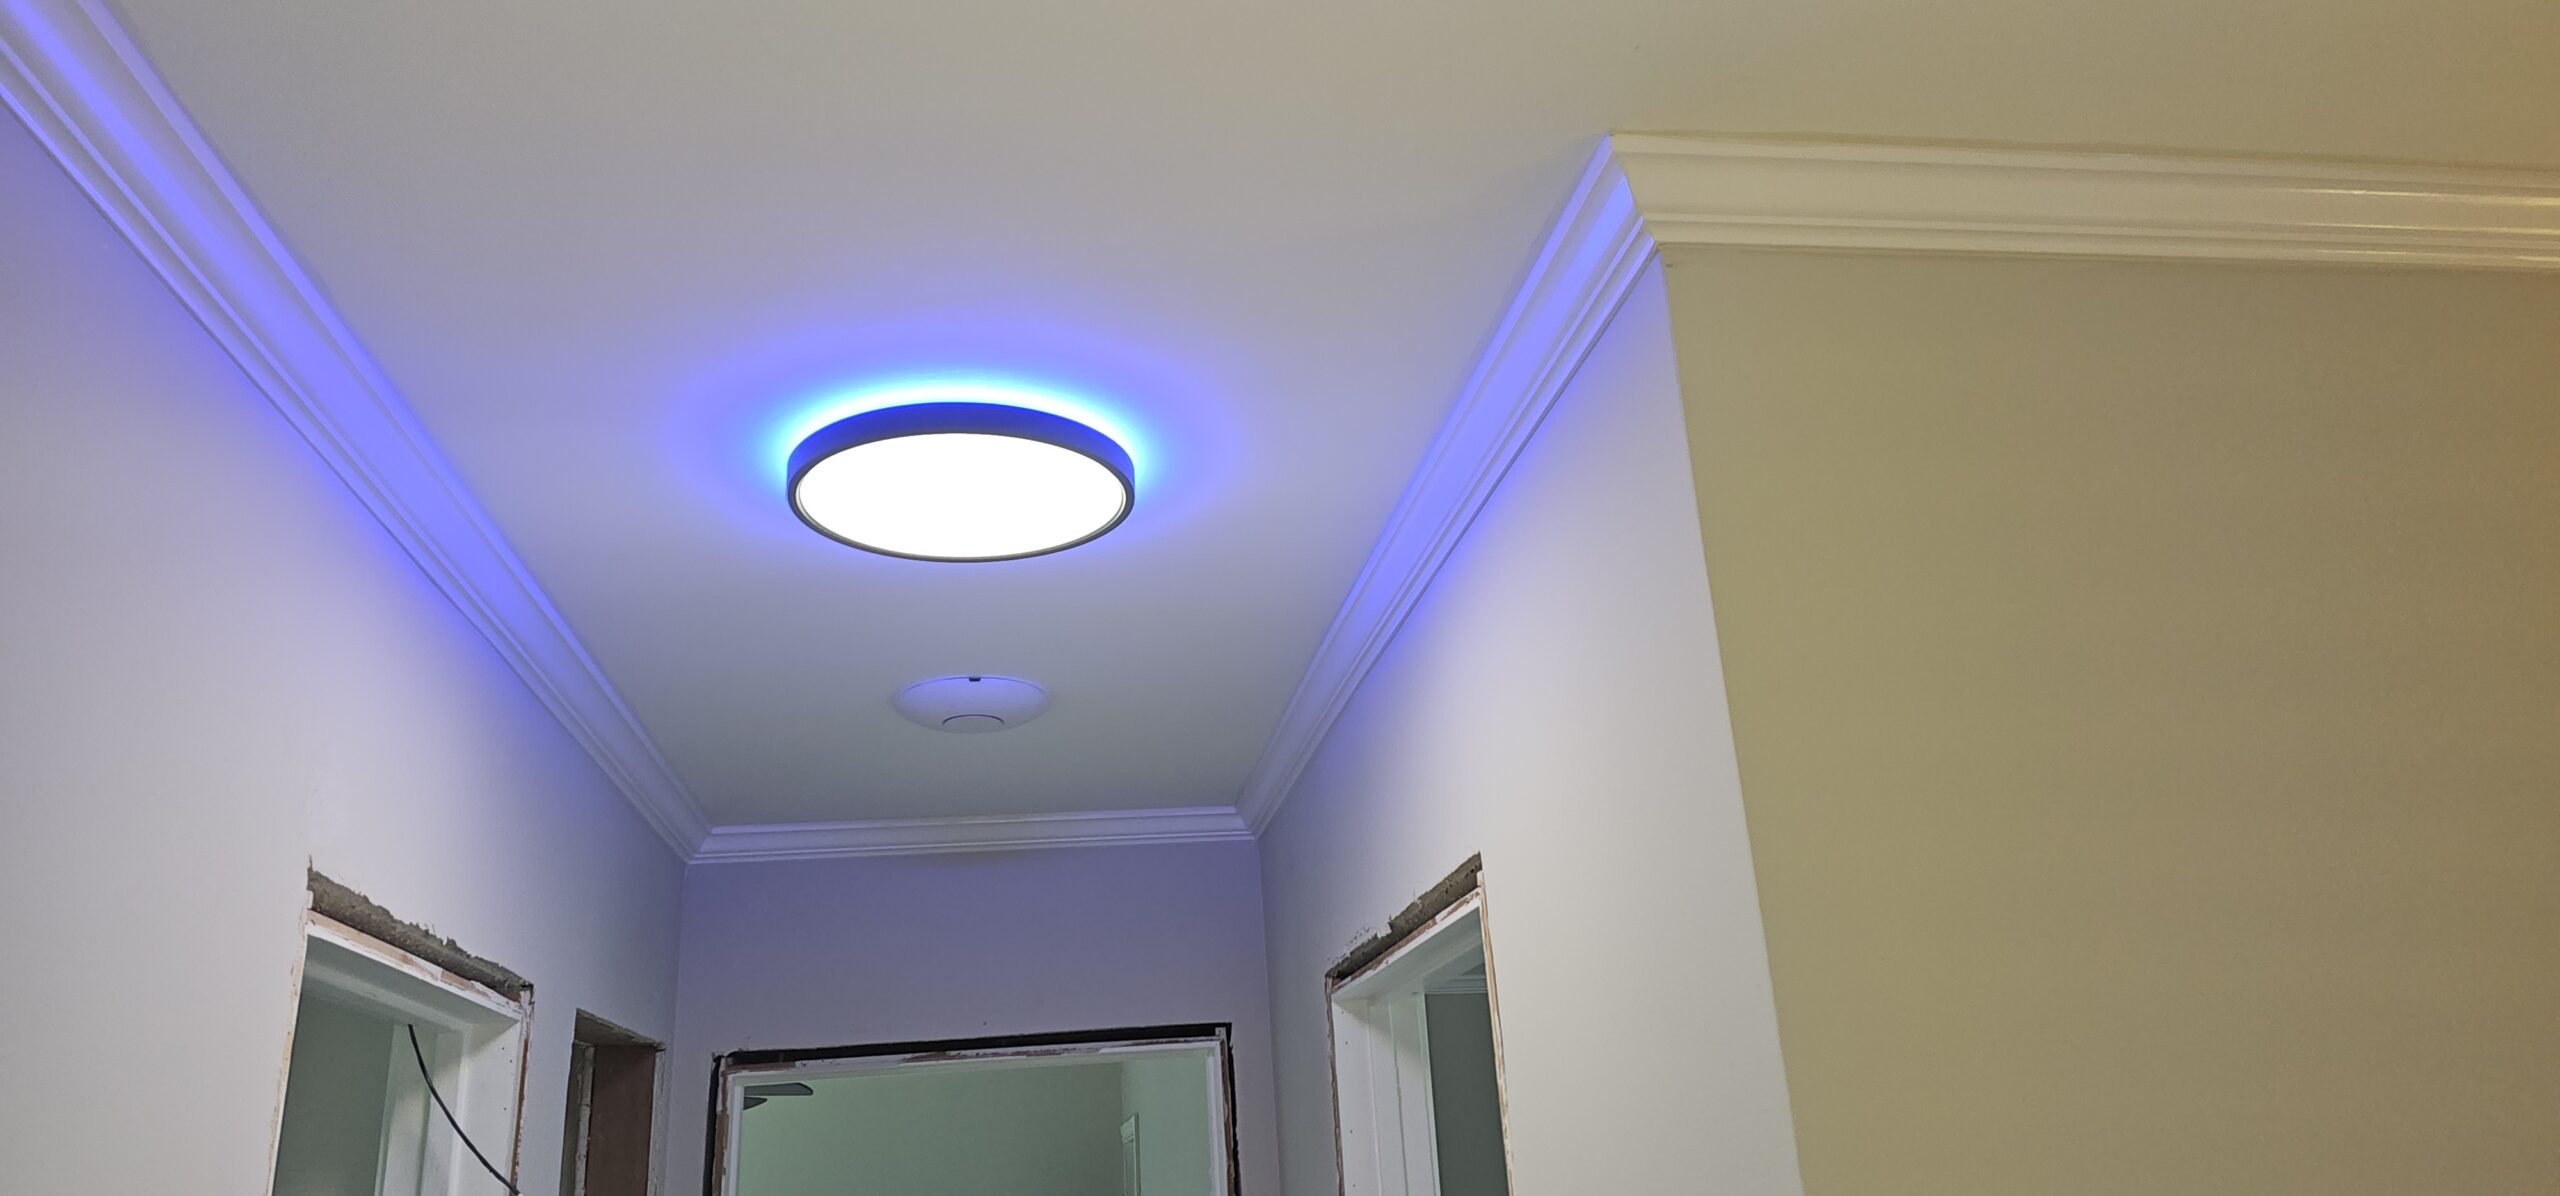
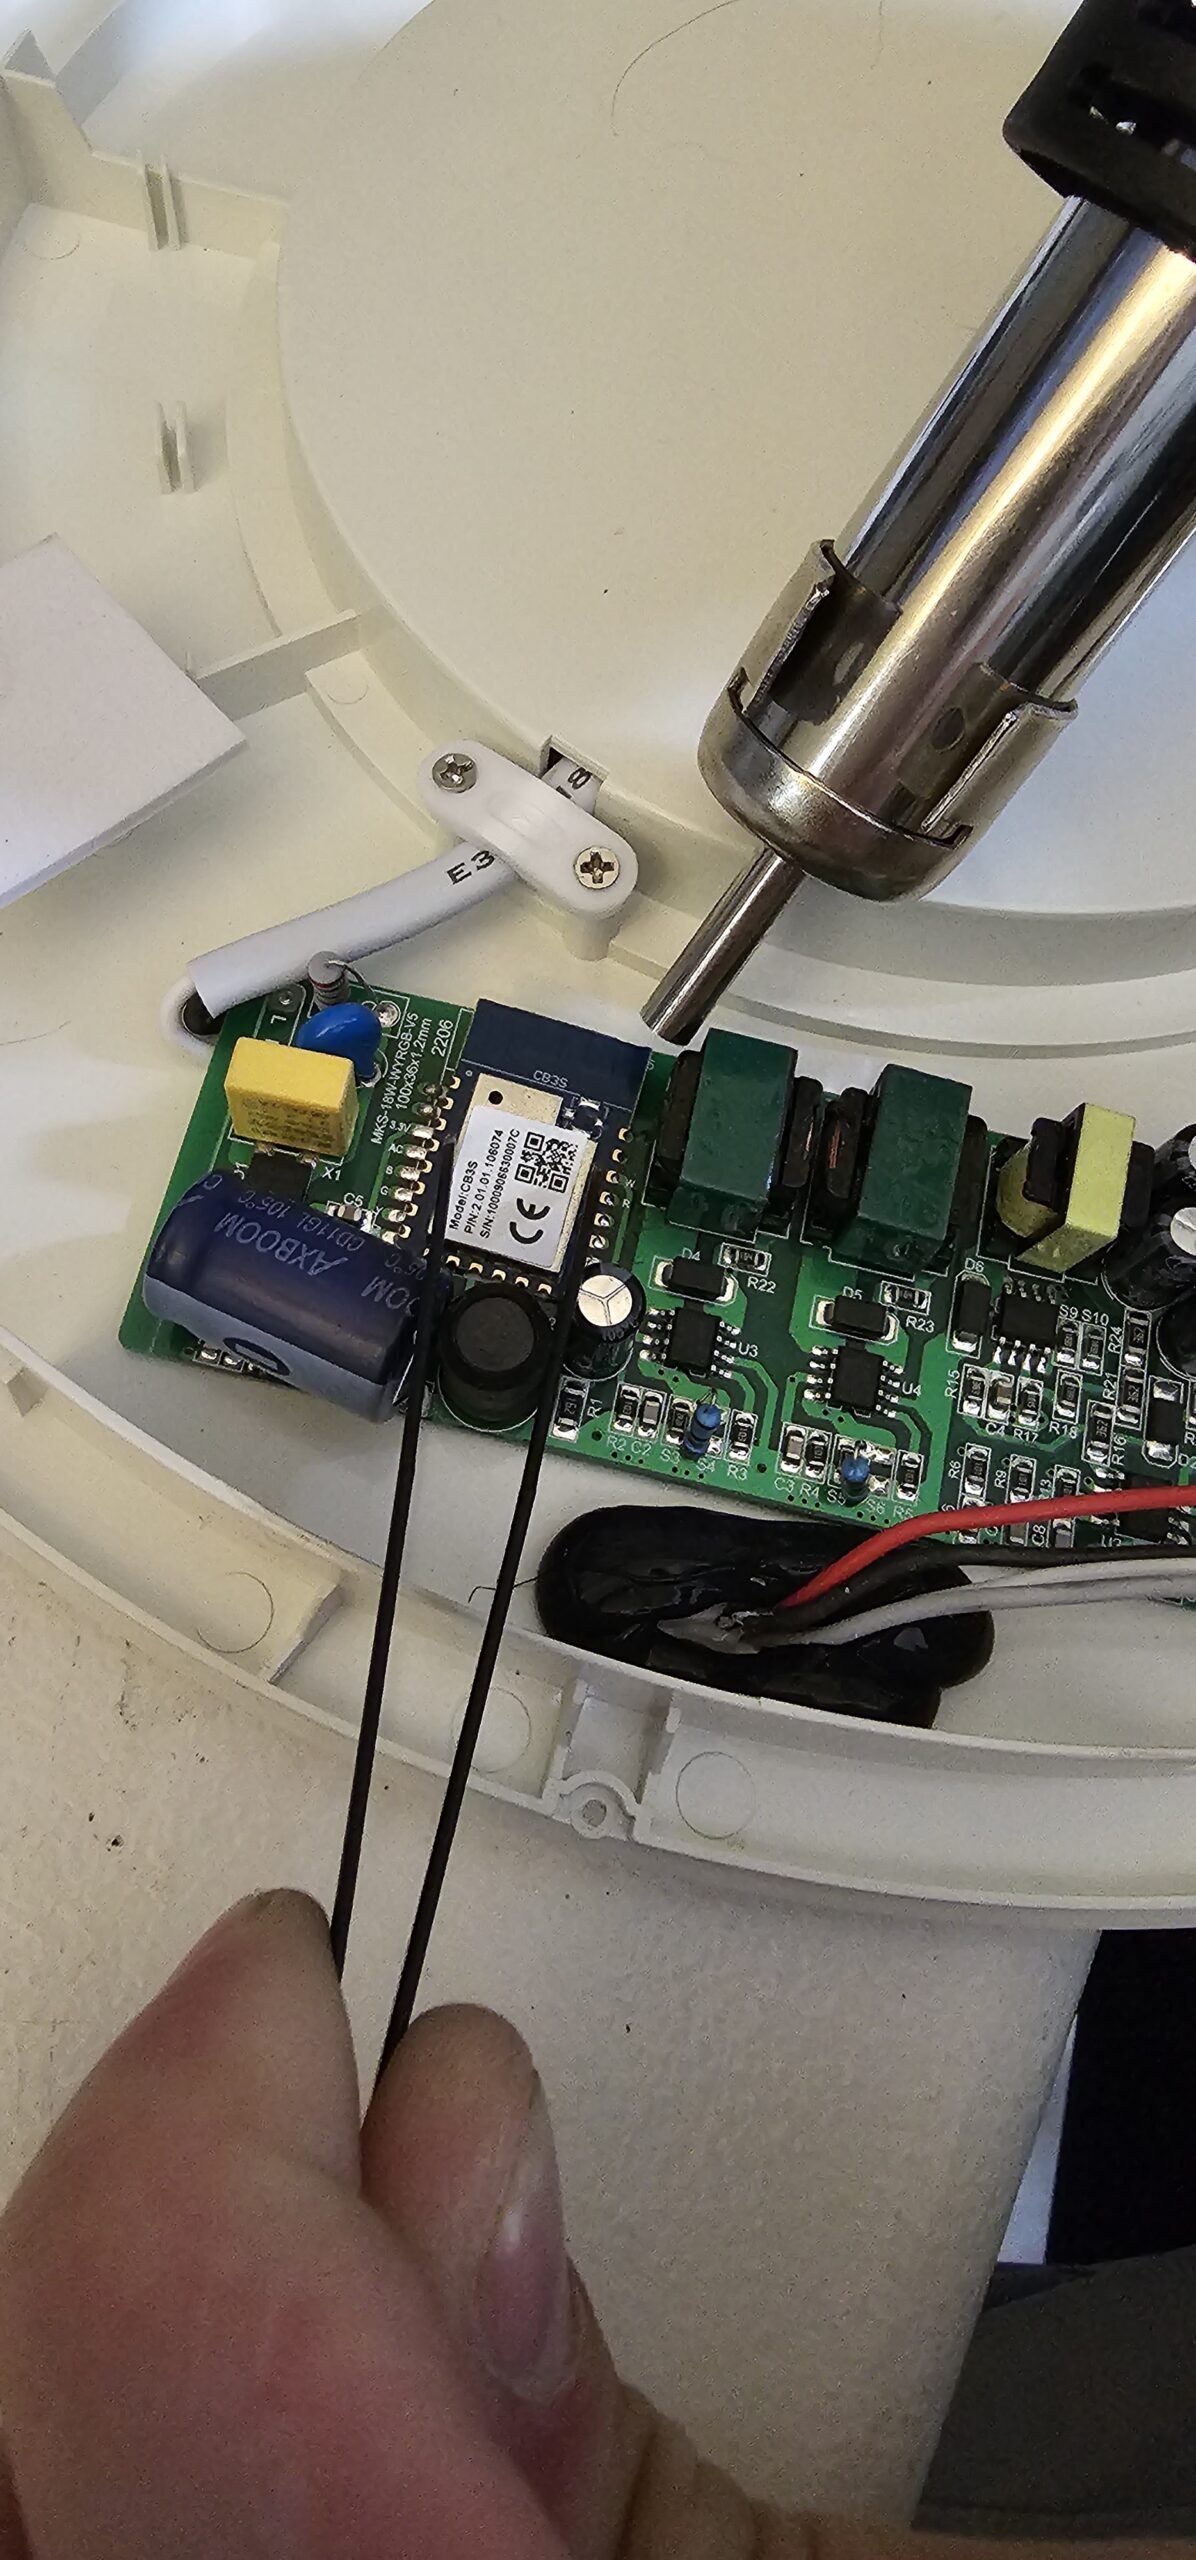
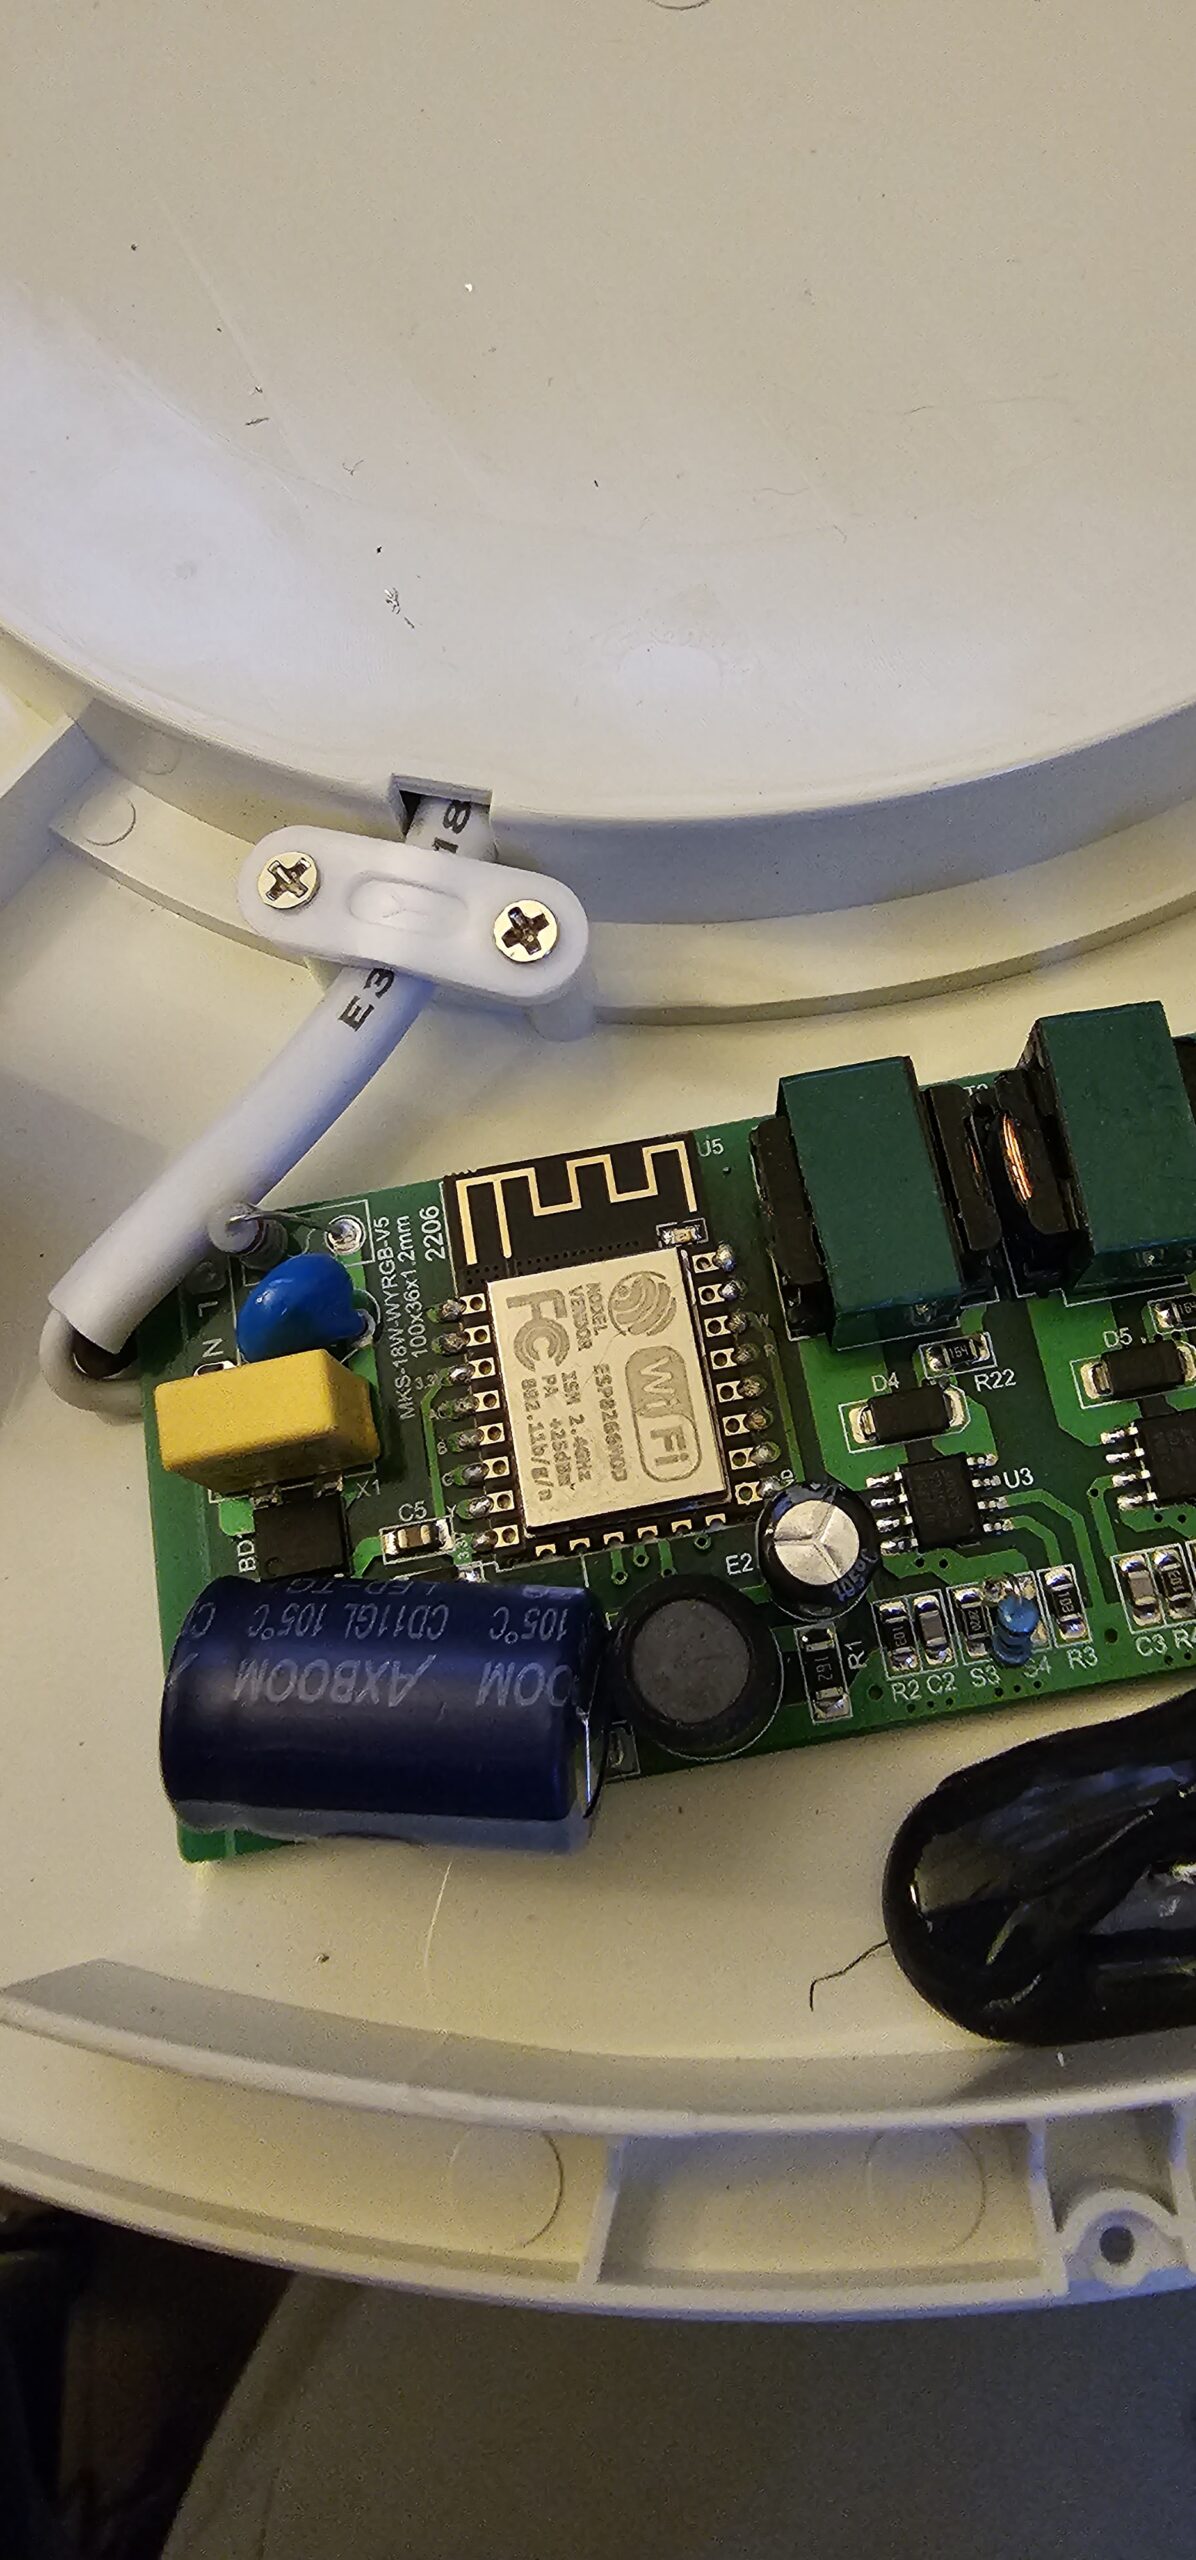
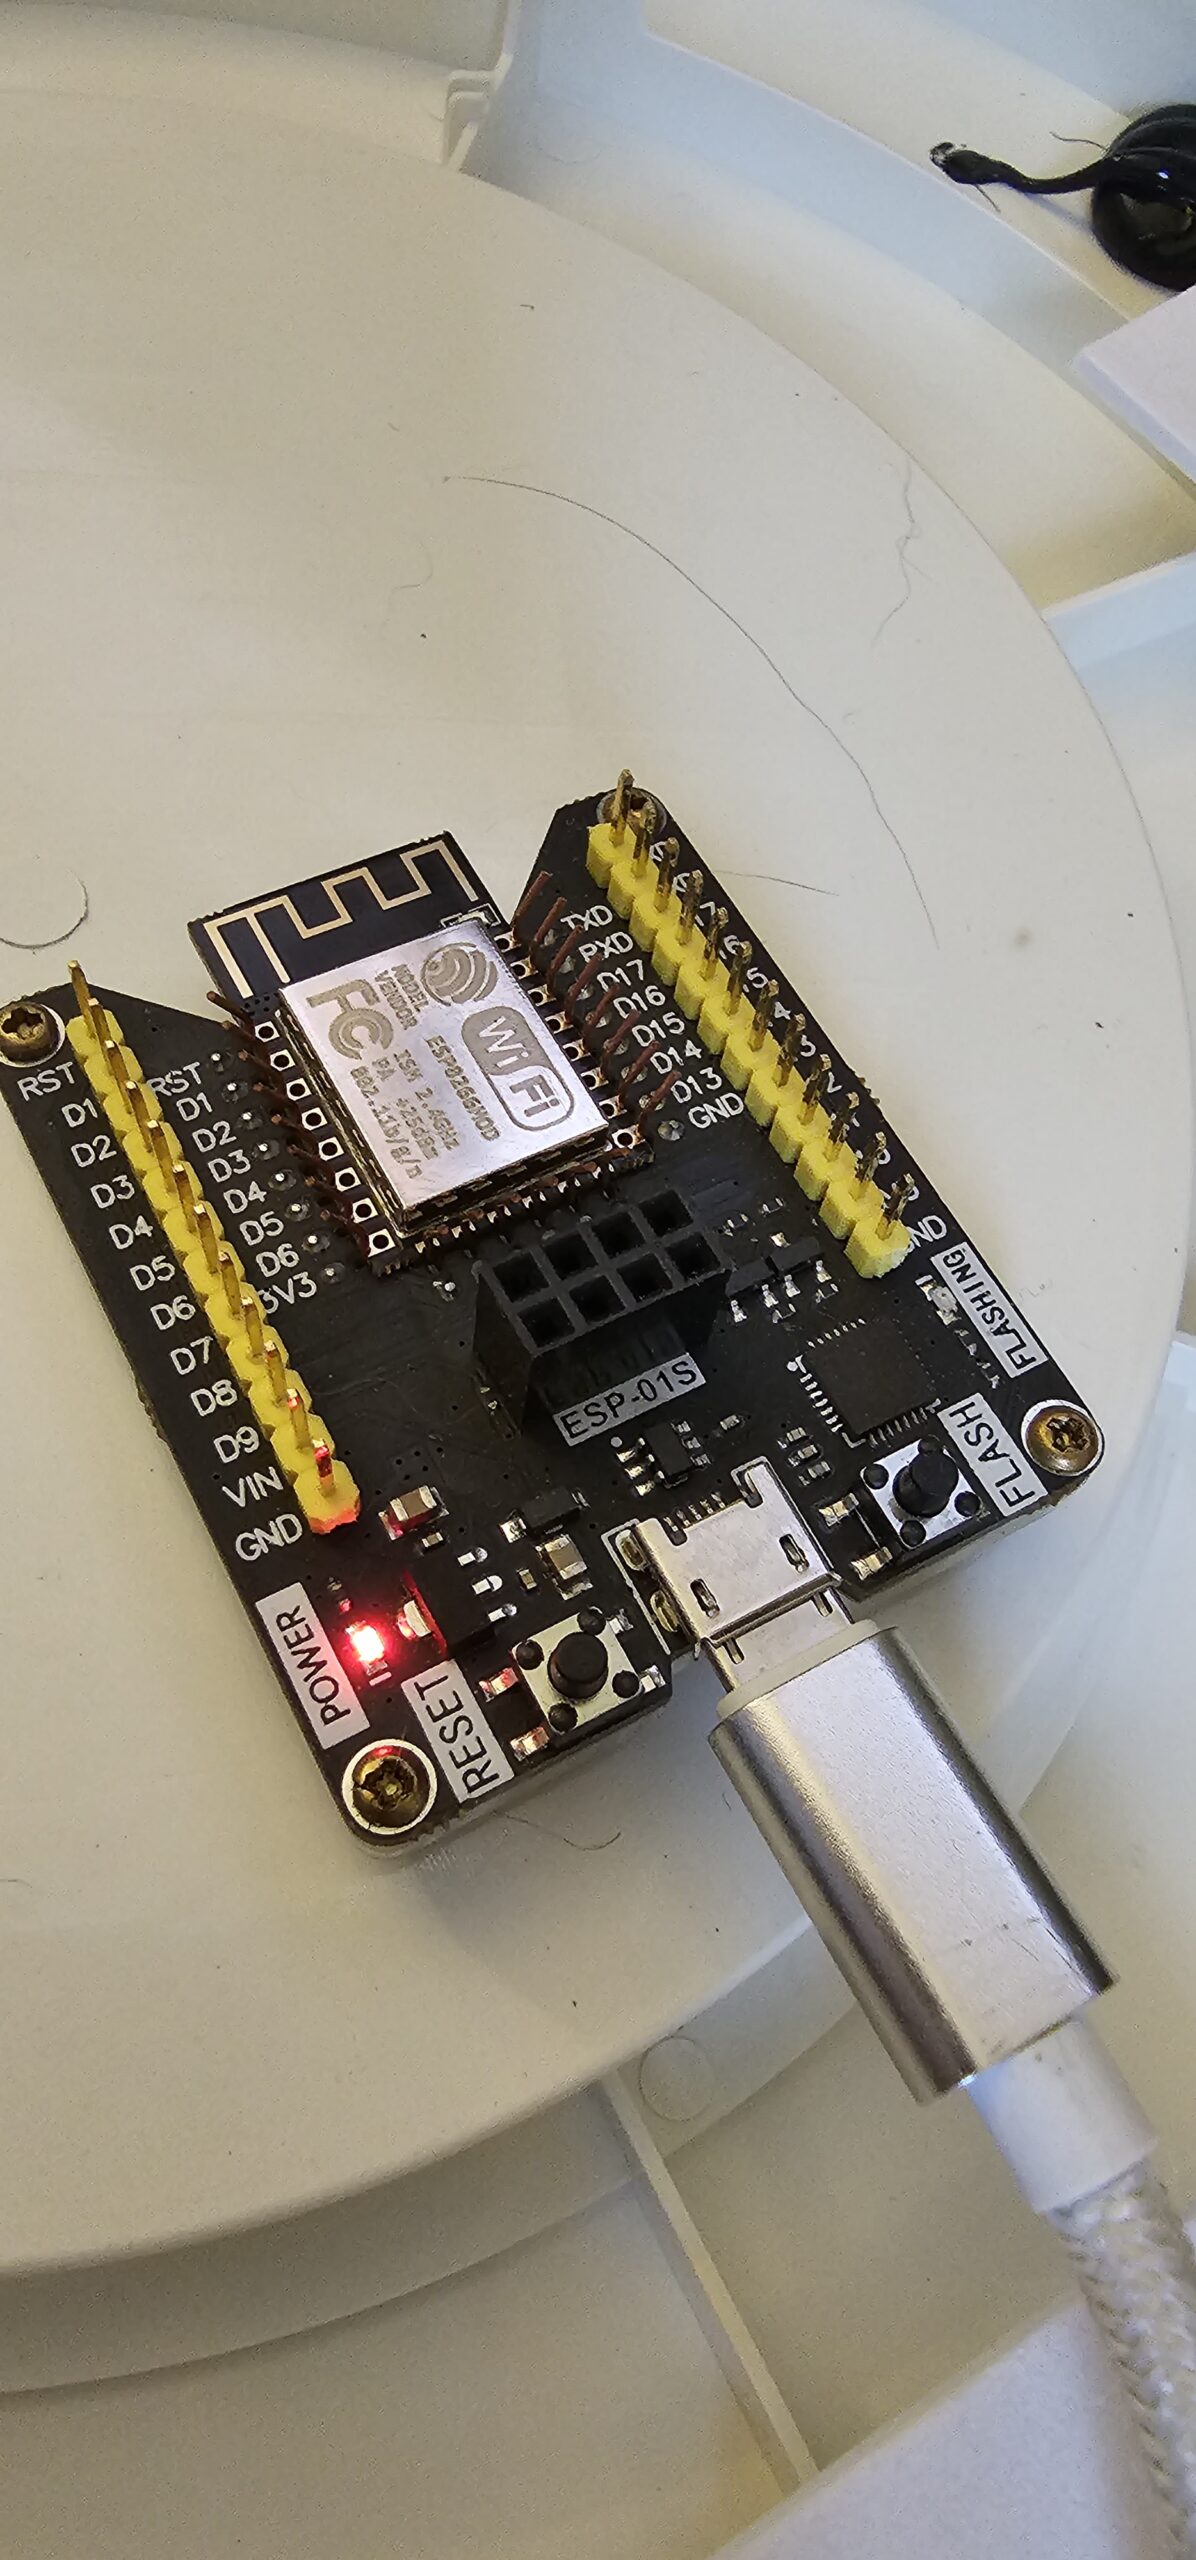
Hacking A Light Fixture To Free It… Cloud Free

I purchased the light and took a little bit to reverse engineer what pins did what but in the end it was one of the easier devices to hack. The main reason is all the IO is controlled by the main ESP. They do not have a secondary microcontroller that needs to be interfaced with. The main center light and the RGB ring are controlled independently.

ESPHome Config

esphome:
  name: hallway-rgbcct-light
  friendly_name: Hallway RGBCCT Light
  on_boot:
    priority: 600
    # ...
    then:
    - light.turn_on:
        id: hallway_rgb_light
        brightness: 50%
        red: 25%
        green: 0%
        blue: 100%
    - light.turn_on:
        id: hallway_cwww_light
        brightness: 70%
        cold_white: 0%
        warm_white: 100%

esp8266:
  board: esp01_1m

# Enable logging
logger:

# Enable Home Assistant API
api:
  encryption:
    key: ""
ota:
  platform: esphome
  password: ""

wifi:
  ssid: !secret wifi_ssid
  password: !secret wifi_password

  # Enable fallback hotspot (captive portal) in case wifi connection fails
  ap:
    ssid: !secret AP_ssid
    password:  !secret AP_password

captive_portal:

sensor:
  - platform: uptime
    name: ${friendly_name} Uptime

  - platform: wifi_signal
    name: ${friendly_name} Signal Strength

output:
  - platform: esp8266_pwm
    id: output_cw
    pin: GPIO5
  - platform: esp8266_pwm
    id: output_ww
    pin: GPIO4
  - platform: esp8266_pwm
    pin: GPIO1
    id: output_r
  - platform: esp8266_pwm
    pin: GPIO12
    id: output_b
  - platform: esp8266_pwm
    pin: GPIO13
    id: output_g

light:
  - platform: cwww
    name: "Hallway CWWW Light"
    id: hallway_cwww_light
    cold_white: output_cw
    warm_white: output_ww
    cold_white_color_temperature: 5700 K
    warm_white_color_temperature: 3000 K
  - platform: rgb
    name: "Hallway RGB Light"
    id: hallway_rgb_light
    red: output_r
    green: output_g
    blue: output_b

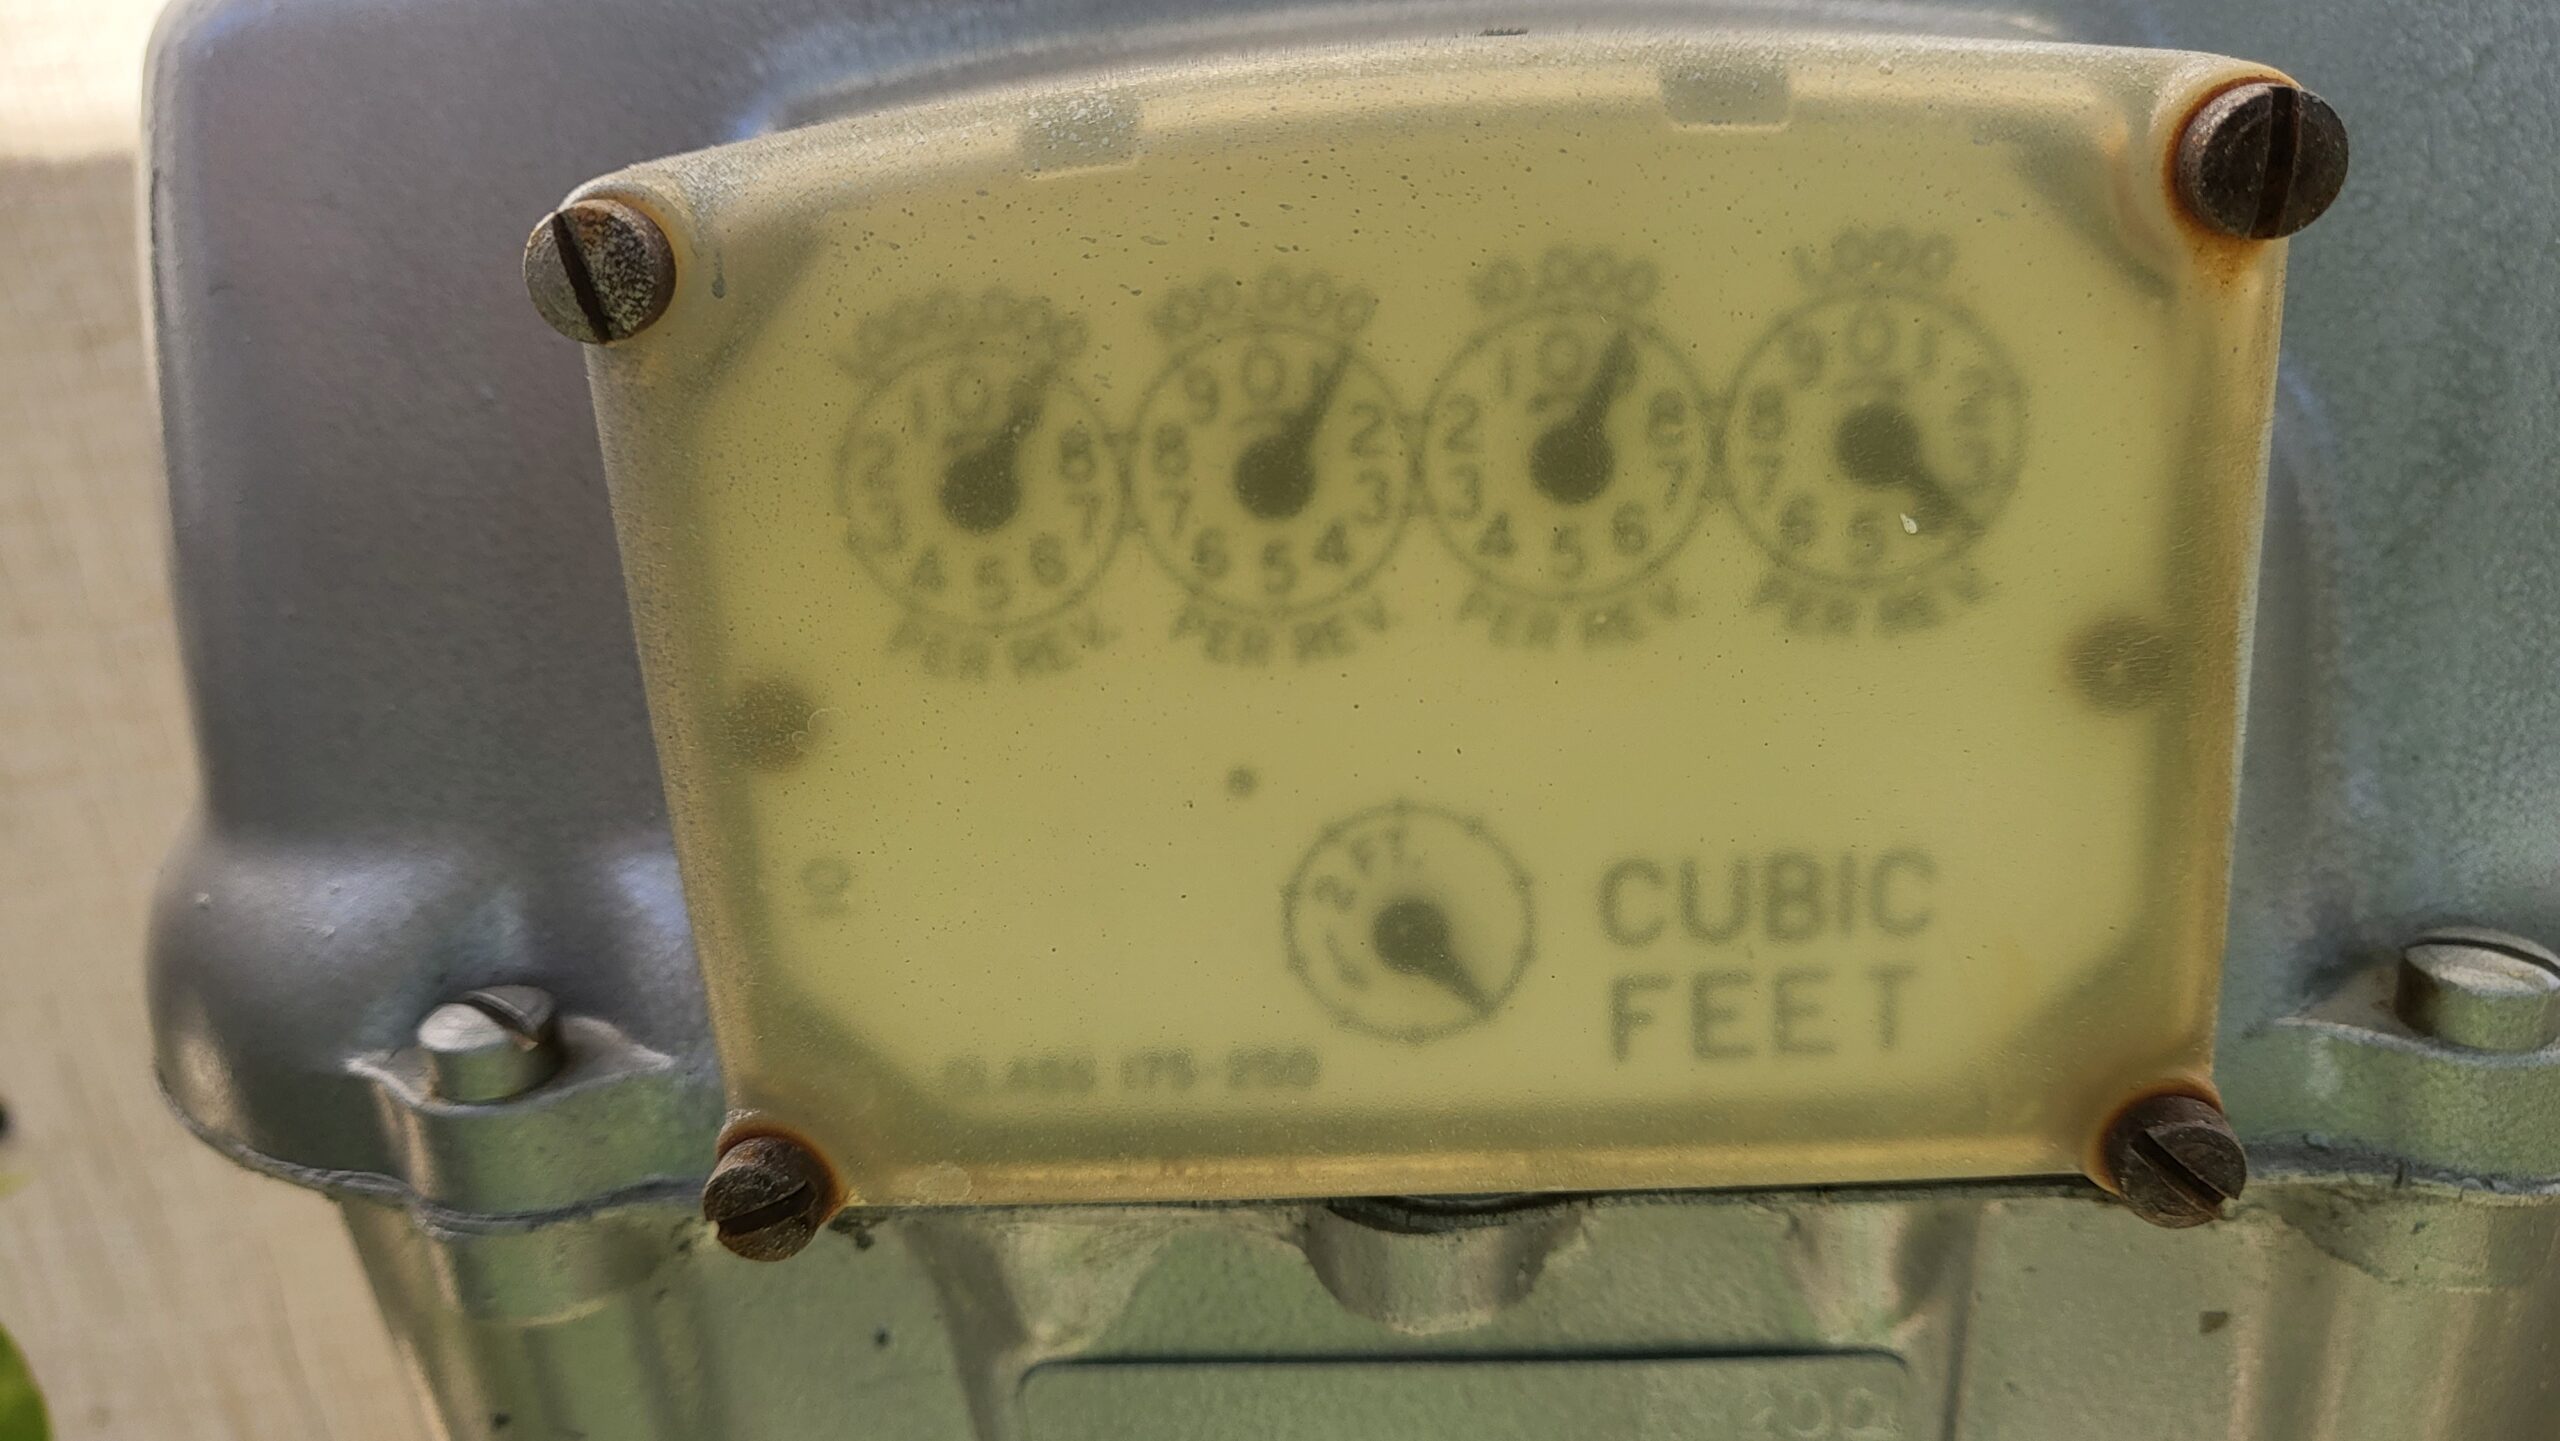
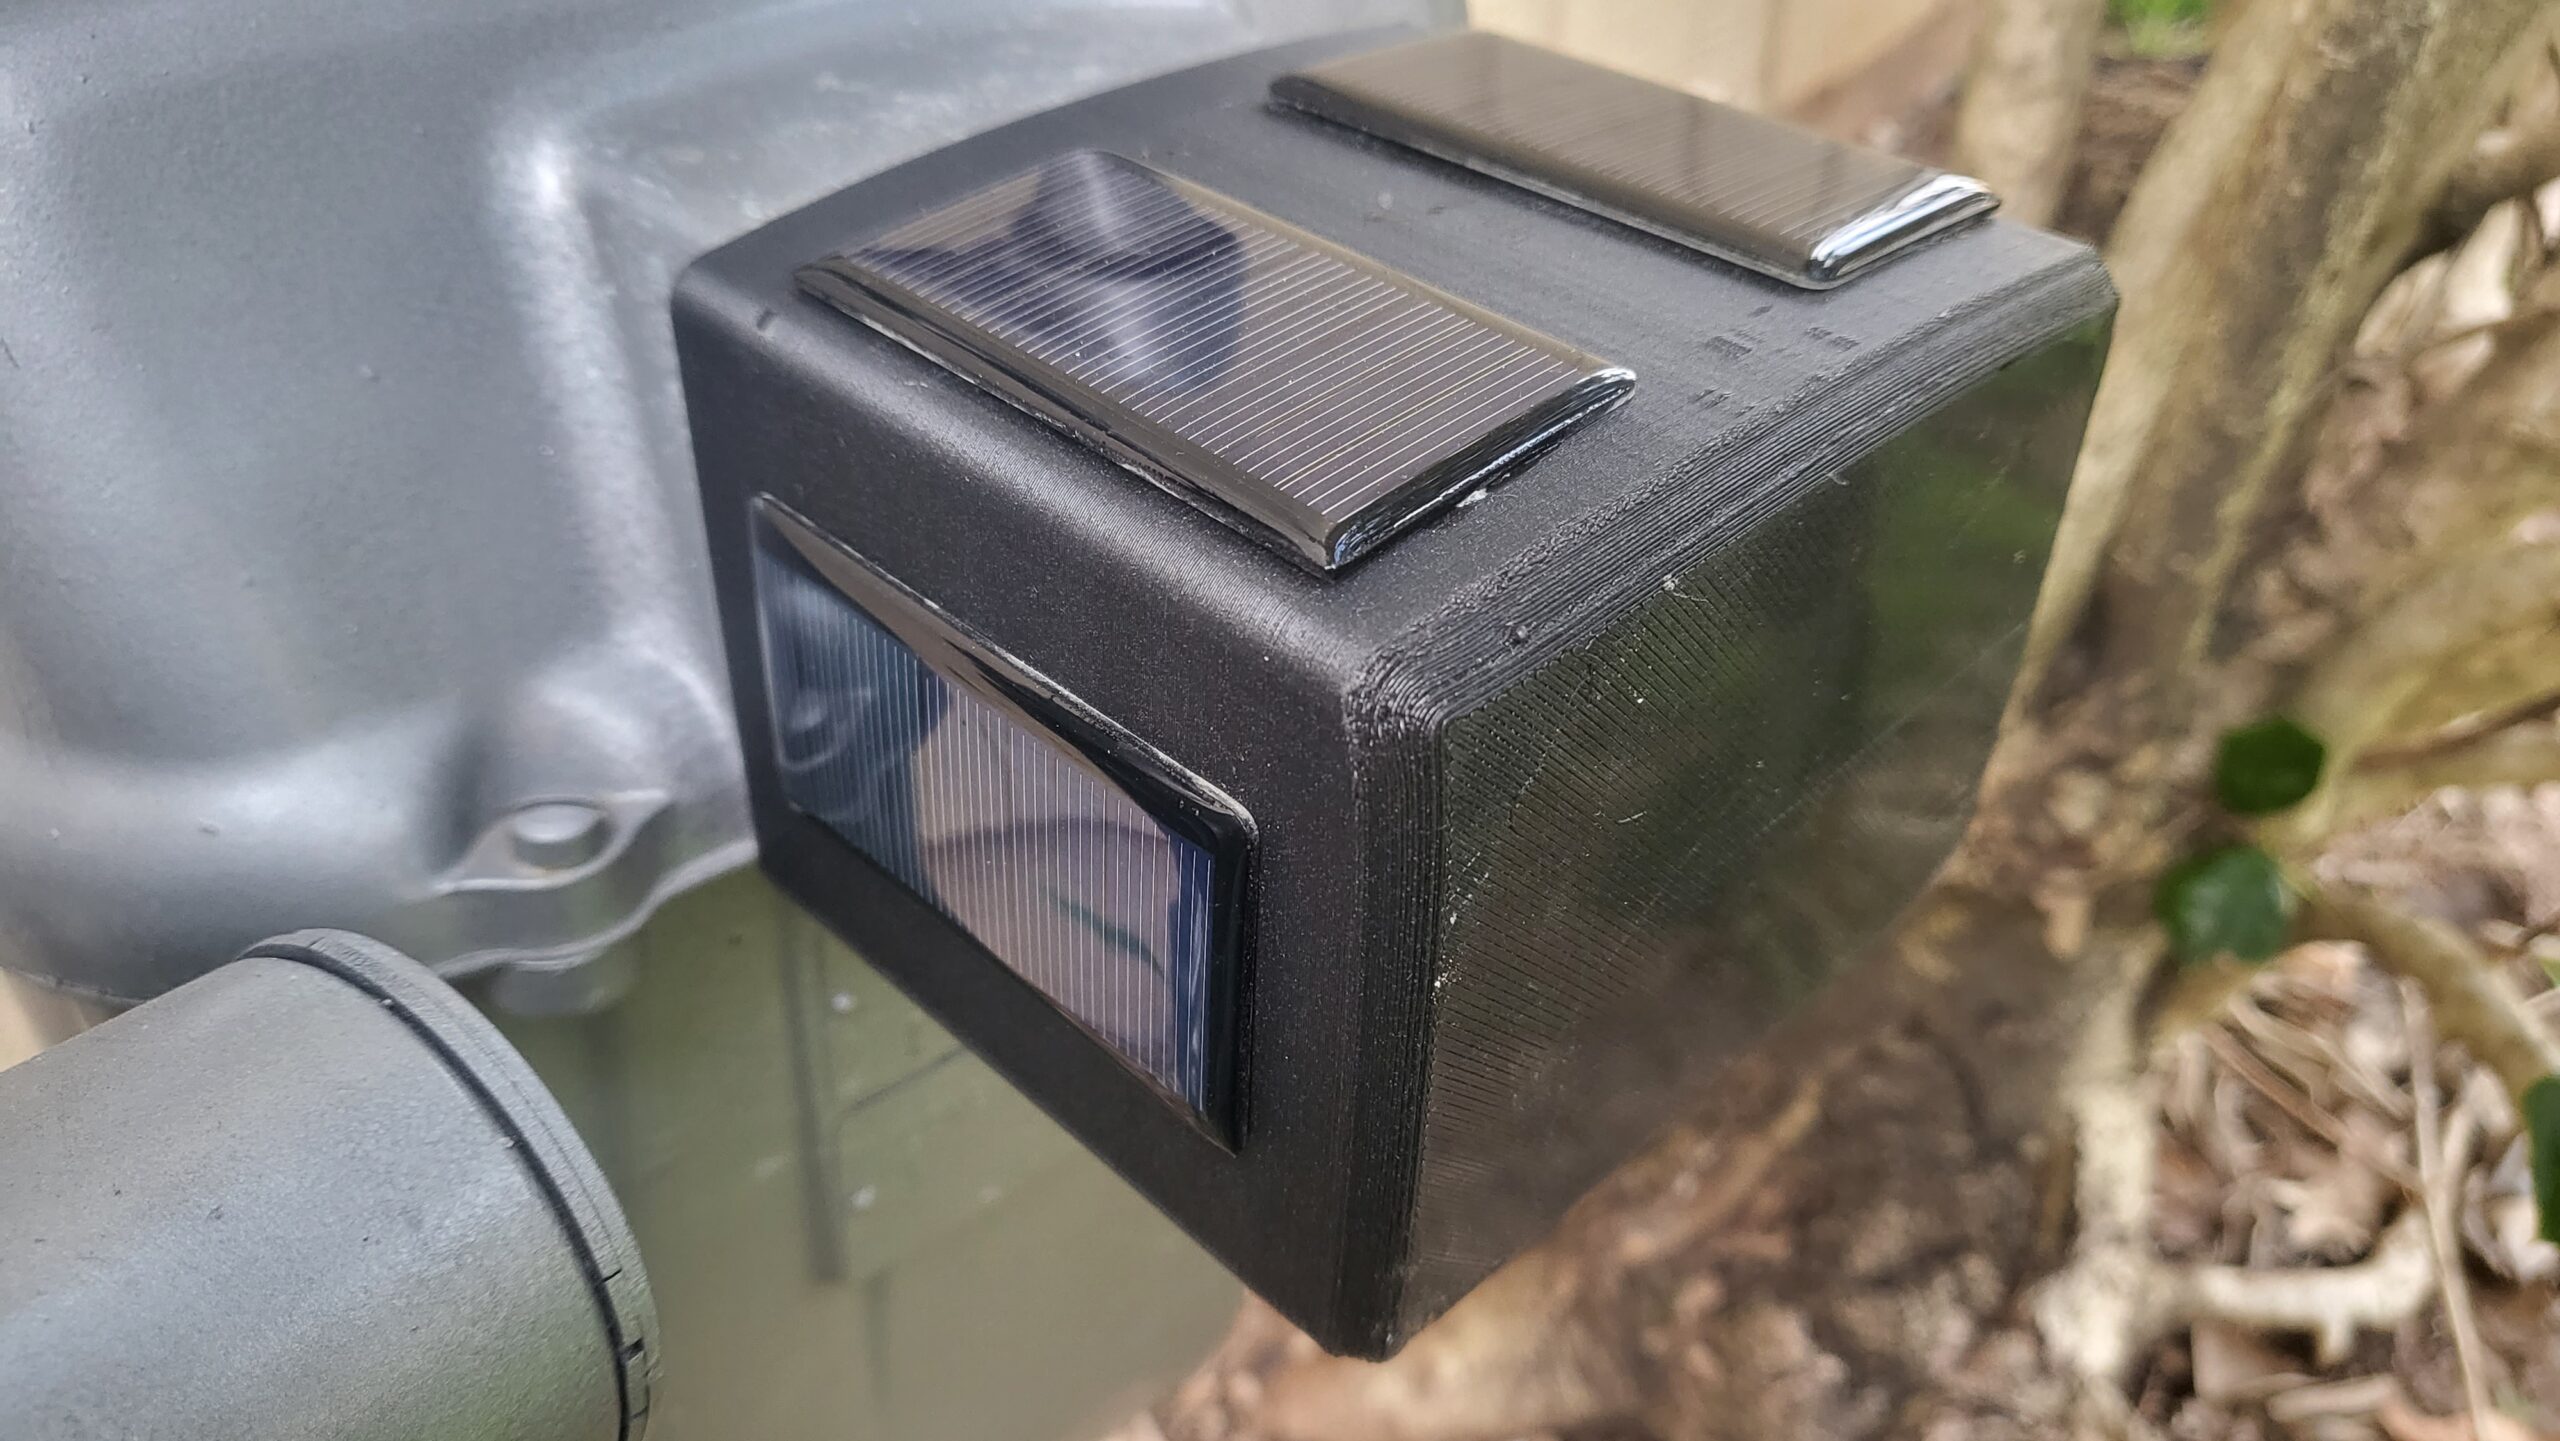
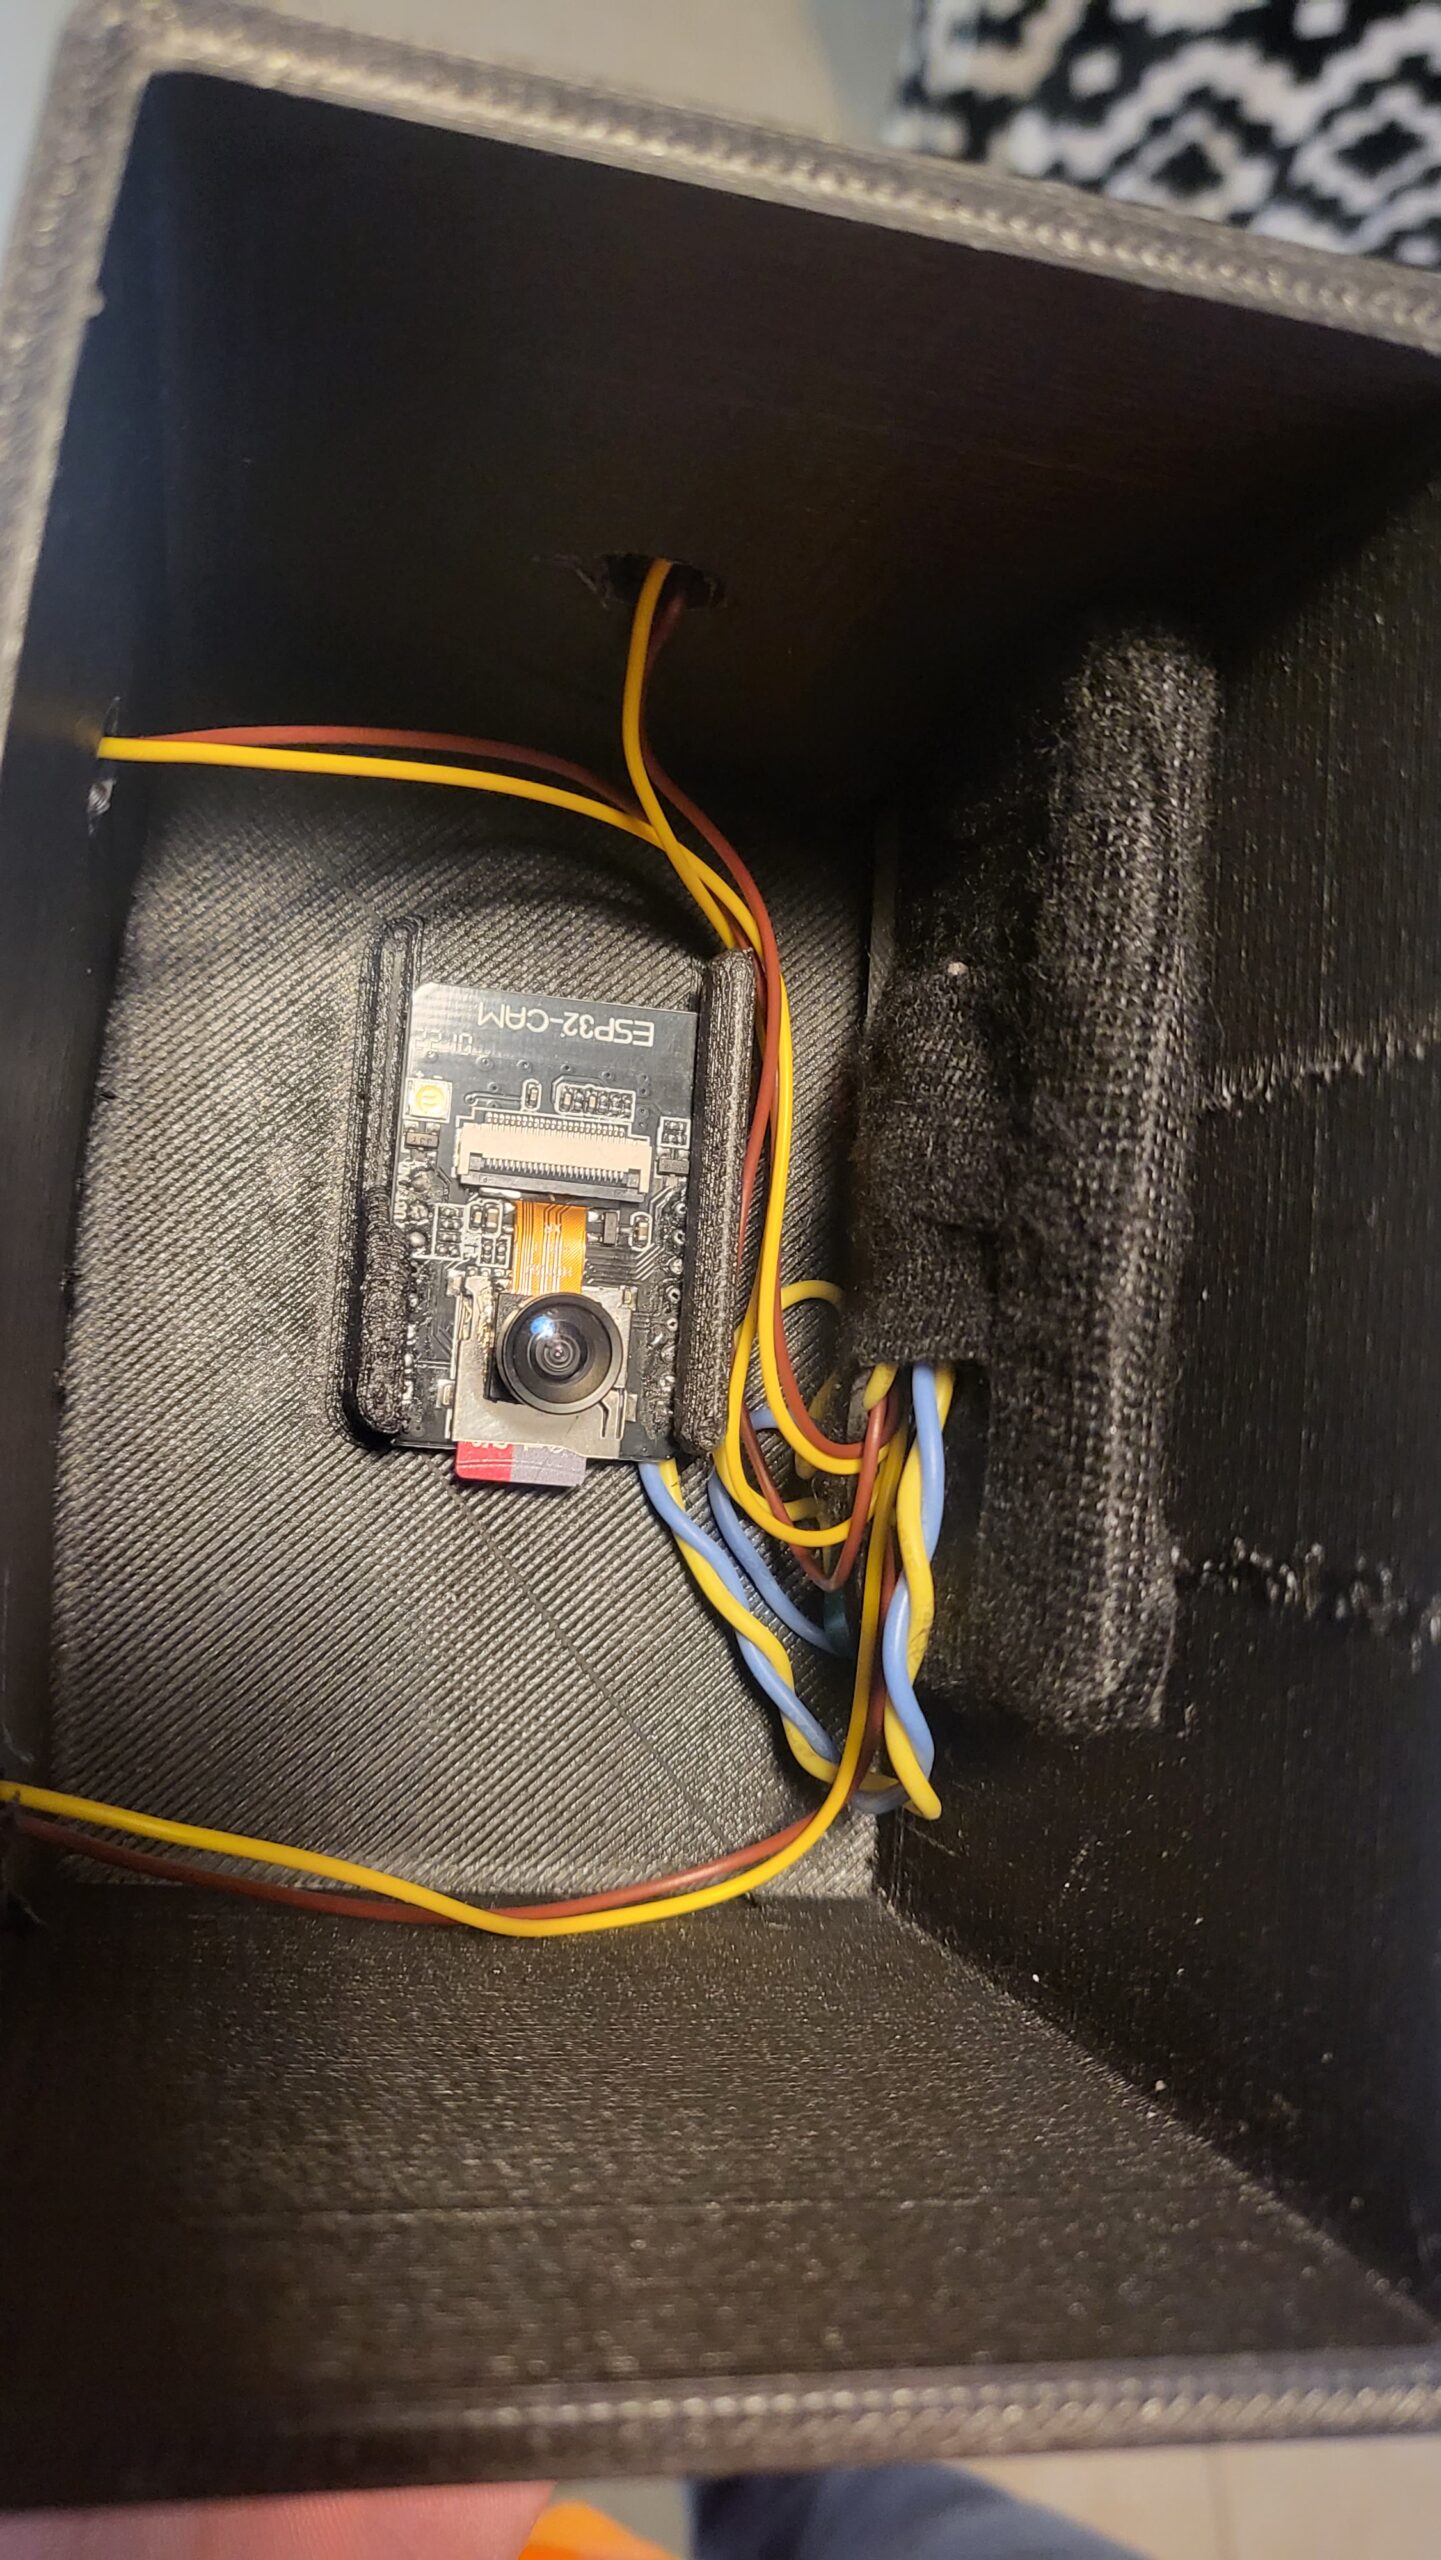
AI Gas Meter

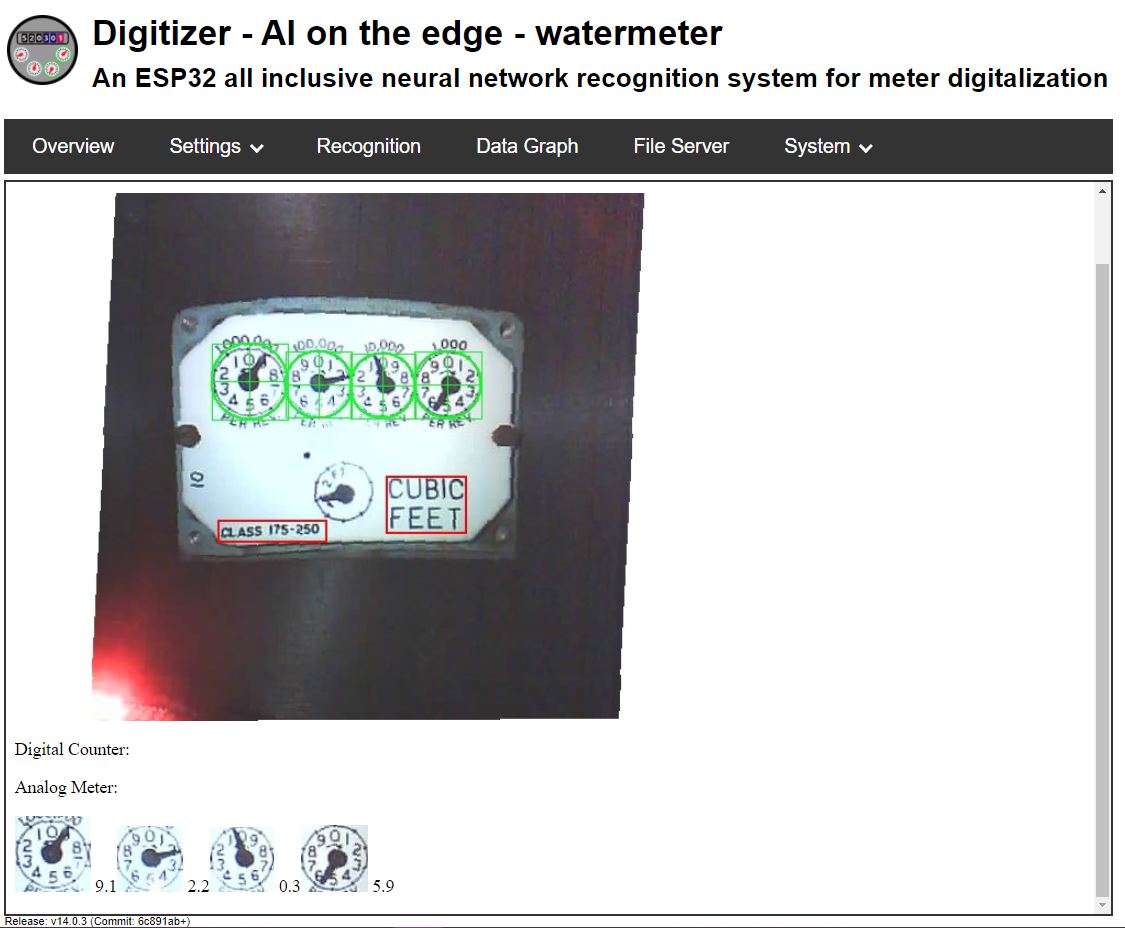
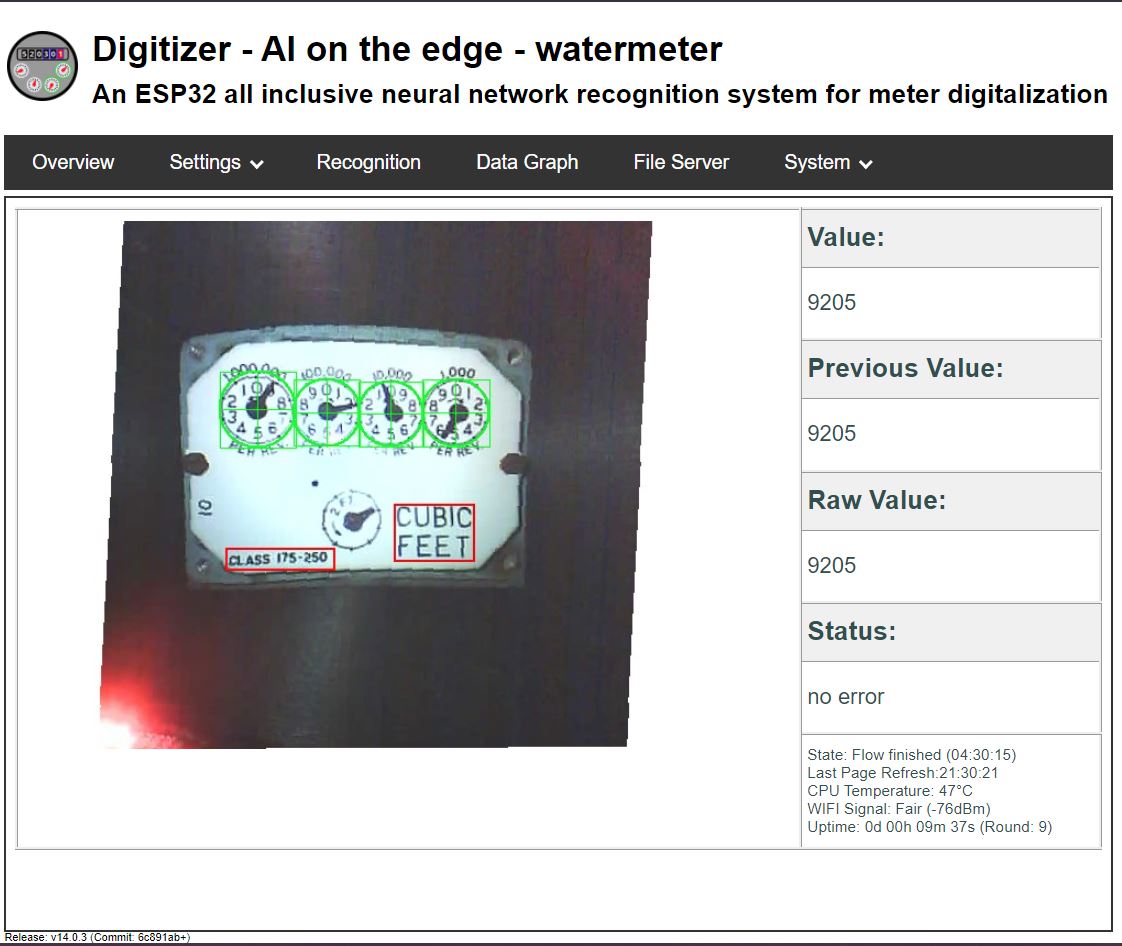
I wanted a way to add our natural gas consumption into Home Assistant, so I built a thing. It uses a ESP32 camera board, 2000mAh LiPO cell, BMS, and 4 solar cells. I found an AI On The Edge package that did all the heavy lifting. All I need to do was flash the ESP, configure the gauge layout, and setup the MQTT messages. The hardest part was polishing the gas meter window so that it could actually be read.

I stopped using this because I did not feel comfortable having a LiPo in direct sun, charging using a cheap BMS, on top of my gas meter. I plan to run 3/5V out to it and delete the solar/BMS/Lipos.

Reduce Reuse & Recycle

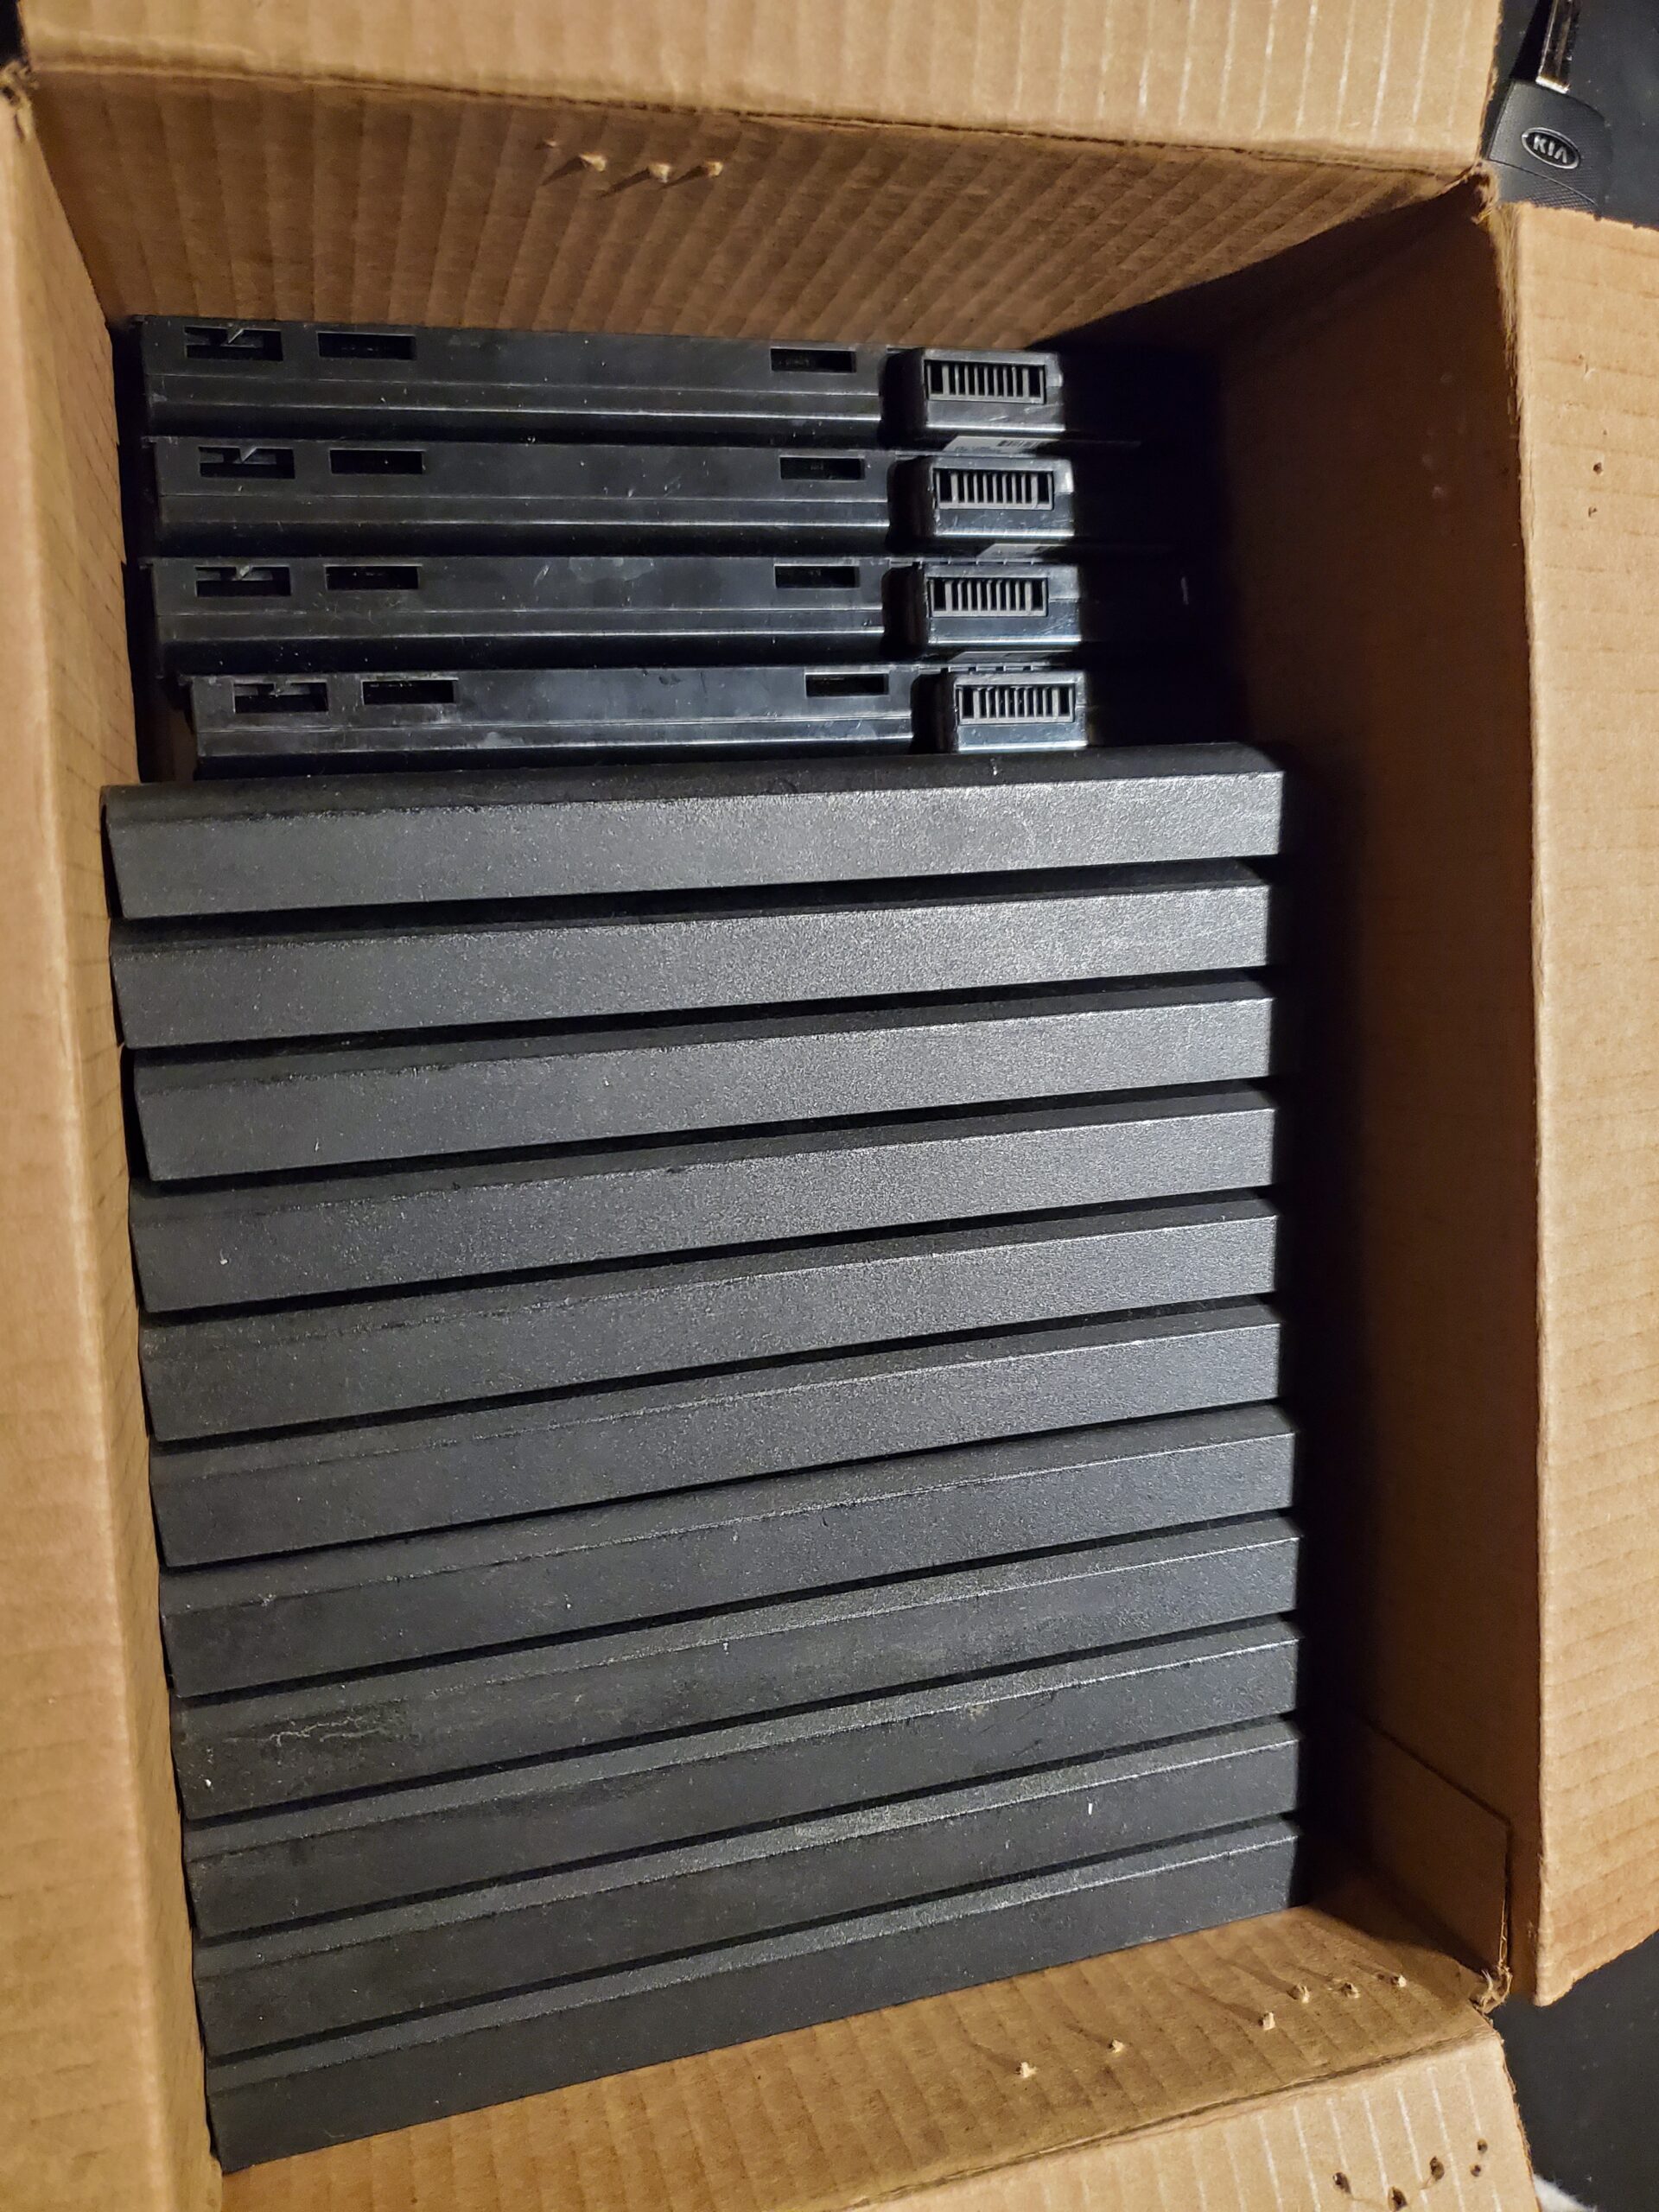
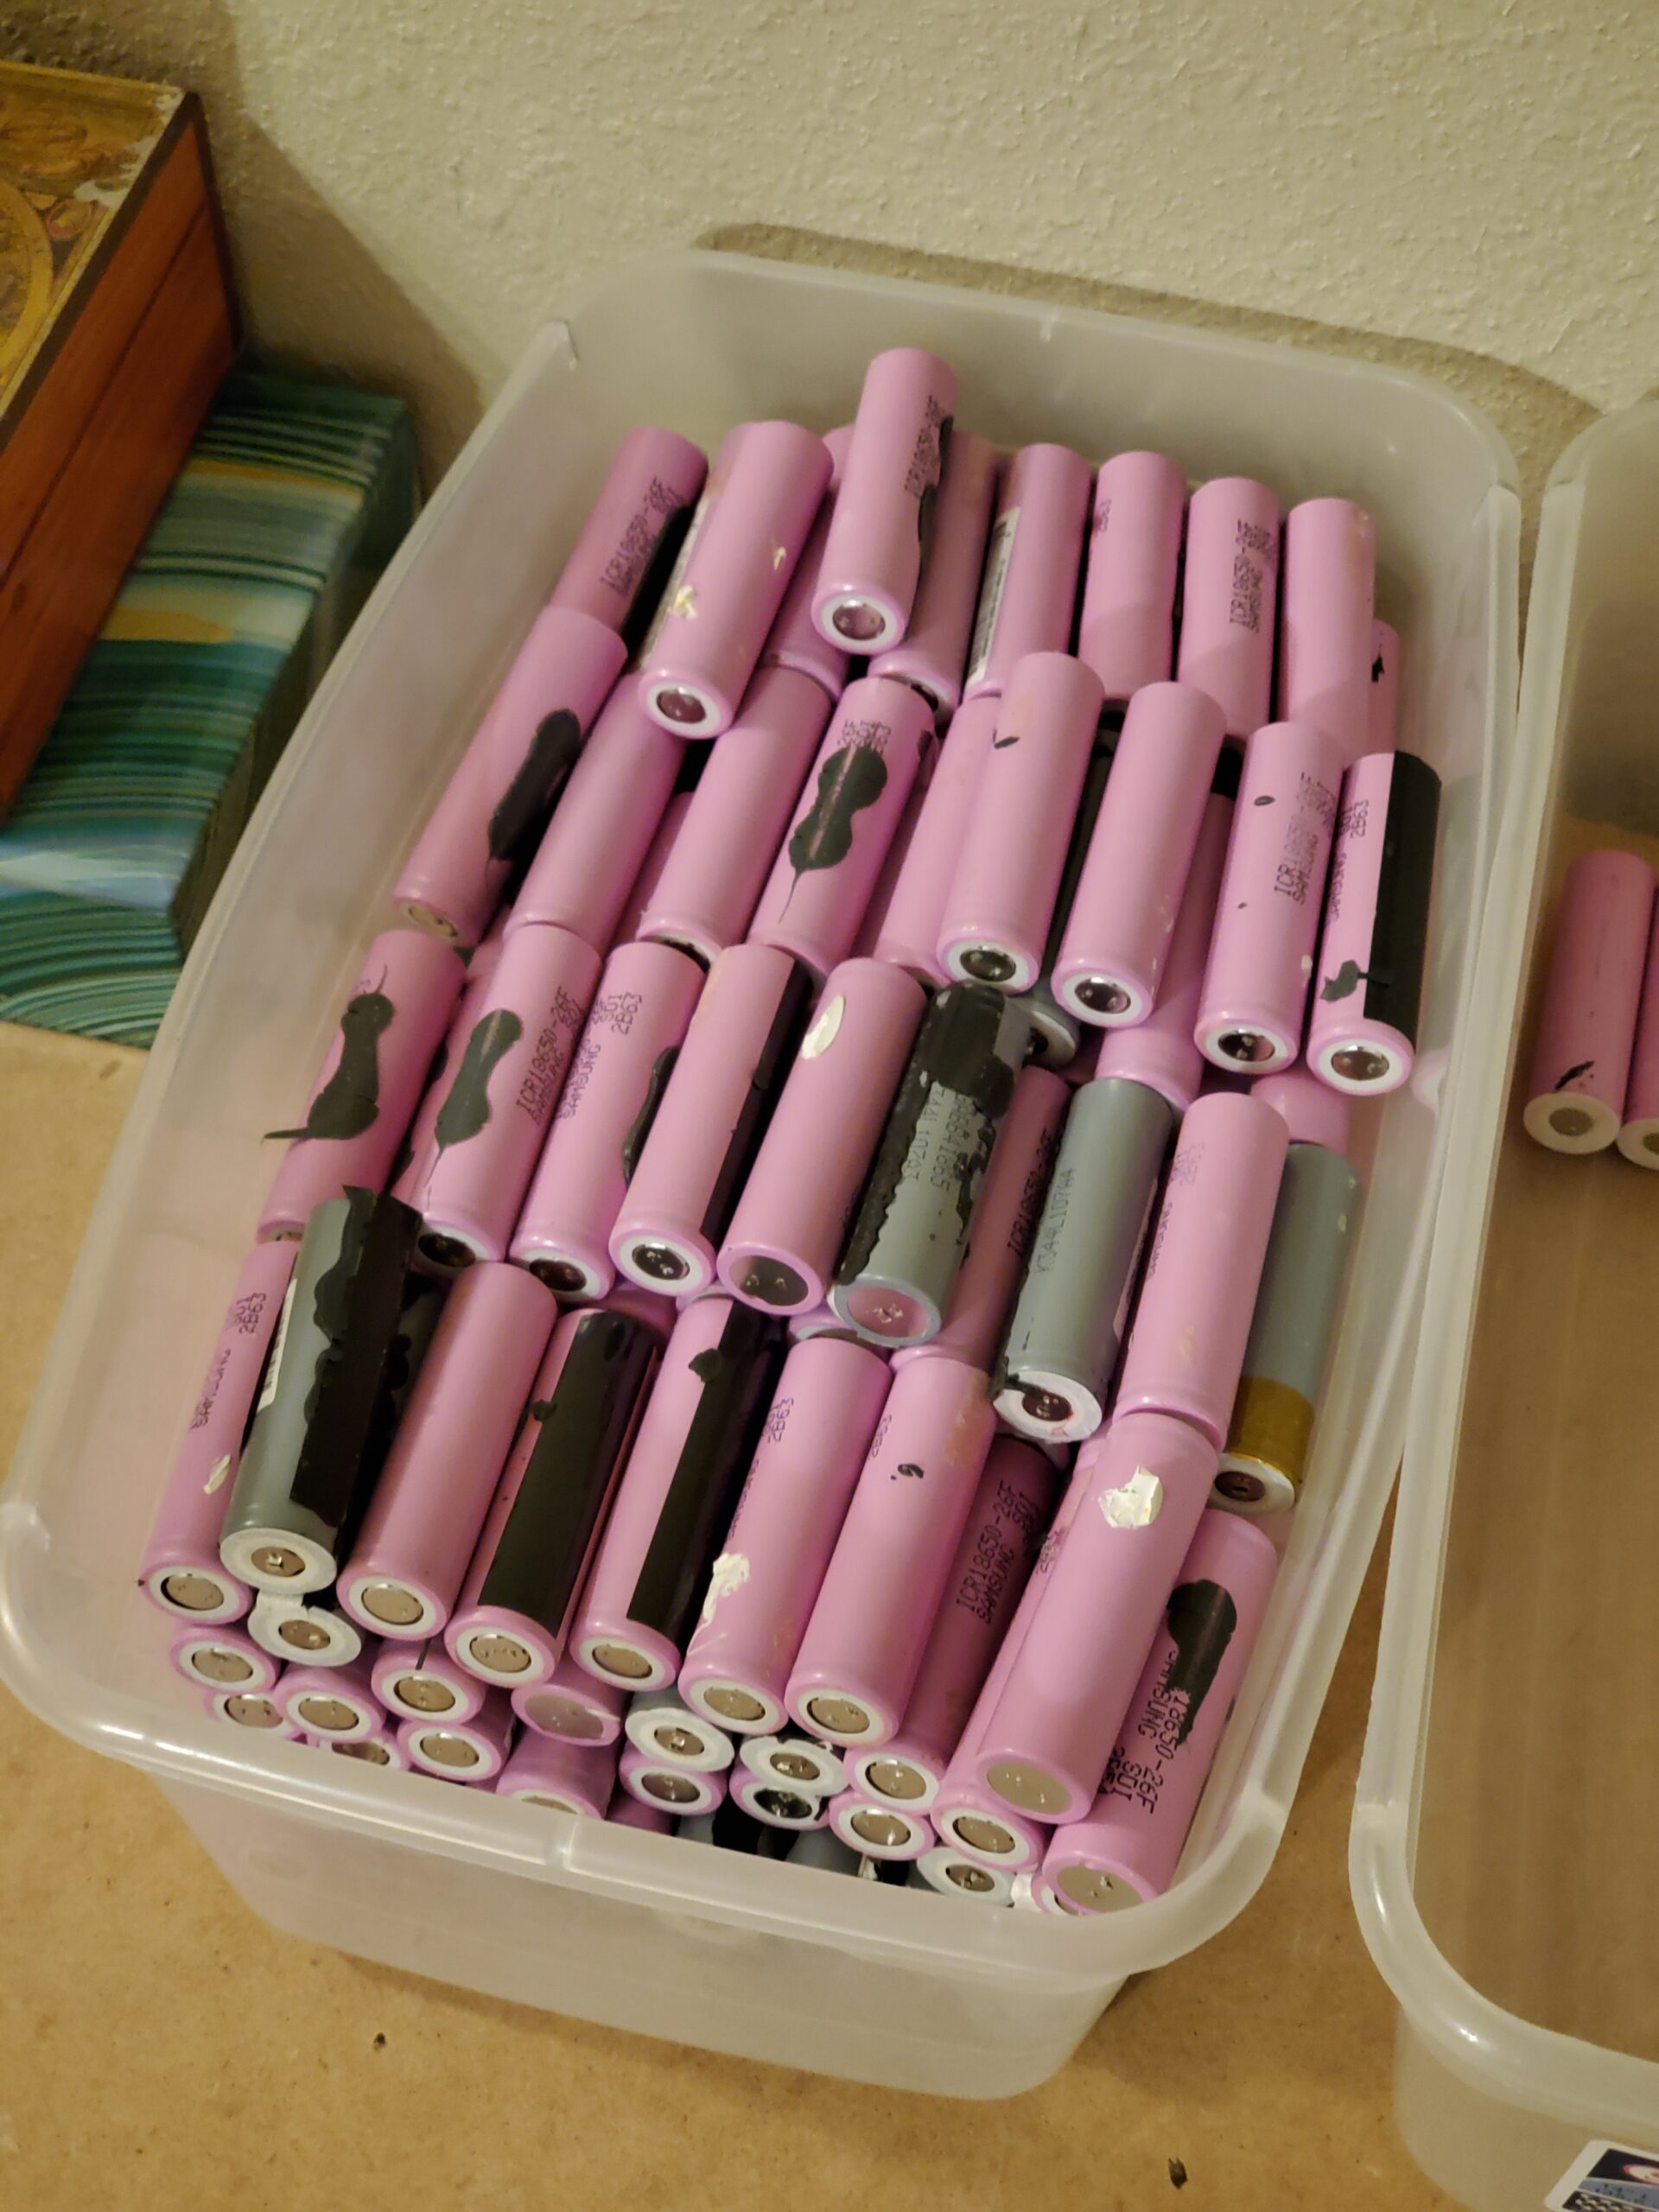
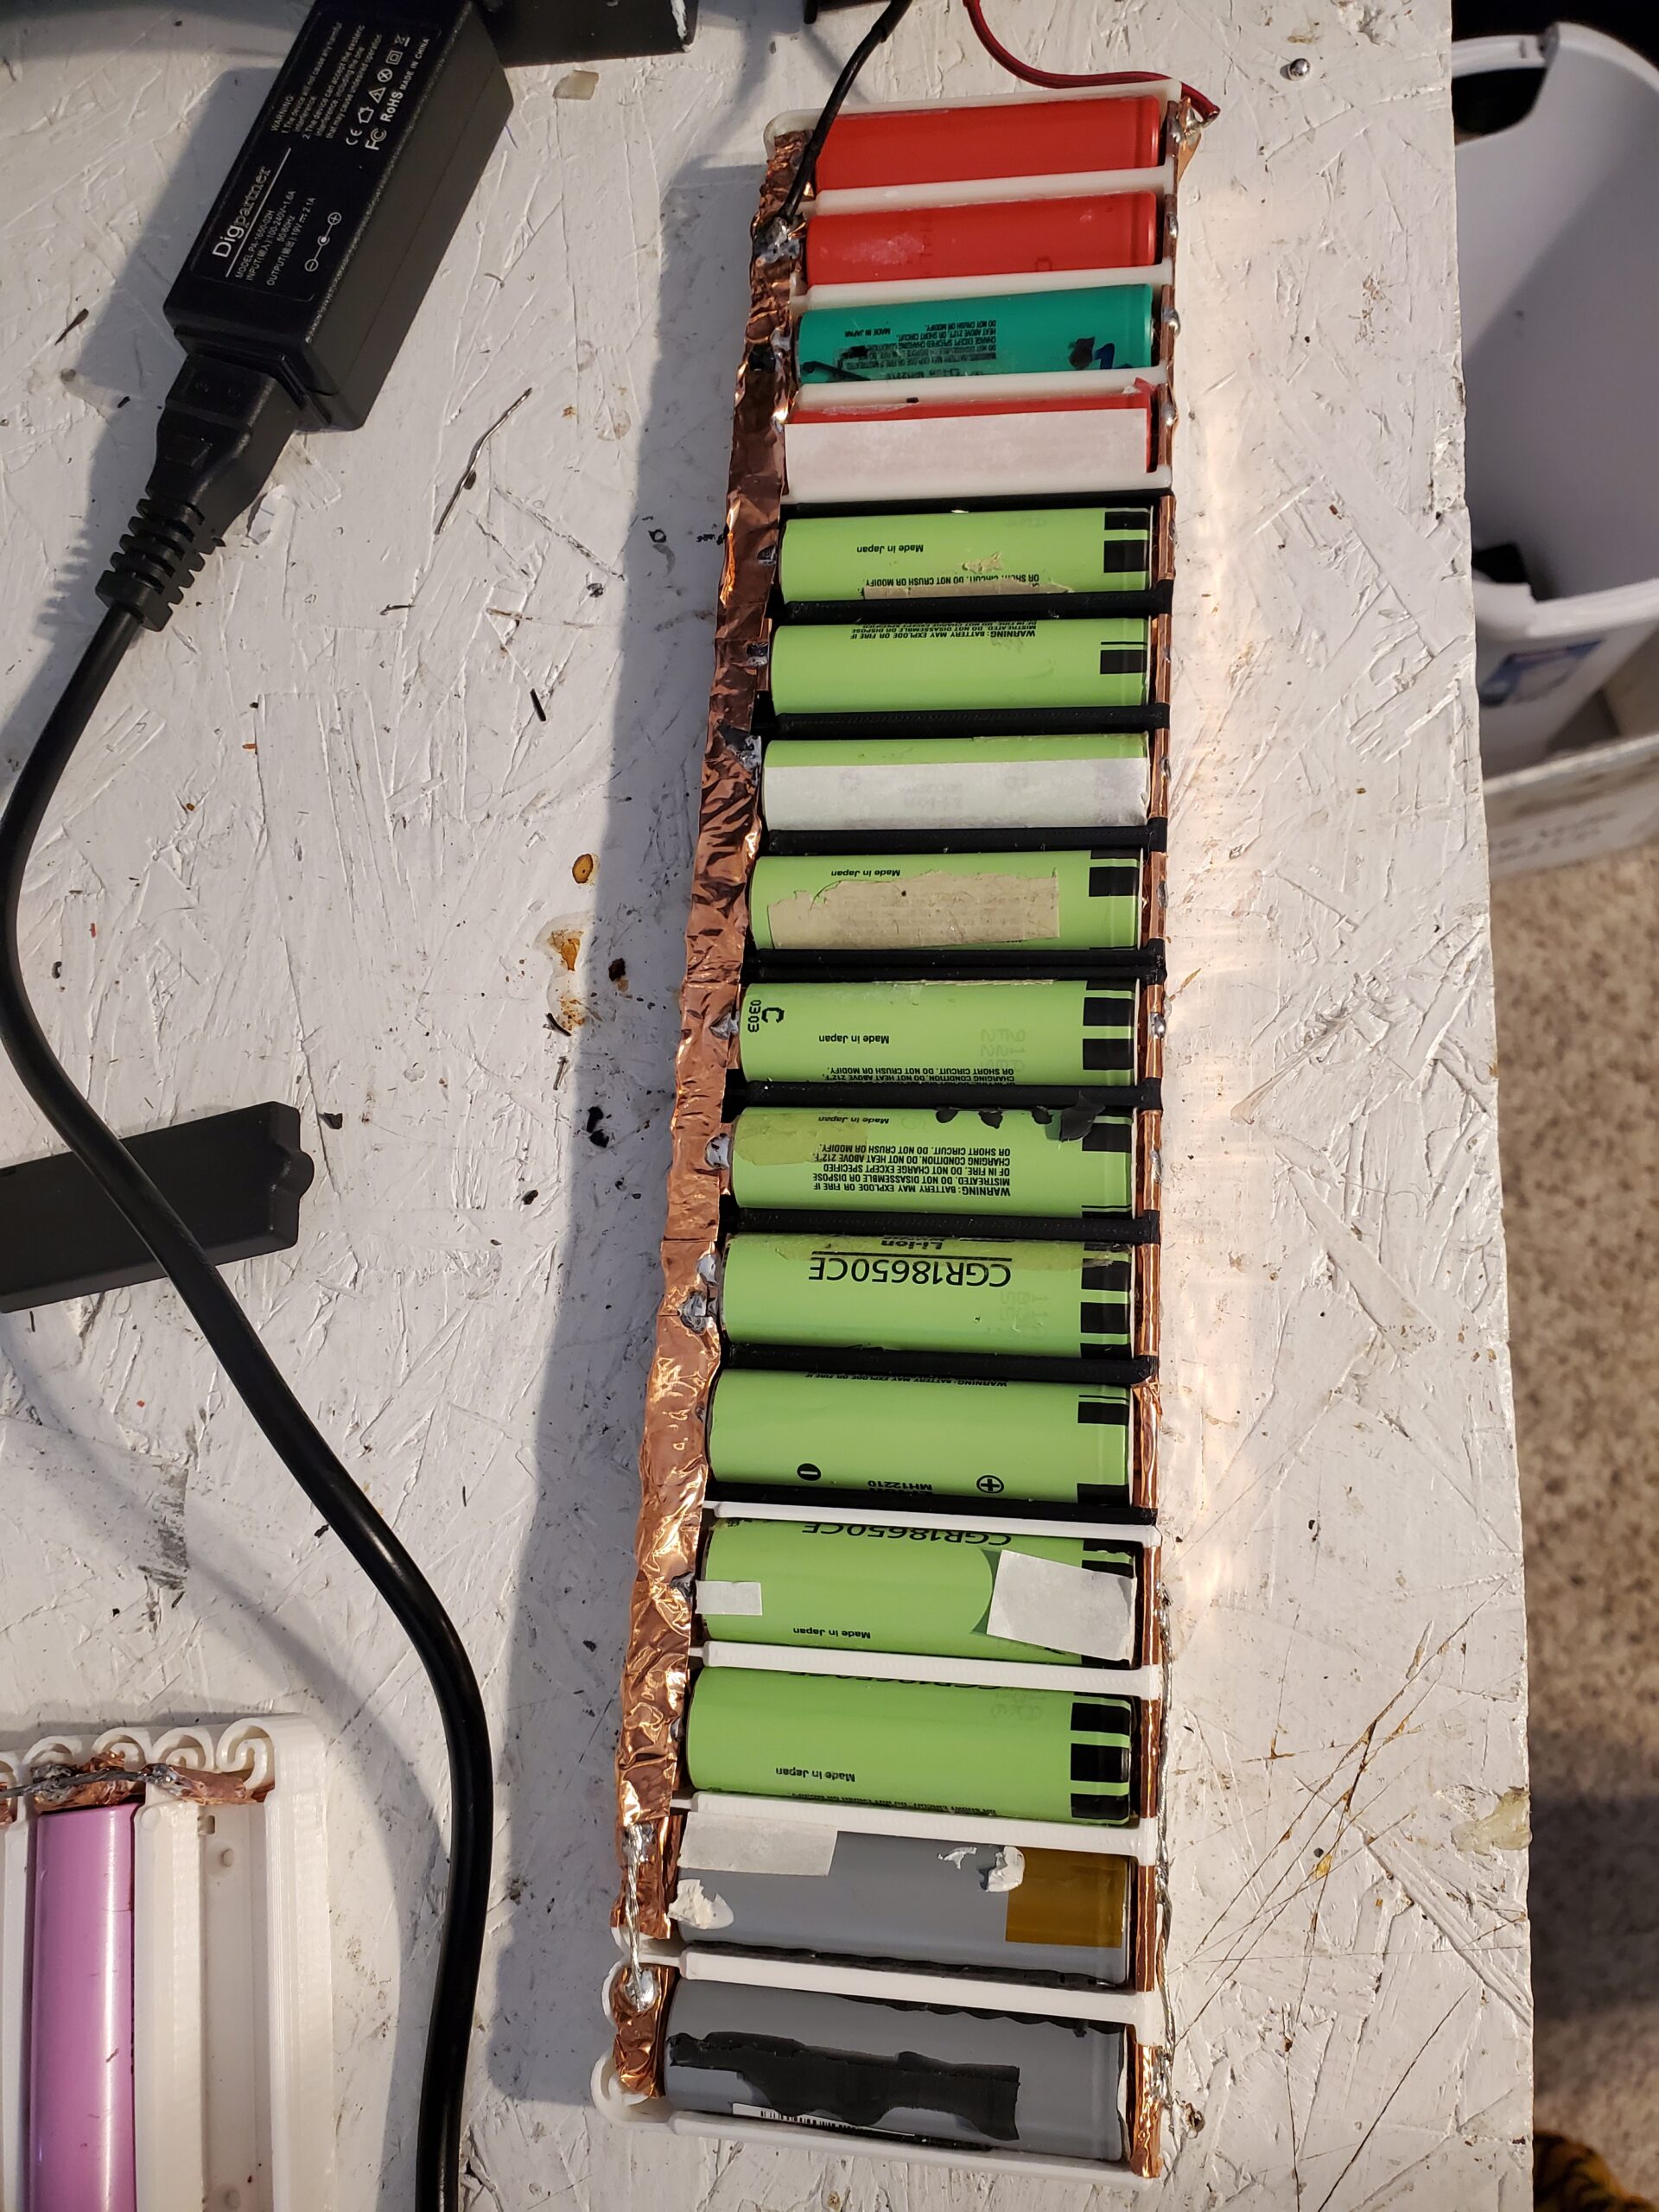
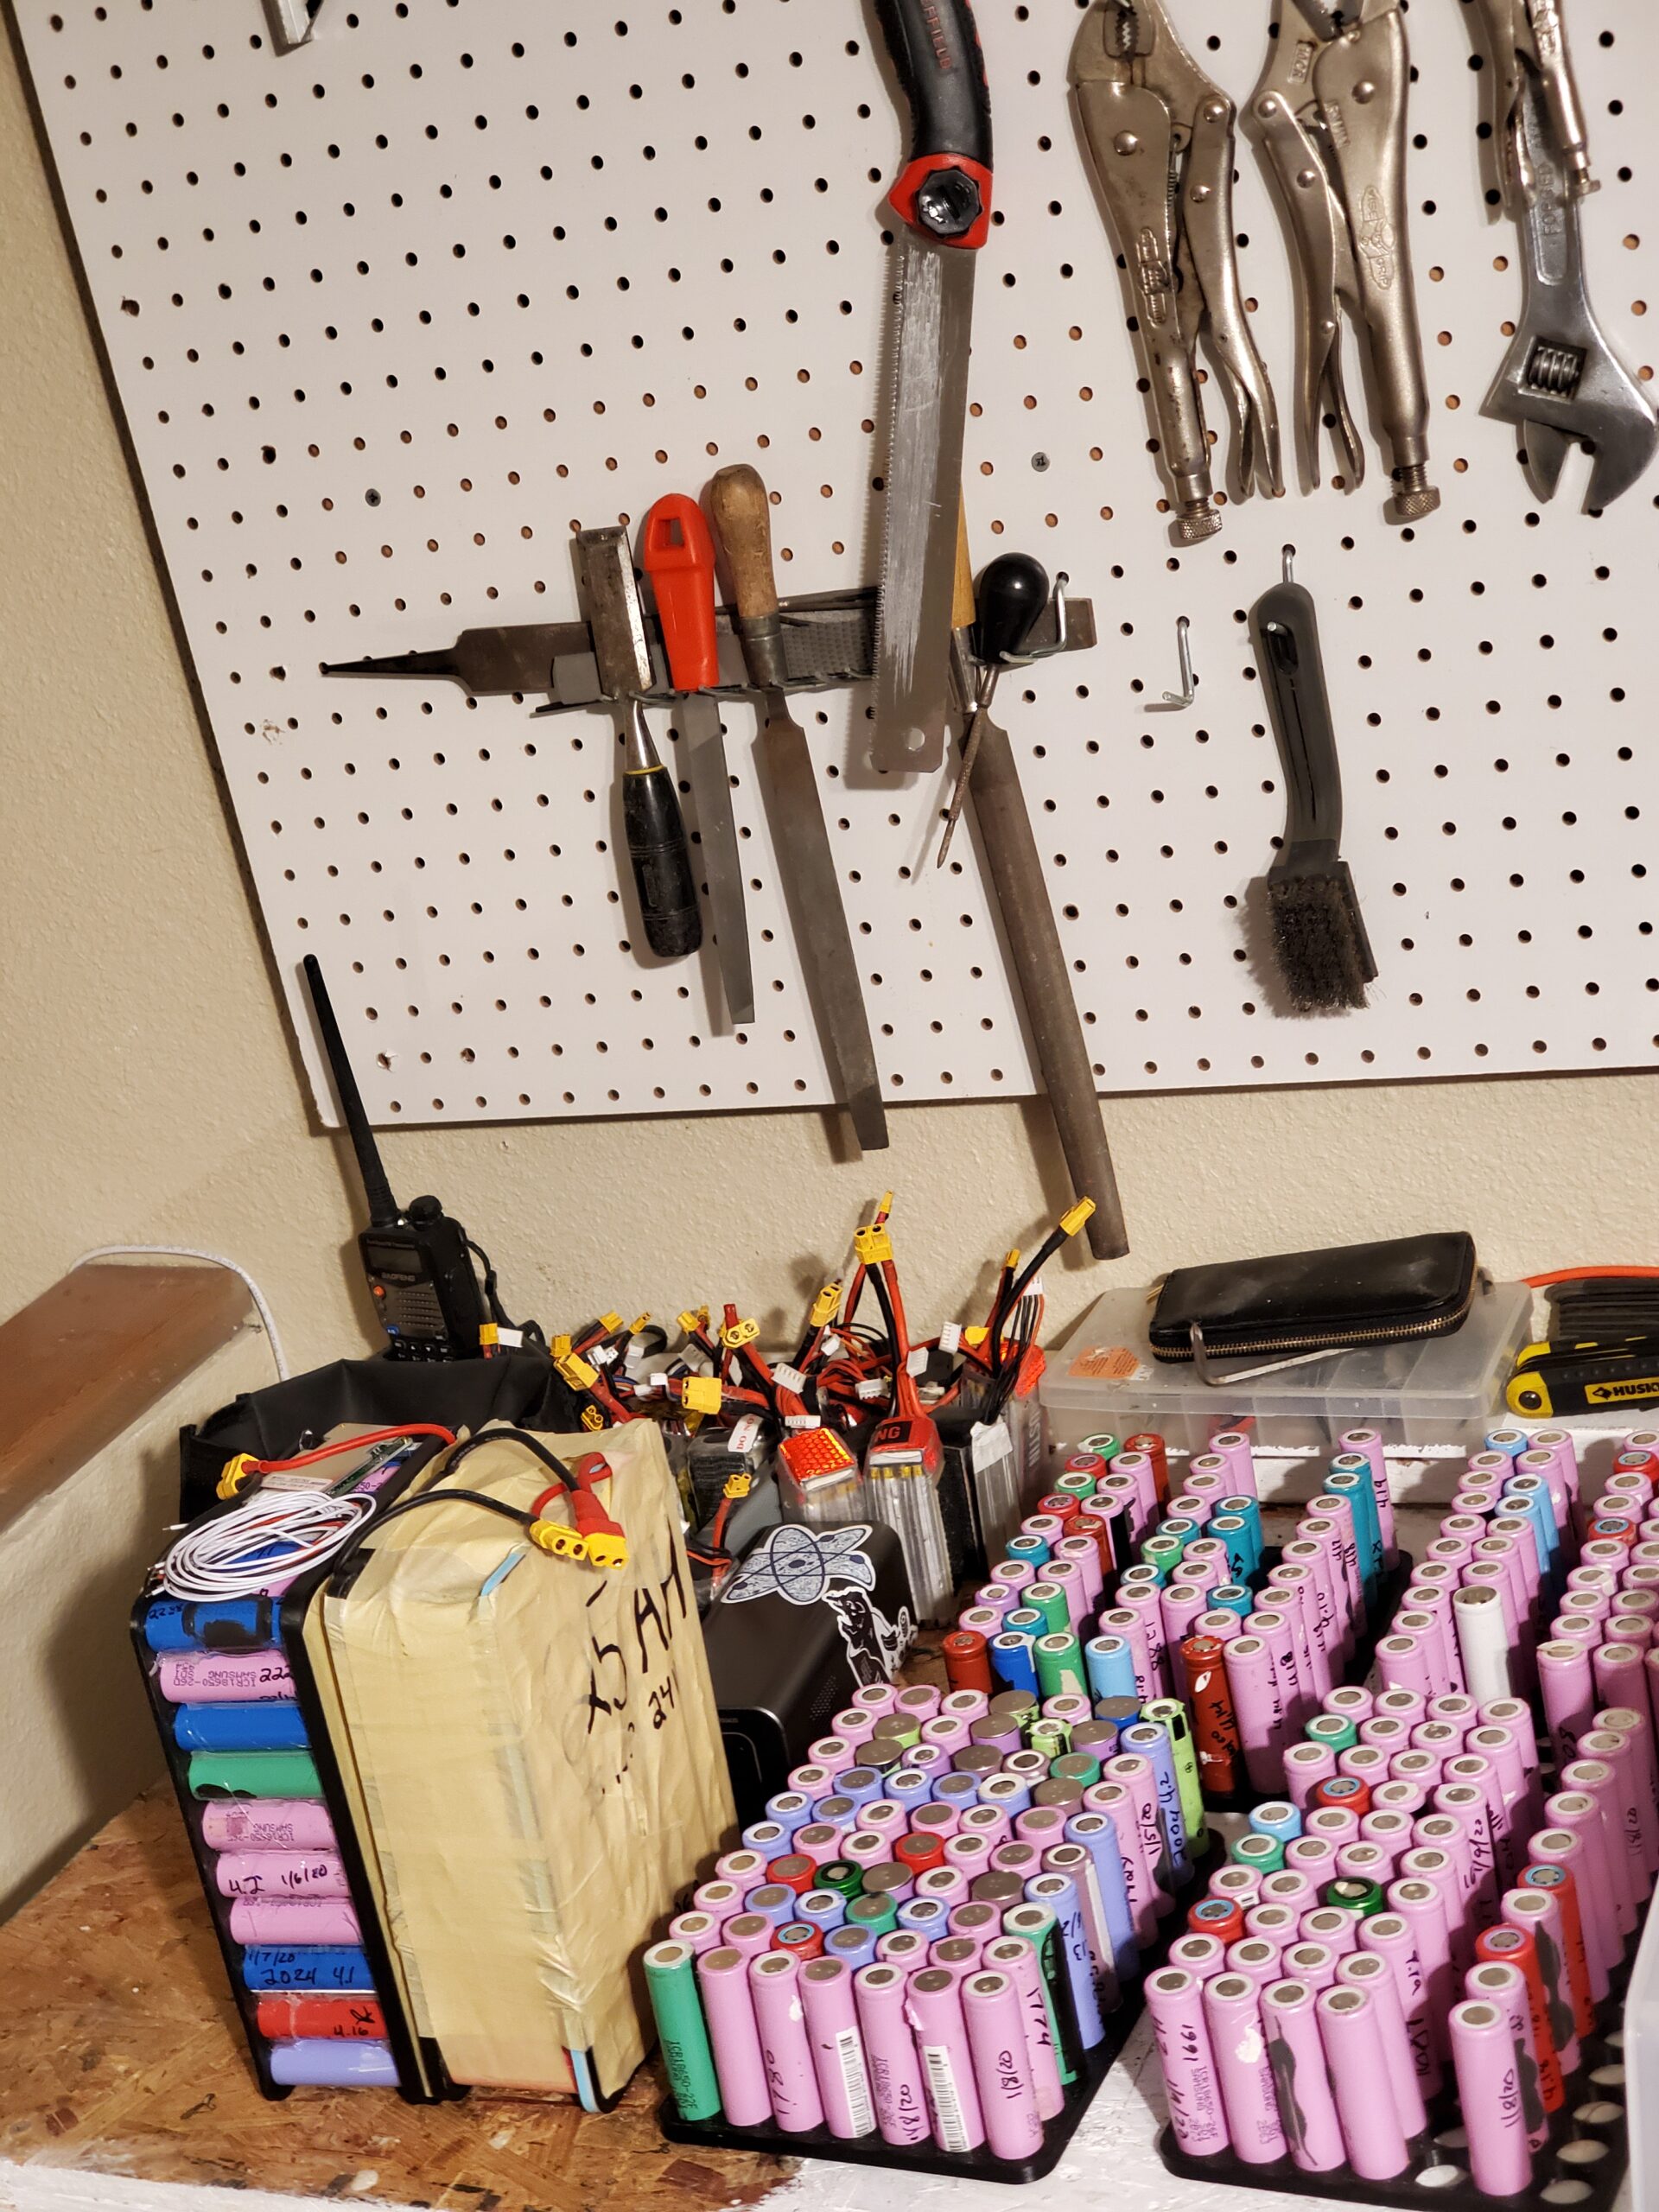
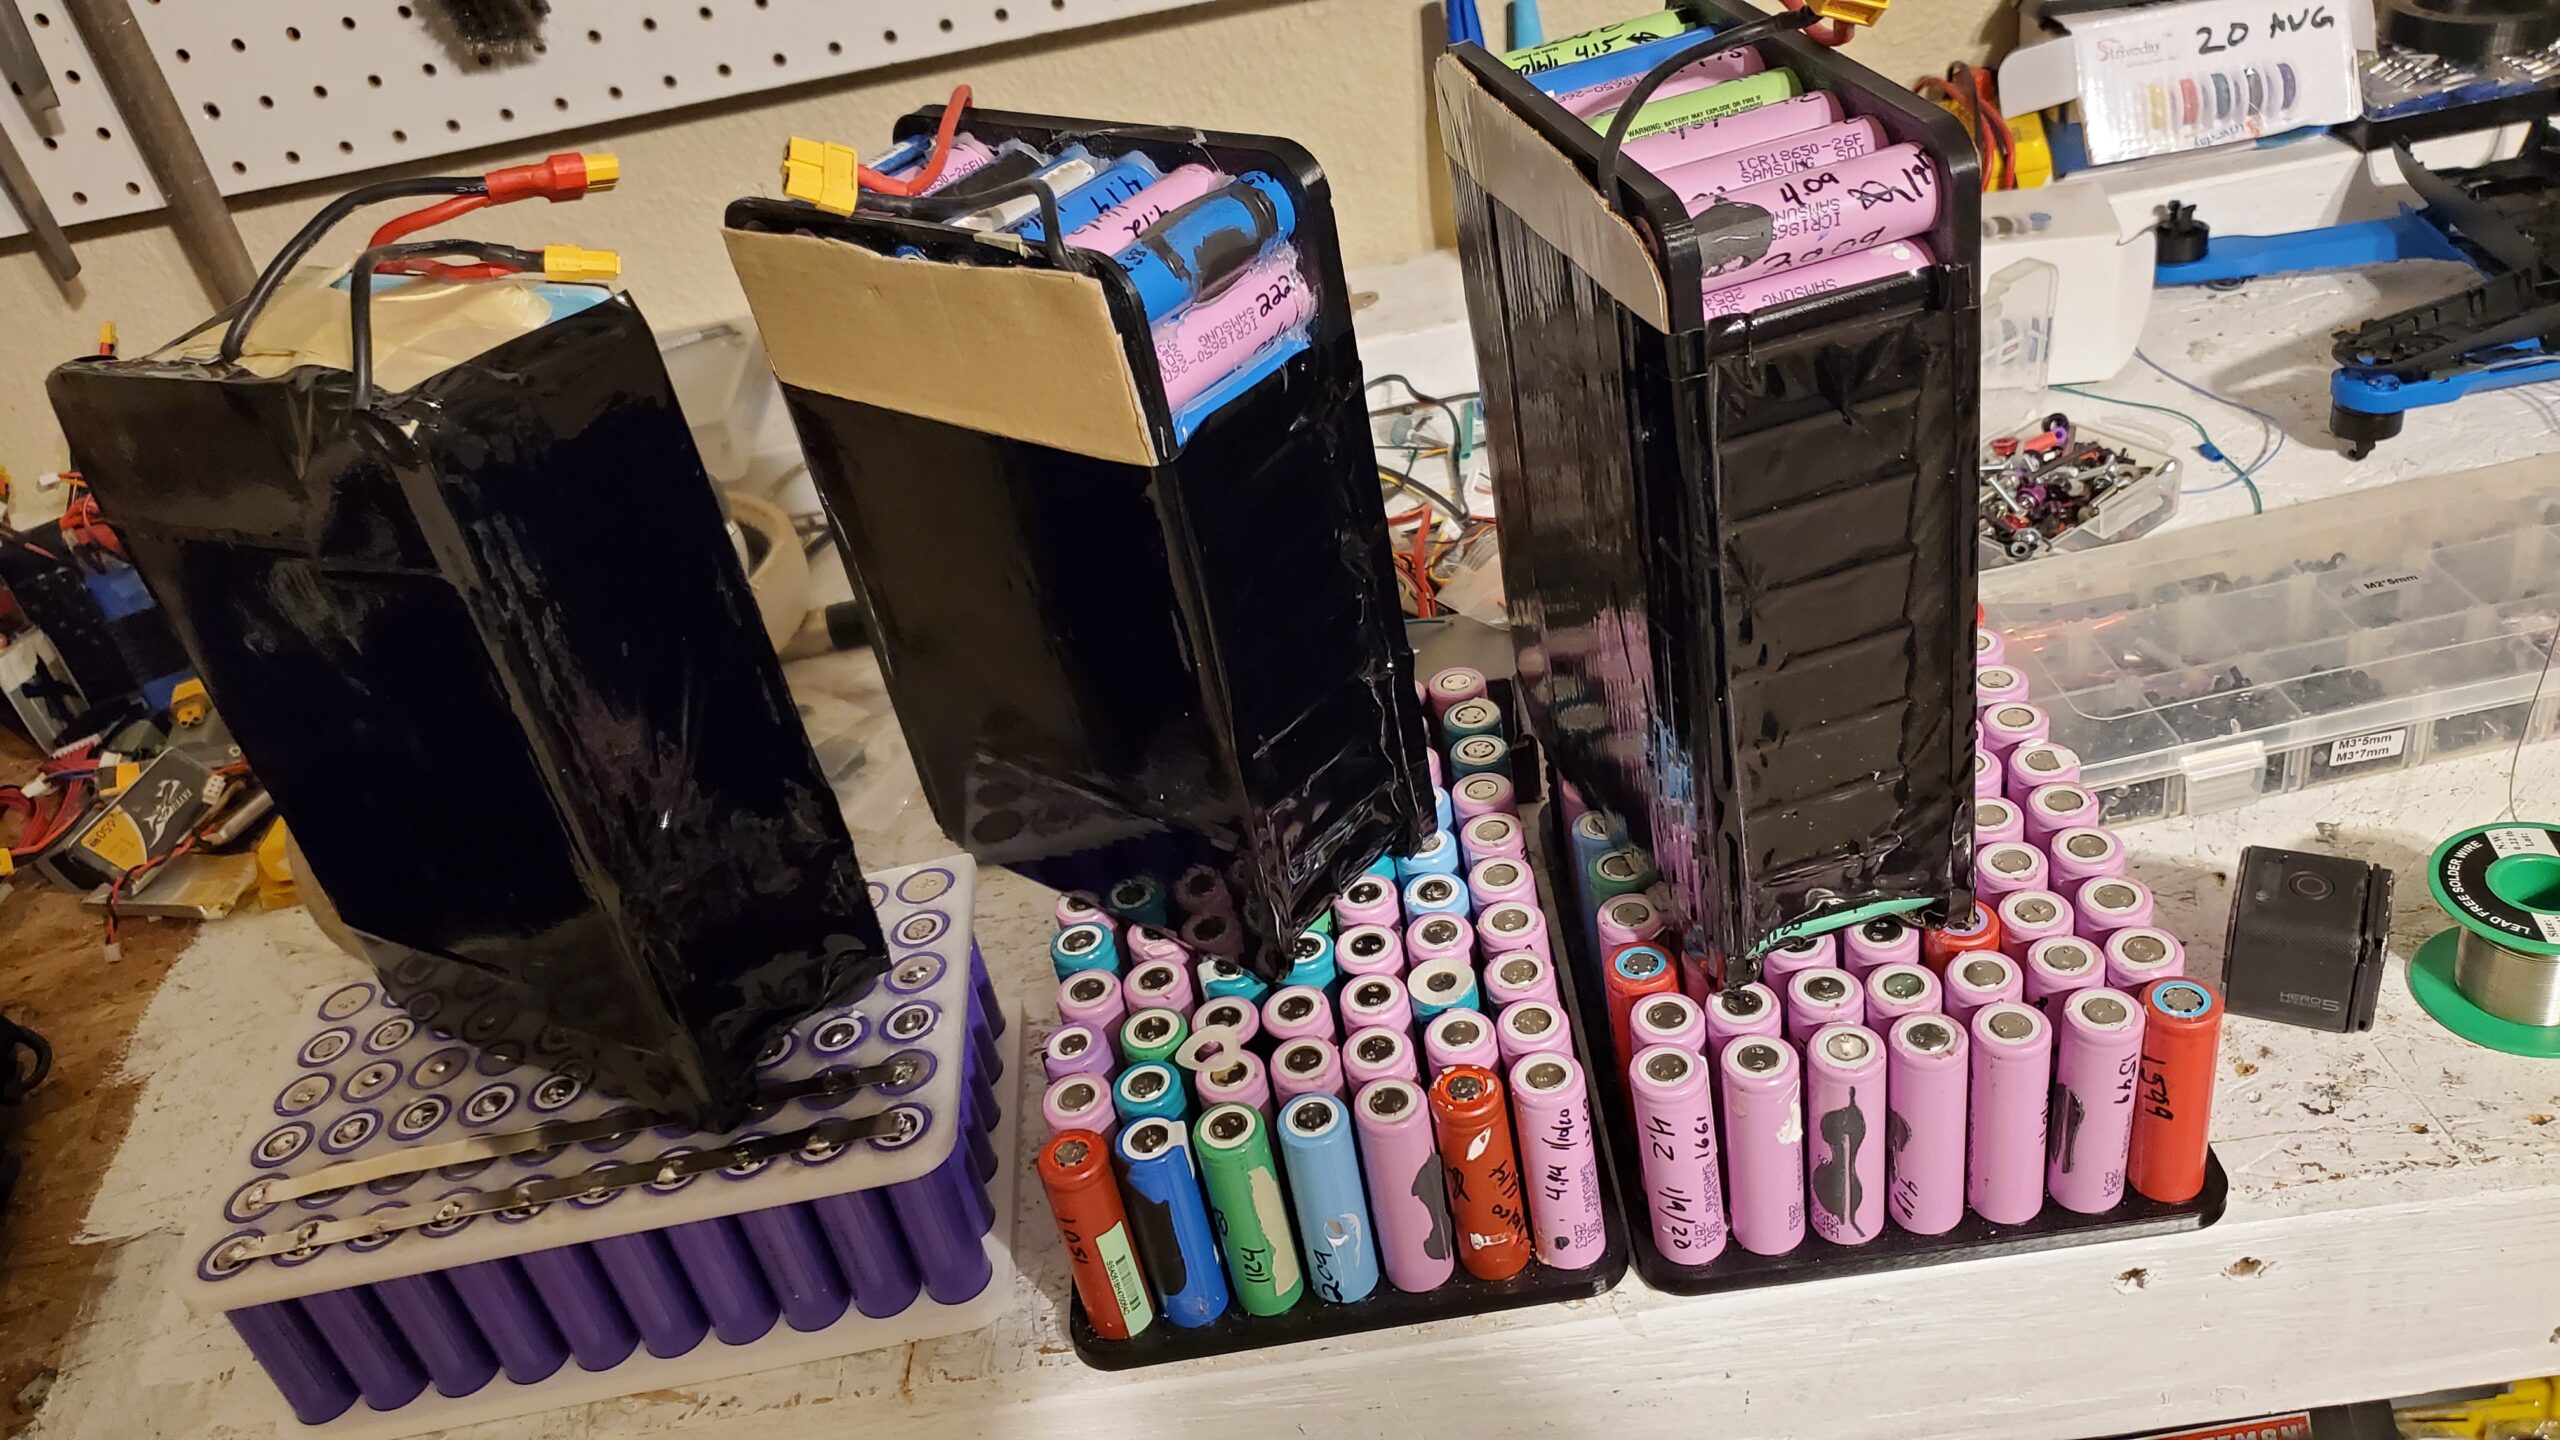
Most battery packs that die tend to only have a single cell that is actually bad. A lot of the times the issue is the IC and not all the cells are sill useable. So I went to a good will and asked offered a crazy low price for a whole box of batteries. They agreed and I got to cracking them open.

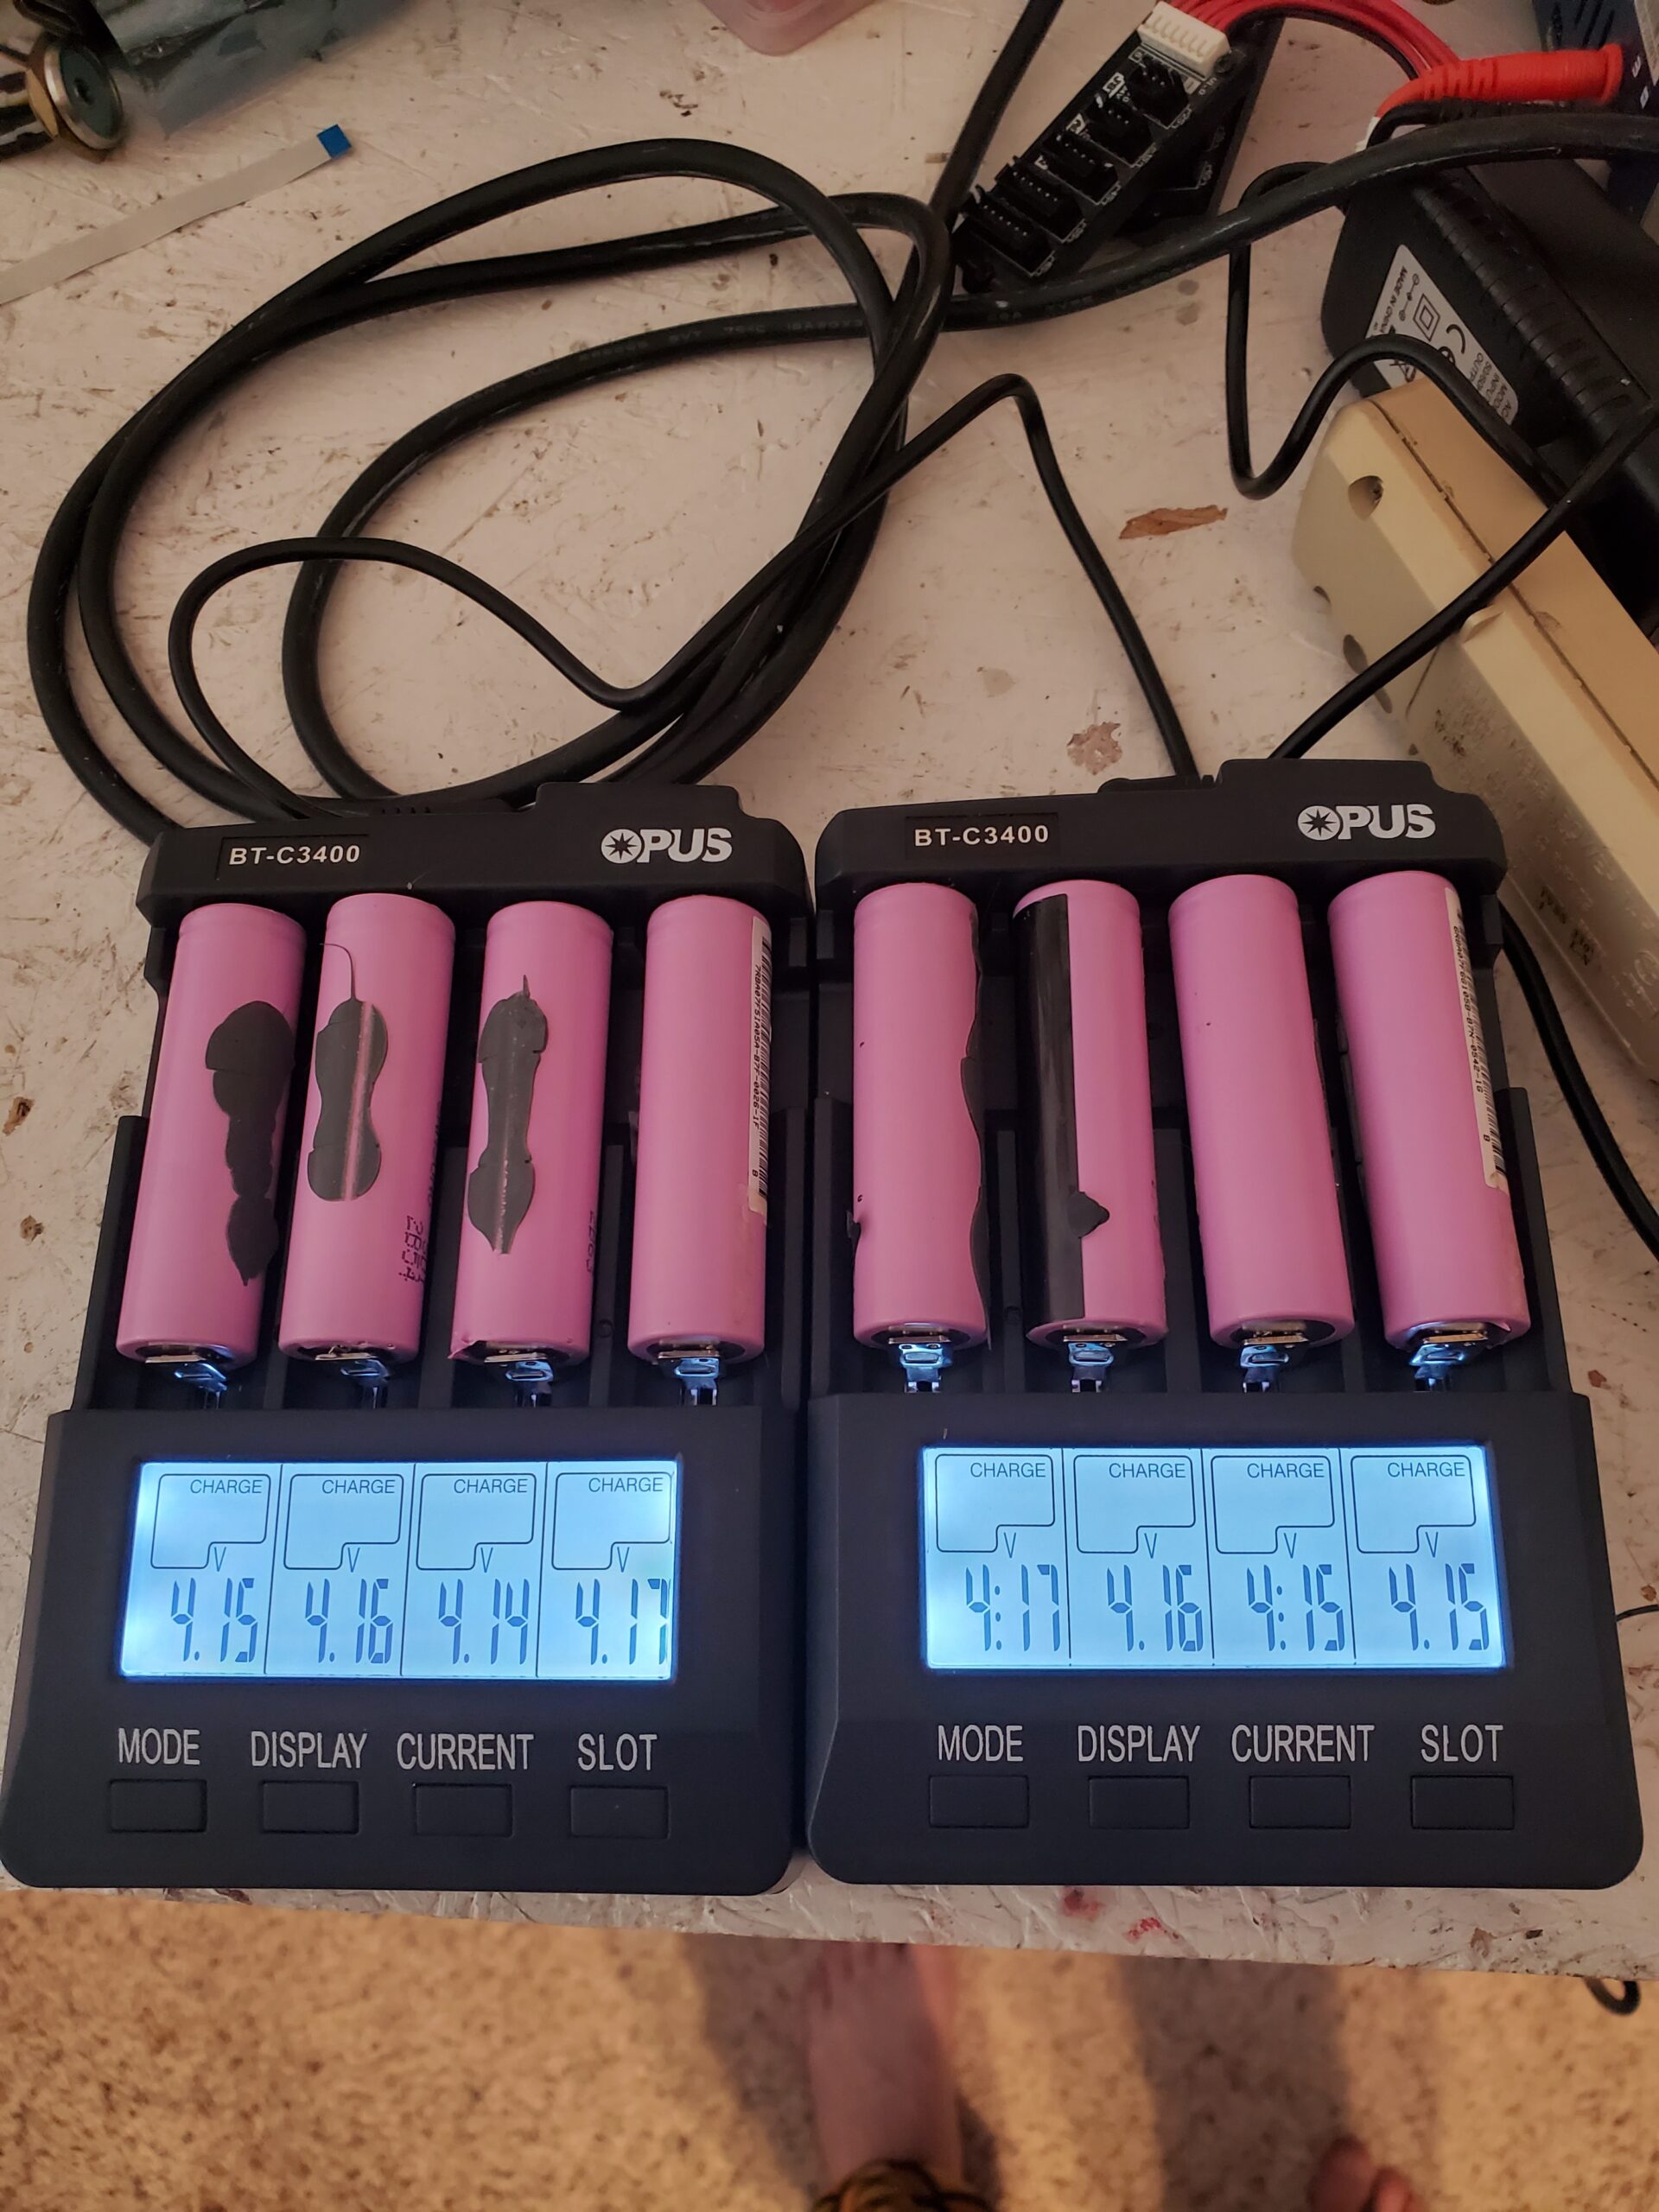
After separating the 18650 cells, they each go through three tests independently. The tests determines the cells internal resistance, how much capacity it hold, and if there are any internal shorts.

Each cell is labeled with the date, the capacity rating, and it’s current charge. To be extra safe I let them sit for a month and discarded any that dropped more than 0.1 volt.

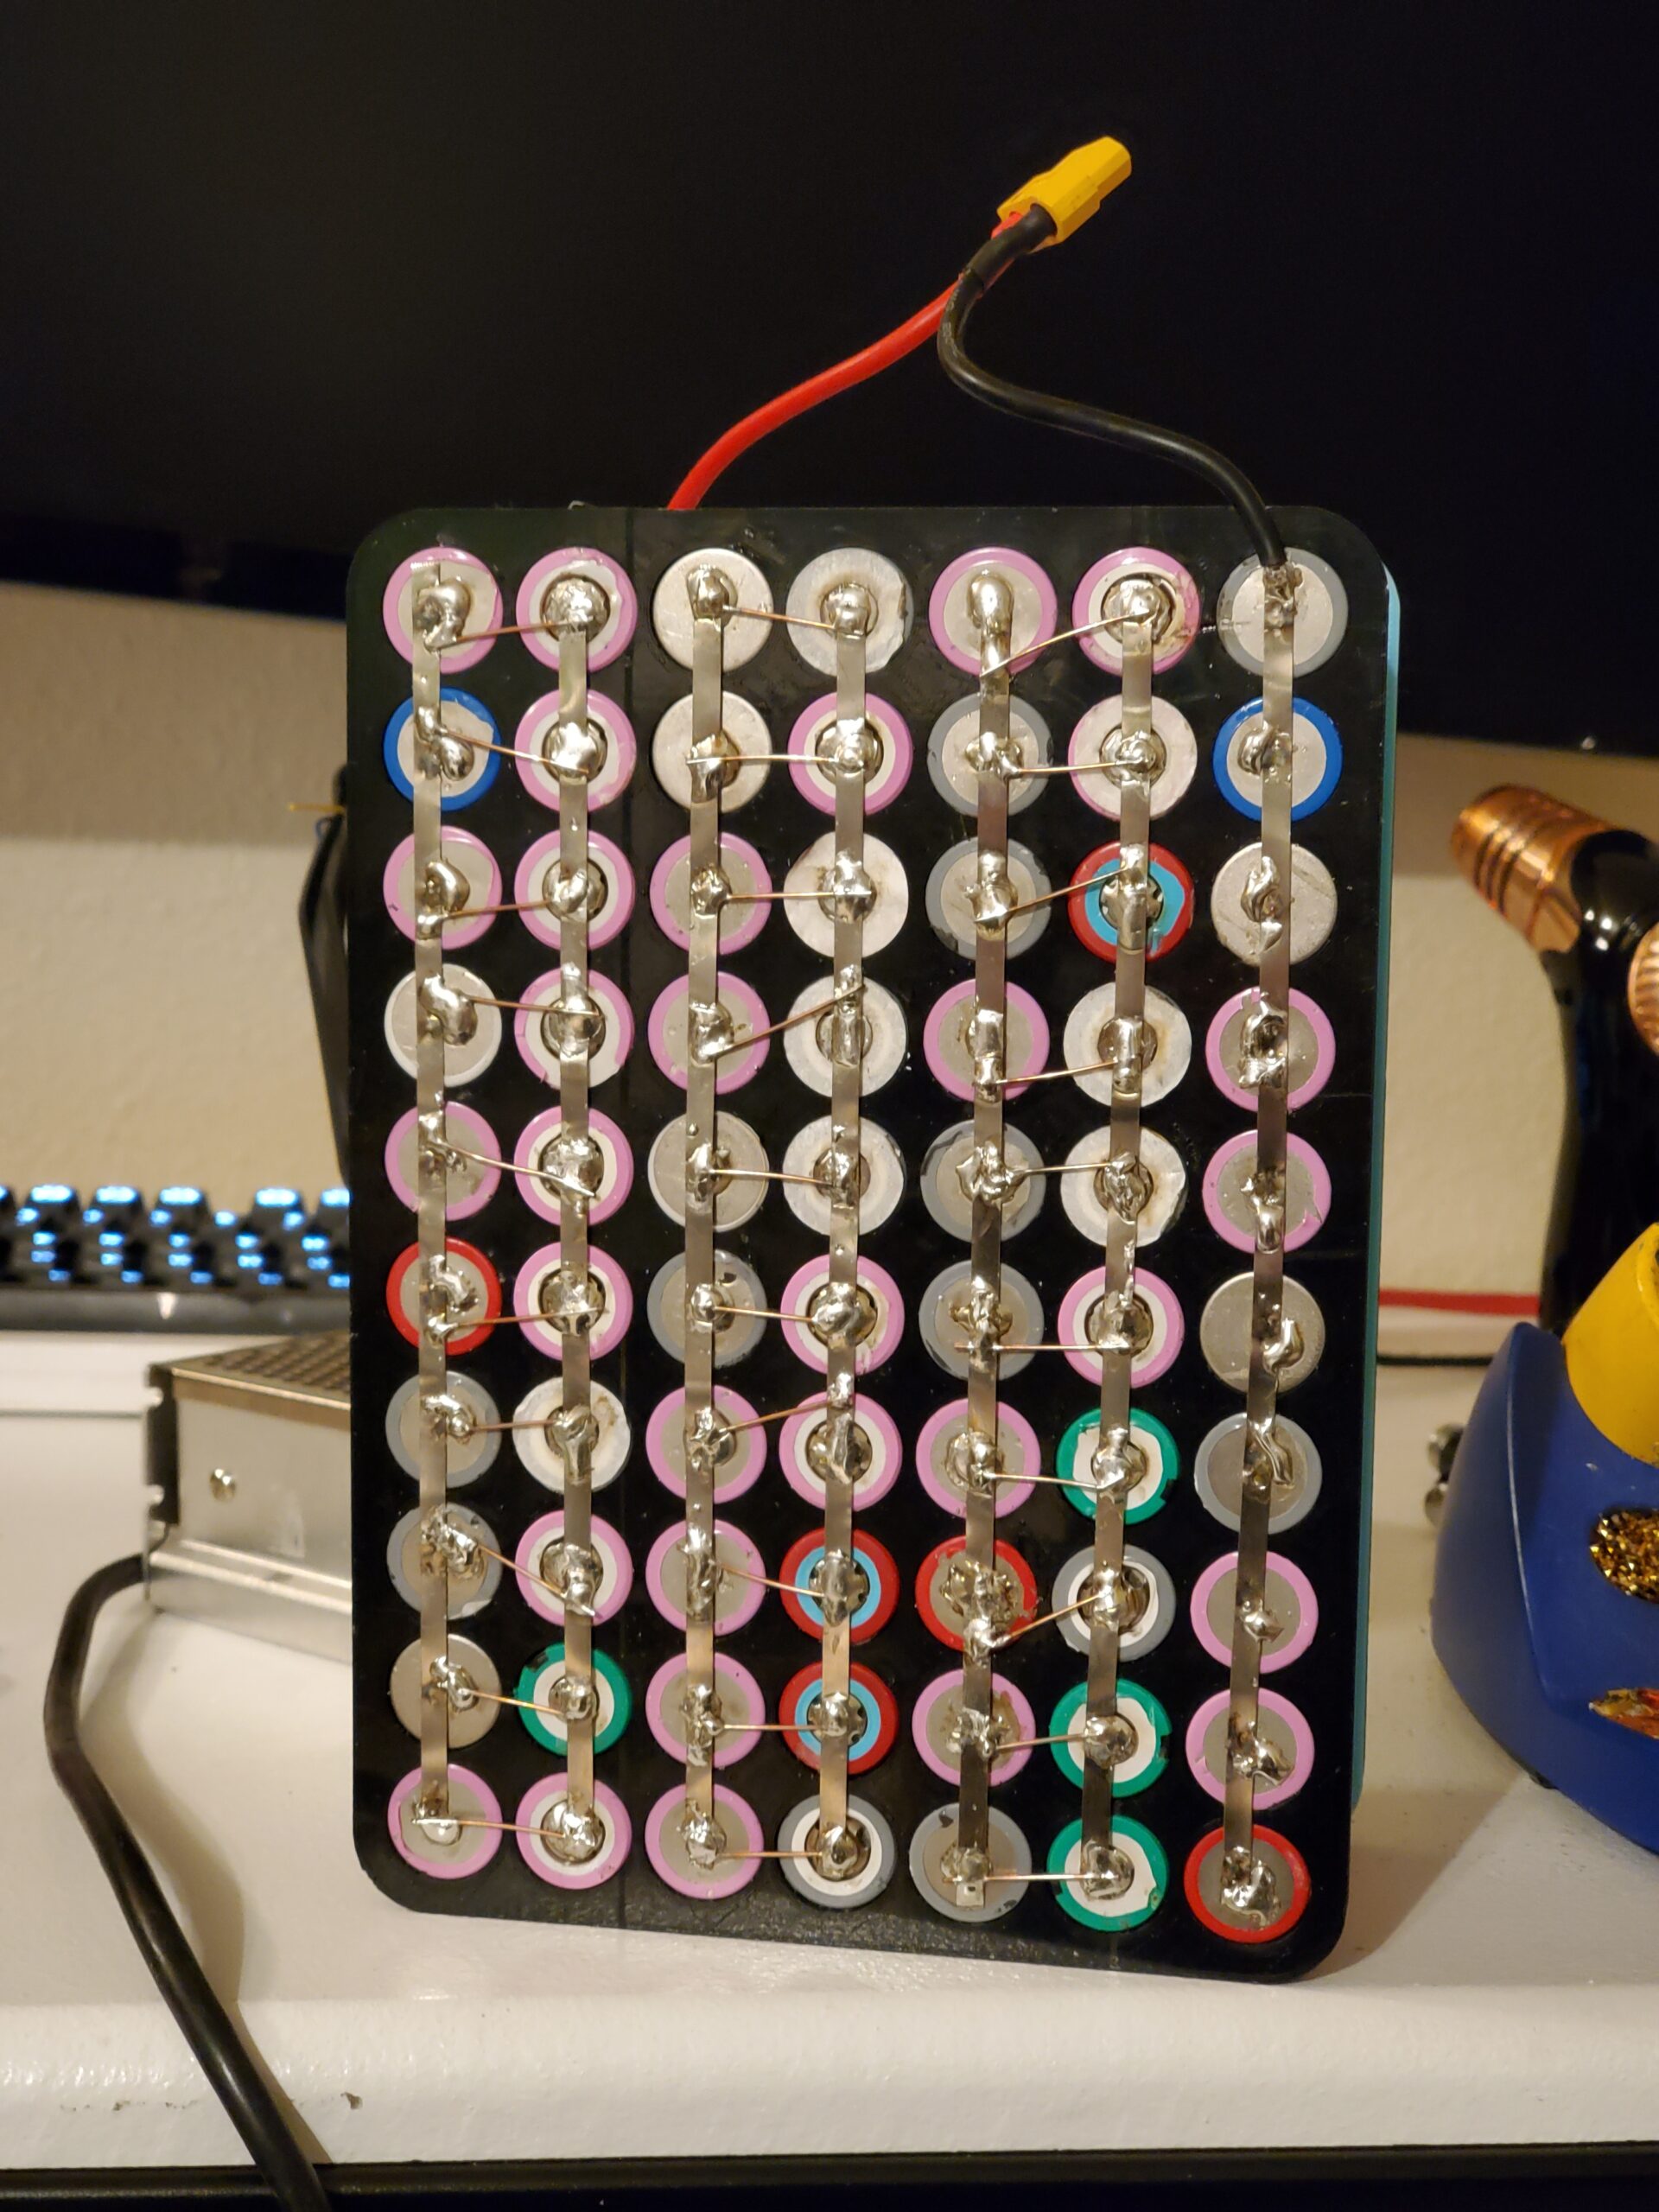
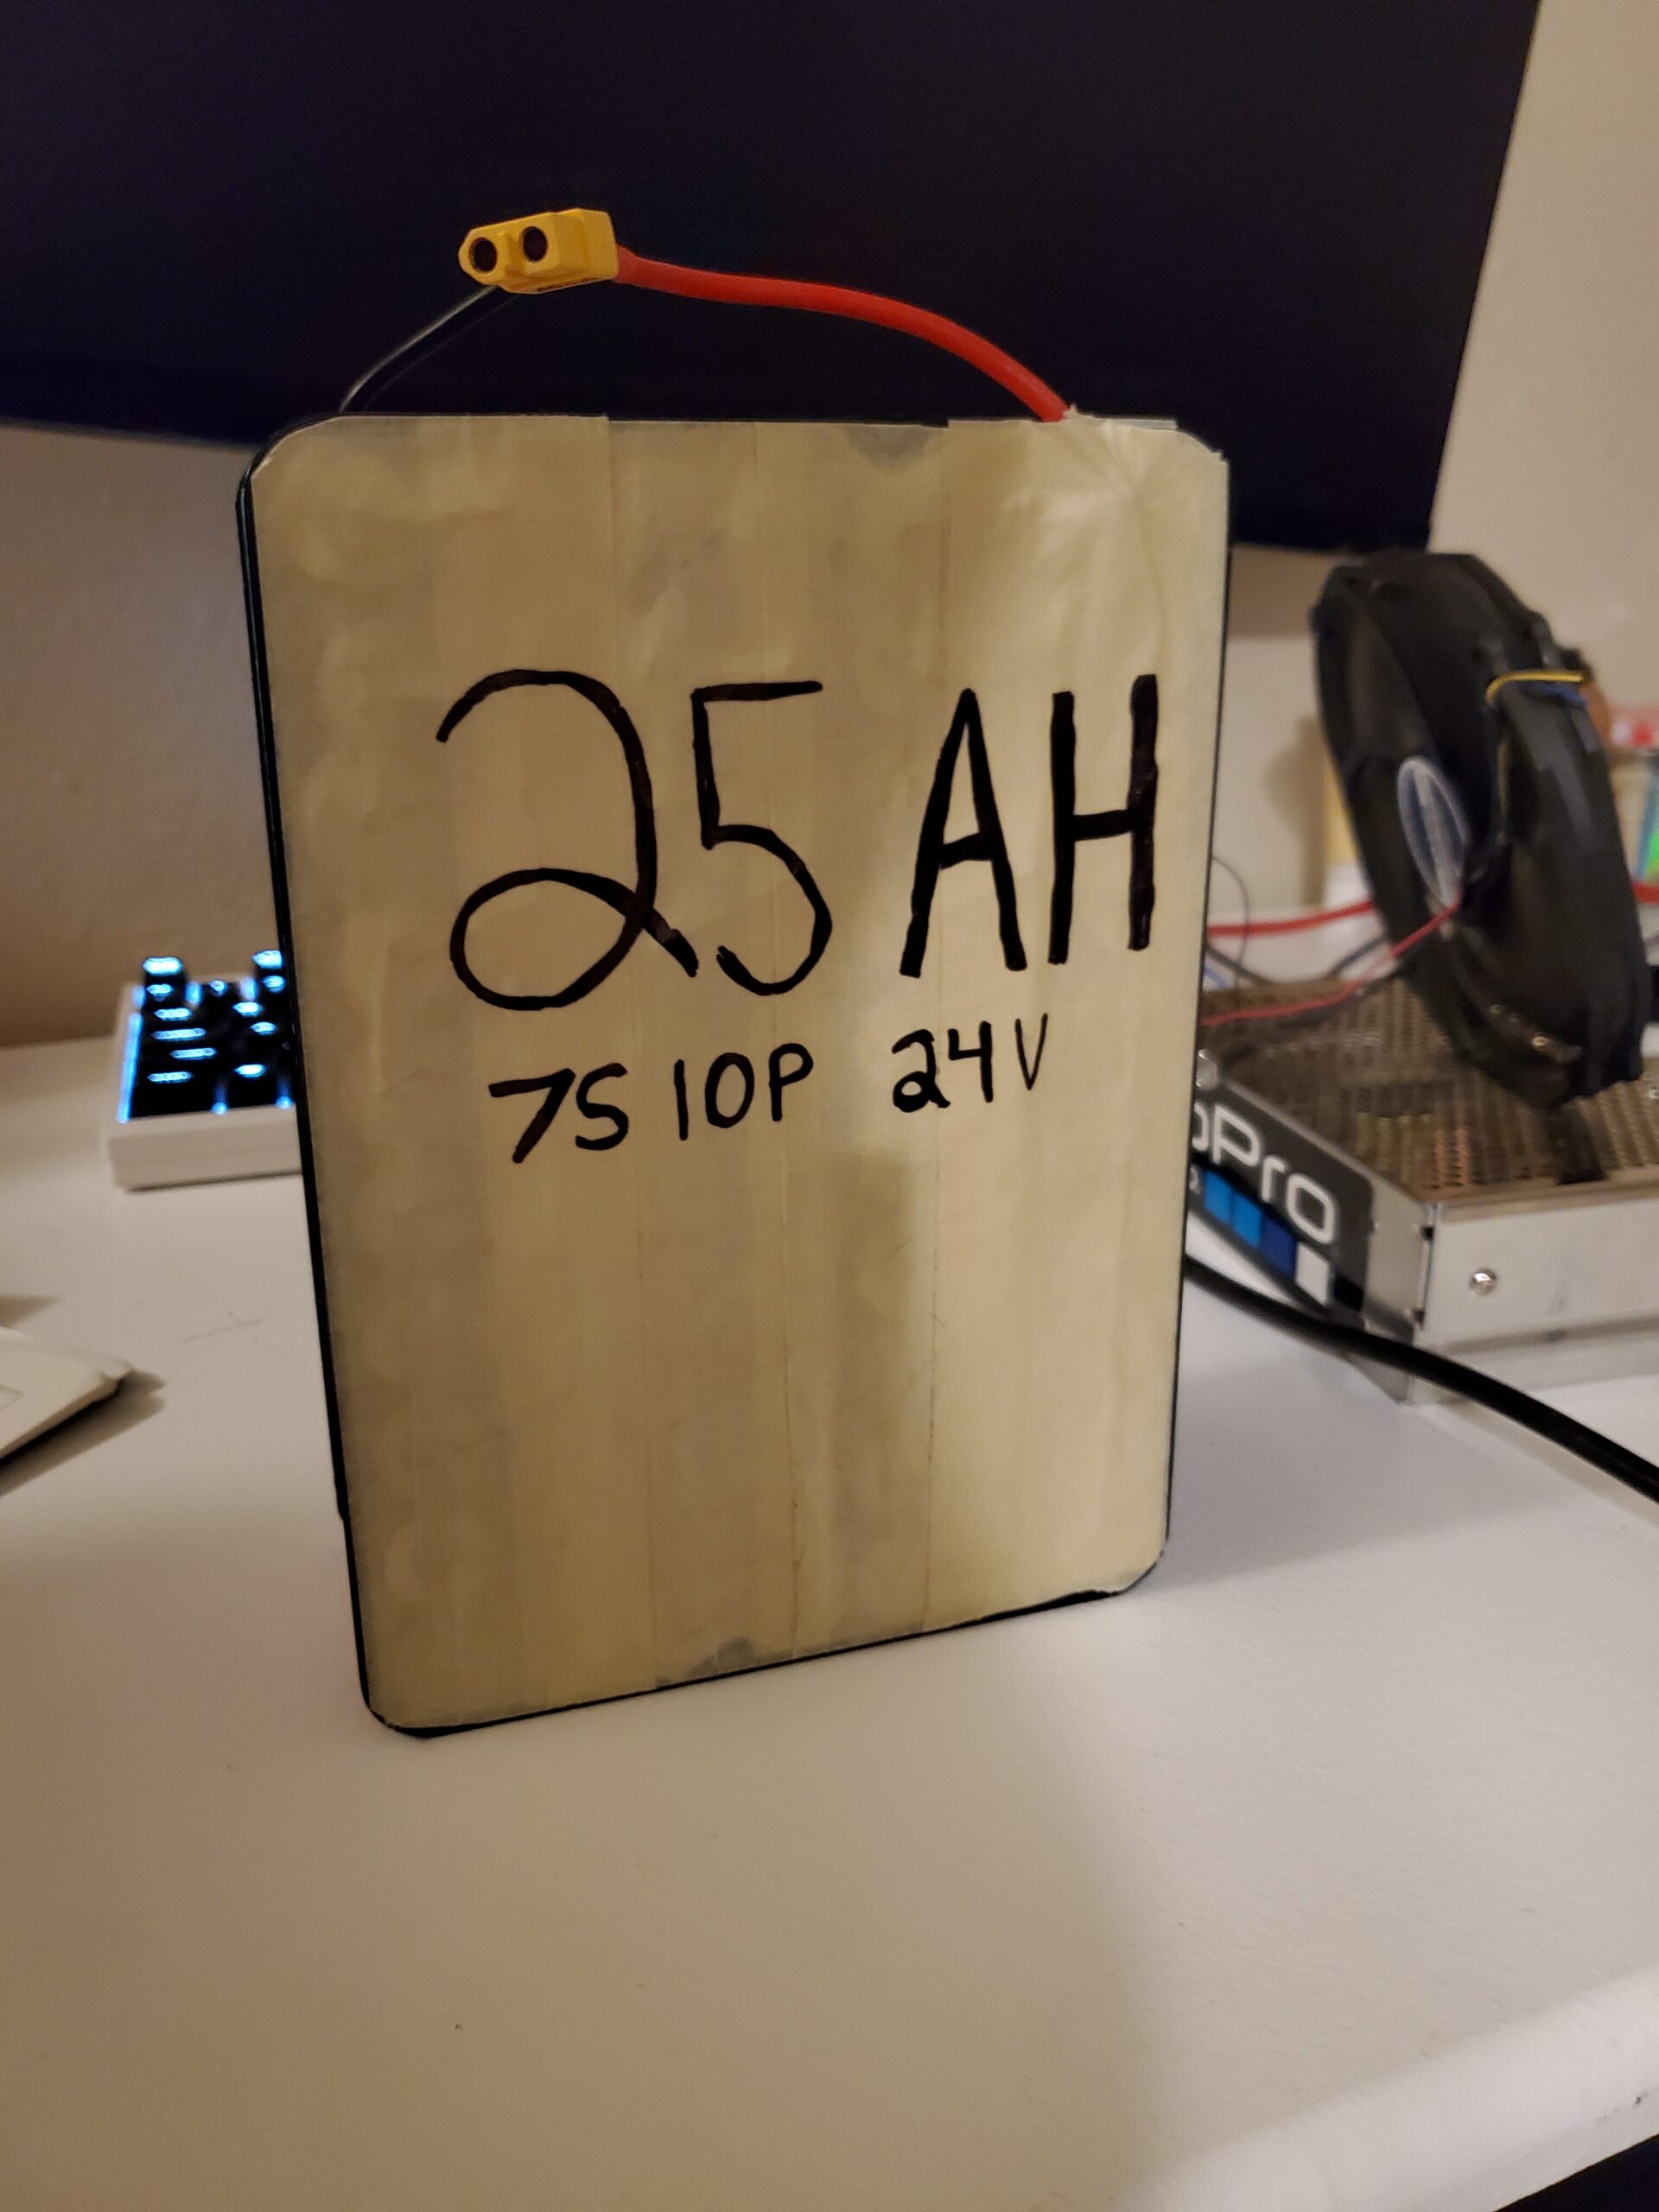
I used https://www.repackr.com/ to make sure each of the sets of ten 18650s in parallel are balanced in capacity.